
Thank you to DAP Products for sponsoring this post. As always, all opinions are 100% my own based on personal experience.
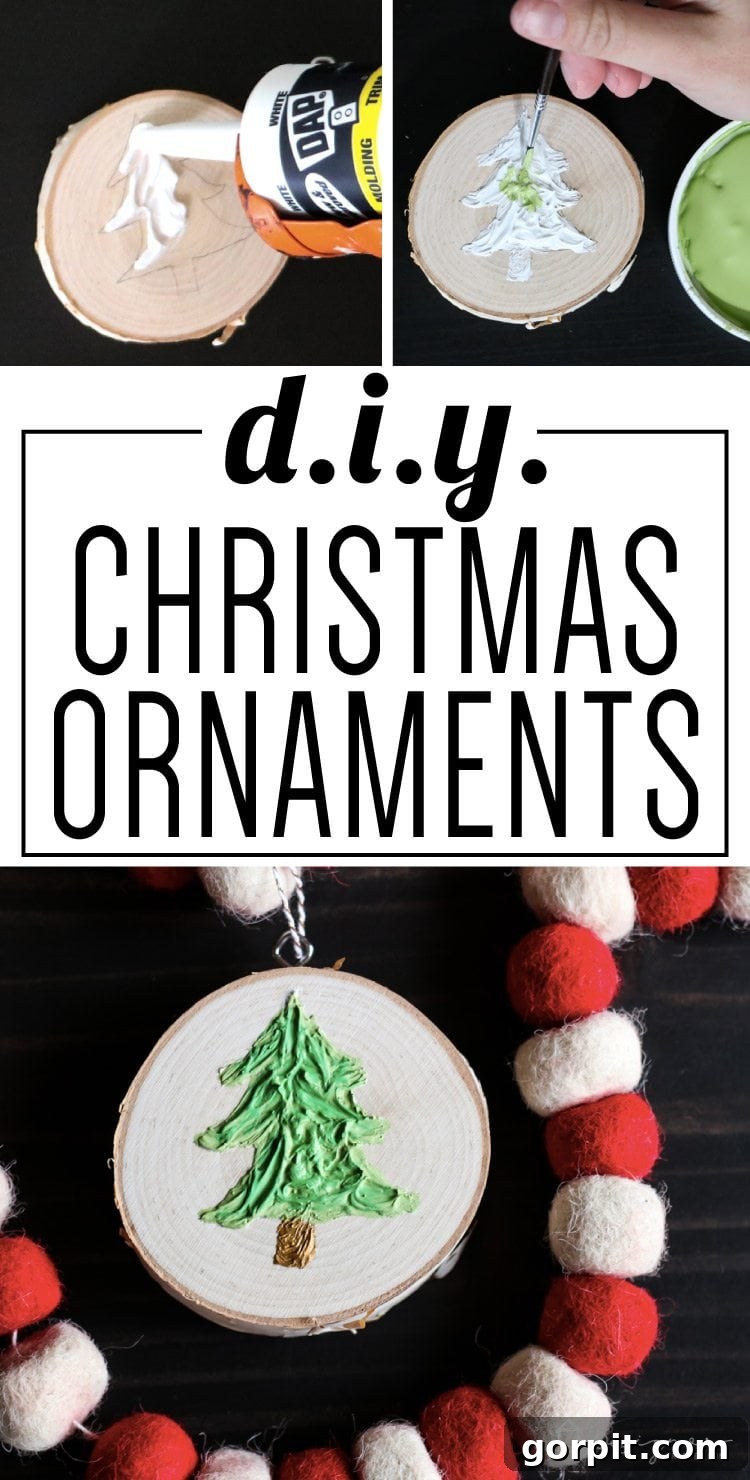
The holiday season is a magical time of year, filled with warmth, joy, and the delightful tradition of decorating. For many DIY enthusiasts, myself included, crafting handmade Christmas ornaments is an annual ritual—a chance to infuse our personal touch into the festive decor. While there are countless ways to create beautiful ornaments, today, I’m thrilled to share a truly unique and surprisingly simple method that results in gorgeous, textured pieces: using caulk! Yes, you read that right – the humble household caulk can be transformed into stunning, tactile decorations for your Christmas tree.
This tutorial will guide you through making DIY Christmas ornaments that boast incredible texture and a charming, rustic appeal. Forget flat, predictable designs; these ornaments will add depth and character to your holiday display. If you’ve been searching for a creative and easy way to make your Christmas decorations stand out, prepare to be amazed by the versatility of caulk as a crafting medium. It’s an unconventional approach that yields beautiful, professional-looking results, proving that some of the best DIY projects use materials you might already have on hand.
Before we dive into the step-by-step process of creating these unique textured ornaments, I wanted to mention that if you’re looking to further enhance your holiday decor, I have a collection of beautiful Christmas printables available in my super affordable printable art shop. These professionally designed prints can easily complement your handmade ornaments and elevate the festive ambiance of your home. They’re perfect for quick and stylish decorating!
This post contains some affiliate links for your convenience. Click here to read my full disclosure policy.
Crafting Unique Textured Christmas Ornaments with Caulk
Embark on a creative journey this holiday season by making your own distinctive textured Christmas ornaments. This project is not only incredibly satisfying but also an excellent way to add a personal and artistic flair to your festive decorations. The secret ingredient? Caulk! Known for its sealing properties, caulk surprisingly doubles as a fantastic medium for creating raised, paintable textures that bring your ornament designs to life. Let’s gather our materials and get started on these charming handmade treasures.
Essential Materials You’ll Need:
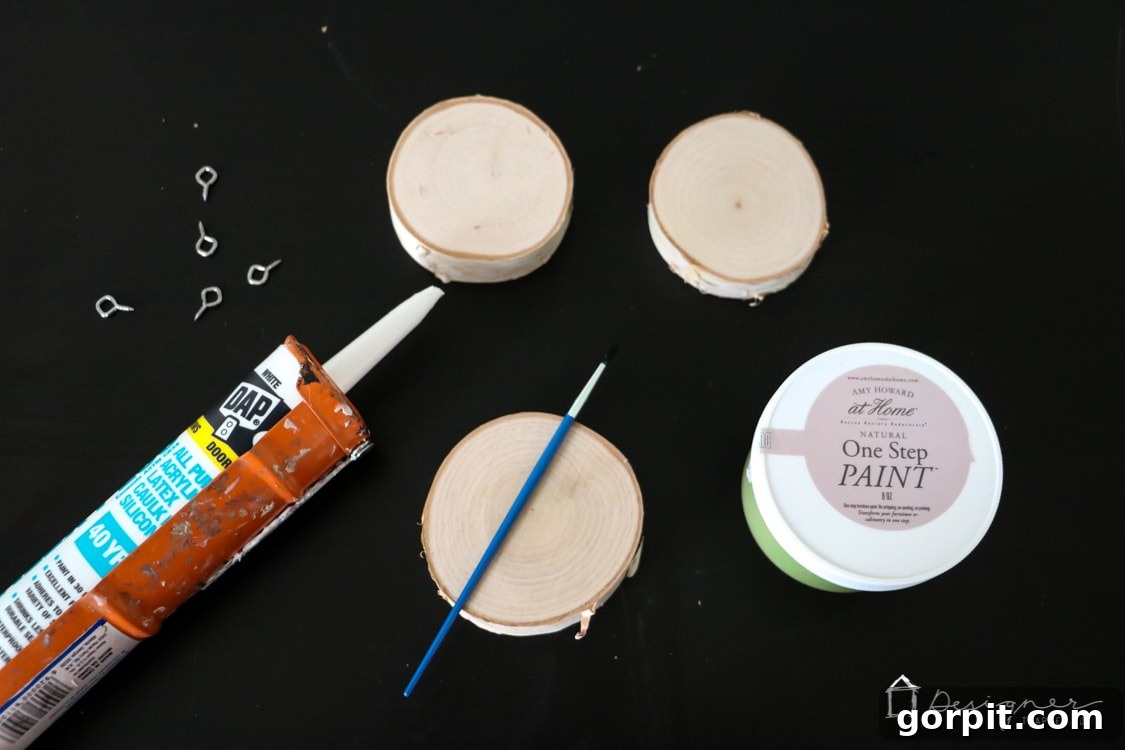
- DAP Alex Plus Caulk, white: This specific type is excellent because it’s paintable and dries relatively quickly, making it ideal for craft projects.
- Caulk gun: Essential for dispensing the caulk smoothly and efficiently.
- Small screw eyes: These will be inserted into the top of your ornaments for hanging.
- Wood slices, 3 to 4 inch diameter: These provide a sturdy and naturally beautiful base for your ornaments, adding to their rustic charm.
- Green and gold paint: Or any colors you prefer to bring your chosen design to life. Acrylic paints work wonderfully on caulk.
- Small paint brush: For precise painting and, surprisingly, for spreading the caulk.
- Pencil: For sketching your initial design onto the wood slice.
How to Make Textured Christmas Ornaments – Step-by-Step Guide:
Crafting these textured Christmas ornaments is an enjoyable and straightforward process. Each step builds on the last, transforming simple materials into eye-catching holiday decor. Follow these instructions carefully to create your own unique pieces:
Step 1: Sketch Your Desired Design
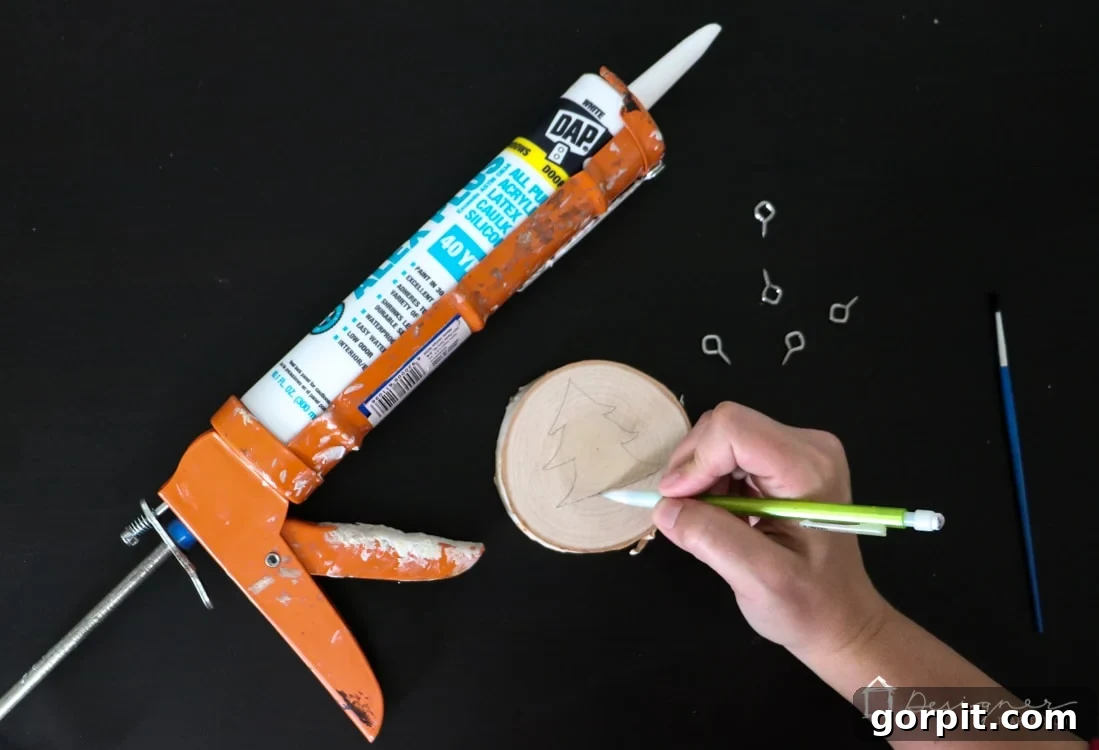
Begin by taking one of your wood slices and a pencil. Lightly sketch out the shape you wish to create on your ornament. I opted for a classic Christmas tree, which lends itself beautifully to textured designs. However, don’t limit yourself! You could sketch snowflakes, stars, reindeer, or even initial letters. The beauty of this step is the complete creative freedom it offers. Use a light hand with your pencil, as this is just a guide that will soon be covered. If you make a mistake, simply erase it and try again until you’re happy with your design. This initial sketch will serve as your blueprint for applying the caulk.
Step 2: Outline Your Sketch with Caulk
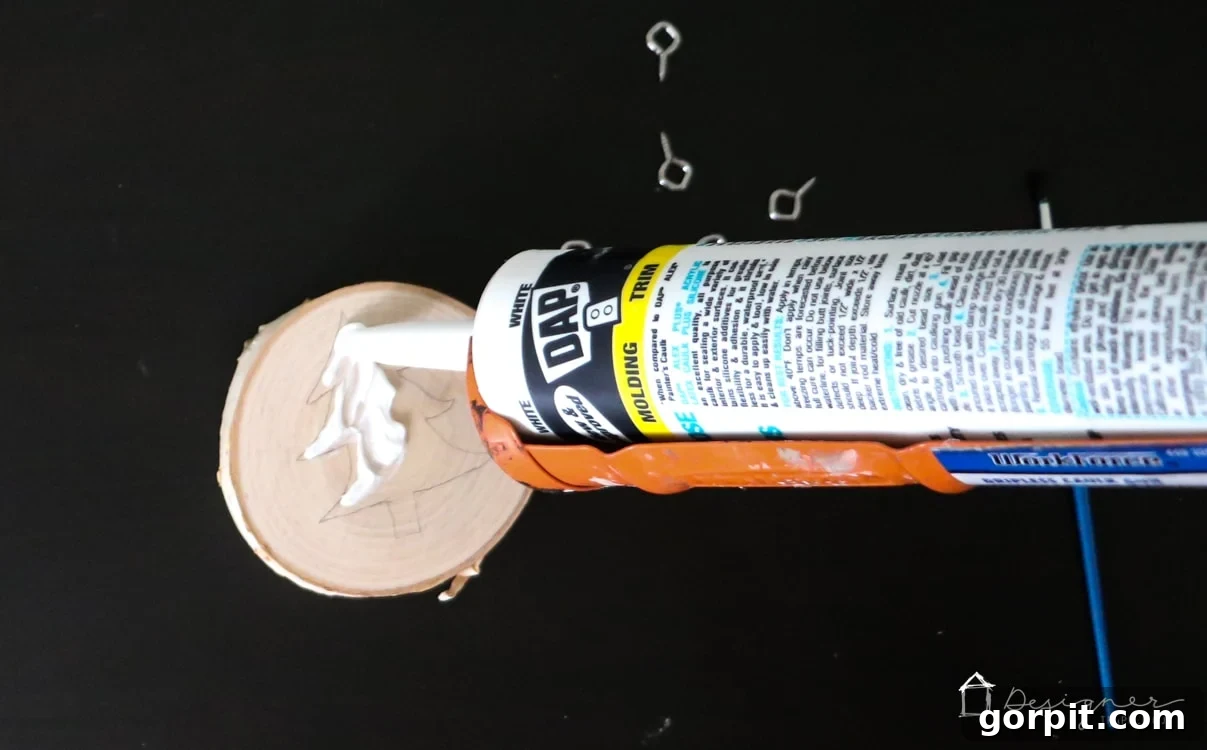
Now it’s time to introduce our star material: caulk! Load your DAP Alex Plus caulk tube into the caulk gun. Carefully apply a thin line of caulk along the pencil outline you just drew. The goal here is to create a raised barrier that defines the edges of your design. You don’t need to be overly precise with this initial application; a steady hand will do. The caulk will create a distinct border that helps contain the subsequent layers and adds to the overall dimensional effect. Don’t worry if it looks a little rough at this stage; we’ll refine it in the next step. Ensure an even flow from the caulk gun to avoid large blobs or gaps.
Step 3: Fill in the Design for Added Texture
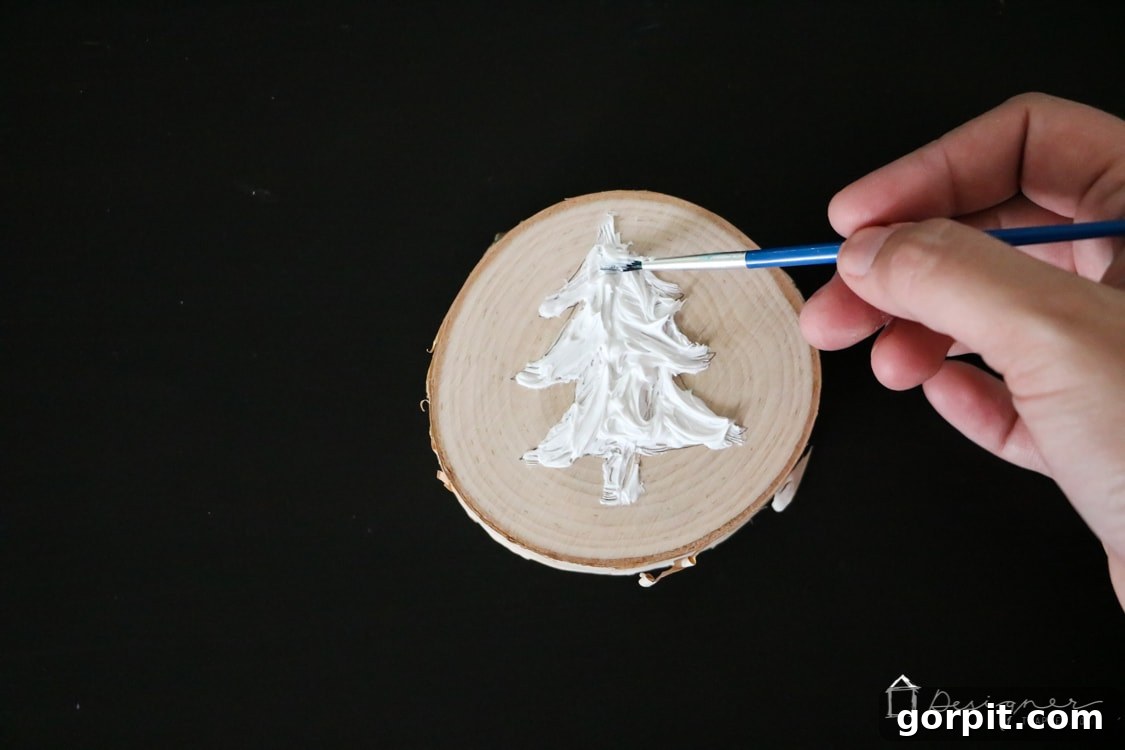
Once your outline is in place, use your small paint brush to carefully fill in the entire area within the caulk outline. Squeeze a small amount of caulk directly onto the wood slice inside your outlined shape, then use the brush to spread it evenly. This is where you can really play with texture! You can create subtle swirls, small peaks, or a smoother, more uniform surface depending on how you manipulate the caulk with your brush. The brush allows for much greater precision than the caulk gun, helping you reach all corners of your design and achieve the desired thickness and texture. This layer will form the body of your textured design, so ensure good coverage.
Step 4: Allow to Dry and Then Paint
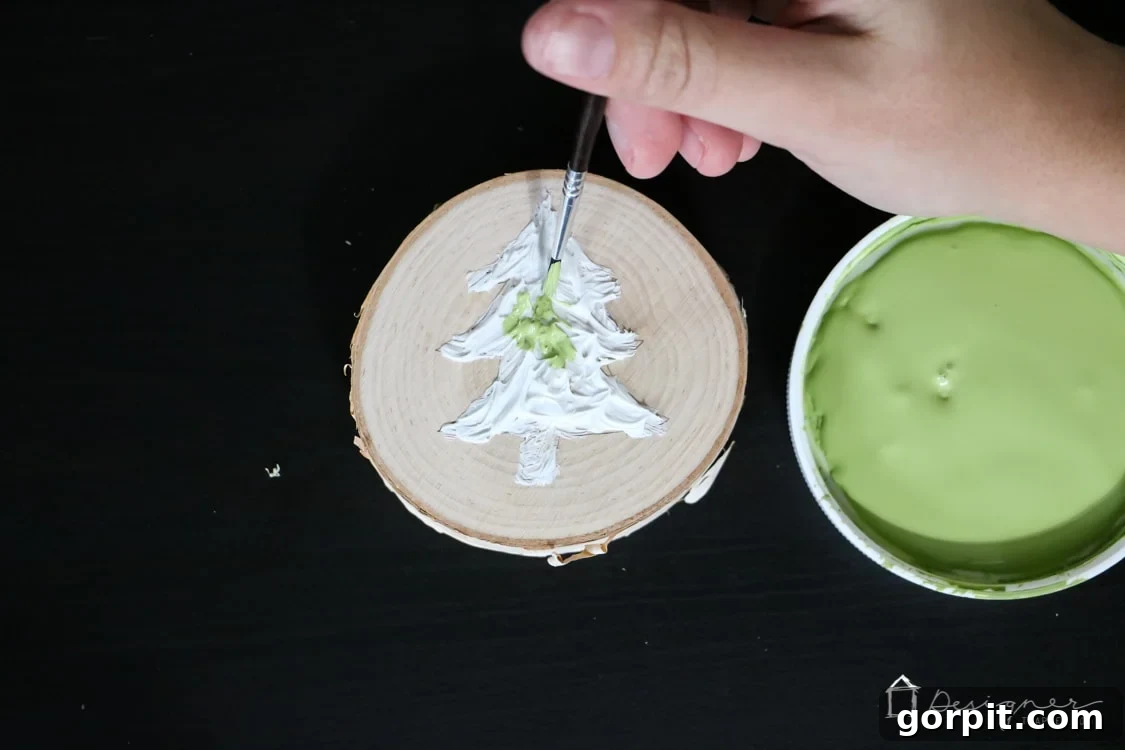
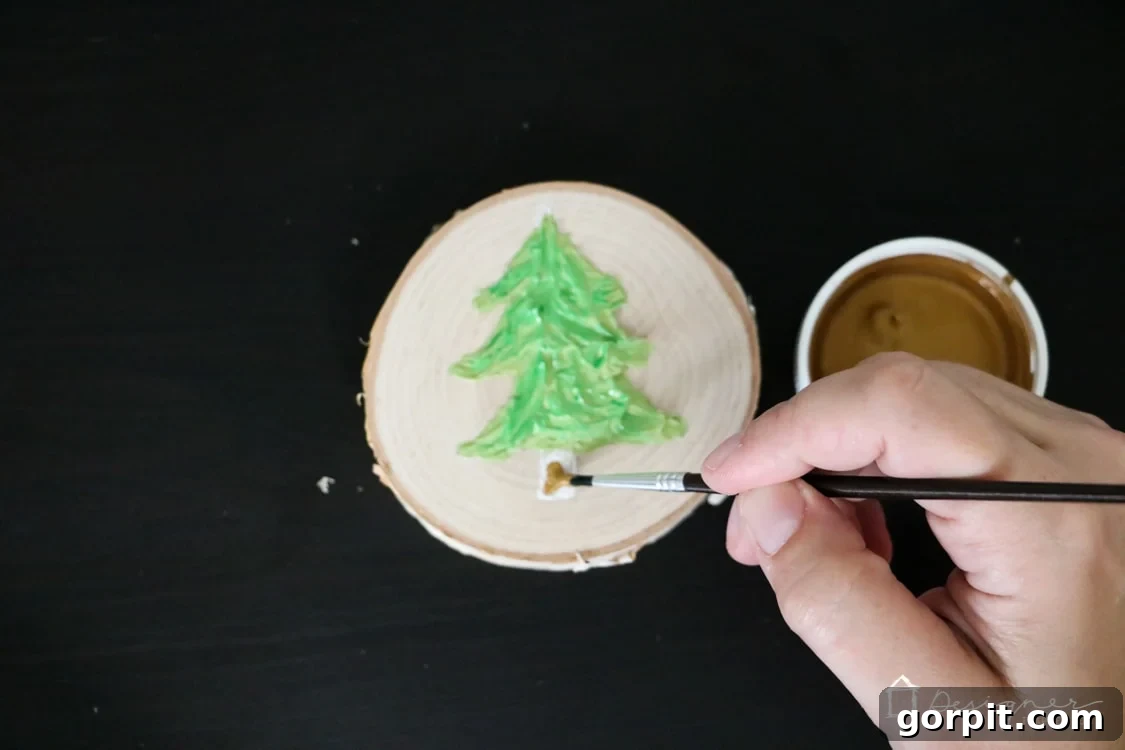
After you’ve finished applying and shaping the caulk, it’s crucial to let it dry completely. One of the great advantages of using DAP Alex Plus caulk is its relatively quick drying time; it’s often paintable in as little as 30 minutes! However, for best results and to ensure the texture is fully set, I recommend giving it a bit more time, perhaps an hour or two, especially if you applied a thicker layer. Once the caulk is dry to the touch and firm, you’re ready for the most colorful part: painting! For my Christmas tree design, I used two different shades of green paint for the tree itself to add depth and dimension, and a shimmering gold metallic paint for the tree trunk. The texture of the dried caulk will beautifully catch the paint, creating a wonderfully tactile and visually rich effect. Feel free to experiment with colors that match your personal holiday theme, whether traditional reds and greens, icy blues and silvers, or even whimsical pastels.
Step 5: Add a Screw Eye and Hanger
The final step is to prepare your beautiful new ornament for hanging. Once your paint has thoroughly dried, take a small screw eye and gently twist it into the top edge of your wood slice. You might find it easier to create a small pilot hole with a tiny drill bit or a sharp nail first, especially if your wood slices are particularly hard. This prevents the wood from splitting and makes screwing in the eye easier. After the screw eye is securely in place, thread a piece of baker’s twine, festive ribbon, or even a simple piece of string through the eye. Tie the ends together to form a loop, and your textured Christmas ornament is complete! It’s now ready to adorn your tree, a mantelpiece, or to be given as a heartfelt, handmade gift.
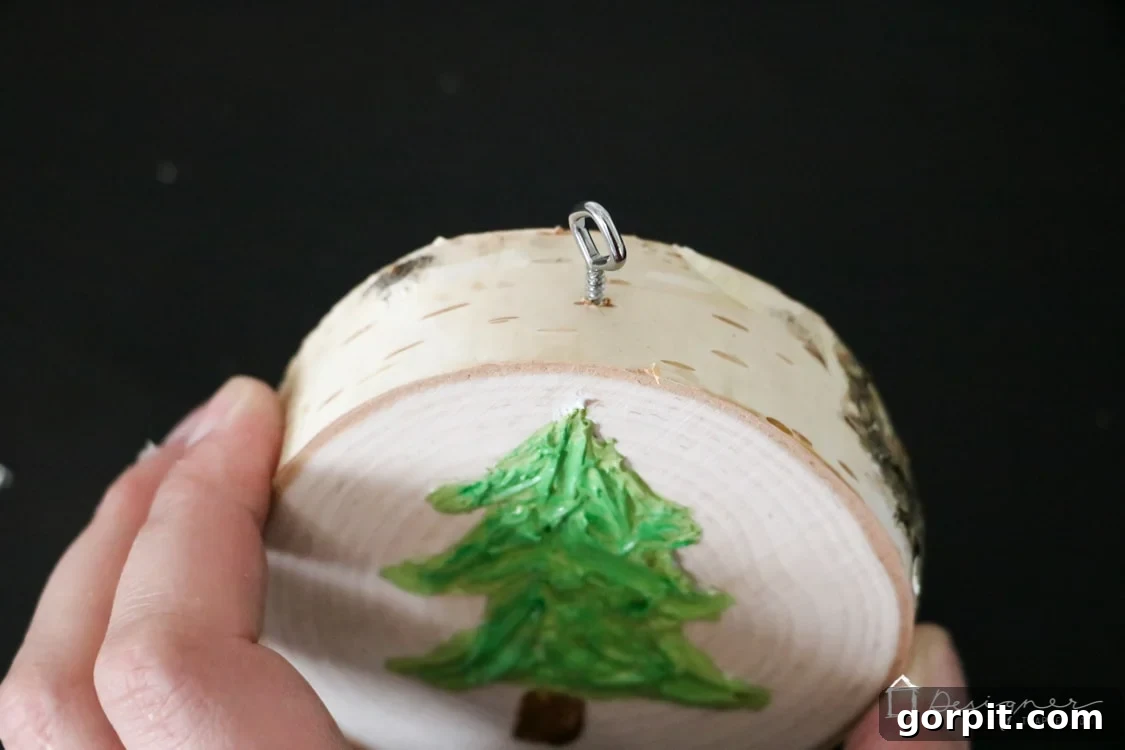
And there you have it! A truly easy yet impactful DIY project that transforms ordinary materials into extraordinary Christmas decorations. I am absolutely thrilled with the incredible texture and unique character these ornaments possess. Who would have thought that a simple tube of caulk could yield such fantastic results? The tactile surface adds so much dimension and visual interest, making these pieces far more captivating than flat, printed designs. This project has certainly sparked my imagination, and I’m already brainstorming countless other items I can “paint” and texturize with caulk around the house. The possibilities are truly endless!
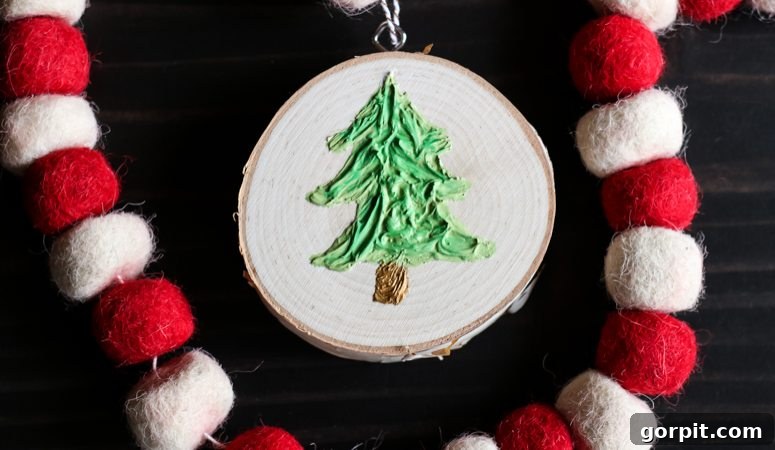
Take a moment to admire the finished ornament – the raised caulk design, the vibrant paint, and the natural beauty of the wood slice all come together to create a stunning piece of holiday art. These textured ornaments are perfect for adding a touch of rustic elegance and handmade charm to any Christmas tree. They also make thoughtful, personalized gifts for friends, family, or teachers, showing just how much care and creativity you poured into their present.
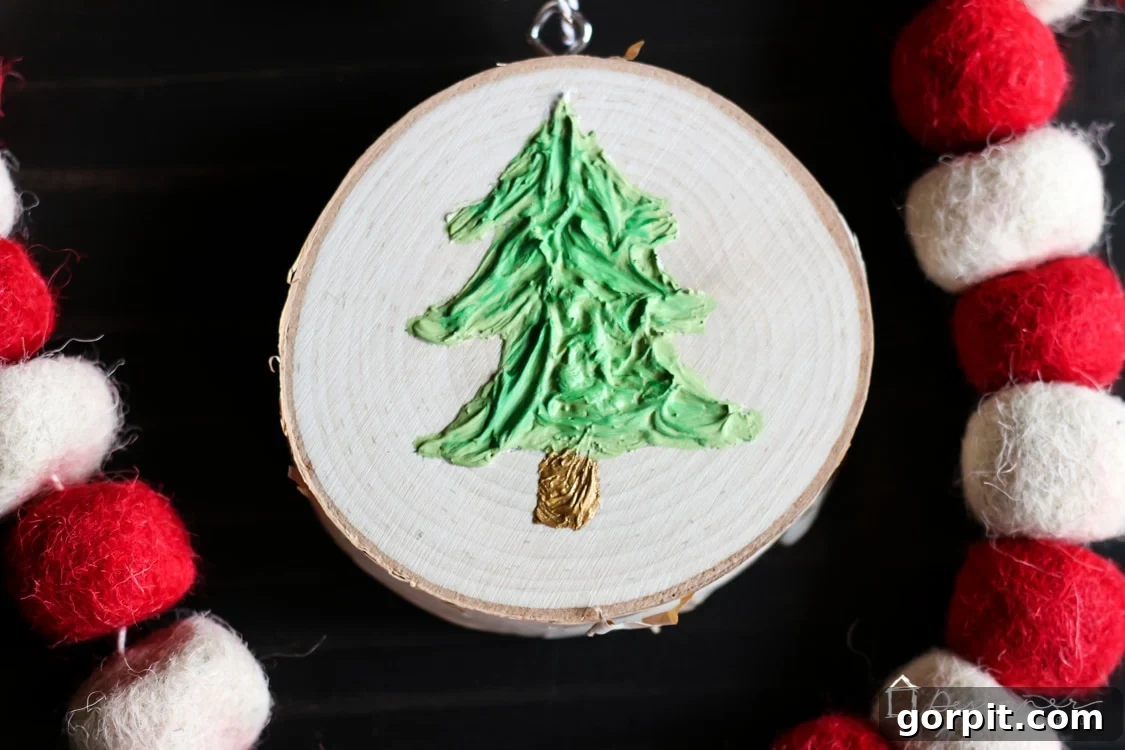
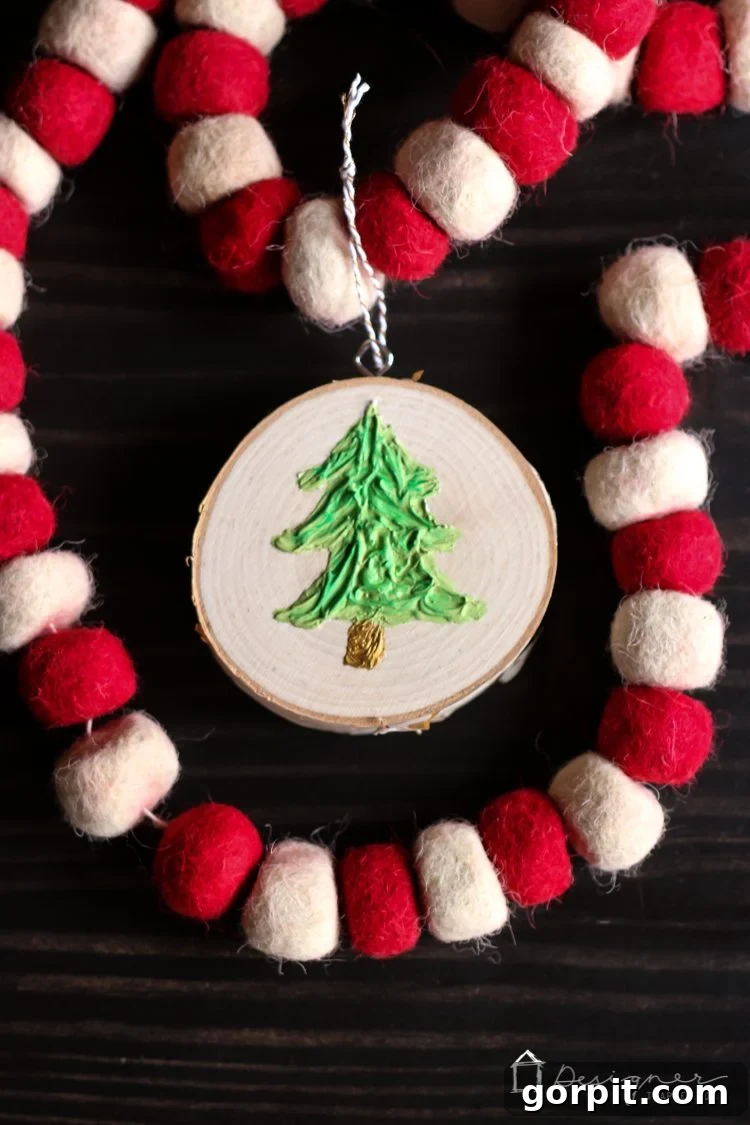
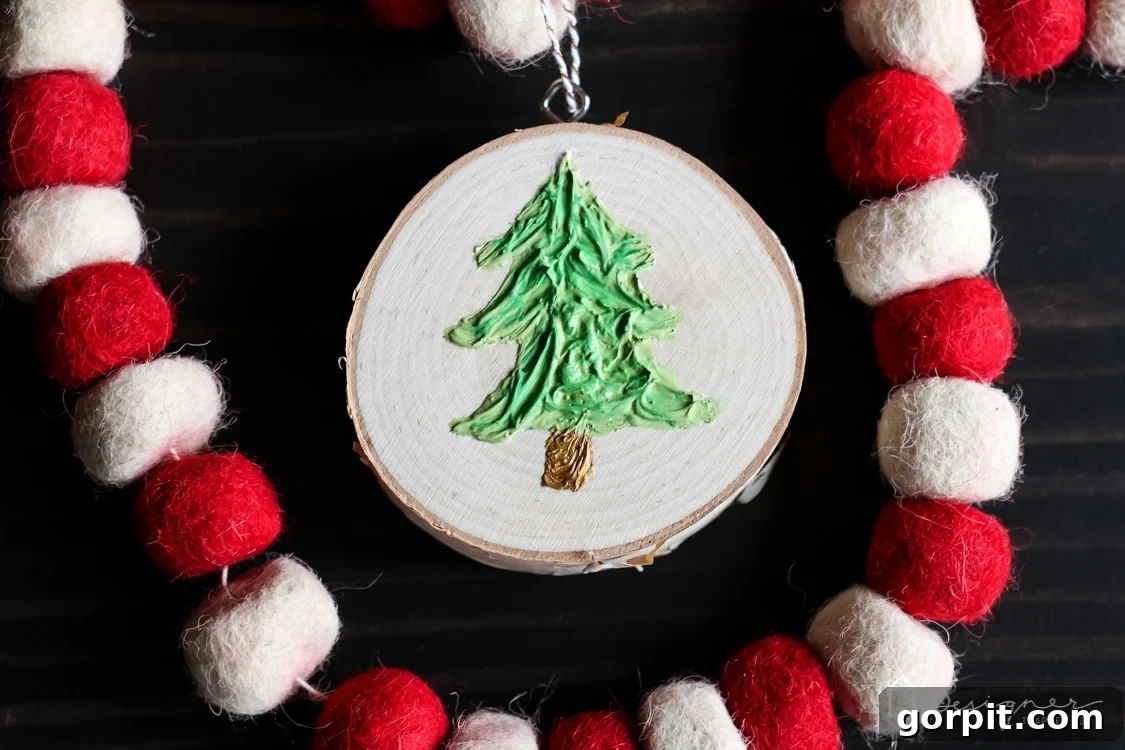
What are your thoughts on this unconventional yet effective crafting technique? I must admit, I am completely in love with these textured DIY Christmas ornaments! They offer a refreshing alternative to traditional ornament making and truly elevate the holiday decor with their unique charm. Give this project a try, and you might just discover your new favorite way to create personalized and memorable Christmas decorations for years to come.
