
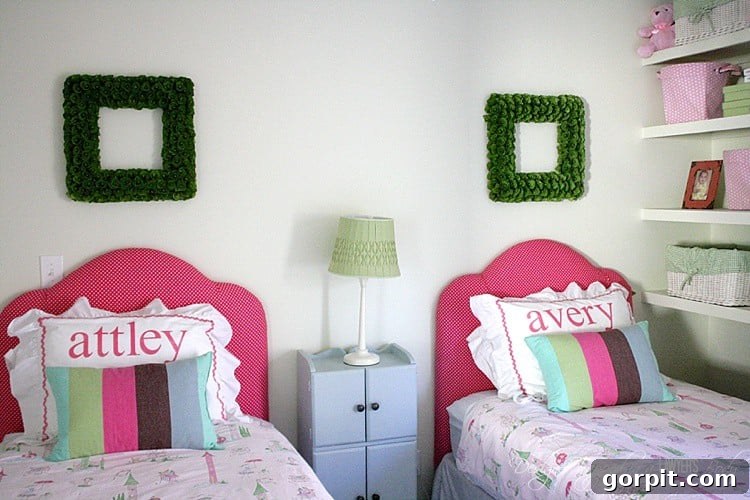
Transform Your Bedroom: A Step-by-Step Guide to Making an Affordable Upholstered Headboard for Under $50
Dreaming of a beautiful, custom bedroom retreat but intimidated by the hefty price tag of upholstered headboards? You’re not alone! High-quality upholstered headboards often come with premium prices, making a stylish bedroom upgrade seem out of reach for many. But what if you could achieve that luxurious look for less than $50 and in just one afternoon? Get ready to be amazed, because today, we’re sharing a comprehensive, budget-friendly tutorial that will empower you to create a stunning upholstered headboard with ease. It’s a surprisingly straightforward DIY project that delivers gorgeous, professional-looking results.
A little over a year ago, we embarked on a similar journey to craft exquisite upholstered headboards for our twin girls’ room. The outcome was simply enchanting, transforming their space into a dreamy sanctuary. If you’re curious to see the full transformation, you can explore their “big girl” room reveal here. The custom headboards became the undisputed focal point of the room, proving that personalized style doesn’t have to break the bank. Now, let’s dive into the details and learn how you can make an upholstered headboard that perfectly complements your home decor!
This post contains some affiliate links. Click here to read our full disclosure policy.
Your Ultimate DIY Upholstered Headboard Tutorial
Crafting your own upholstered headboard is an incredibly rewarding project that allows for complete customization, ensuring your finished piece perfectly matches your personal aesthetic and bedroom theme. This guide will walk you through each step, from selecting materials to hanging your masterpiece.
Materials You’ll Need:
Gathering all your materials beforehand will ensure a smooth and efficient crafting process. Here’s a detailed list:
- Wood Base: A 1/2-inch thick, 4×8-foot piece of OSB (Oriented Strand Board). OSB is an excellent cost-effective choice. However, if you have access to MDF (Medium-Density Fiberboard) or plywood, those are also suitable alternatives. Note: A single 4×8 sheet is typically enough to make two twin-sized headboards. If you’re only making one, consider having the board cut in half at the store to potentially save money and simplify transport.
- Fabric: Your choice of upholstery fabric. The amount needed will depend on your headboard’s dimensions and the fabric’s width. For a twin headboard, using a 54-inch wide fabric, approximately 1 1/4 yards per headboard should suffice. We used Premier Prints Dottie Candy Pink/White fabric, which is known for its durability and wide selection of patterns.
- Padding: One twin-sized egg crate mattress topper. This is a brilliant, budget-friendly alternative to expensive upholstery foam. We found ours for $14.99 at Target, which proved to be the best value.
- Batting: Upholstery batting adds a smooth, soft layer between the foam and fabric, creating a professional finish.
- Cutting Tools: Sharp scissors for fabric and foam, a utility knife can also be useful.
- Marking Tools: A Sharpie or other permanent marker for tracing.
- Staple Gun: A heavy-duty staple gun and plenty of staples are essential for securing materials.
- Wood Cutting Saws: A circular saw for straight cuts and a jigsaw for cutting intricate shapes and curves.
Step-by-Step Guide to Your Custom Upholstered Headboard:
Follow these detailed steps to bring your vision to life, ensuring a beautiful and durable custom headboard.
1) Define Your Headboard’s Shape and Style: The first exciting step is to decide on the aesthetic of your headboard. There’s an incredible array of shapes to choose from, each offering a unique personality. For inspiration, consider this helpful visual guide from one of our favorite blogs, Thrifty Decor Chick:
After careful deliberation, we opted for the “York” shape for our girls’ headboards. Its elegant simplicity and gentle curves struck us as perfectly “soft” and “sweet,” ideal for a princesses’ room. When making your choice, think about your room’s existing decor, the overall style you want to achieve, and the impression you want your headboard to make.
2) Determine the Ideal Dimensions for Your Headboard: Once you’ve settled on a shape, it’s time to measure. We took rough measurements and decided on headboards that were 39 inches wide (matching the width of a twin mattress) and 44 inches tall at their highest point. The height is particularly flexible and depends on your preference. We knew we wanted to wall-mount our headboards and desired the lower section to be concealed behind the mattress, influencing our height decision. Consider your bed frame, mattress height, and how much of the headboard you want visible above the pillows.
3) Precisely Cut Your Wood Base: Begin by cutting your OSB board to your determined width and height (e.g., 39 x 44 inches for our project). A circular saw paired with a straight edge will help ensure clean, accurate cuts. If you don’t own the necessary power tools or prefer not to use them, most Lowe’s or Home Depot stores offer wood cutting services, often for a minimal fee. Don’t hesitate to ask for assistance!
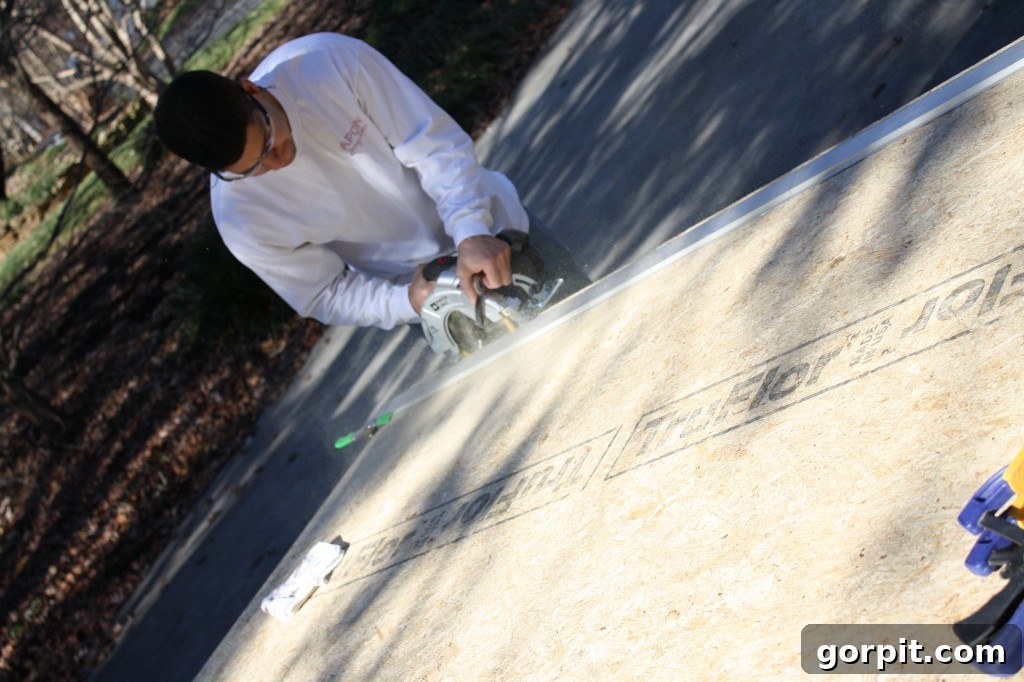
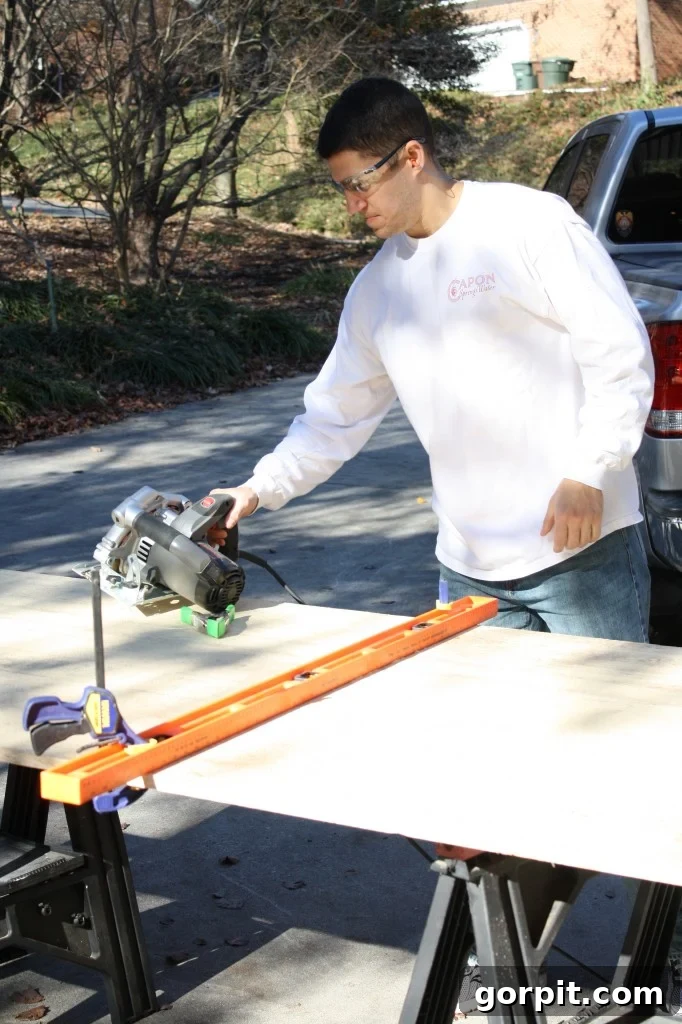
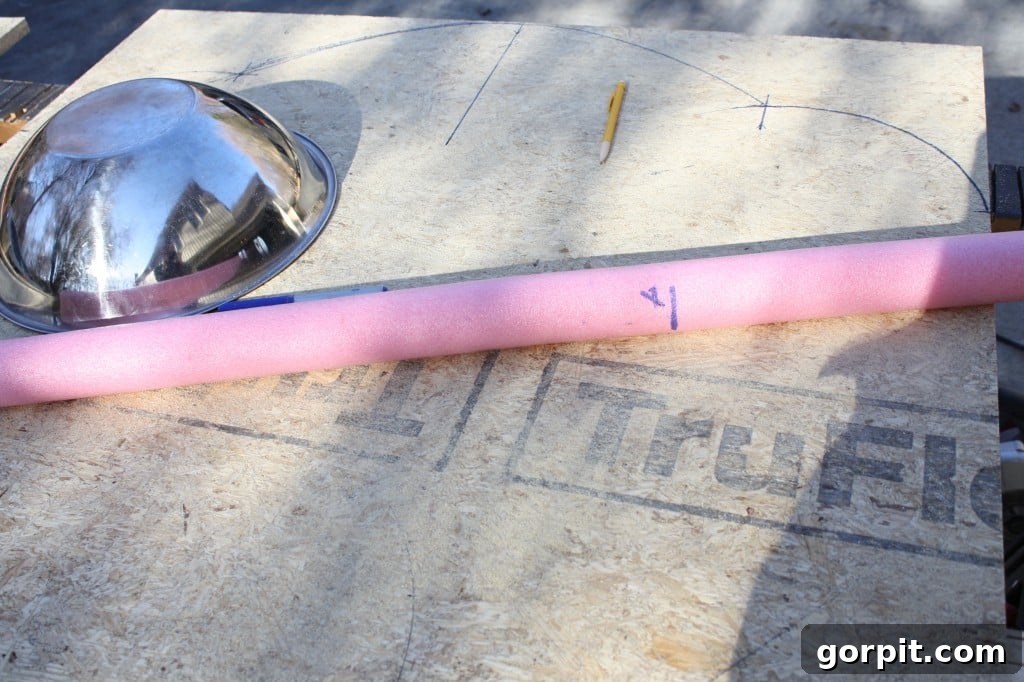
4) Sketch Out Your Desired Shape: This step can be surprisingly challenging, yet it’s crucial for achieving that custom look. After some experimentation, we discovered an ingenious method for creating smooth curves: using a large mixing bowl and pool noodles as templates. Yes, you read that correctly! We marked the top center of the wood and two symmetrical points on each side to guide our curves, then carefully traced the shape with a Sharpie. If you’re creating multiple headboards, consider making a cardboard template of your chosen shape after the first successful sketch, or lay the first finished base on the second piece of wood for a quick trace.
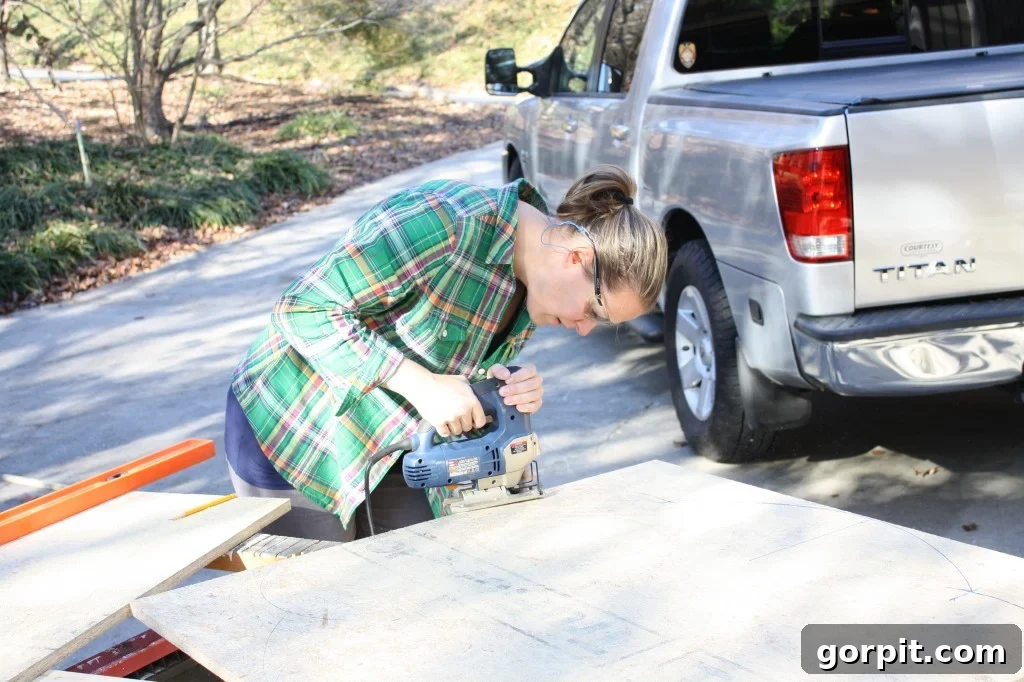
5) Masterfully Cut Out Your Shape with a Jigsaw: Now for the fun part – wielding power tools! Carefully follow the lines you’ve drawn with your marker using a jigsaw. Take your time, moving slowly and steadily to ensure clean, precise cuts. The moment the shape emerges, you’ll have the perfectly formed base of your unique headboard! If you’re tackling two headboards, simply place your first cut headboard on top of the second piece of wood and trace its outline. This saves a tremendous amount of time and effort compared to recreating the curves from scratch.
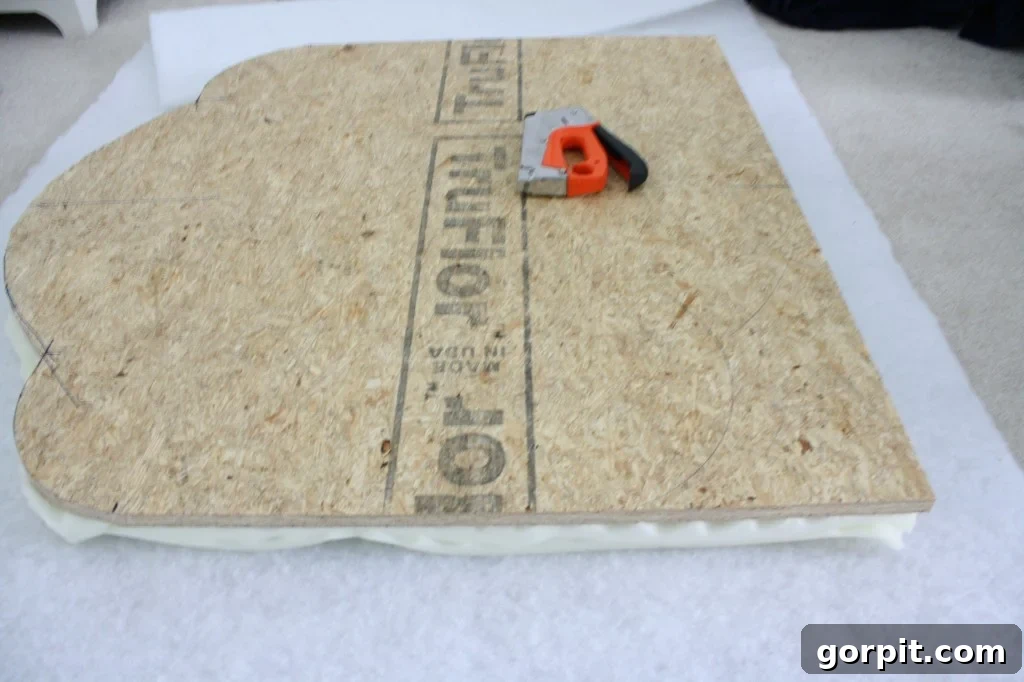
6) Pad Your Headboard with Egg Crate Foam: This step is key to achieving that plush, inviting look. First, cut your twin egg crate in half lengthwise. This allows you to double the thickness, creating a wonderfully soft and substantial headboard. Layer both pieces of egg crate with the “egg” sides facing inward towards each other. Place this layered foam on top of your cut-out headboard base and secure it firmly with your staple gun. The egg crate method, a brilliant tip from Sarah at Thrifty Decor Chick, is significantly more economical than traditional upholstery foam, making luxury accessible!
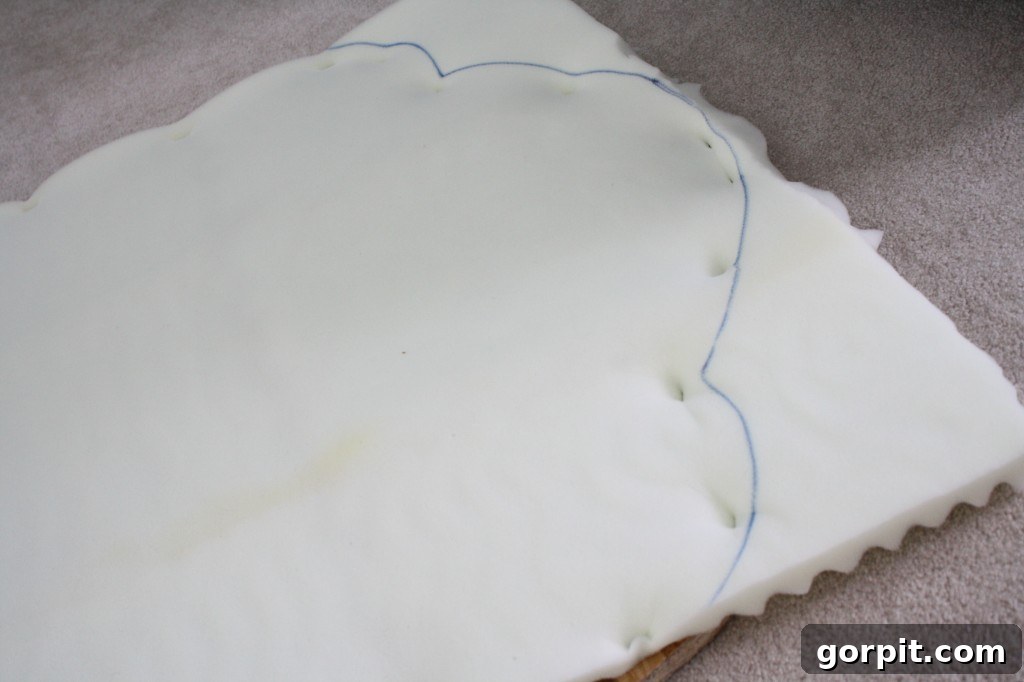
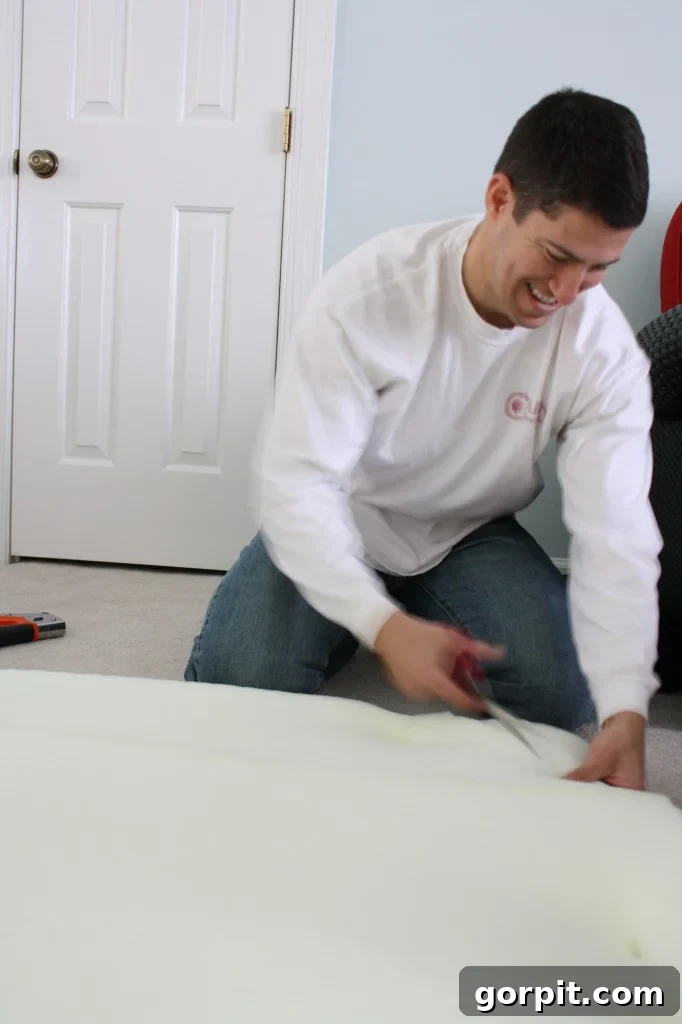
7) Trim Away Excess Foam: Once the egg crate is stapled, use your scissors to carefully trim any overhang. A line traced onto the foam with a marker, following the edge of your wood, will serve as an excellent guide for precise trimming.
8) Wrap Your Headboard in Batting: With the foam neatly trimmed, it’s time to add a layer of upholstery batting. Batting smooths out any minor imperfections in the foam and provides an extra layer of softness, giving your headboard a polished, professional feel. Wrap the batting around the entire headboard, extending it to the back, and staple it securely in place. For each twin headboard, approximately 2 yards of 48-inch wide batting should provide ample coverage.
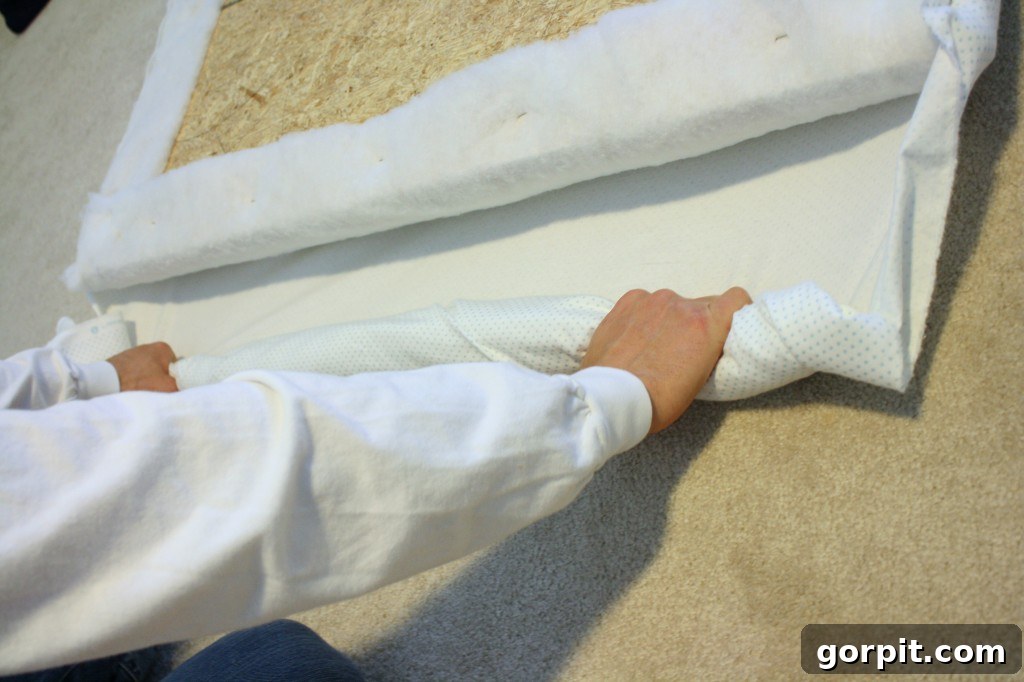
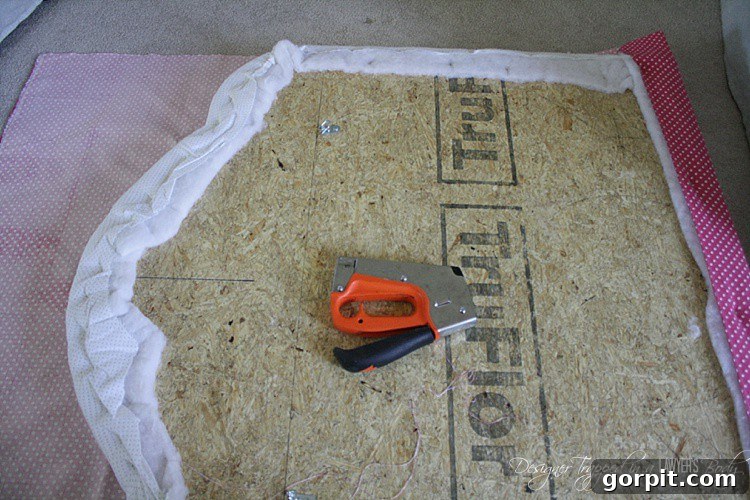
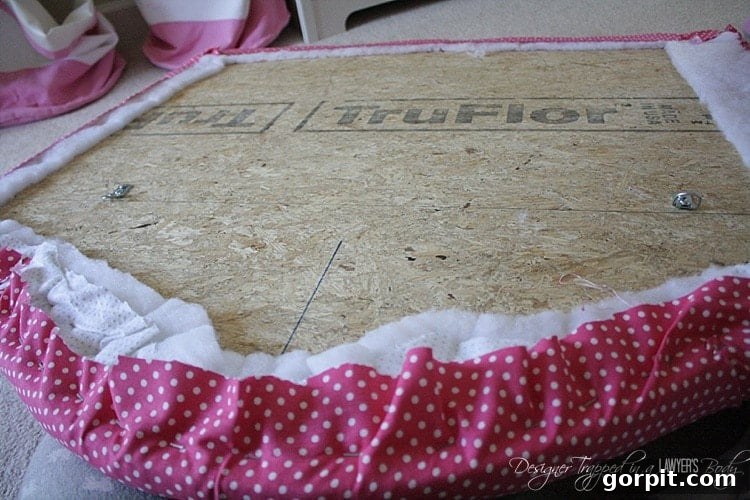
9) Upholster Your Headboard with Fabric: This is the moment when your headboard truly begins to take shape! Carefully drape your chosen fabric over the batting. The key here is to pull the fabric as TIGHT as possible to prevent wrinkles and achieve a crisp, professional look. Around the curves, this is especially important and often requires an extra pair of hands – one person to pull the fabric taut, and the other to staple it firmly to the back of the headboard. Ensure you wrap the fabric far enough around the back to prevent any edges from showing. Like the batting, secure the fabric with your staple gun, working your way around the entire perimeter.
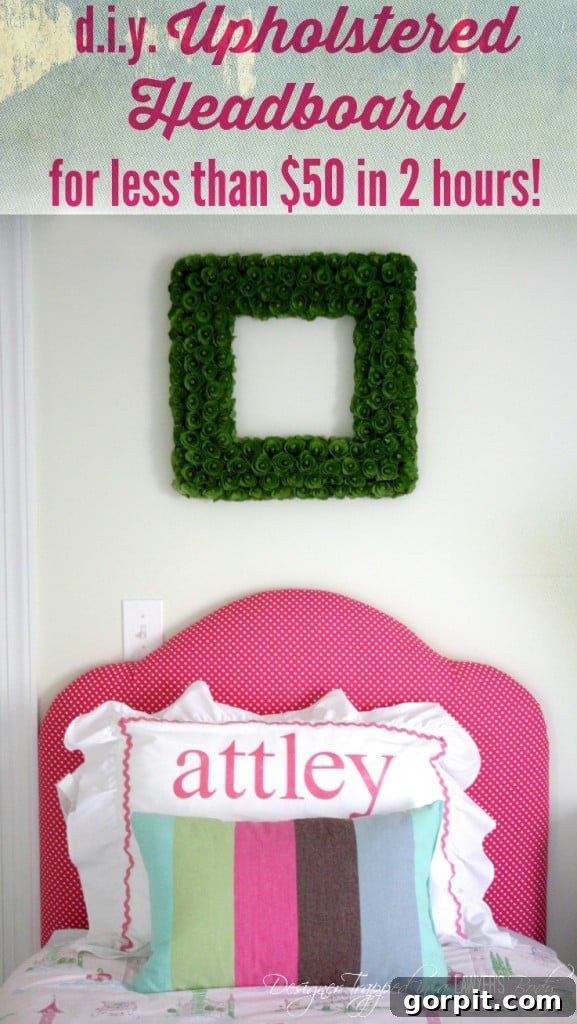
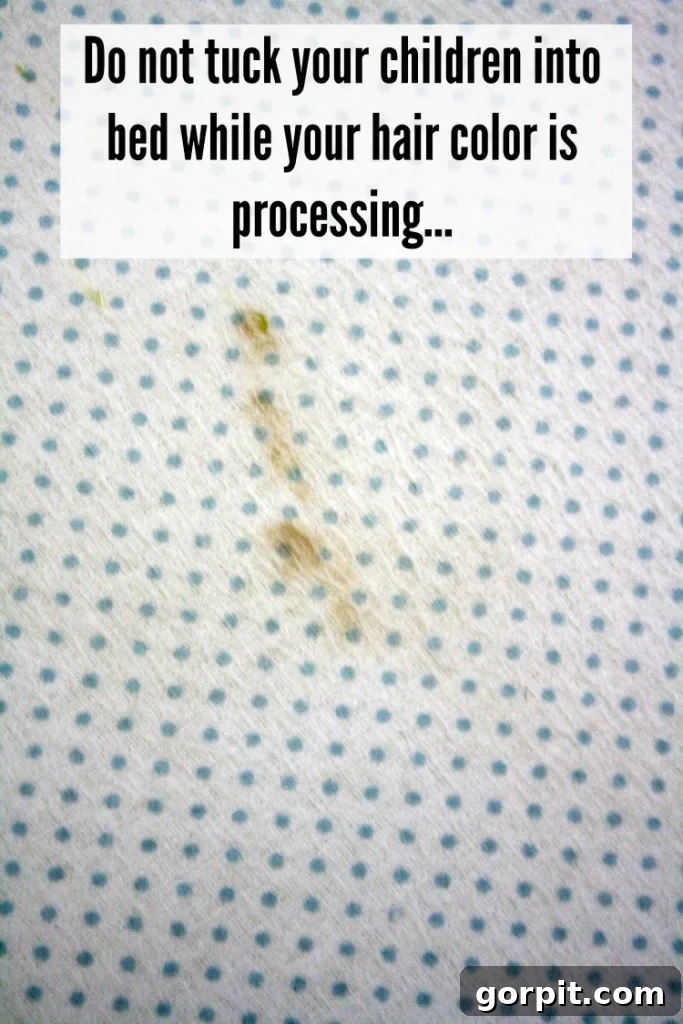
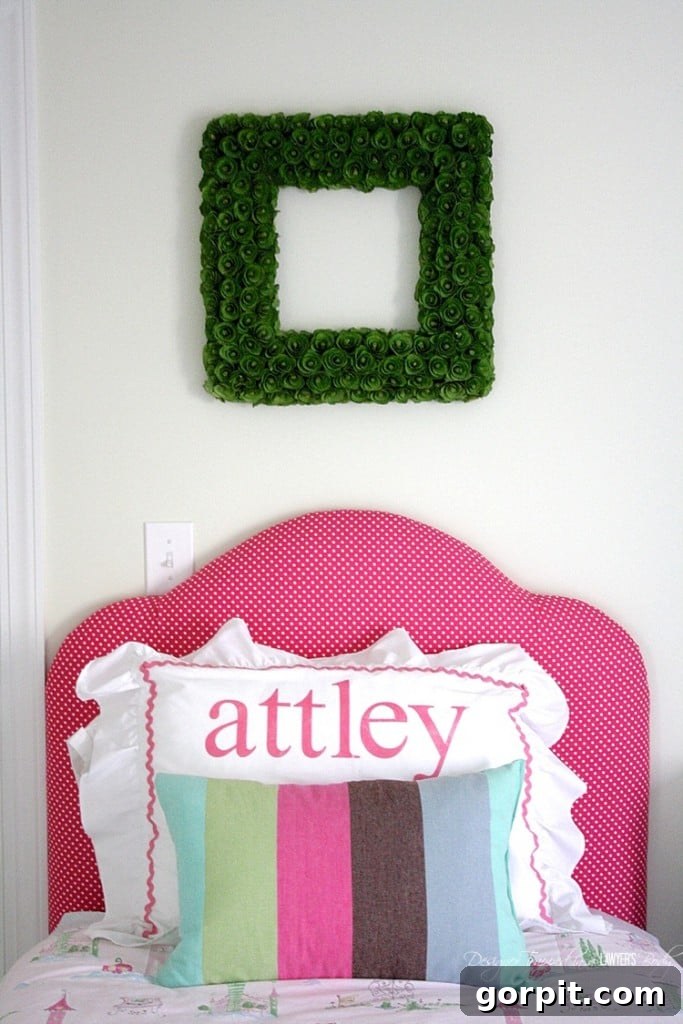
We initially upholstered ours with a charming white flannel with tiny blue polka dots. However, life happened – specifically, a hair dye incident on one of the headboards! In a multitasking mishap (which we now laugh about, mostly), I stained Attley’s headboard during a bedtime routine. She, being quite particular about cleanliness, was not pleased. This led to a fantastic opportunity to re-upholster, which turned out to be incredibly easy. We simply wrapped new, vibrant pink fabric (both girls adore pink!) over the existing layer. This process took only about five minutes per headboard, demonstrating just how versatile and adaptable a DIY upholstered headboard can be!
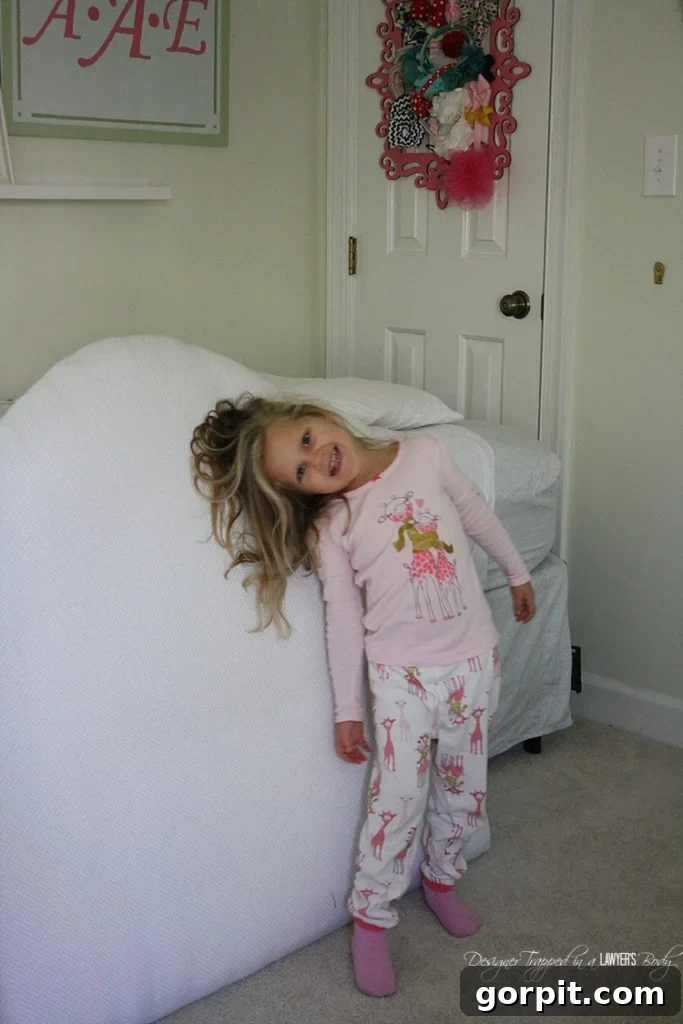
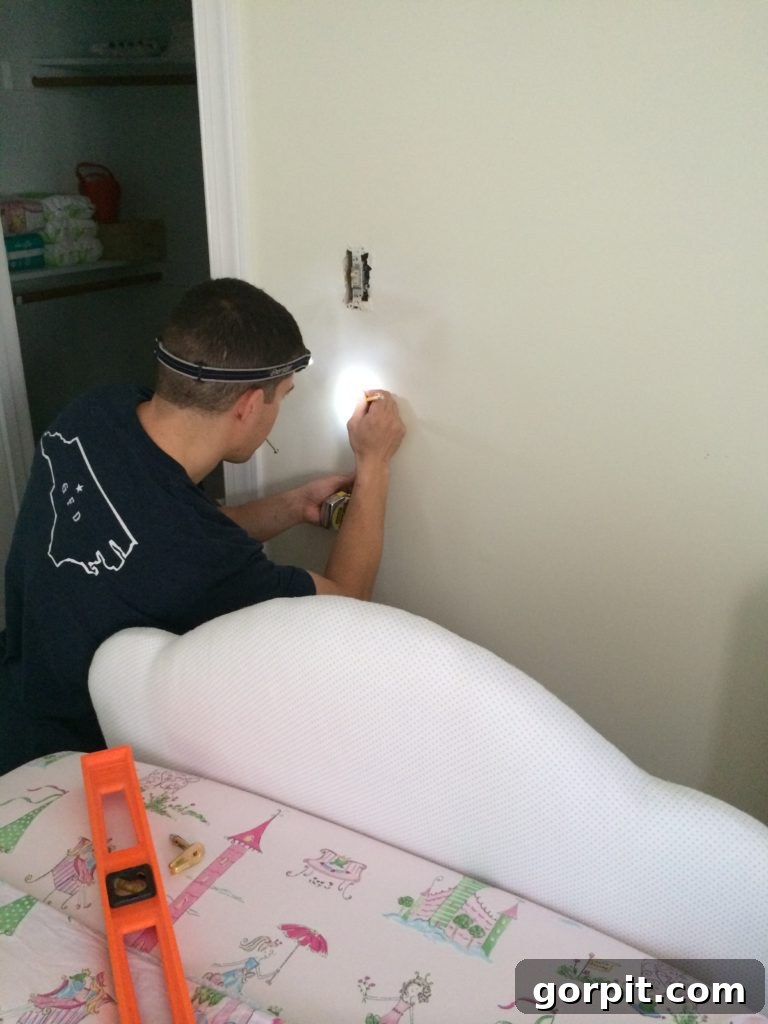
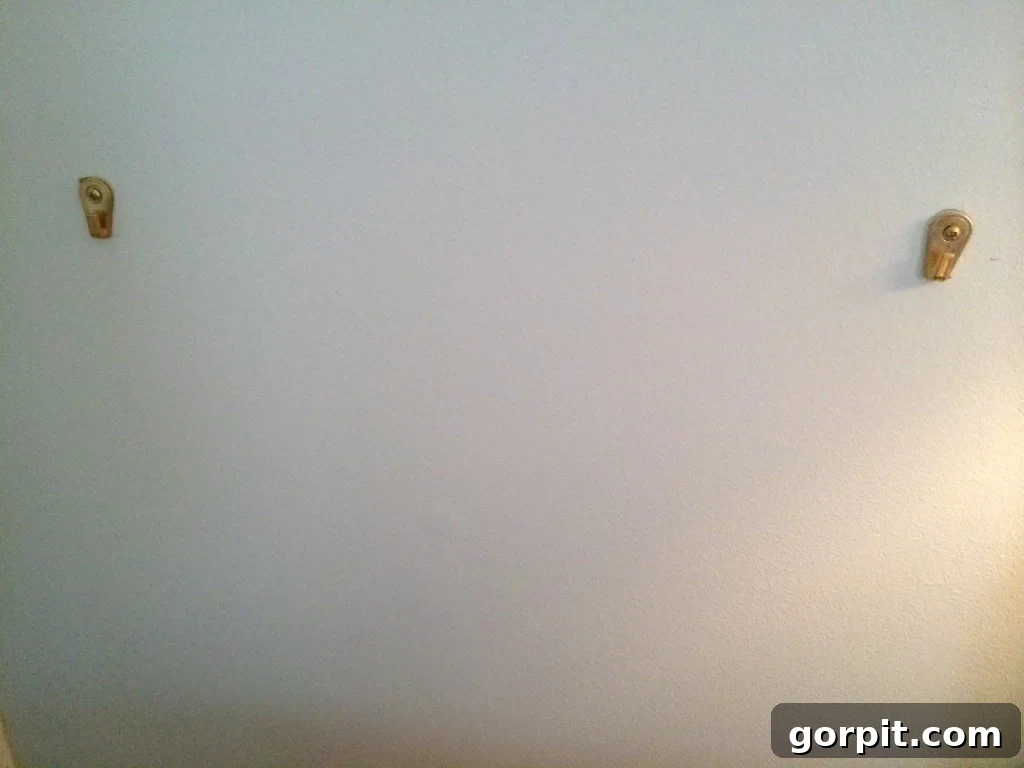
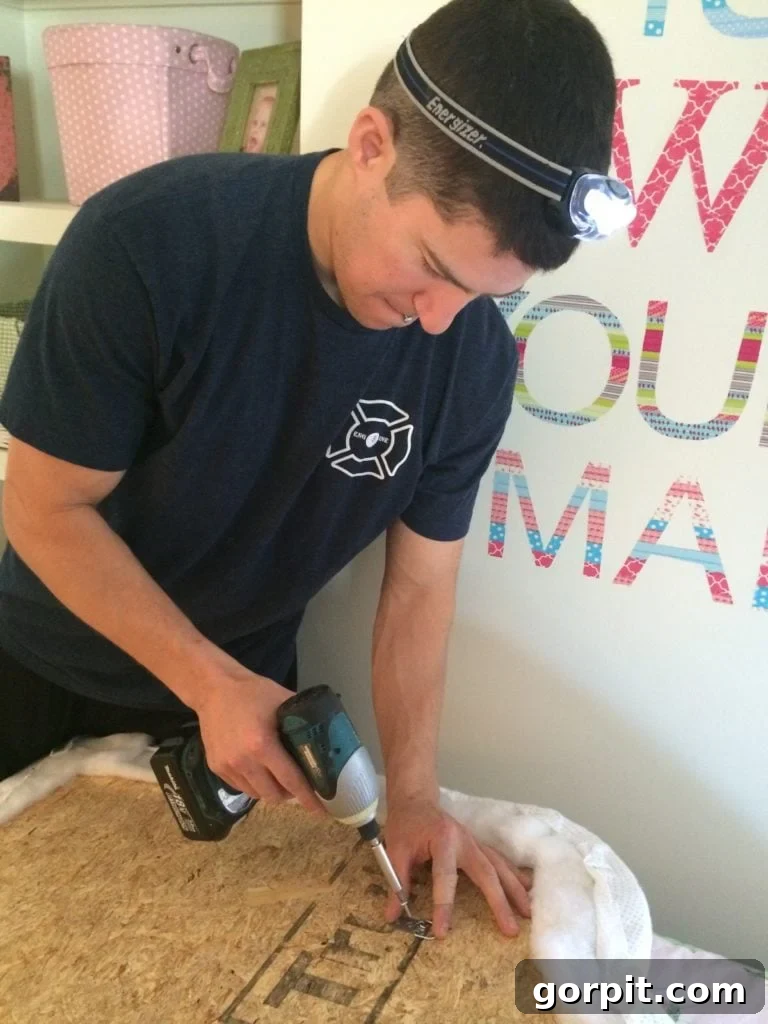
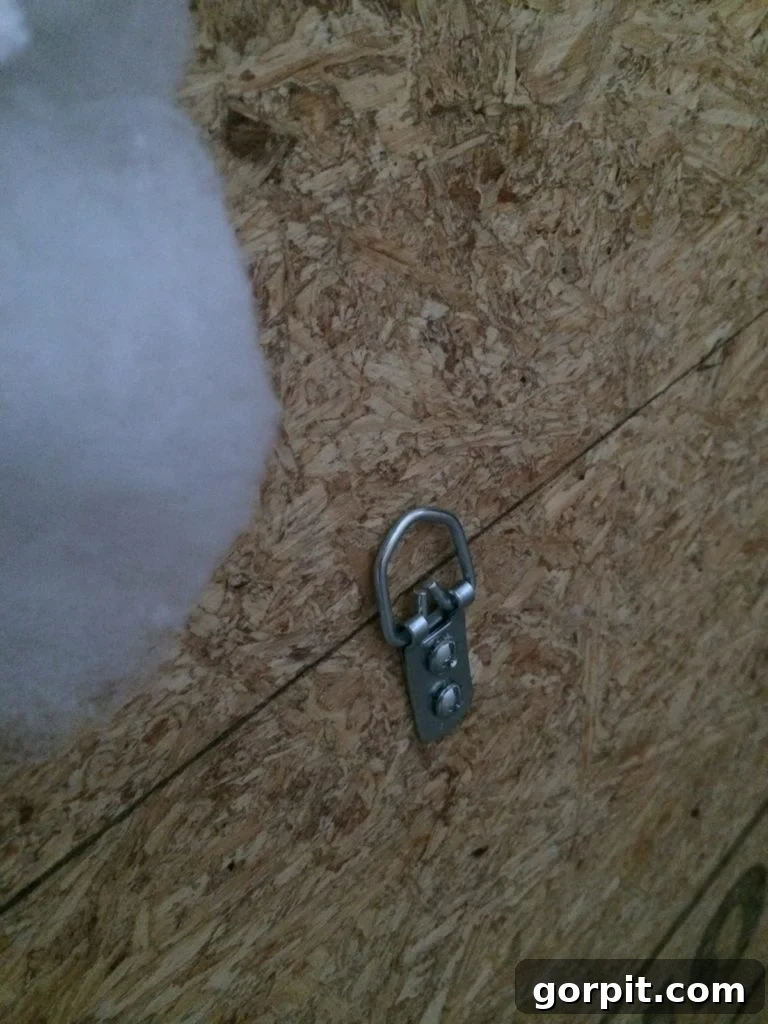
10) Securely Hang Your Custom Headboard: With the upholstery complete, it’s time to install your new headboard. We used D-rings for hanging our headboards on the wall. For added security, especially with heavier pieces, it’s crucial to use appropriate, heavy-duty drywall anchors if you’re not able to mount directly into wall studs. Always measure carefully to ensure your headboard is perfectly centered and level above your bed.
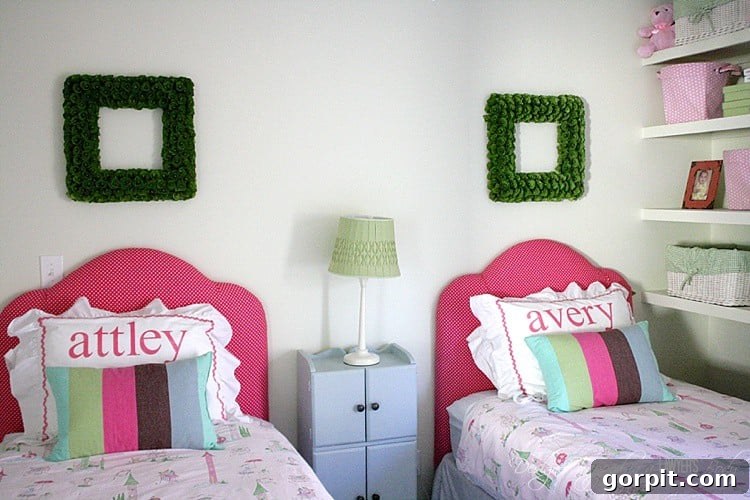
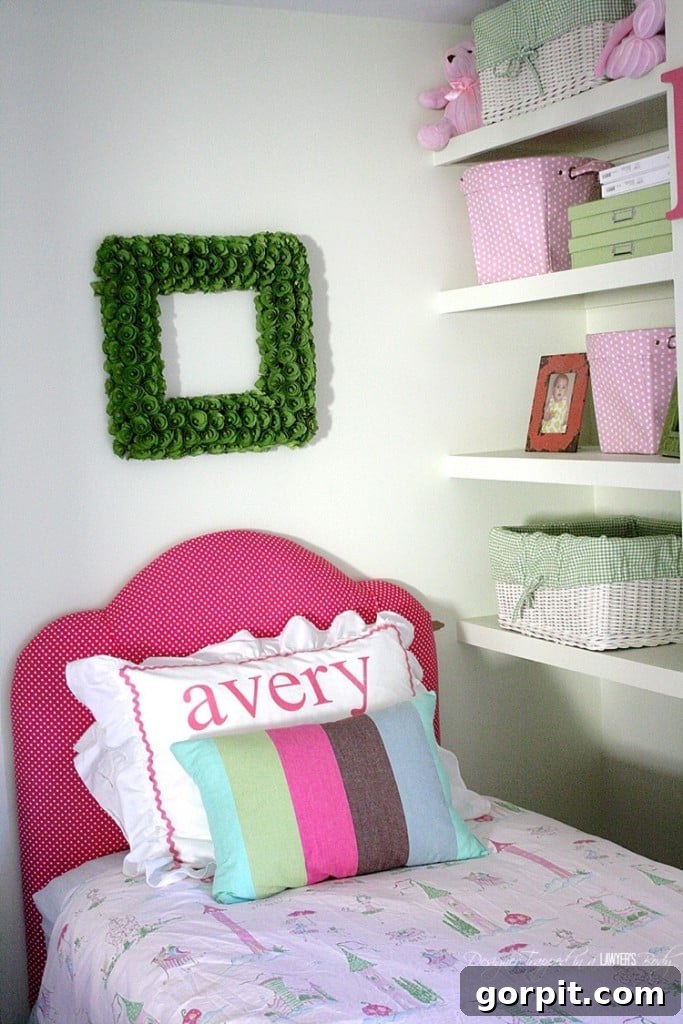
11) Admire Your Beautiful DIY Upholstered Headboard: Step back and soak in the beauty of your handiwork! We absolutely adore how our girls’ headboards turned out. The ability to easily change the fabric, as we discovered with the hair dye incident, is a huge bonus. This means that if tastes evolve as our girls grow, updating their room with a fresh look will be simple and inexpensive. This project truly combines practicality, affordability, and personal style.
Check out the stunning finished result!
Cost Breakdown for One Headboard:
One of the most appealing aspects of this project is its incredible affordability. Here’s a realistic cost estimate for a single twin-sized upholstered headboard:
- OSB: $10 (based on a $20 total for a 4×8 board, yielding two headboards)
- Egg Crate: $15
- Fabric: $6.98 (assuming 2 yards at a sale price of $3.49/yard)
- Batting: $4.98 (assuming 2 yards at a sale price of $2.49/yard)
- Hardware for Hanging: $6.00
TOTAL Estimated Cost: $42.96
Compare this to retail prices! A similar upholstered headboard from a well-known brand like Pottery Barn Kids, for example, can cost upwards of $424.00 – and that’s just for the headboard! By choosing the DIY route, you’re saving over ten times the cost, proving that luxury and personalized style are well within your reach.
Source: Pottery Barn Kids
This significant saving allows you to invest in other areas of your home decor or simply enjoy the satisfaction of creating something beautiful and functional yourself.
Project Timing: Quick and Efficient
Beyond being budget-friendly, this project is also remarkably time-efficient. With all materials purchased and your desired shape and size determined ahead of time, we were able to complete Steps 3 through 9 for *two* headboards during a single afternoon nap (approximately 3 hours)! This means a single upholstered headboard can be completed in less than 2 hours. It’s a perfect weekend project that delivers instant gratification and a stunning bedroom transformation.
Elevate Your Bedroom Decor Further:
If you enjoyed this detailed tutorial and are looking for more ways to personalize your bedroom on a budget, be sure to explore our other popular DIY projects:
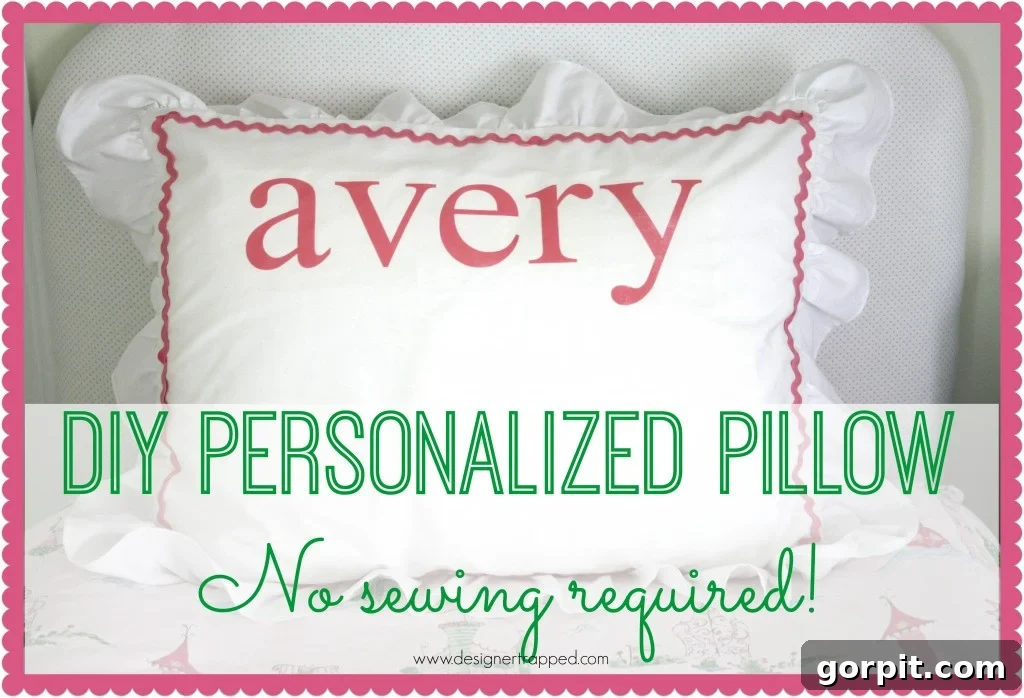
- Discover how we created charming NO-SEW name pillows to add a personal touch to the bed:
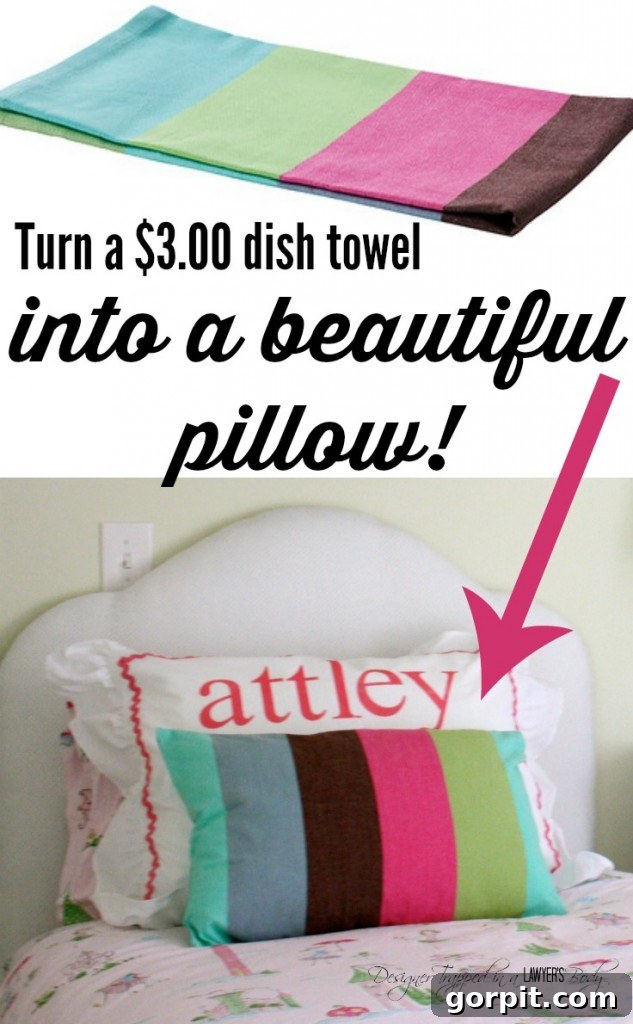
- Learn the clever trick to making stylish striped pillows from inexpensive Ikea dish towels:
- And you absolutely don’t want to miss our game-changing NO-SEW bed skirt tutorial, made from sheets without any cutting or sewing!
Your Turn to Create!
Now that you have a comprehensive guide, are you feeling inspired to tackle this DIY upholstered headboard project yourself? Have you already embarked on a similar crafting adventure? We’d love to hear about your experiences! Share your tips, challenges, and triumphs in the comments below. Which headboard shape is your personal favorite, and what fabric will you choose to make your bedroom truly yours?