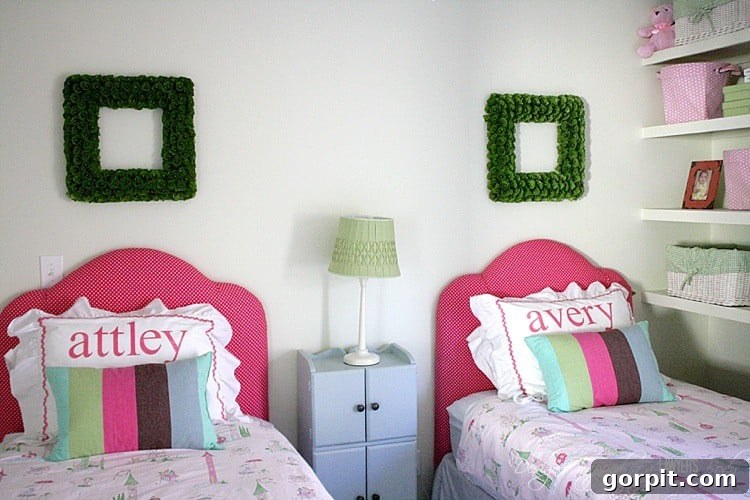
Hello creative friends! For those of you who subscribe to my newsletter, you’ve been eagerly awaiting this tutorial, and I’m thrilled to finally share it with you. Crafting your own DIY duvet cover from flat sheets is not just incredibly easy, but it’s also an ingeniously thrifty method to achieve the precise bedding aesthetic you’ve always envisioned. I originally designed these for my twin daughters’ bedrooms, customizing their spaces with patterns they adore. However, the beauty of this project lies in its versatility; the same straightforward process applies perfectly to an adult’s bedroom – you simply adjust the size of the flat sheets to match your bed. Get ready to transform ordinary sheets into extraordinary, personalized bedding!
This post contains some affiliate links. Click here to read my full disclosure policy.
Essential Materials for Your DIY Duvet Cover
Embarking on this project requires just a few basic items, many of which you might already have on hand. The most critical component is, of course, your choice of flat sheets, which will serve as the canvas for your new duvet cover.
- Two Flat Sheets of the Same Size: The cornerstone of your duvet cover. For my girls’ twin beds, I utilized two flat twin sheets. The key here is consistency in size to ensure a smooth, professional finish.
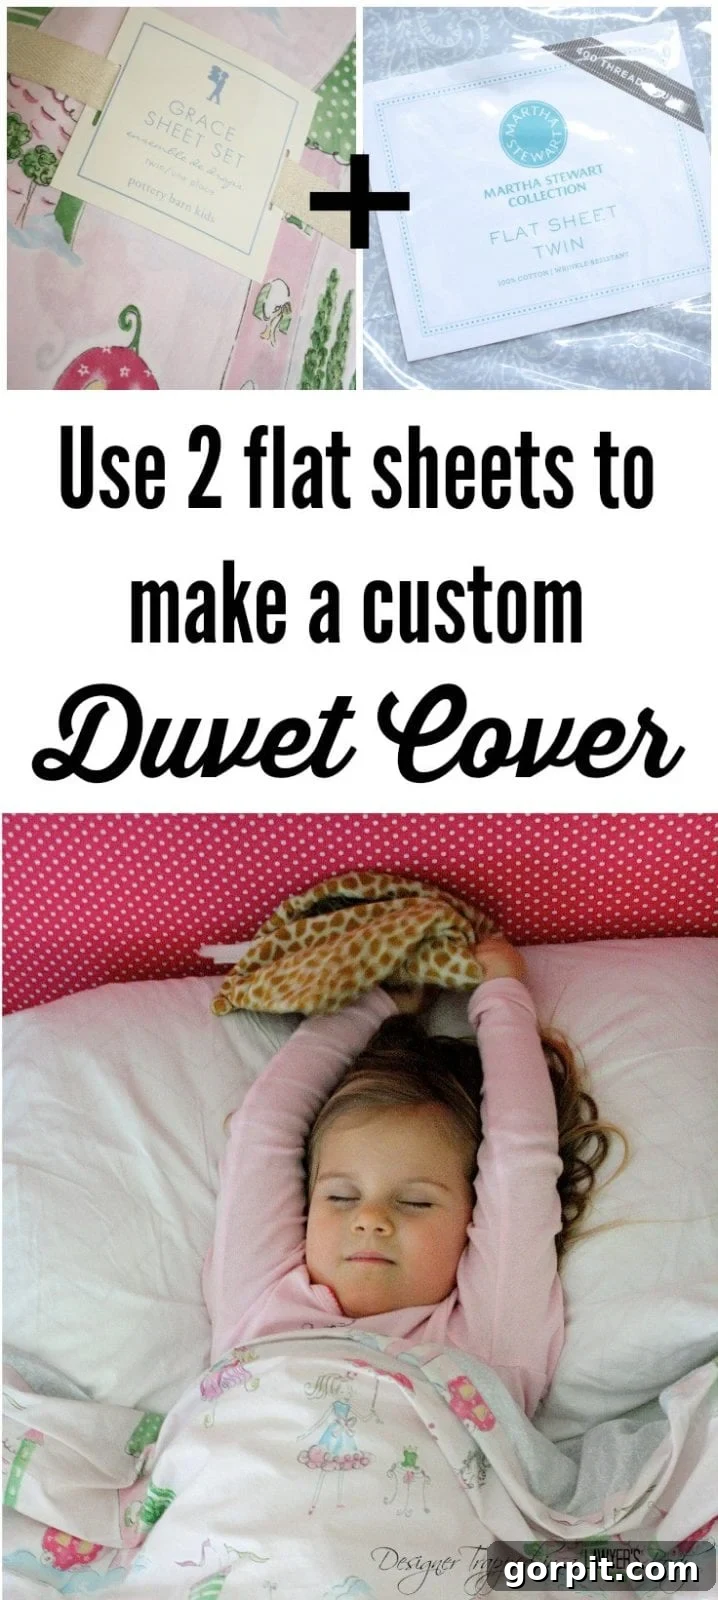
- Thrifty Tip & Personal Experience: High-end bedding can be notoriously expensive, especially designer duvet covers. When I was decorating my daughters’ rooms, I fell in love with a princess-themed Grace sheeting from Pottery Barn Kids. The duvet covers alone were a steep $129 each! This prompted me to seek a more budget-friendly solution without compromising on style. I discovered that I actually preferred the sheet designs over the actual duvet covers. So, I strategically purchased two sheet sets for $50 each during a sale, along with two inexpensive flat twin sheets from Macy’s for just $9.00 each. By using one decorative flat sheet from each Pottery Barn Kids set for the top and one of the affordable Macy’s sheets for the bottom, I created the exact duvet covers I wanted. As an added bonus, each purchase also provided a pillowcase and a fitted sheet for each daughter. I intentionally avoided using flat sheets directly under their duvets, as my experience shows kids often get tangled in them. In essence, for a total of $120.00, I furnished two complete and stylish bedding sets, demonstrating significant savings and personalized style. This method allows you to achieve a high-end look without the hefty price tag.
- Sharp Fabric Scissors: Essential for precise cuts, especially when trimming excess fabric and creating a neat hem. A good pair of fabric scissors makes all the difference.
- Matching Thread and a Sewing Machine: An all-purpose polyester thread is usually suitable for most sheet fabrics. Your sewing machine will be your most valuable tool for creating strong, durable seams. Ensure your machine is in good working order and you have the correct needle for your fabric type.
- Ribbon (or other closure): Approximately 2-3 yards of 1/4 inch wide ribbon will be sufficient for a standard duvet cover. Choose a color that complements your sheets. Alternatively, you could use Velcro strips, buttons, or a zipper for closure.
- Optional but Recommended:
- Fabric Pins: Crucial for holding your fabric layers together securely before sewing, ensuring your seams are straight and even.
- Measuring Tape or Ruler: For accurate measurements, especially when trimming and hemming.
- Iron and Ironing Board: Pressing your fabric before and during the sewing process creates crisp seams and a professional finish.
- Seam Ripper: Every sewist’s best friend! Perfect for correcting any stitching mistakes (and trust me, they happen!).
As a wonderful bonus, let’s explore how to choose sheets that will make truly STUNNING duvet covers. The beauty of this DIY project is the endless customization possibilities. When selecting your flat sheets, consider combinations that speak to your personal style or complement the existing decor of the room. You can mix patterns, pair a patterned sheet with a solid color, or even combine two complementary solid colors for a sophisticated look. Think about the overall theme you’re aiming for – be it a vibrant floral, a serene geometric, a playful character design for a child’s room, or a classic striped motif. Stores like Macy’s, Target, and even specialty children’s brands often have sales on flat sheets, making it easy to find diverse options within your budget. Don’t be afraid to experiment with different textures and designs to create a truly unique and complete bedding ensemble, just like I did for my daughters’ rooms.
Step-by-Step DIY Duvet Cover Tutorial
Creating your own duvet cover is a rewarding project that even beginner sewers can master. Follow these detailed steps to craft a beautiful, custom cover for your comforter.
Step 1: Prepare Your Sheets and Comforter
Begin by laying your two flat sheets out flat on a clean, spacious surface – a cleared floor or a large table works perfectly. Position them with their right sides facing each other. This means the patterned or “pretty” sides of the sheets should be touching, effectively making them inside-out. Next, carefully lay your comforter directly on top of the stacked sheets. Align your comforter precisely with the top and one of the side edges (for instance, the right edge) of your sheets. Don’t worry if this leaves excess fabric extending beyond the comforter on the opposite side (the left edge) and the bottom edge – this is intentional, and we will address it in subsequent steps. The comforter acts as your template, guiding the final dimensions of your duvet cover.
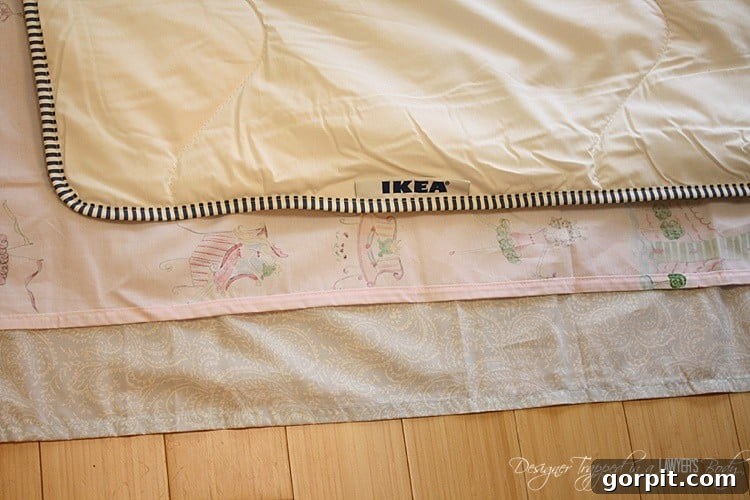
Step 2: Pin Along the Edges
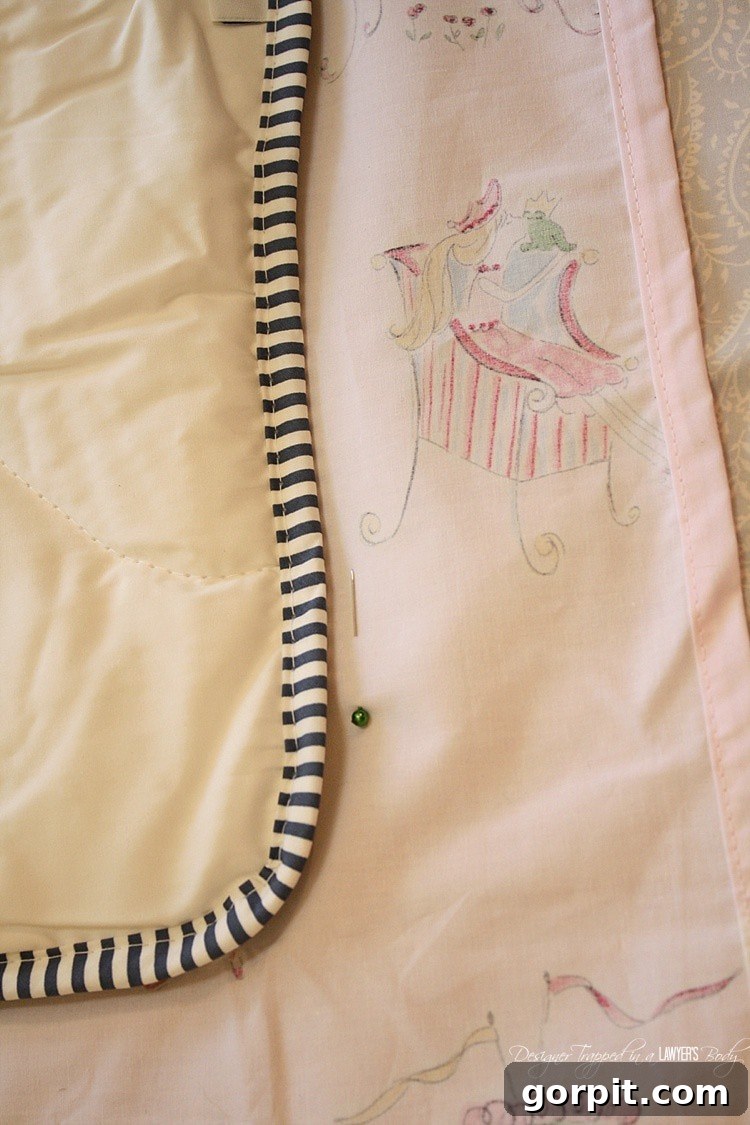
With your sheets and comforter still in position, begin pinning along the left edge of your comforter, where the sheets extend beyond it. These pins will serve as your crucial guide for your sewing seam, ensuring your duvet cover perfectly fits your comforter. I recommend placing pins every 10-12 inches or so to keep the fabric stable and aligned. It’s critical to note: DO NOT PIN THE BOTTOM EDGE! This edge will remain open so you can insert your comforter. Trust me on this – I once made the mistake of sewing all four edges shut, which resulted in a lengthy, frustrating session with my seam ripper. Learn from my experience and save yourself the hassle!
Step 3: Sew the Top and Side Edges
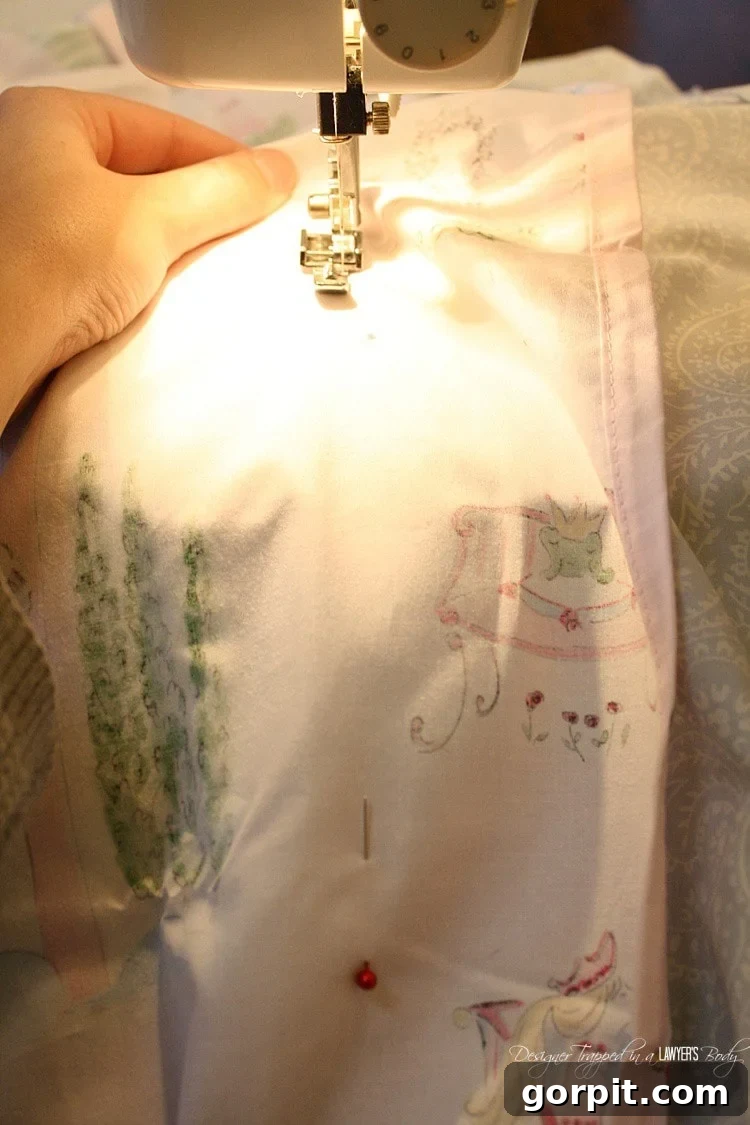
Now it’s time to bring your sewing machine into action. You will sew along the top edge and the two side edges of your duvet cover. The top and the aligned side (the right side, if you followed my previous instruction) will be straightforward, as your sheets should line up perfectly on these edges. When you reach the left side, use the pins you placed as your precise guide. Aim for a consistent seam allowance, typically 1/2 inch to 5/8 inch from the raw edge, for a professional finish. Remember, the sheets should remain inside out as you sew. This ensures that when you flip the duvet cover right side out, all your seams will be neatly hidden on the inside.
Step 4: Trim Excess Fabric
Once you’ve finished sewing the top and side edges, carefully trim any excess fabric from the left side. Cut approximately 1/2 inch away from the seams you just sewed. This step helps to reduce bulk, especially when your duvet is inside the cover, and creates a cleaner, more professional look and feel.
Step 5: Finish the Bottom Edge
Next, let’s turn our attention to the bottom edge, which remains open. It’s common for sheets to be slightly different lengths, even if they are the same nominal size. If one of your sheets is longer than the other, use your scissors to carefully even them up. Once trimmed, create a small, neat hem along this bottom edge of both sheets. To do this, fold the raw edge over about 1/4 inch, press it flat with an iron, then fold it over another 1/4 inch (or a bit more, if preferred) and press again. Stitch this hem in place using your sewing machine. This “easy peasy” step gives the bottom of your duvet cover a polished finish and prevents fraying.
Step 6: Add Your Chosen Closure
Finally, it’s time to add the closure mechanism to the bottom opening of your duvet cover. While you could use hook and loop Velcro strips, I personally opted for ribbon for a charming, customizable touch. I cut several 4-inch lengths of 1/4-inch ribbon and sewed them securely onto each bottom edge, spacing them approximately 6 inches apart. When it’s time to close the duvet cover, simply tie these ribbon lengths into elegant bows. (My apologies – I completely forgot to capture photos of this specific step!). Alternatively, if you prefer Velcro, cut corresponding strips and sew one half to the inside of one sheet’s hem and the other half to the inside of the other sheet’s hem, ensuring they align perfectly when pressed together. You could also sew on buttons and create buttonholes, or even install a zipper for a more enclosed option.
That’s it! Your custom DIY duvet cover is complete! Aren’t they absolutely beautiful? The best part is knowing they are entirely customizable, reflecting your unique style and saving you a significant amount compared to store-bought alternatives. Enjoy your new, personalized bedding!



Before You Go… Explore More DIY Home Inspiration!
Loved this simple sewing project? There’s so much more to discover to elevate your home decor on a budget! Dive deeper into our archives for more creative, cost-effective DIY solutions that will transform every corner of your living space. From furniture hacks to no-sew wonders, we’ve got you covered.
For a full tour and all the details on my girls’ enchanting “big girl” room reveal, click here. This comprehensive post is packed with tons of inspiring DIY projects that bring personality and charm to any bedroom. You’ll find step-by-step guides for:
- The truly mind-blowing DIY bed skirt with NO SEWING and NO CUTTING – seriously, prepare to be amazed!
- Creative DIY washi tape wall decals for an instant, removable splash of pattern and color.
- Stylish and functional DIY floating shelves to maximize vertical space and display your favorite treasures.
- Luxurious-looking DIY upholstered headboards that add a touch of elegance without the designer price tag.
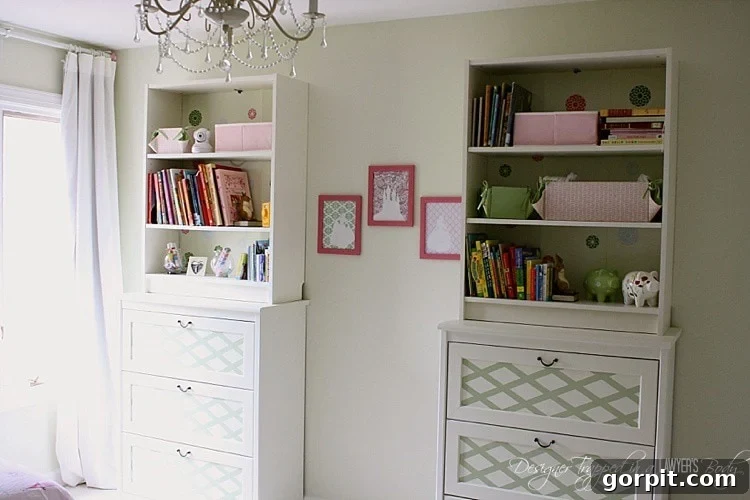
- Ingenious methods on how to customize basic Ikea furniture into bespoke, “built-in” pieces that make a grand statement.
These projects are designed to empower you to create a home that truly reflects your style, all while being kind to your wallet. Happy crafting!