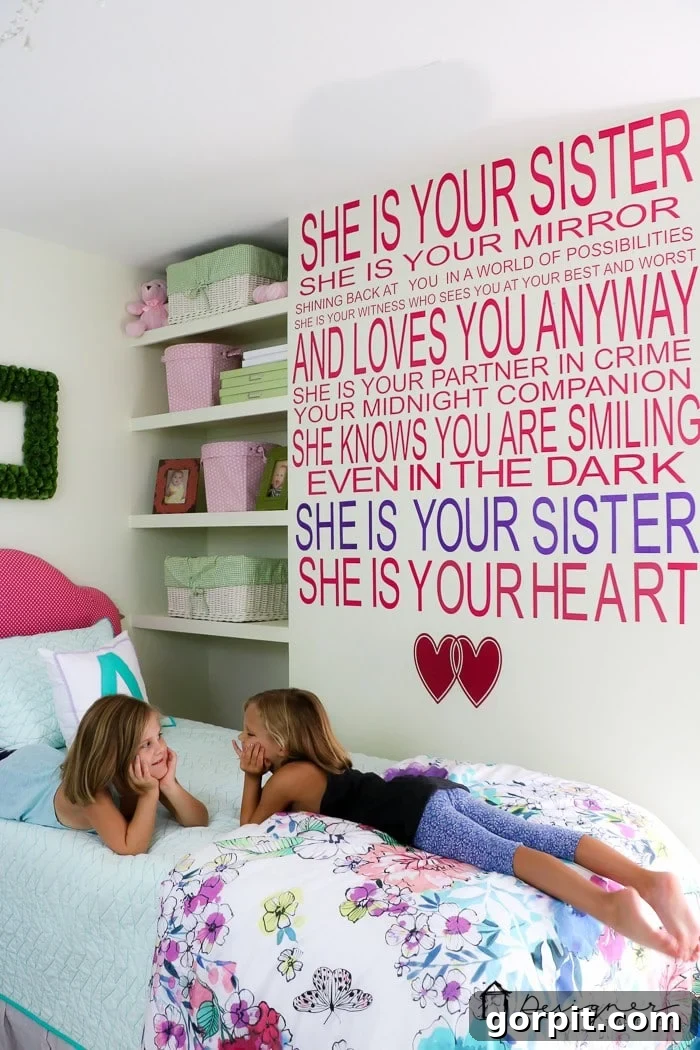
Are you looking to infuse your home with a unique touch of personality? Imagine transforming a plain wall into an inspiring focal point with a striking, oversized wall quote. Crafting your own custom vinyl wall quotes might seem daunting, but it’s surprisingly straightforward with the right tools and a clear guide. The true beauty of DIY lies in complete creative freedom: you can meticulously choose any font that speaks to you, determine the perfect size for your space, select a quote that resonates deeply, and pick colors that harmonize with your existing decor. This comprehensive guide will walk you through every step of making stunning vinyl wall quotes using a cutting machine, empowering you to create bespoke wall art that perfectly reflects your style.
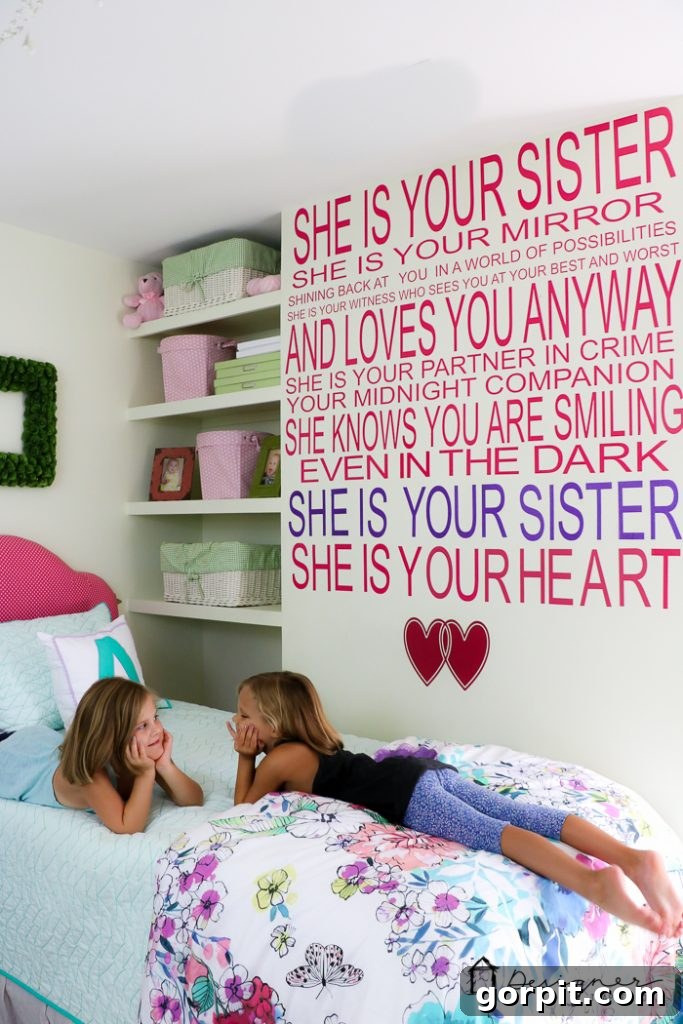
Table of Contents
This post contains affiliate links for your convenience. Click here for my full disclosure policy.
Some time ago, I stumbled upon a hand-painted sign on Etsy that featured the most endearing quote about sisters. As someone who shares an incredibly close bond with my own sister – truly my best friend – that quote stirred a deep well of emotion within me. It immediately struck me as the perfect sentiment to adorn the shared bedroom of my twin daughters. Creating a custom vinyl wall quote allows you to capture such personal feelings and translate them into beautiful, lasting decor. Follow along to discover how you can craft any quote you desire, in any color and size, adding a profoundly personal touch to your living spaces.
Materials Needed for Your Vinyl Wall Quote Project
Before diving into the creative process, gathering your materials is key. Having everything at hand will ensure a smooth and enjoyable crafting experience. Here’s a list of what you’ll need to make your custom vinyl wall quote:
- Adhesive Vinyl: This is the heart of your project! Choose colors that complement your room’s aesthetic. I used this pink vinyl and this captivating purple glitter vinyl for my project. Adhesive vinyl is specifically designed to stick to walls and can be removed without damaging the paint, making it ideal for temporary or long-term decor.
- A Cutting Machine: This essential tool will precisely cut your design from the vinyl. While I initially used the Silhouette CAMEO for this specific project, I’ve since transitioned to Cricut machines and highly recommend them for their versatility and user-friendly software. We’ll delve deeper into choosing the right machine shortly.
- Transfer Paper: Also known as transfer tape, this material is crucial for moving your intricate vinyl design from its backing onto your wall in one piece, maintaining perfect alignment and spacing. The Silhouette brand offers excellent transfer paper, but I personally found this large, cost-effective roll to work flawlessly for all my projects.
- Scraper Tool: A scraper or a rigid flat object (like an old credit card) is indispensable for pressing the vinyl firmly onto the transfer paper and then onto the wall, ensuring strong adhesion and removing air bubbles.
- Weeding Tools (Optional but Recommended): These small tools, like a hook or tweezers, help you remove the excess vinyl from your design with precision after cutting.
- Measuring Tape and Level: Essential for accurate placement and ensuring your quote is perfectly straight on the wall.
- Rubbing Alcohol or Wall Cleaner: For preparing your wall surface to ensure optimal vinyl adhesion.
DIY Vinyl Wall Quote Tutorial: Step-by-Step Guide
Time needed: 4 hours
The duration of this project can vary significantly based on the size and complexity of your wall quote. For my project, which involved a fairly large design, it took approximately 4 hours from start to finish. With practice, you’ll likely become even more efficient.
- Acquire a Cutting Machine if You Don’t Already Own One.
The foundational step for creating your own custom wall quotes is investing in a reliable cutting machine. While it represents an initial investment, the cost-effectiveness quickly becomes apparent. Consider that ordering a custom wall quote of significant size from a specialized company could easily exceed the price of a cutting machine itself, making DIY a smart financial choice in the long run. Moreover, a cutting machine opens up a world of creative possibilities beyond just wall quotes – from custom t-shirts and greeting cards to personalized gifts and home decor items.
The market offers several excellent cutting machines, with Silhouette and Cricut being the two dominant and most popular brands. Each boasts unique features and software ecosystems. As previously mentioned, I utilized the Silhouette CAMEO for this particular project. However, over time, I’ve become a dedicated user of Cricut machines, appreciating their intuitive design software and robust capabilities for various crafting needs. If you’re weighing your options and need assistance deciding which brand aligns best with your crafting aspirations, I encourage you to read my comprehensive and unbiased review of Silhouette vs. Cricut to help you make an informed choice.
- Design Your Wall Quote Using Your Cutting Machine Software.
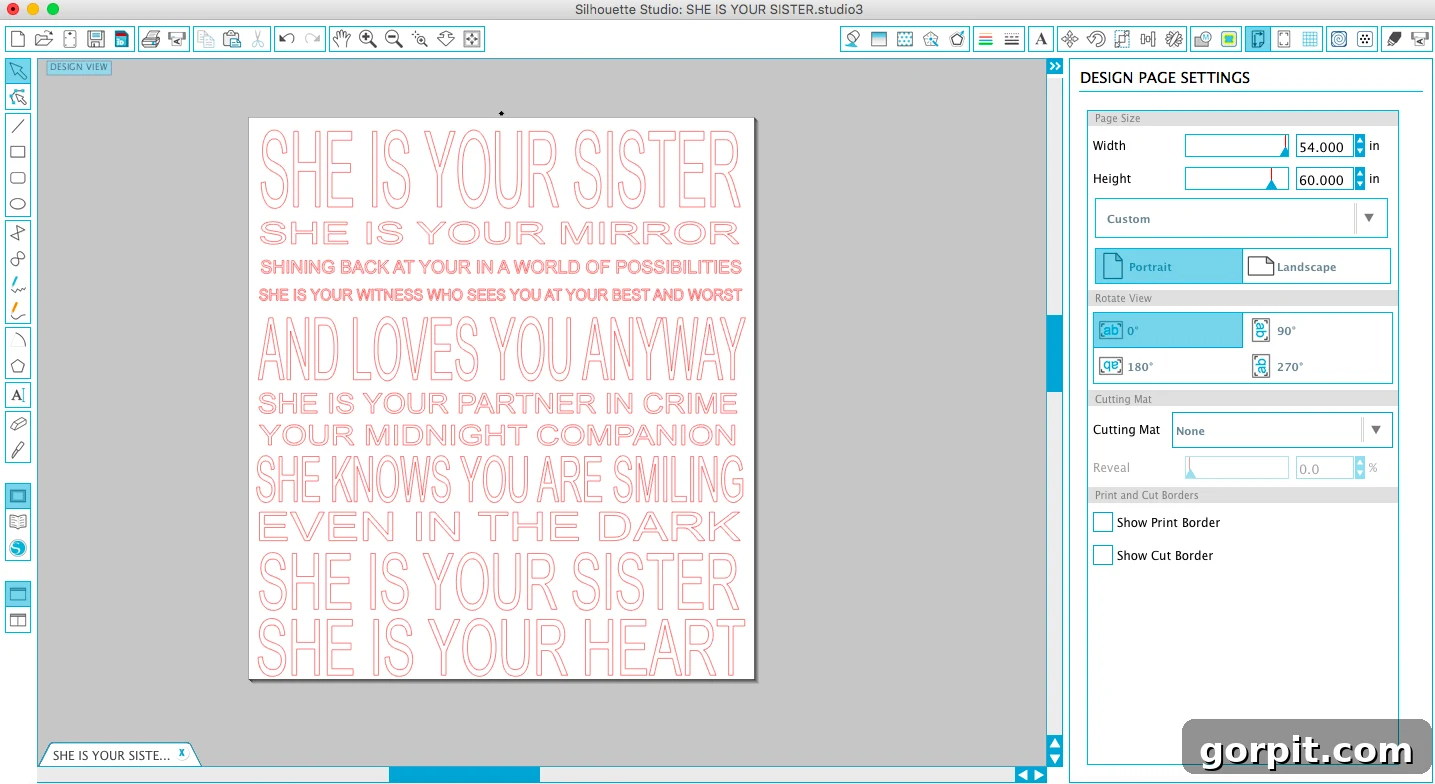
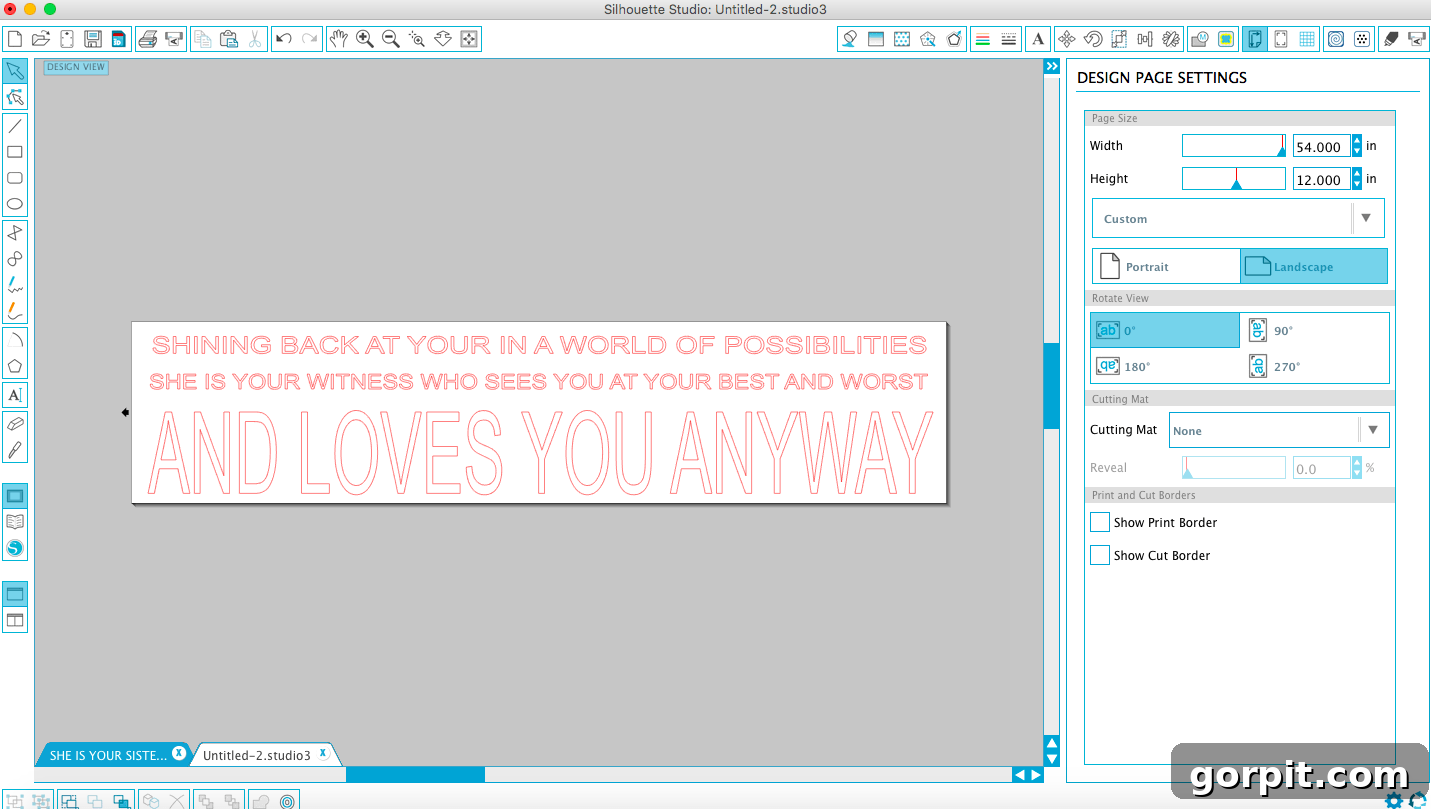
With your cutting machine ready, the next exciting phase is design. Using software like Silhouette Studio (for Silhouette machines) or Cricut Design Space (for Cricut machines), you’ll bring your vision to life. Begin by accurately inputting the dimensions of the wall or specific area where your quote will be applied. This crucial step ensures that your design is appropriately scaled and fits perfectly within your chosen space. Next, type out your entire quote. This allows you to visualize the text, experiment with different fonts, adjust letter spacing (kerning), and play around with varying line sizes to achieve a dynamic and aesthetically pleasing composition. Don’t be afraid to try multiple layouts and font pairings until you find the look that truly captures the essence of your quote and complements your decor. Consider the hierarchy of words – do you want certain lines to stand out more than others? Use different font styles (e.g., a script font combined with a sans-serif) to add visual interest and emphasize key phrases.

- Adjust Your Design for Optimal Cutting.
Once you’re completely satisfied with your design, it’s time to prepare it for cutting. For my project, after perfecting the layout, I copied and pasted the individual lines of the quote onto a new file specifically configured for my 12-inch wide vinyl rolls. I chose to cut vinyl lengths of up to 54 inches at a time, aligning with the width of the wall I was decorating. While this approach might seem to result in more vinyl waste compared to meticulously arranging individual letters to maximize each strip, it significantly simplifies the subsequent transfer process. The time saved in transfer often outweighs the slightly increased material usage, especially for large-scale projects. For this particular quote, I only used four rolls of vinyl, all purchased on sale for $9.00 each, bringing the total material cost to a very reasonable $36.00.
Pro Tip for Cricut Users: If I were to undertake this project today using Cricut Design Space, I would leverage the powerful “Slice” feature. This tool allows you to break down large designs into smaller, manageable, and machine-cuttable sections, often leading to more efficient material use and reduced cutting time.
When working with exceptionally long pieces of vinyl, it’s crucial to provide adequate support for the vinyl roll as it feeds through the cutting machine. Neglecting this can lead to the vinyl veering off track, resulting in ruined material. I learned this the hard way after several feet of beautiful vinyl were rendered unusable. A simple solution is to manually support the roll’s weight or use external roll feeders if your machine supports them, ensuring a steady, straight feed and perfect cuts every time.
- Cut Out Your Entire Design and “Weed” It.
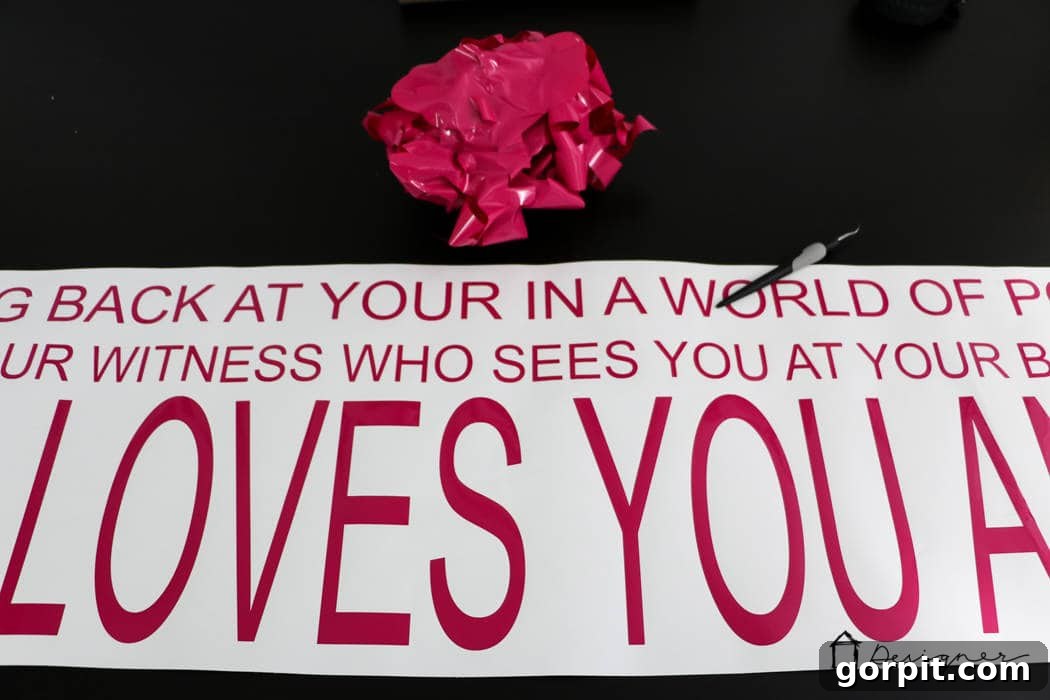
After your cutting machine has worked its magic and completed a section of your quote, the next critical step is “weeding” your design. This involves carefully removing all the excess vinyl that surrounds your actual quote, leaving behind only the precise letters and design elements you intend to transfer. This process requires patience and a steady hand, especially for intricate fonts or small details. Utilize weeding tools, such as a sharp hook or fine-tipped tweezers, to pick out the negative spaces within and around your letters. Working slowly and in good lighting will help prevent accidental damage to your design. Once finished, you’ll be left with your beautifully cut vinyl quote, ready for the next stage of application, as demonstrated in the image below.
- Transfer Your Vinyl Wall Quote Onto Transfer Paper.
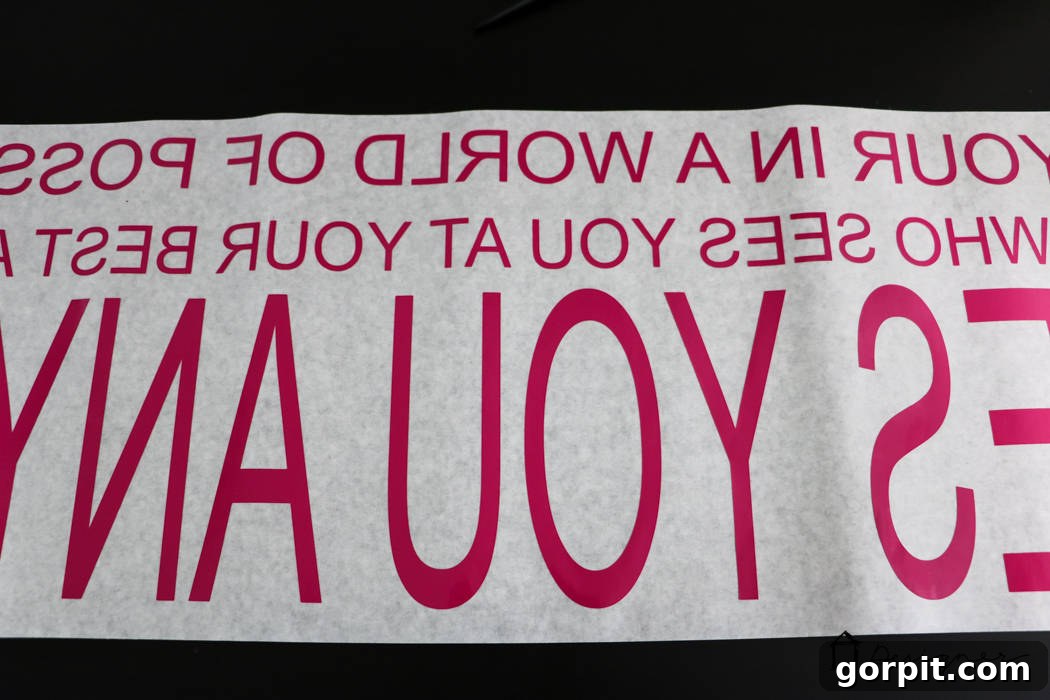
Before you begin, ensure your wall surface is clean, dry, and free of any dust or debris. A quick wipe-down with rubbing alcohol or a mild wall cleaner and then allowing it to dry completely will promote optimal adhesion. Next, carefully lay a piece of transfer tape over your weeded vinyl design, ensuring it covers the entire quote. Use your scraper tool to firmly rub over the front of the transfer tape, applying even pressure across all letters. This crucial step ensures that the vinyl letters adhere securely to the transfer tape, allowing them to lift cleanly from their original backing paper. Work from the center outwards to avoid trapping air bubbles. The goal is to get all your vinyl elements to stick to the transfer paper, making it a single, transferable unit.
- Transfer Your Vinyl Wall Quote Onto Your Wall.
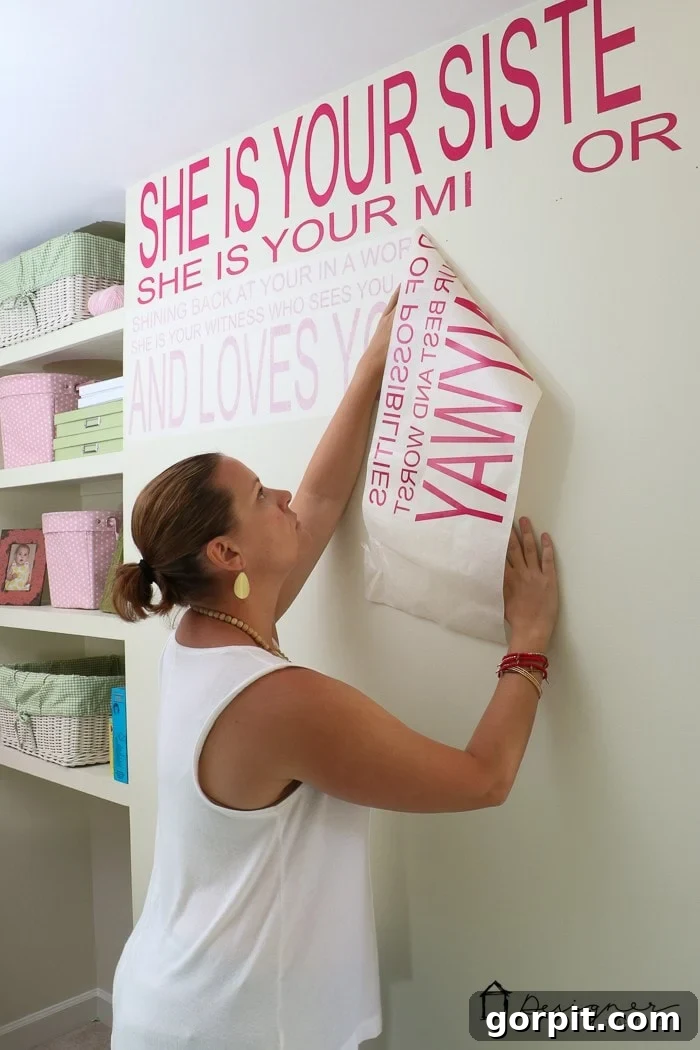
Now for the exciting part – applying your design to the wall! Carefully peel the backing paper off the transfer tape, leaving your vinyl quote adhered to the sticky side of the transfer tape. Take your time with this step, ensuring all letters lift cleanly. If any parts don’t stick, gently press them back down and rub with your scraper before trying again. Once the backing is removed, carefully position the transfer paper on your prepared wall. Use a measuring tape and a level to ensure perfect alignment and a straight application, especially for longer quotes. Once it’s in the desired position, use your scraper tool again, applying firm and consistent pressure over the entire surface of the transfer tape. This action will press the vinyl letters firmly onto the wall, ensuring strong adhesion. Work systematically across the design, paying special attention to corners and delicate areas. (Don’t worry if, like me, you find a few missing letters at the top initially; these can always be added later with precision.)
- Gently Peel Off the Transfer Paper.
With the vinyl now firmly pressed onto your wall, the final step in creating your decals is to slowly and carefully peel the transfer paper away from the wall. Begin peeling from one corner, pulling it back at a sharp angle (almost parallel to the wall, not straight out). This technique helps the vinyl release cleanly. As you peel, constantly observe your vinyl. If you encounter any spots where a letter or part of the design is not sticking to the wall, simply stop peeling in that area, press the transfer tape back down, and use your scraper tool to firmly rub over that section again to improve adhesion. Continue this slow and deliberate peeling process until all the transfer paper is removed, revealing your perfect new wall quote. This careful approach ensures a flawless finish and prevents any part of your design from lifting or tearing.
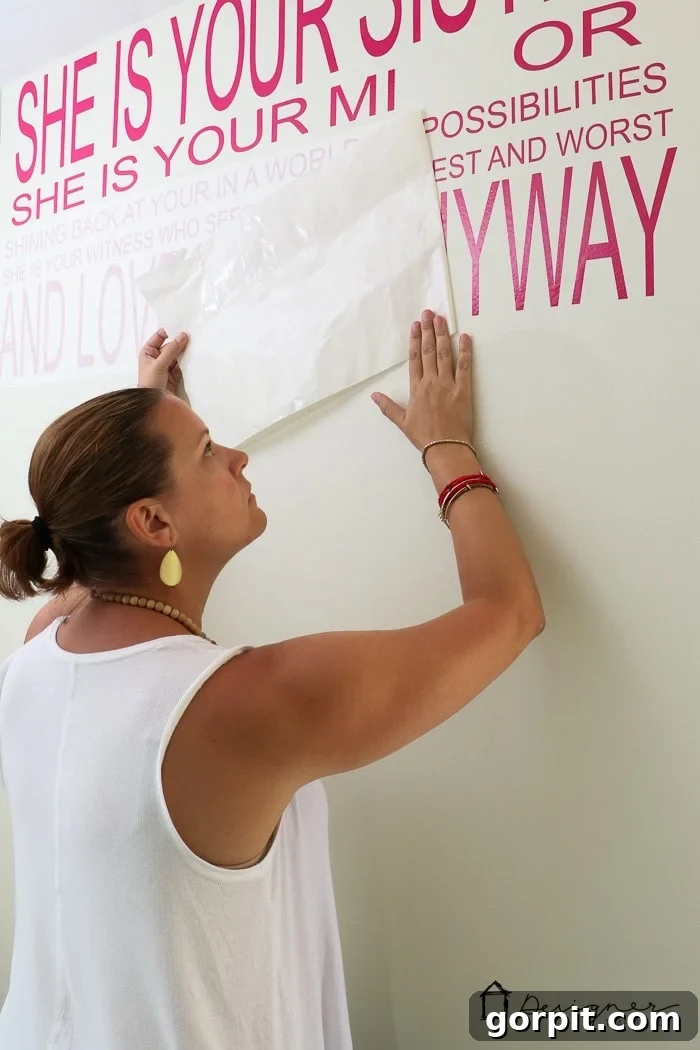
Repeat all the above steps for each section of your quote until your wall transformation is complete. Witnessing the finished project is incredibly rewarding. WE LOVE IT!
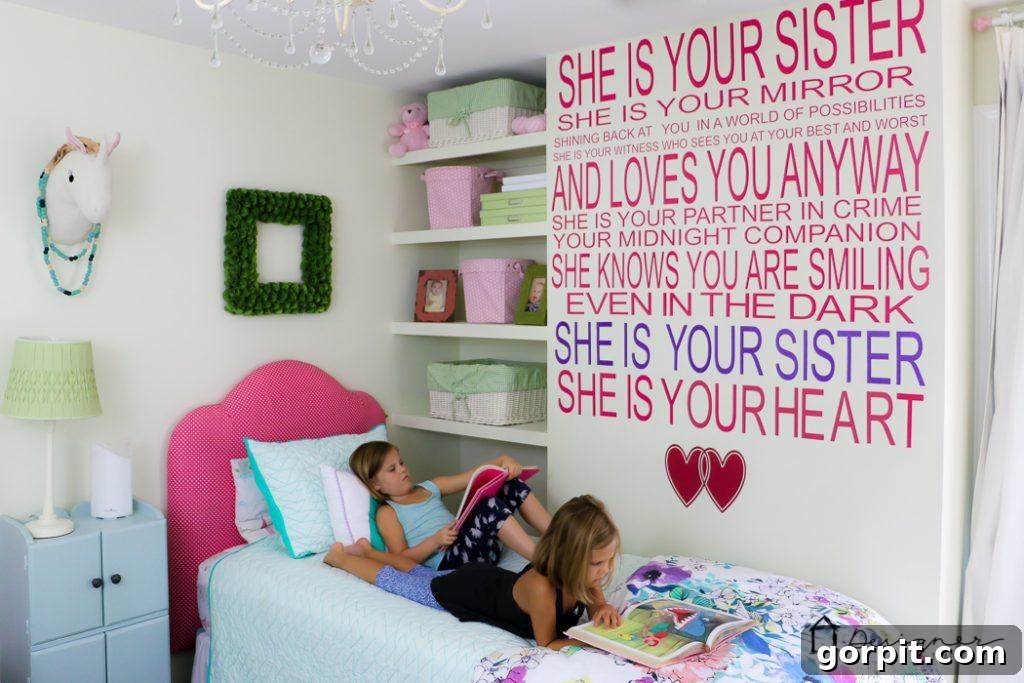
One of the absolute greatest advantages of using vinyl lettering for wall decor is the incredible flexibility it offers, especially when it comes to correcting mistakes. Had I attempted to hand-paint this intricate quote, any misstep would have likely resulted in a frustrating, time-consuming mess. However, with vinyl, if a letter or an entire line appears slightly off-center, crooked, or poorly spaced, there’s no need to panic. All you have to do is gently and slowly peel it off the wall, and then simply reposition it until it’s perfectly aligned. This “forgiveness factor” makes vinyl an ideal medium for DIY enthusiasts of all skill levels.
Furthermore, while vinyl adheres incredibly well to surfaces, ensuring your design stays put, it also possesses the remarkable quality of peeling off cleanly without damaging your walls. This makes it an excellent choice for renters, those who enjoy frequently changing their decor, or anyone who values the integrity of their paint. You can confidently experiment with designs, knowing that your walls are safe.
In just a few hours, this personalized project was complete, bringing a heartwarming message to my home. My girls, now at an age where they are beginning to read, absolutely adore the quote gracing their wall almost as much as I do. While I’m sure they don’t fully grasp the profound significance of its message just yet, the sentiment of sisterhood is deeply embedded in our family. Despite their occasional sibling squabbles, they truly are the best of friends, and for that, I am eternally grateful.
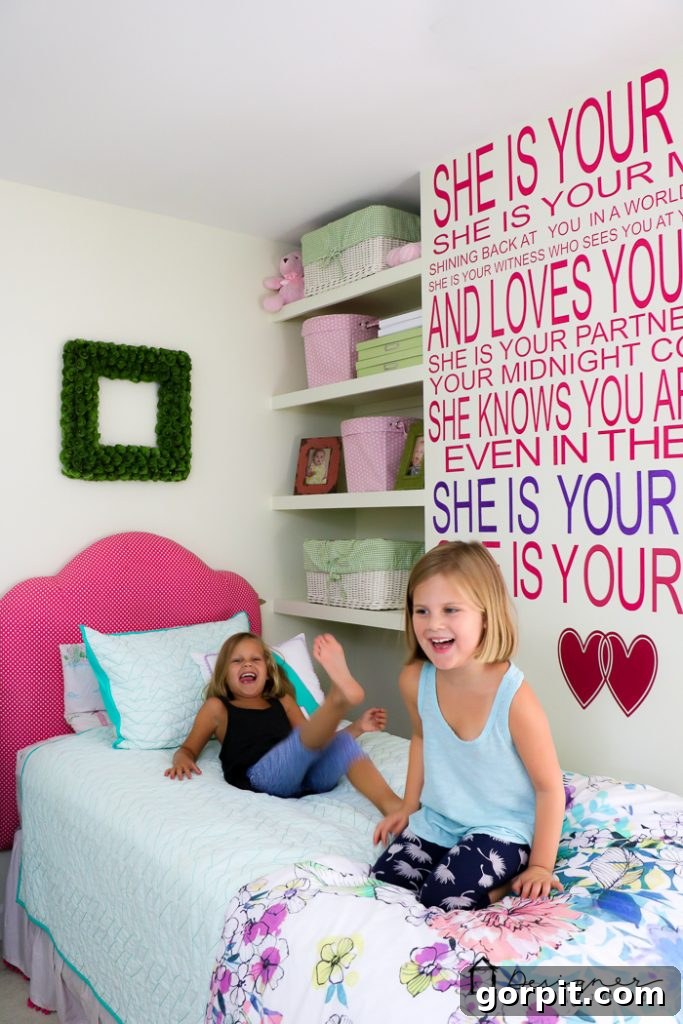
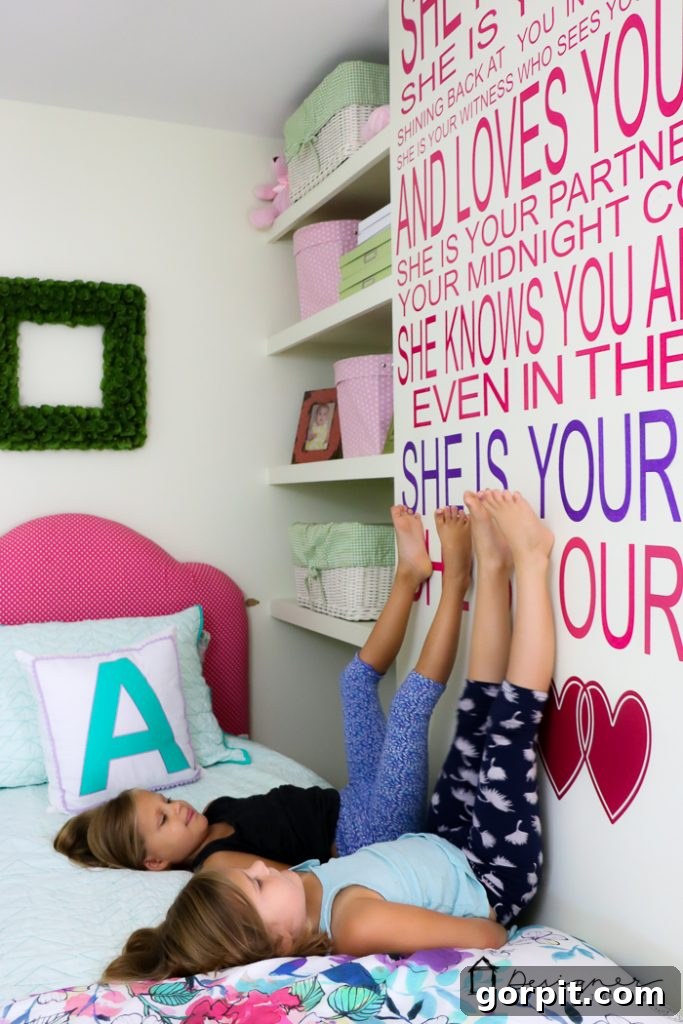
As you can see, the process of creating your own custom vinyl wall quotes with a cutting machine is not only enjoyable and creatively fulfilling but also surprisingly easy! It offers a highly cost-effective and completely customizable way to achieve the exact decorative look you envision for any room in your home. All you truly need to get started on your personalized wall art journey is a reliable cutting machine, a selection of quality adhesive vinyl, and a dash of your unique imagination!
You May Also Enjoy
SEE ALL cutting machine POSTS
-
DIY Santa Sacks Your Kids Will LOVE!
-
Which is the Best Cricut Machine for You?
-
How To Make Labels With a Cricut Cutting Machine – My 2 Favorite Methods
-
Silhouette vs. Cricut – My Unbiased Review
-
Personalized Christmas Ideas With Cricut
-
DIY Advent Calendar With Cricut Air Explore 2
Are you curious about my approach to transforming rooms and spaces within our home? Discover my proven strategies and design philosophy in Designer in a Binder®.
For exclusive content, behind-the-scenes sneak peeks, and fresh DIY inspiration delivered straight to your inbox, be sure to subscribe to my newsletter before you go!