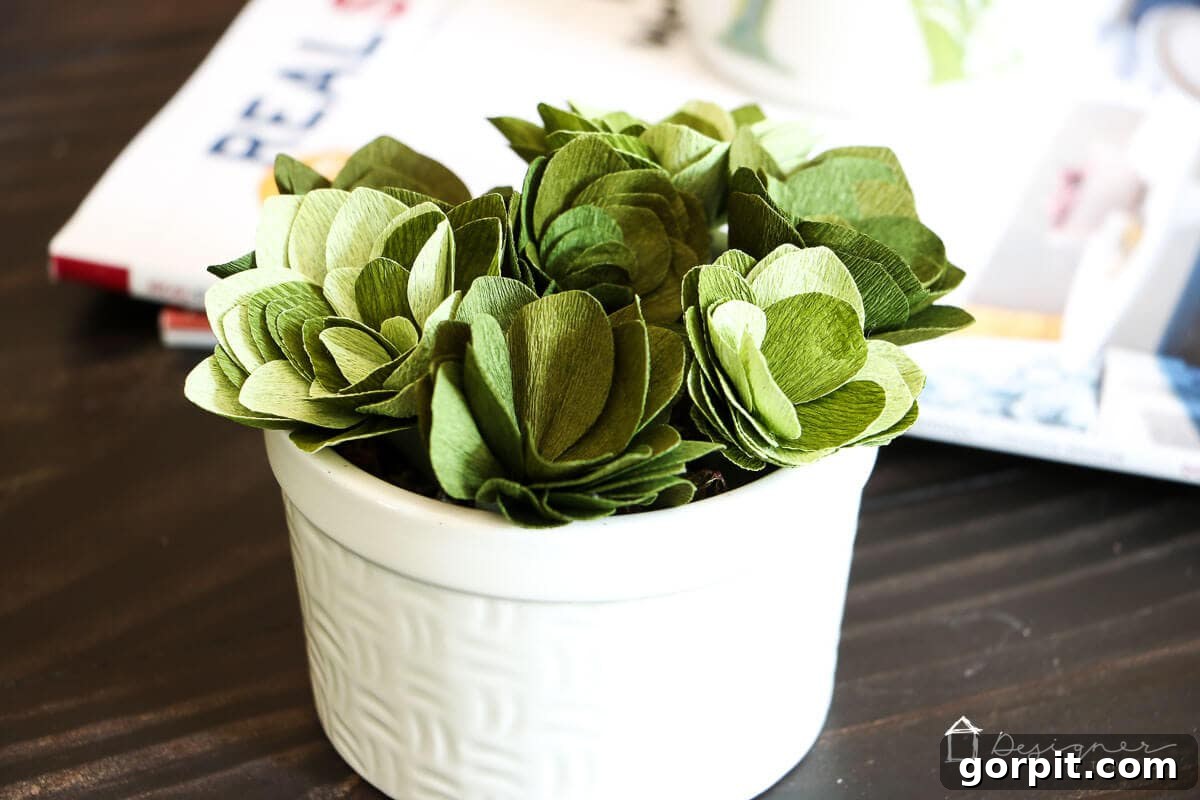
Cricut Maker Review: Cutting Crepe Paper & Crafting Beautiful DIY Succulents
Hello fellow crafters and home decor enthusiasts! Do you adore the vibrancy that plants bring to your living spaces, yet find yourself battling a persistent “black thumb”? Or perhaps, like me, you’re weary of the exorbitant prices for artificial plants that still manage to look, well, artificial? If so, you’re in for a treat! I was absolutely thrilled to discover a method to create stunning, lifelike succulents for a fraction of the cost, right in the comfort of my own home. This comprehensive guide will not only show you how to craft your very own beautiful crepe paper succulents but also dive deep into my full Cricut Maker cutting review. Prepare to be amazed by its ability to handle even the most delicate materials!
Thank you to Cricut for generously sponsoring this insightful post. Rest assured, all opinions expressed are genuinely my own, and I only endorse products I wholeheartedly recommend to my closest family and friends. This post also contains affiliate links for your convenience (meaning if you make a purchase after clicking a link, I will earn a small commission, at no extra cost to you). Click here to read my full disclosure policy.
Unveiling the Cricut Maker: Crepe Paper Cutting Capabilities
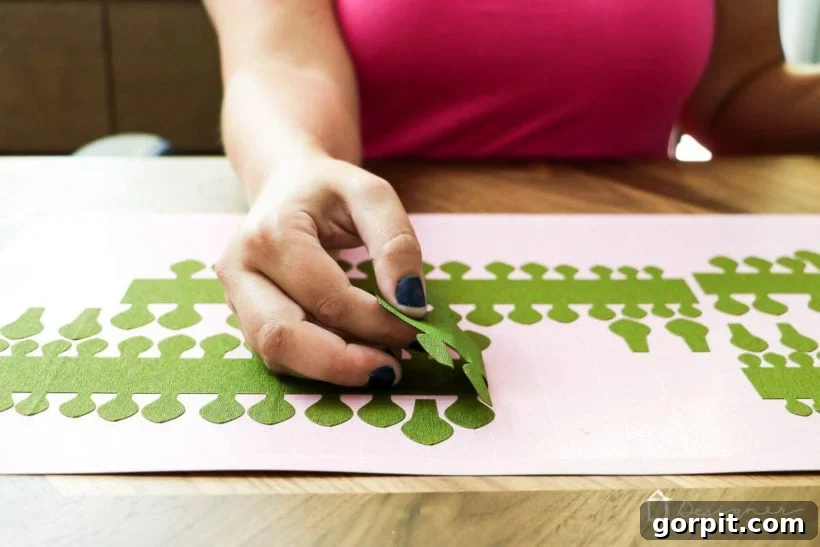
Let’s get straight to the heart of the matter: my honest review of how the Cricut Maker performs when cutting crepe paper. I must admit, I approached this experiment with a healthy dose of skepticism. Crepe paper is notoriously delicate – thin, prone to tearing, and easily stretched. My initial confidence was practically nonexistent regarding two critical points: 1) whether the Cricut Maker could cut it without causing irreparable damage, and 2) if the intricately cut pieces would even detach from the cutting mat without ripping.
Therefore, to say I was pleasantly surprised when the Cricut Maker precisely cut my crepe paper without a single tear, and the pieces lifted off the mat effortlessly, would be a massive understatement. It performed flawlessly, exceeding all my expectations. For those who, like me, find this hard to believe, just take a moment to look at the undeniable proof in the images below.
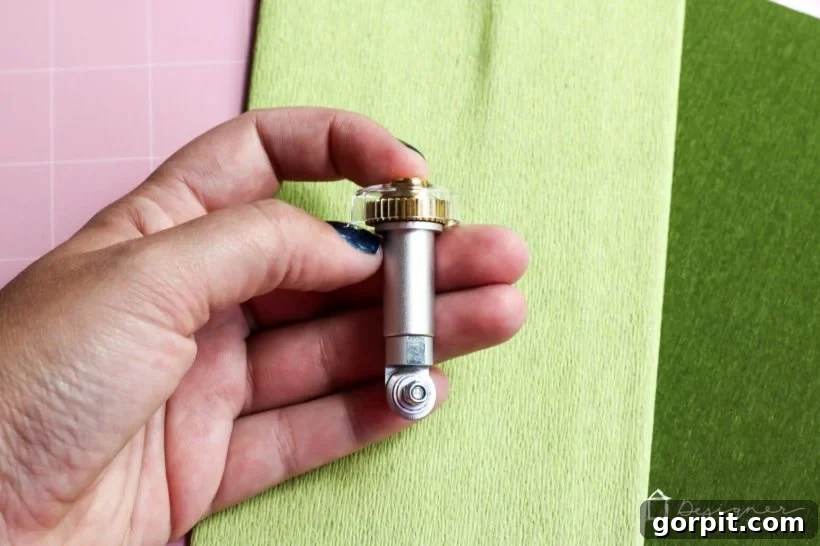
This remarkable precision is all thanks to a groundbreaking innovation: the Rotary Blade. This specialized blade revolutionizes fabric and delicate material cutting in the crafting world. Unlike traditional drag blades, the Rotary Blade features a gliding, rolling action, much like a miniature pizza cutter. This unique motion allows it to effortlessly slice through a vast array of materials, including not just crepe paper and tissue paper, but also a wide variety of fabrics without the need for a backing. Imagine cutting cotton, felt, fleece, denim, silk, and many more materials with unparalleled accuracy and clean edges. It truly transforms cutting delicate materials like crepe paper from a potential nightmare into a seamless, dream-like experience.
My experience with the Cricut Maker’s crepe paper cutting capabilities has left me incredibly impressed. This machine isn’t just a gadget; it’s a game-changer for crafters looking to expand their material repertoire without frustration. Beyond crepe paper, I’ve had numerous successes using it to cut felt for various projects, consistently achieving fantastic results. You can explore some of those projects, showcasing the Maker’s versatility with felt, by clicking here, here, and here. The consistent quality of cuts across such a diverse range of delicate materials truly solidifies the Cricut Maker’s reputation as an indispensable tool for serious crafters.
DIY Crepe Paper Succulents: A Step-by-Step Tutorial
Now that we’ve established the Cricut Maker’s incredible ability to handle delicate materials, let’s dive into the fun part: creating your own charming crepe paper succulents! These little beauties are perfect for adding a touch of everlasting greenery to any space, requiring zero maintenance and bringing endless joy. Follow this simple tutorial to craft your own collection.
Materials You’ll Need:
- Crepe Paper: I highly recommend this specific crepe paper for its superior quality and realistic dual-toned green shades on each side, which gives your succulents a wonderfully authentic look.
- Cricut Maker Cutting Machine: The star of our project!
- Curious about its full capabilities? Read my detailed review of the Cricut Maker here to learn why it’s an indispensable tool that can cut not only crepe paper but also fabric, wood, thick leather, and hundreds of other materials.
- If you’re still deciding on the right cutting machine for you, my unbiased comparison of Silhouette vs. Cricut can help.
- Cricut Design Space Cut File: Access the exact design file for these succulents by clicking here.
- Cricut Tweezers: Essential for handling delicate paper pieces.
- Cricut FabricGrip Cutting Mat: Specifically designed to hold delicate fabrics and papers without tearing.
- Floral Tape: To secure the base of your rolled succulents.
Step-by-Step Succulent Creation:
For a visual walkthrough of this project, a video tutorial was previously available here, demonstrating each step in detail.
1) Begin by preparing your Cricut Maker. Ensure you have the Rotary Blade installed and are using the FabricGrip cutting mat. Load your chosen crepe paper onto the mat and access the succulent cut file in Cricut Design Space. Each single image in the file will create one succulent. Feel free to duplicate the image multiple times within Design Space to cut several succulents in one go, saving you time and effort. For added realism and variety in your succulent display, I recommend subtly varying the size of your cuts. For instance, I created some smaller succulents by reducing the image length to approximately 9 inches. Once cut, each succulent piece will resemble a strip of petals, gradually decreasing in size. You’ll also notice some individual extra petals included with each cut – these are provided in case you need to fill in any sparse areas after completing the rolling steps (I found I didn’t need them, but they’re handy to have!).
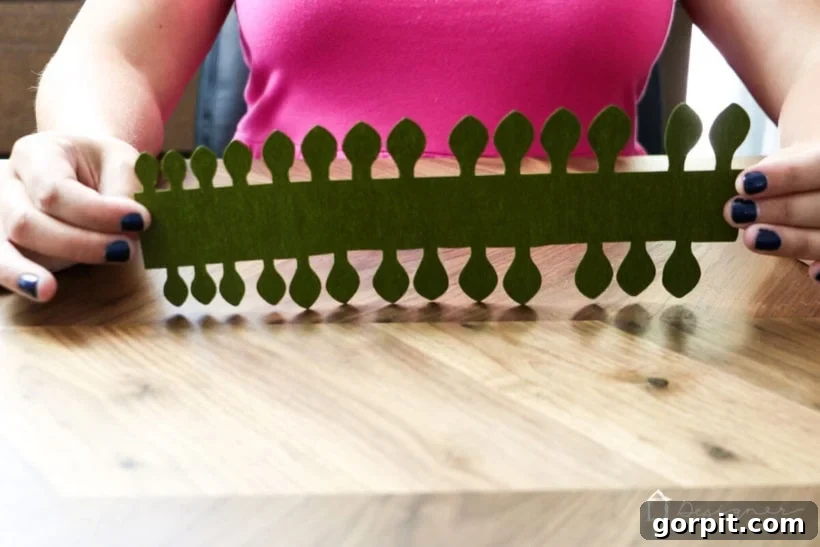
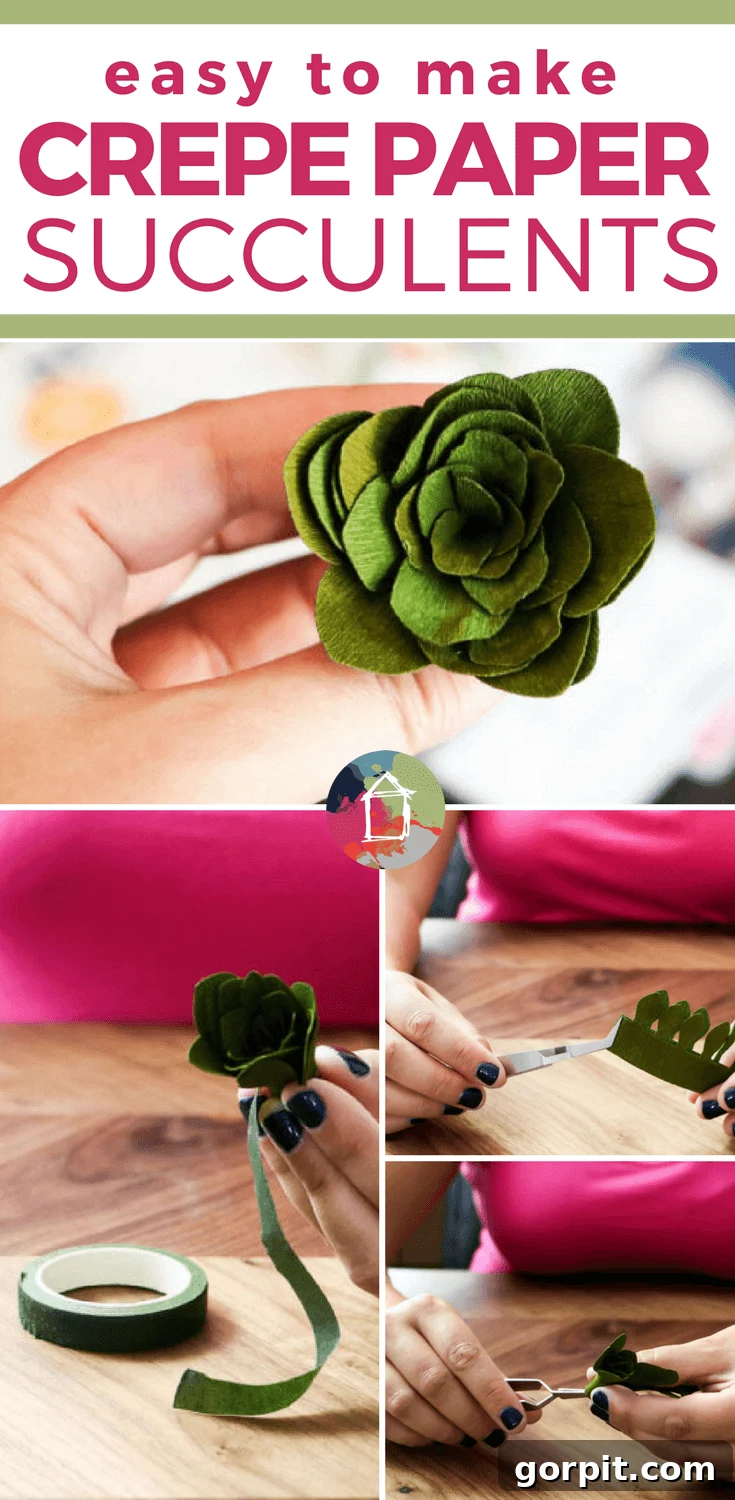
2) With your perfectly cut crepe paper strip, carefully fold it in half horizontally. This creates a central crease that will guide your rolling. Next, use your Cricut Tweezers to gently pinch the very end of the folded strip, specifically where the smallest petals are located. This will be the tightest point of your succulent’s center, ensuring a neat and compact start.
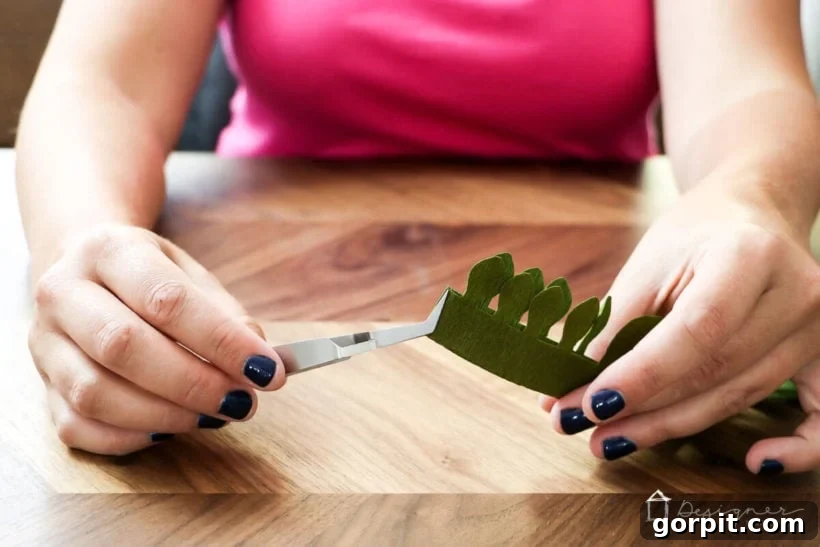
3) Keeping the tweezers firmly in place to maintain the initial pinch, carefully and tightly roll the entire length of your crepe paper strip around the tweezers. The goal here is to create a dense, spiraling core, with the petals naturally fanning out as you roll. Take your time to ensure the roll is even and snug, gradually building the succulent’s characteristic layered appearance. The delicate nature of the crepe paper, combined with the precision of the Cricut cut, will allow the petals to form beautifully.
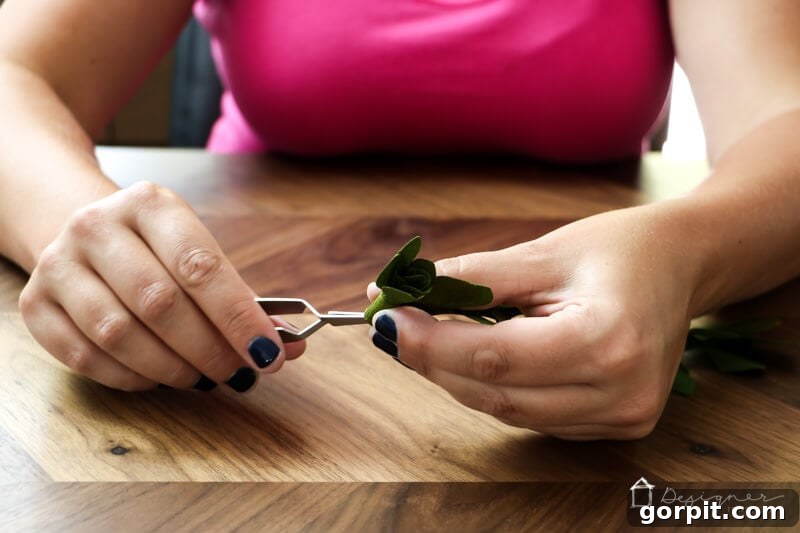
4) Once you’ve completed the rolling process and your succulent has taken shape, gently ease the tweezers out from the center. The coiled crepe paper should hold its form. To secure the base and prevent it from unraveling, carefully wrap floral tape around the bottom portion of your newly formed succulent. Floral tape is ideal because it’s slightly adhesive and flexible, allowing you to create a secure, discreet base that will keep your petals perfectly in place.
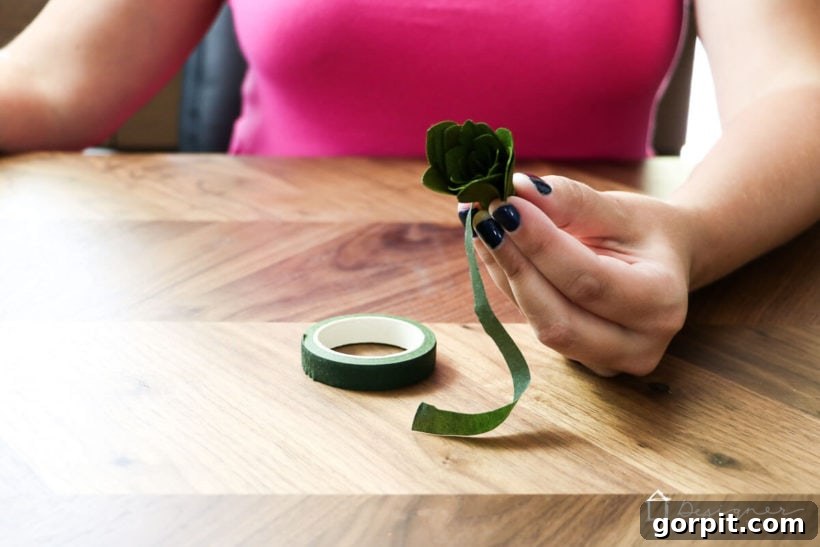
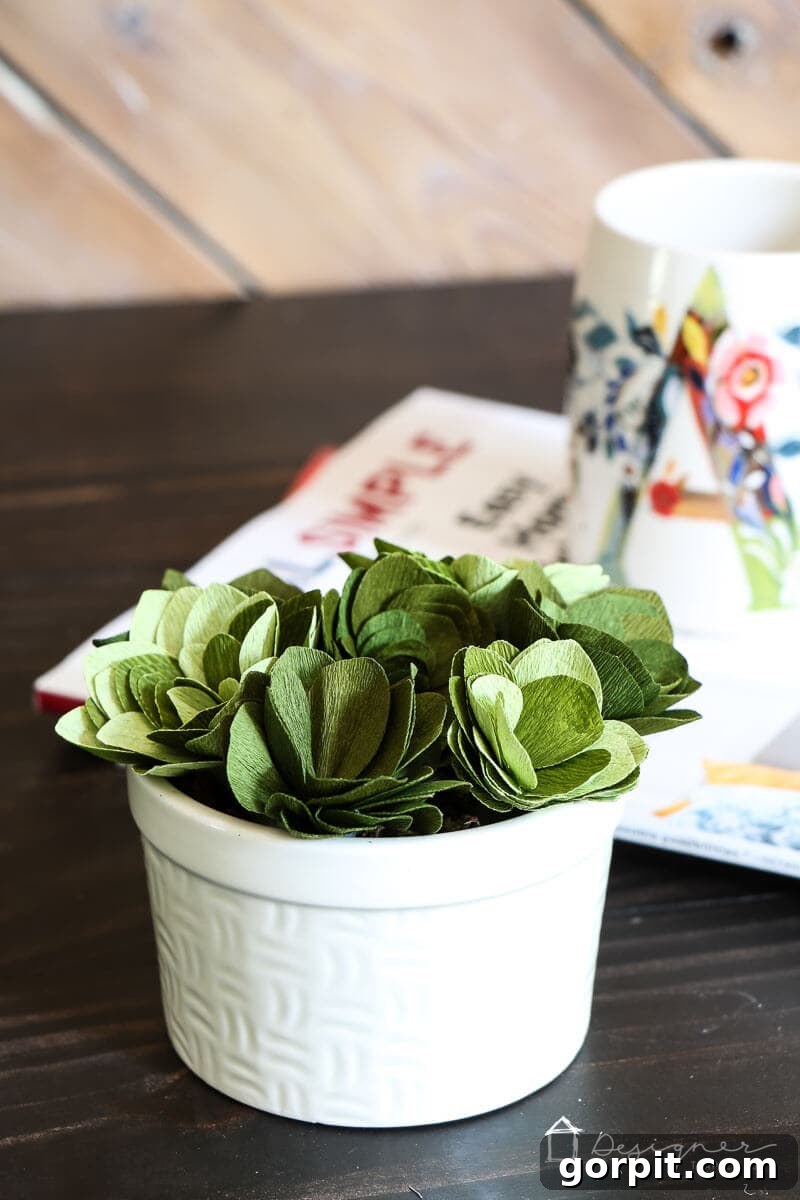
And just like that, you’re done! Aren’t these crepe paper succulents absolutely adorable? They’re incredibly lifelike and bring a delightful touch of nature indoors without any of the fuss.
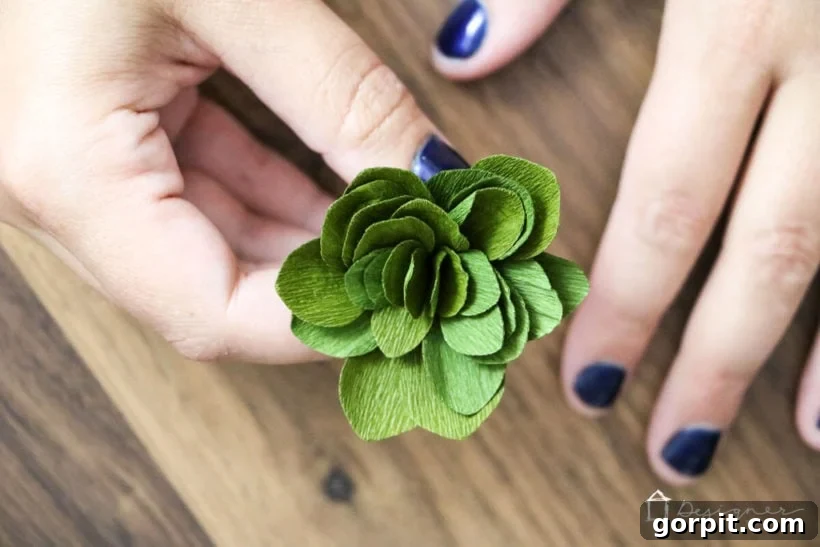
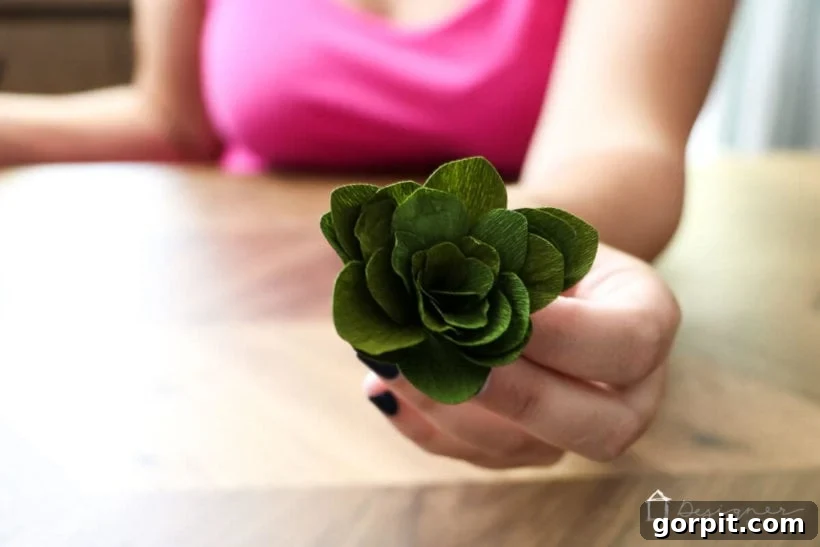
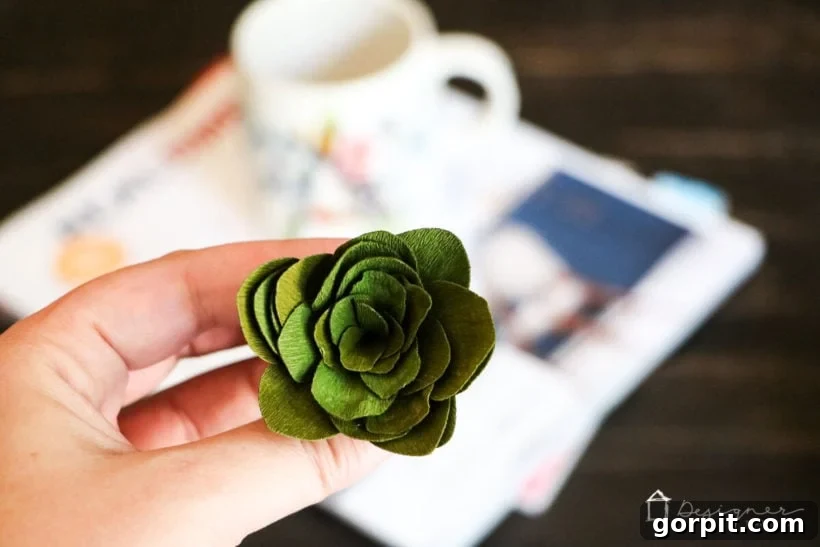
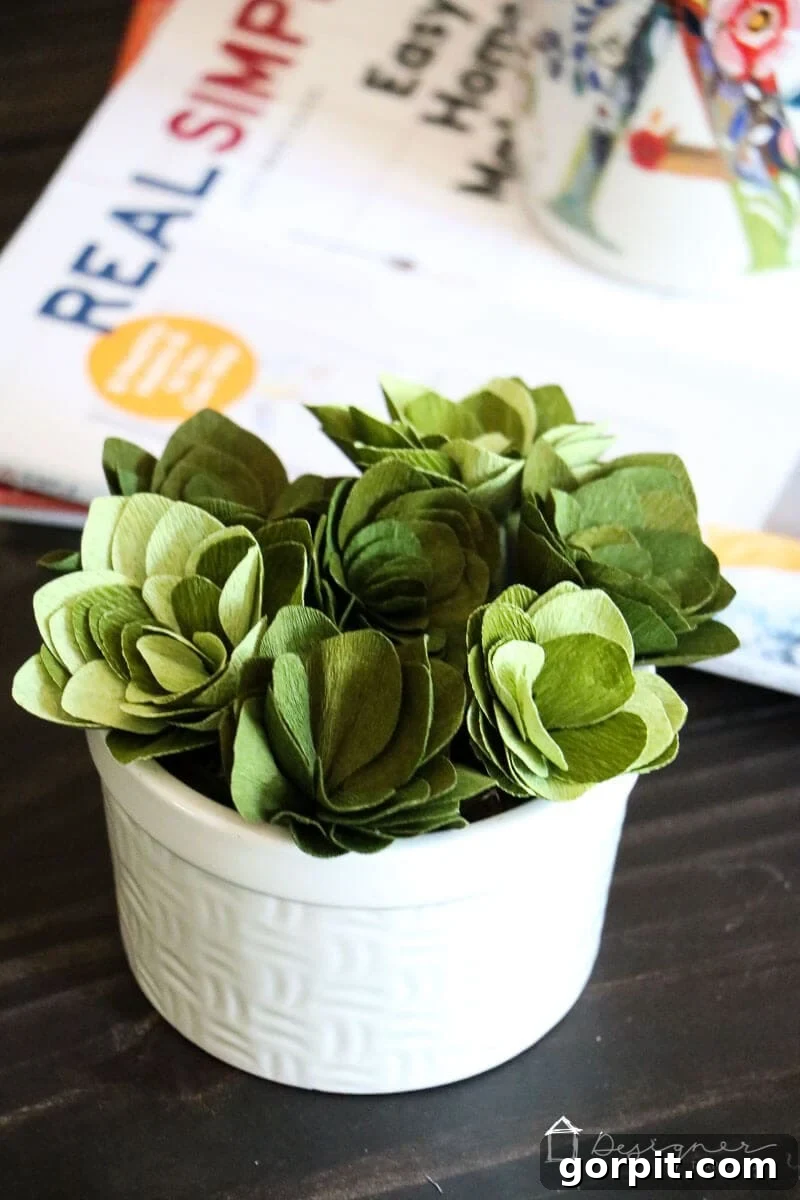
Gather several of these charming succulents and arrange them artfully in a sweet little ceramic ramekin, like the one I discovered at the Target Dollar Spot. The resulting display adds a beautiful pop of color and rich texture to any vignette. It’s an ideal accent for a stack of books on a coffee table, a shelf, or a desk. The absolute best part? You’ll never have to worry about watering them or keeping them alive! These everlasting botanical beauties are the perfect solution for bringing vibrant, maintenance-free greenery into your home. Enjoy the endless possibilities of custom decor with your Cricut Maker!
This content was created in collaboration with Cricut. The opinions and text presented here are solely my own, reflecting my genuine experience with their products.
Explore More Cricut Crafting Inspiration
If you enjoyed this project and review, you might find these other Cricut-related posts equally helpful and inspiring:
- Which Cricut Machine Is Right for You? – A guide to help you choose the perfect machine for your crafting needs.
- How to Use Cricut Iron-On Vinyl on Stretchy Fabrics – Master the art of applying vinyl to challenging materials.
- Personalized Gifts With Cricut Infusible Ink – Discover how to create vibrant, seamless personalized gifts.
- Silhouette & Cricut Projects for Your Home and Life – A curated collection of creative projects for everyday use.
- Silhouette vs. Cricut – My Unbiased Review – A detailed comparison to help you make an informed decision between these two popular cutting machines.
For those looking to transform rooms and spaces in their home with confidence and ease, be sure to check out Designer in a Binder® – your simple, affordable guide to decorating!
And for exclusive content, behind-the-scenes glimpses, and the latest crafting tips delivered straight to your inbox, don’t forget to subscribe before you go! Happy crafting!