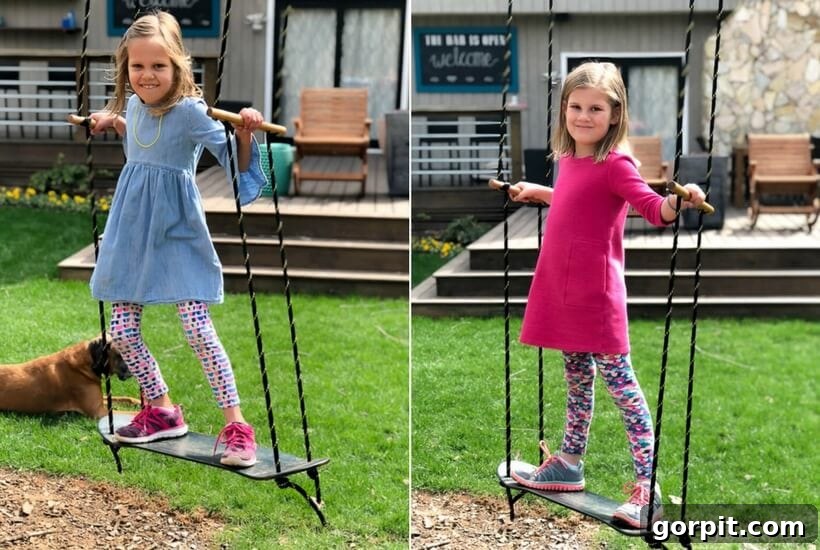
Transform your backyard into an adventure playground with this incredibly fun and easy-to-make DIY skateboard swing! Perfect for families, this unique swing offers endless hours of outdoor enjoyment, allowing kids to stand and swing or sit and gently sway. All you need is a sturdy tree branch and a few common materials to bring this exciting project to life. Follow our detailed tutorial to create a beloved backyard attraction that your children (and maybe even you!) will adore.
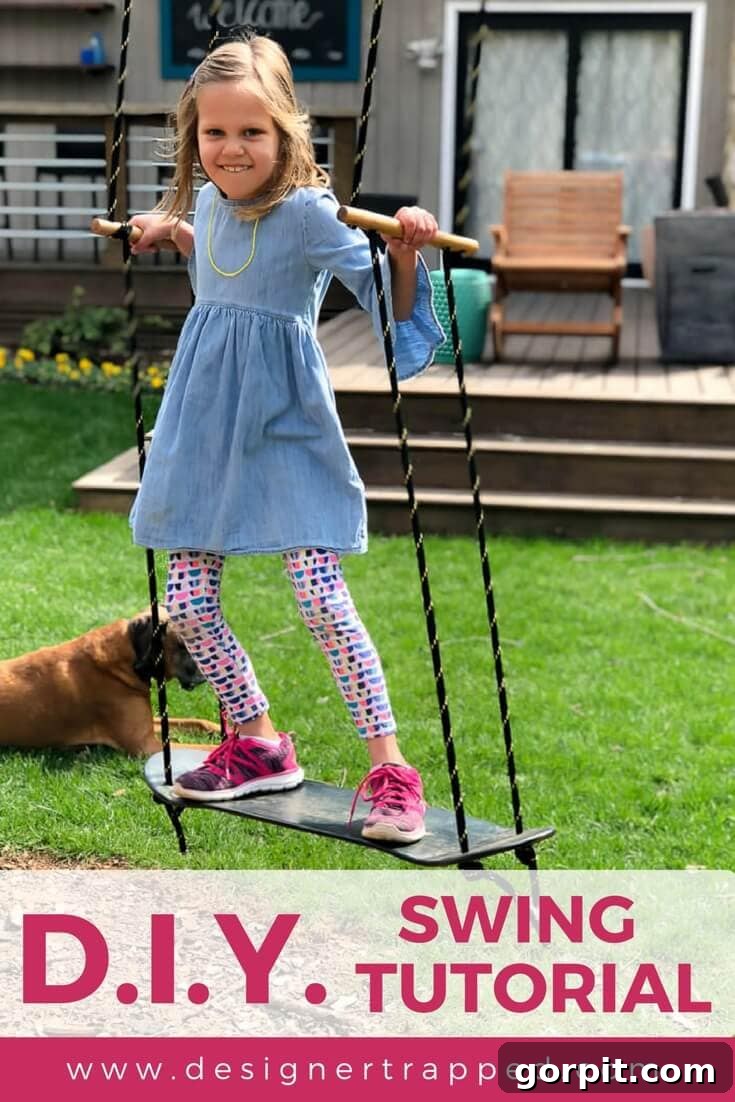
Hello, fellow DIY enthusiasts and parents! As spring finally graces North Carolina with its presence, bringing warmer weather and longer days, our thoughts naturally turn to outdoor activities. There’s nothing quite like the joy of watching our children play outside, soaking up fresh air, essential Vitamin D, and getting plenty of exercise. And, let’s be honest, a tiny benefit for us parents is the chance to relax in a rocking chair, supervising their delightful antics!
One of the primary reasons our girls eagerly spend countless hours in the backyard is thanks to this fantastic DIY swing we crafted for them. It’s become a central point of their outdoor play. They primarily use it as a standing swing, pushing off and soaring through the air, but it’s equally great for sitting and pushing each other, making it incredibly versatile for different ages and play styles. This project isn’t just about creating a swing; it’s about fostering outdoor activity, encouraging creativity, and building lasting family memories.
This post contains affiliate links for your convenience. Click here for my full disclosure policy.
Why Build Your Own Skateboard Swing?
The inspiration for this DIY swing originated from our girls’ persistent requests for a Swurfer. Swurfers are undeniably cool, featuring a unique curved platform that provides an easier, more dynamic swinging experience. If you love the concept of a standing swing but prefer to purchase a ready-made option, a Swurfer is an excellent choice. However, for those who enjoy a hands-on project and appreciate significant savings, our DIY skateboard swing offers an equally thrilling experience for a mere fraction of the cost. It’s a fantastic, budget-friendly alternative that delivers immense fun and satisfaction, proving that you don’t need to spend a fortune to create a captivating outdoor play area.
Building your own swing also allows for complete customization. From the colors and finish of the skateboard deck to the type of rope and handles, you have full control over the aesthetic and safety features, tailoring it perfectly to your family’s needs and your backyard’s style. This hands-on approach not only saves money but also instills a sense of pride and accomplishment, both for the builder and for the kids who get to enjoy a swing made especially for them.
How to Make a DIY Skateboard-Style Swing: A Step-by-Step Guide
Creating this custom swing is a rewarding project that combines practical skills with creative expression. Before you begin, gather all your materials and ensure you have a clear workspace. Safety is paramount, especially when working with tools and installing play equipment. Always supervise children during the building process and when they are using the swing.
Materials Needed
Careful selection of materials is crucial for the durability and safety of your DIY swing. Prioritize quality and suitability for outdoor use.
- A wooden skateboard deck: Choose a sturdy, well-constructed deck. You can upcycle an old one or purchase a new blank deck. Ensure it’s free of cracks or damage that could compromise safety.
- Rope: This is one of the most critical components.
- Select a high-quality rope designed for outdoor use that can withstand constant exposure to the elements (sun, rain, temperature fluctuations), significant friction, and the dynamic load of a swinging child (or even an adult!). Consider marine-grade rope, braided polyester, or a similar durable synthetic fiber. The diameter should be comfortable to grip and strong enough for the intended weight. While we found a suitable rope for $14, prices can vary. It’s essential to research and confirm the rope’s working load limit (WLL) to ensure it can safely support the maximum weight it will bear. When in doubt, consult with a local hardware store expert for specific recommendations based on your unique requirements, including the weight of potential users and the height of your tree branch.
- Drill bit: Choose a drill bit that is slightly larger than the diameter of your chosen rope to allow for easy threading and knotting.
- 1-inch dowel rods: These will form the comfortable and adjustable handles for your swing.
- Hand saw: For cutting the dowel rods to size. A miter box can help ensure straight cuts.
- Wood stain (optional): To enhance the appearance of your skateboard deck and handles. Choose an outdoor-rated stain for better longevity.
- Polyurethane: An absolute must for outdoor protection. Opt for an exterior-grade, UV-resistant polyurethane to seal and protect the wood from moisture, sun damage, and general wear and tear.
- Carabiners and washers (optional, but highly recommended for high branches): If your tree branch is significantly high and hard to reach, heavy-duty carabiners and washers will be invaluable for safely threading the rope over the branch.
- Knife: A sharp utility knife or rope cutter to make clean cuts through the rope.
- Duct tape or electrical tape: Essential for preventing rope ends from fraying during threading.
- Lighter: To heat-seal the rope ends after trimming, providing a permanent fray-proof finish.
Steps to Building Your Skateboard Swing
Building this swing is a straightforward process, but attention to detail in each step will ensure a safe, durable, and beautiful finished product.
1) Determine Rope Hole Placement: Begin by having your child (or the primary user) stand on the skateboard deck with a comfortable, wide stance, mimicking how they would stand on the swing. Using a pencil, mark the outer edges of their feet at both ends of the skateboard. These marks will serve as your guide for drilling the rope holes, ensuring optimal balance and comfort for the rider.
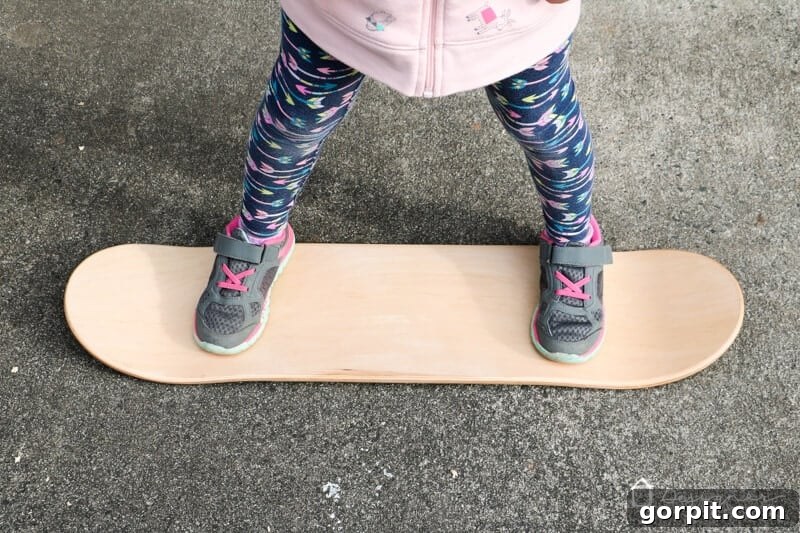
2) Drill Holes in the Skateboard Deck: Using the markings from step 1, carefully drill two parallel holes at each end of the skateboard deck. Ensure the holes are smooth and clean to prevent the rope from fraying over time. This is a step where older children can safely assist, fostering their involvement in the project.
3) Prepare Your Handles: Measure and cut your 1-inch dowel rods to create the handles. We cut ours to approximately match the width of the skateboard deck, providing a comfortable grip. Sand the ends smooth to eliminate splinters and sharp edges, ensuring user safety.
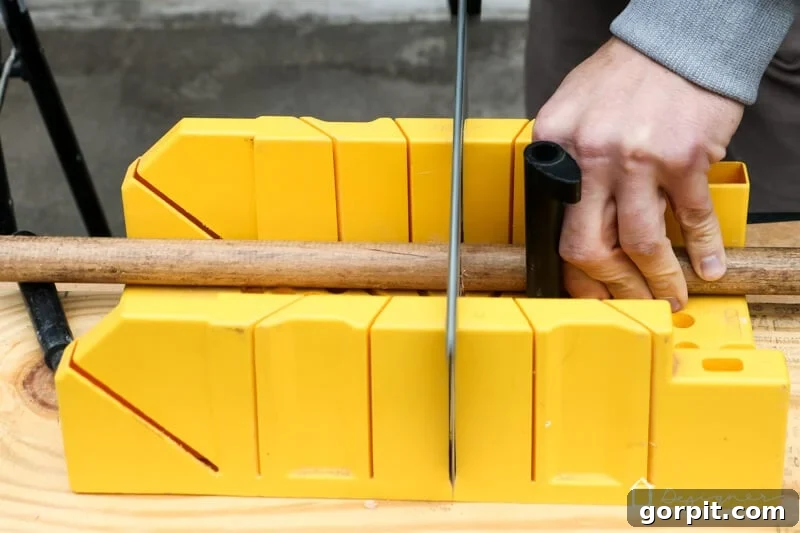
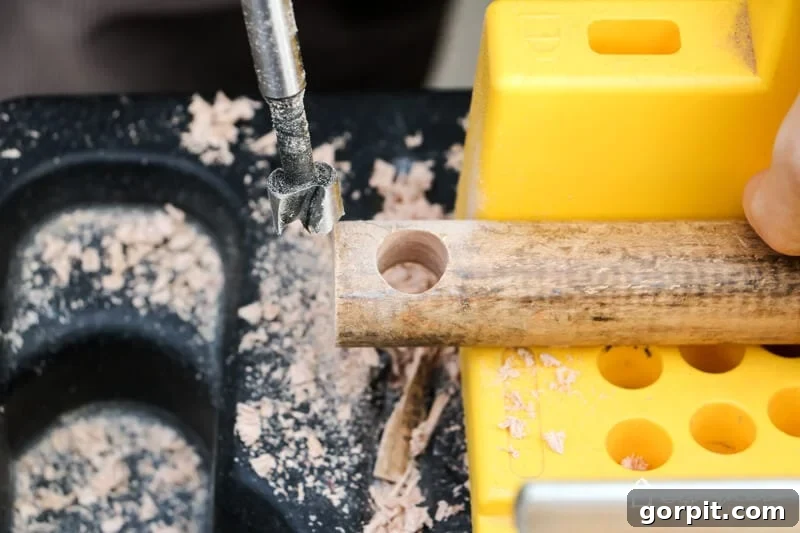
4) Drill Holes in the Dowel Handles: For each handle, drill two holes at each end. The first hole should be close to the edge, and the second approximately 1/2 inch away from the first. This specific two-hole configuration is key to creating adjustable handles, which will be incredibly useful as your children grow. Repeat this for all ends of both handles, totaling four holes per handle.
5) Customize and Protect Your Wood: Now is the perfect time to personalize your skateboard deck and handles. If you opt for staining, choose colors that bring joy! Our daughters, Avery and Attley, famously compromised on a vibrant blue top and a rich blood-red bottom. We used Behlen Solar Lux Stain for its fade and UV resistance, which keeps the colors vivid over time. After staining (or painting), apply several coats of outdoor-rated polyurethane to all wooden surfaces. This clear protective layer is crucial for safeguarding the wood from moisture, sun, and daily wear, significantly extending the life of your swing.
6) Cut Your Rope Lengths: Determine the total length of rope needed. This involves measuring from your chosen tree branch down to the desired swing height, then doubling that measurement, and adding extra for knots and adjustments. Remember, it’s always better to cut the rope a bit longer than too short. You’ll need two equal lengths of rope, one for each side of the swing.
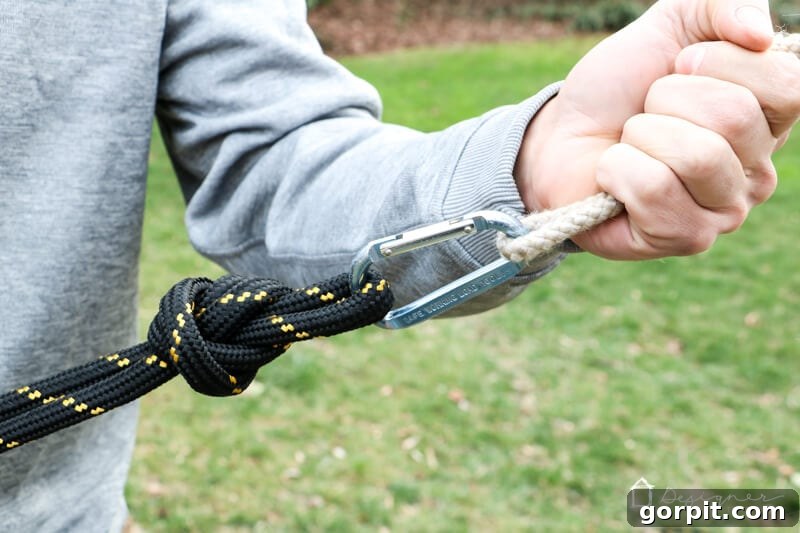
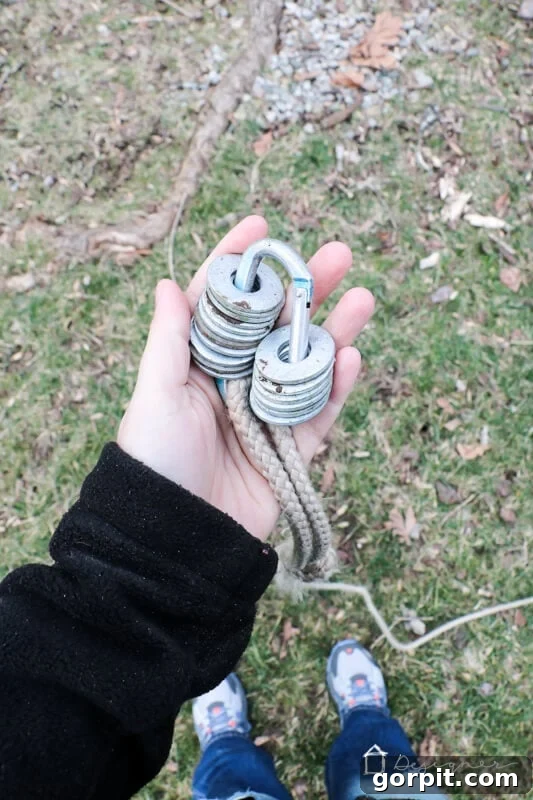
7) Hanging the Rope (High Branch Technique): Reaching a high tree branch can be challenging. Our solution, for a branch out of ladder’s reach, involved a clever setup: we tied a secure loop knot at one end of each rope length, then attached a strong carabiner. To this carabiner, we hooked a piece of scrap rope with another carabiner and several washers acting as weights at its other end. We then tossed this weighted carabiner over the tree branch. Once it came down the other side, we could easily pull the main swing rope over the branch. This process was repeated for both lengths of rope, ensuring they were draped securely over the branch at the desired points.
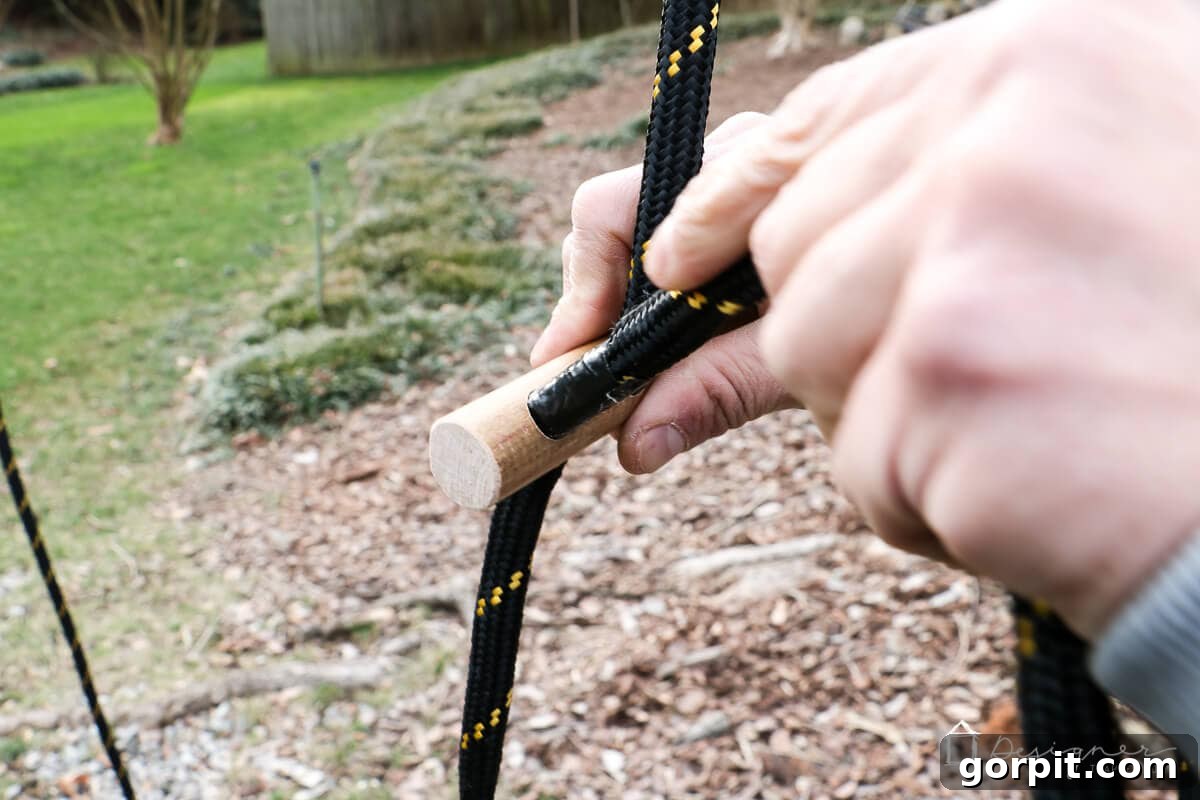
8) Attaching the Handles: With the ropes hanging from the tree, it’s time to attach the handles. To make threading easier, wrap the ends of your rope tightly with duct tape or electrical tape. Thread one rope end down through the inside hole of a handle. Then, loop the rope over the top of the handle and thread it down through the outside hole. This method allows you to adjust the handle height independently as your children grow, without having to re-hang the entire swing. Repeat for the other handle, ensuring they are at a comfortable, symmetrical height.
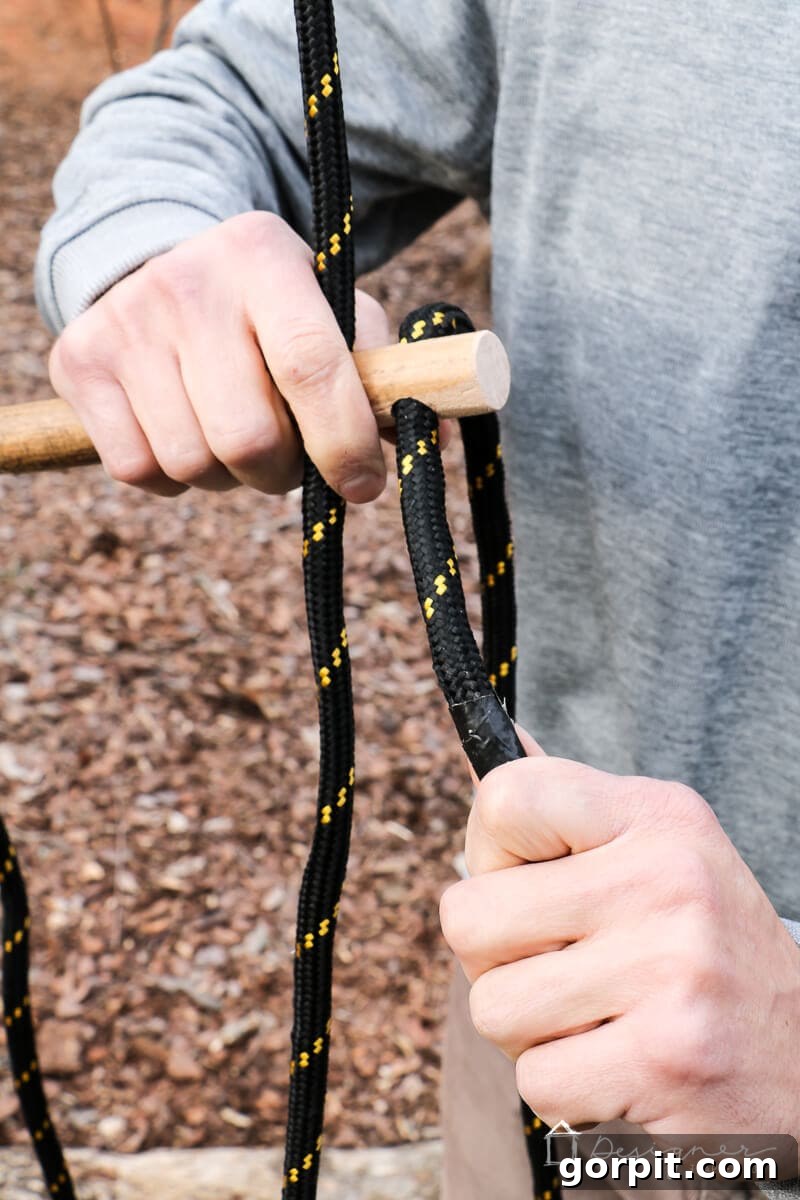
9) Secure the Skateboard Platform and Finish: Finally, thread the ropes through the pre-drilled holes on your skateboard platform. This step requires careful adjustment to ensure the platform is perfectly level and at the desired height. Once positioned correctly, tie secure simple overhand knots directly underneath the skateboard deck to firmly hold it in place. Double-check all knots for tightness and security. After the platform is set, remove the temporary tape from the rope ends and use a lighter to carefully burn and melt the tips. This crucial step prevents the rope from fraying, ensuring a long-lasting and neat finish.
Maintenance and Safety Tips for Your DIY Swing
Once your DIY skateboard swing is complete, regular maintenance is key to ensuring its longevity and, most importantly, the safety of its users. Inspect the swing periodically, ideally once a month or before each heavy use season. Check the rope for any signs of wear, fraying, or degradation from UV exposure. Ropes, even high-quality ones, can weaken over time. Examine all knots to ensure they remain tight and secure. Inspect the skateboard deck and dowel handles for cracks, splinters, or signs of rot, especially after prolonged exposure to rain or humidity. Reapply polyurethane every year or two, depending on your climate, to keep the wood protected. Always supervise young children while they are using the swing, and teach them proper swing safety practices.
We’ve had our DIY swing installed for over a year now, and it has held up beautifully through all kinds of weather and countless hours of play! Even Joe and I enjoy a quick spin on it from time to time (it’s surprisingly challenging and a great core workout, haha!). Take a look at the final result – we couldn’t be happier with how it turned out.
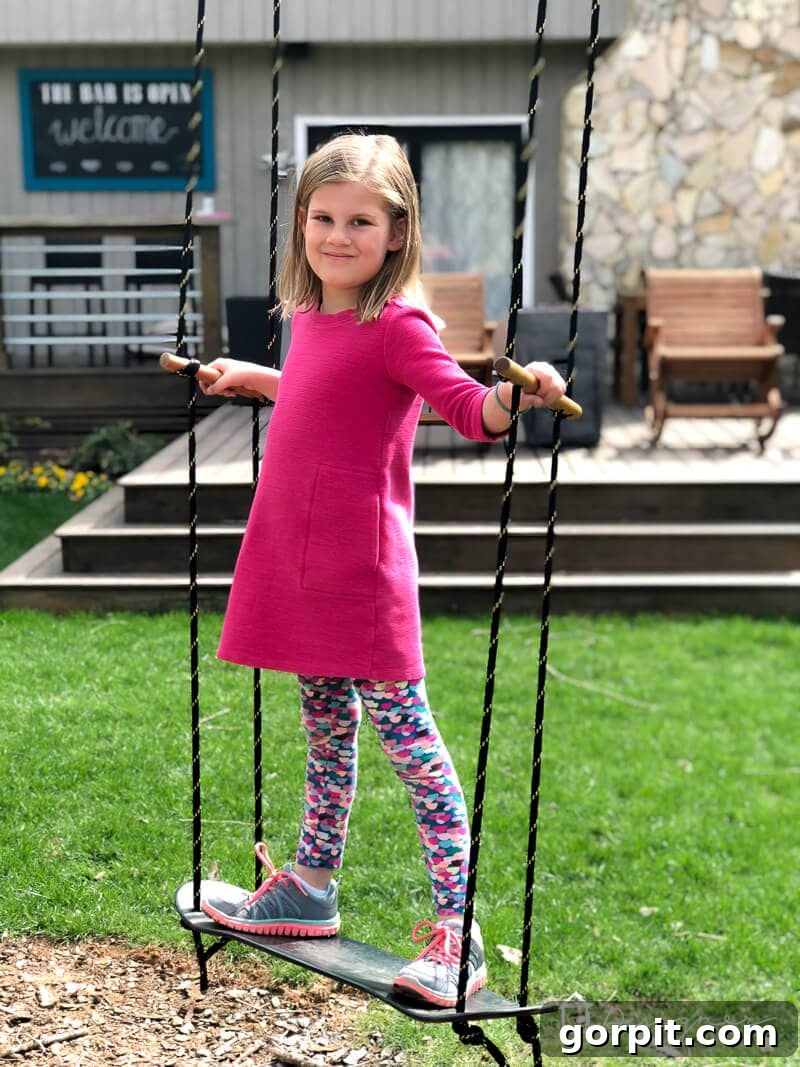
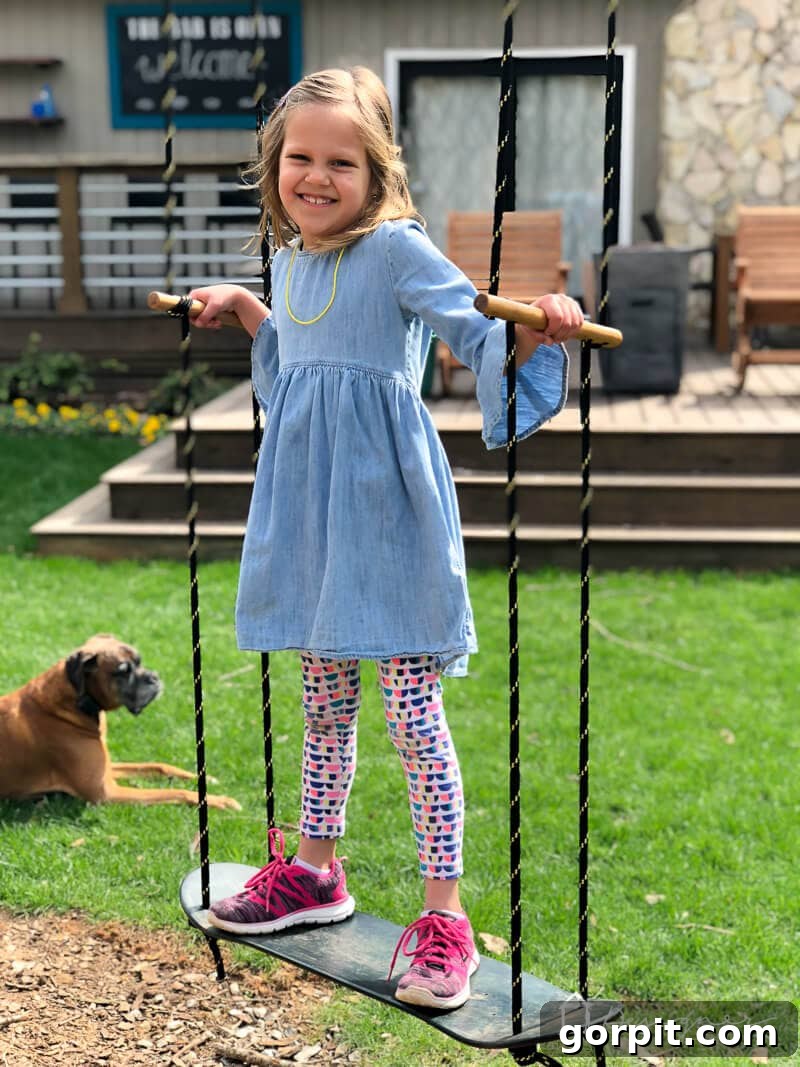
What do you think? We hope this detailed tutorial inspires you to create one of these fantastic swings for your own kiddos!
More OUTDOOR IDEAS
SEE ALL OUTDOOR POSTS
-
Fire Pit Ideas for Every Outdoor Space
-
How to Make a DIY Outdoor Chandelier
-
Modern DIY Garden Trellis
-
DIY Outdoor Electrical Box Cover
-
DIY Diamond Wire Trellis for a Vine
-
A Complete Review of Vego Garden Beds: Pros, Cons, and Everything In-between
Curious about how I approach transforming rooms and spaces in our home? Be sure to explore Designer in a Binder® – your affordable and simple guide to decorating your home with confidence.
For exclusive content, behind-the-scenes sneak peeks, and more exciting DIY projects and design inspiration, don’t forget to subscribe to our newsletter before you go!
Join our community of DIY enthusiasts and get fresh ideas delivered straight to your inbox!