As a homeowner, dealing with damaged drywall is an almost inevitable part of life. From tiny nail holes left behind after redecorating to more significant gashes sustained during an enthusiastic DIY project (we’ve all been there!), drywall repair is one of the most common maintenance tasks. The good news? Most drywall repairs are surprisingly simple and entirely manageable for the average do-it-yourselfer. You don’t need to call in a professional for every minor ding or hole. This comprehensive guide will walk you through how to tackle the most frequent types of drywall damage, ensuring your walls look flawless once again.
Thank you to DAP for sponsoring this post. This post contains affiliate links for your convenience. Click here for my full disclosure policy.
How to Repair Drywall: A Step-by-Step Guide for Homeowners
Drywall, also known as plasterboard or gyprock, forms the interior walls and ceilings of most modern homes. While durable, it’s susceptible to various types of damage, from minor scuffs to significant punctures. Learning how to repair drywall not only saves you money but also gives you a tremendous sense of accomplishment. This guide breaks down the process for common household damages, making it accessible for anyone to achieve professional-looking results.
Effortless Fix: Filling Small Nail Holes
Small nail holes are perhaps the most common form of drywall damage. These tiny imperfections are often left behind after hanging pictures, mirrors, or decorative items. Believe it or not, for these minute holes, you often don’t even need traditional spackle or wall filler. This method is incredibly quick, mess-free, and avoids the need for sanding and multiple painting steps.
Tools Needed:
- Touch-up paint (ideally, the exact match of your wall color)
- Your finger (clean) or a small artist’s brush
Step-by-Step Process:
- Ensure the area around the nail hole is clean and free of any loose debris.
- Take a small amount of touch-up paint on the tip of your finger or a fine-tipped artist’s brush.
- Gently dab the paint directly into the nail hole, pushing it slightly to fill the void.
- Wipe away any excess paint from the wall surface immediately using a clean, damp cloth.
- Allow the paint to dry completely. In most cases, one application is sufficient to make the hole disappear.
If you don’t have leftover paint, don’t despair! You can use these practical tips to match a paint color that is already on your walls. This “finger-painting” method is my absolute preference whenever possible because it eliminates the need for sanding and the extra step of painting over a repair, saving you time and effort.
Addressing Minor Damage: Repairing Small Holes and Dings in Drywall
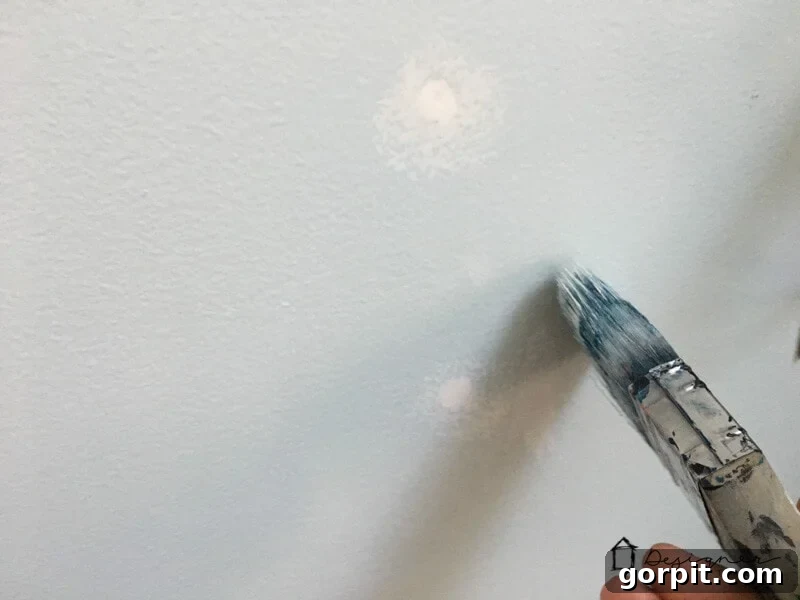
Sometimes, DIY projects can lead to slightly larger mistakes than just nail holes. For instance, during a recent shelving installation in our master bedroom’s new fireplace area, we accidentally drilled wall anchor holes in the wrong spot. These types of minor damages, too big for a simple paint dab but not large enough to require a full patch, are perfect candidates for a quality spackling paste.
Tools & Materials Needed:
- DAP CrackShot Spackling Paste (or similar high-quality spackling compound)
- Putty knife (2-inch or 3-inch is ideal for small repairs)
- Fine-grit sandpaper (180-220 grit)
- Damp cloth or sponge
- Touch-up paint and brush/roller
Step-by-Step Process:
- Preparation: Gently scrape away any loose drywall fragments or paint around the damaged area with your putty knife. Ensure the surface is clean and smooth.
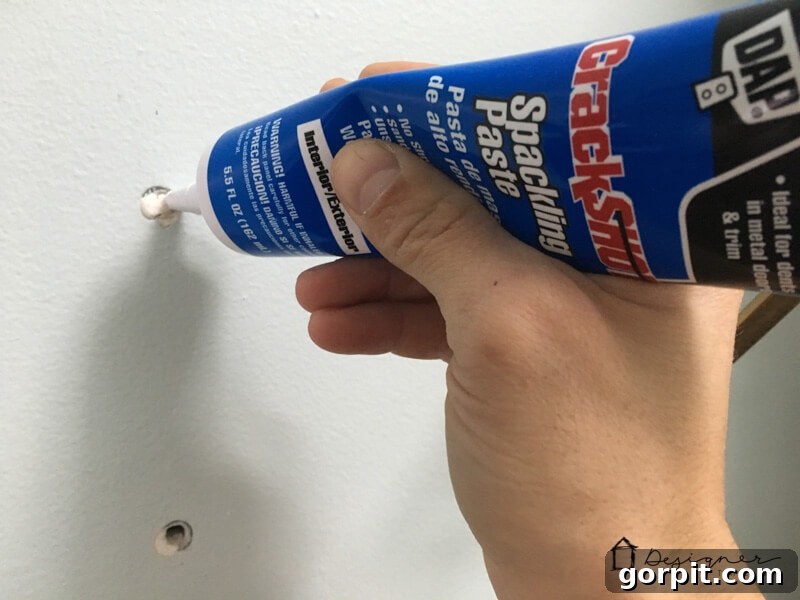
- Apply Spackling Paste: For convenience and minimal mess, products like DAP CrackShot Spackling Paste in a tube are excellent. Squeeze a small amount of paste directly into the hole.
- Smooth the Surface: Use your putty knife to spread the spackling paste evenly over the hole, feathering the edges so that it blends seamlessly with the surrounding wall. Aim for a flat, smooth finish, slightly overfilling if necessary, as it will shrink slightly upon drying.
- Dry Thoroughly: Allow the spackling paste to dry completely. Drying times can vary based on product and humidity, but typically it takes a few hours. Check the product label for specific recommendations.
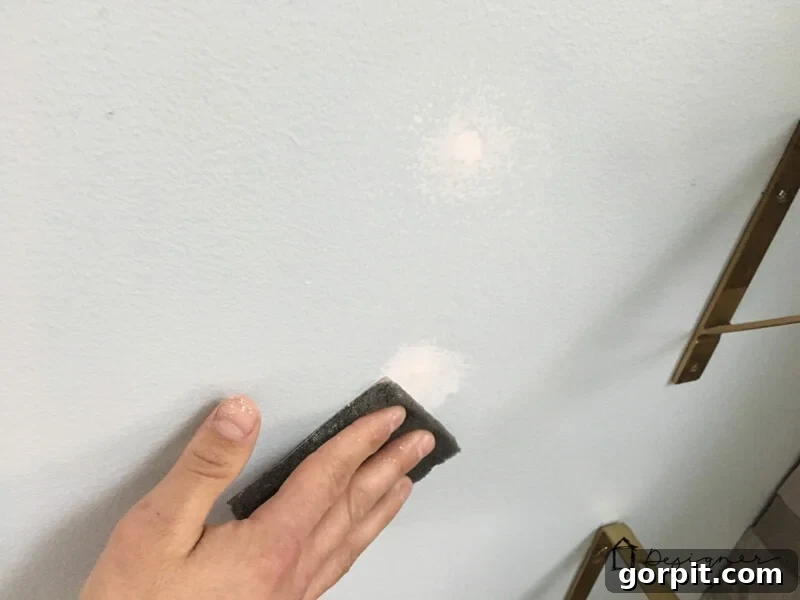
- Sand Smooth: Once dry, gently sand the repaired area with fine-grit sandpaper. Use light pressure and circular motions to ensure a smooth transition from the repair to the existing drywall. The goal is to make the repair imperceptible to the touch. Wipe away any dust with a damp cloth.
- Paint: Apply touch-up paint to the repaired area. For small repairs, one coat is often sufficient, but follow the paint’s drying instructions and apply a second coat if needed for perfect coverage.
With repairs of this size, we find that we rarely have to repeat the process, unlike with larger repairs that often require multiple applications for a flawless finish.
Tackling Significant Damage: Repairing Larger Holes and Damage in Drywall
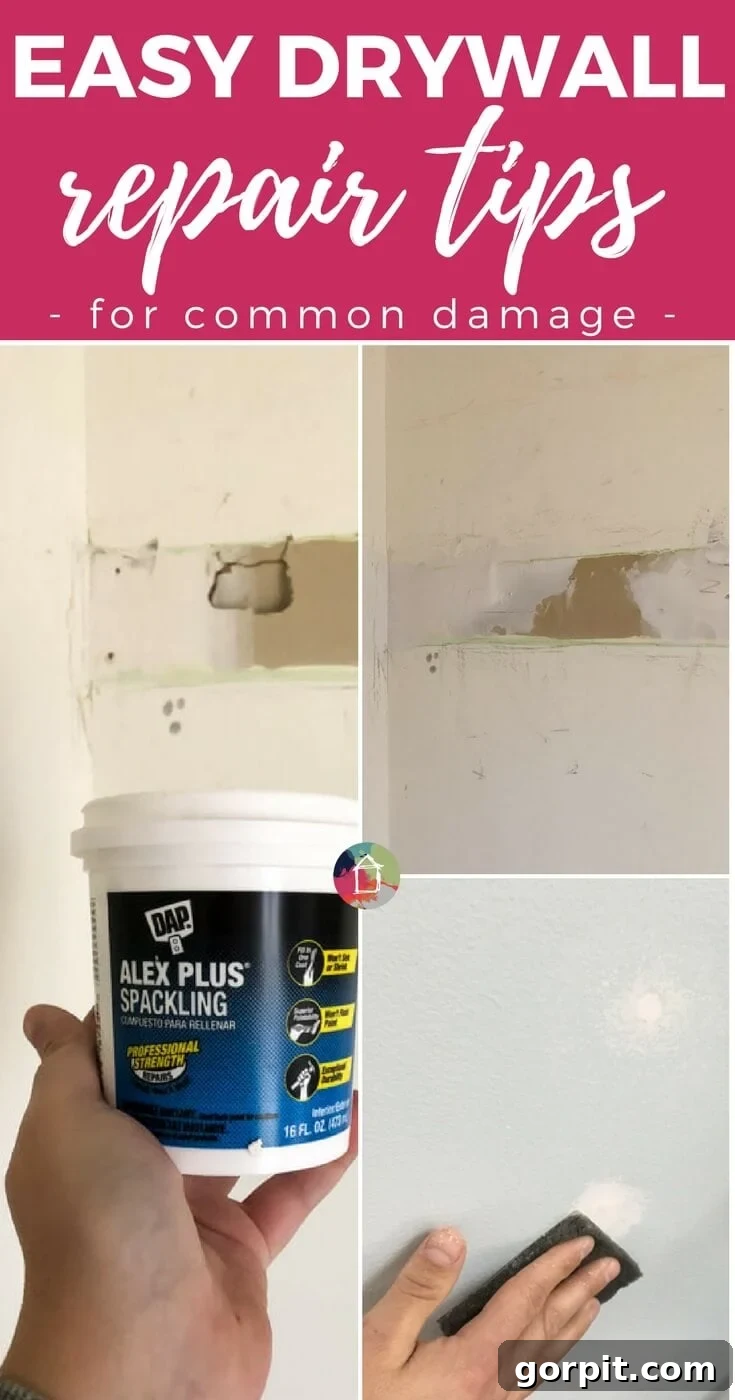
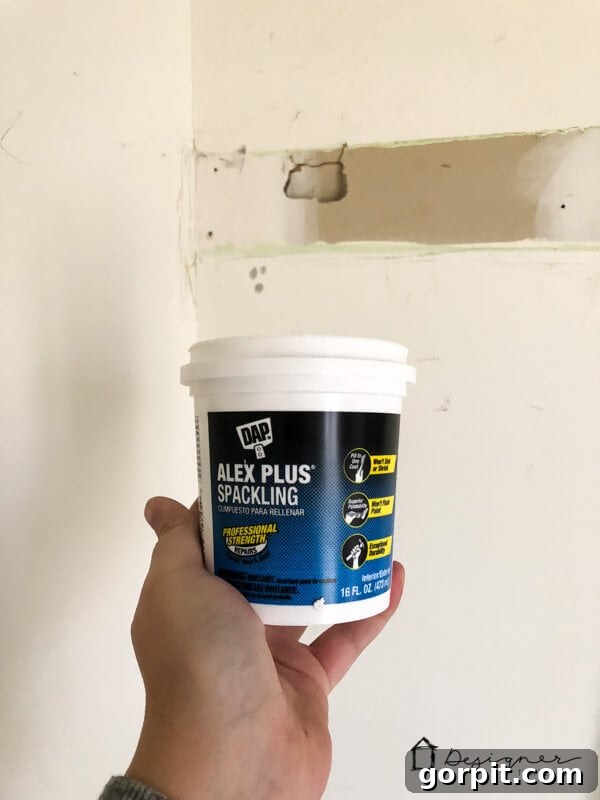
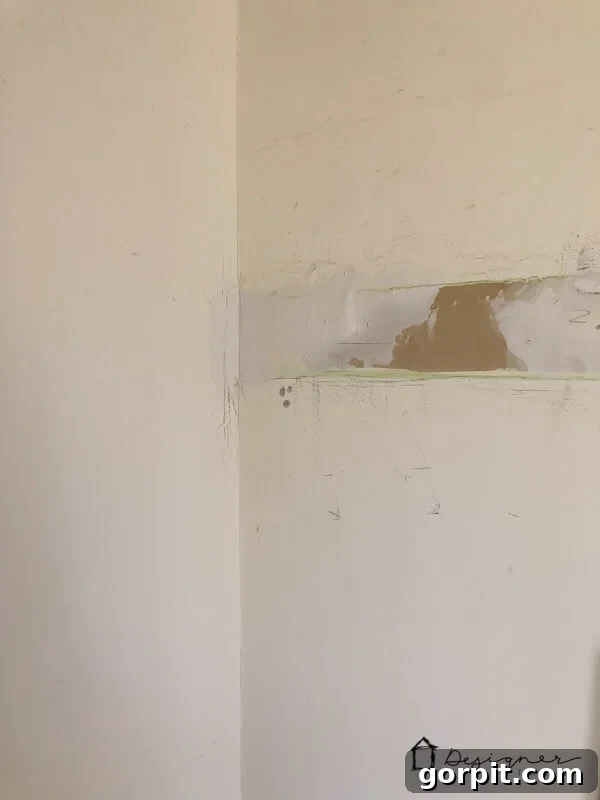
Let’s be honest, sometimes you end up with more substantial damage to your drywall. It happens to the best of us! For example, during a recent closet renovation, I might have gotten a little too zealous with my crowbar while removing old hardware, resulting in some rather sizable holes. Oops! For these larger repairs, a more robust spackling compound is essential to ensure durability and a smooth finish.
Tools & Materials Needed:
- DAP Alex Plus Spackling (or similar heavy-duty spackling compound)
- Metal putty knife (4-inch or 6-inch is helpful for wider coverage)
- Utility knife (optional, for trimming loose edges)
- Medium-grit sandpaper (100-150 grit) followed by fine-grit (180-220 grit)
- Sanding sponge or pole sander (for larger areas)
- Damp cloth or tack cloth
- Primer (optional, but recommended for consistent paint absorption)
- Paint and application tools
Step-by-Step Process:
- Initial Preparation: Begin by carefully scraping away any loose debris, jagged edges, or crumbling drywall from around the hole. A utility knife can be useful for creating clean edges around the damaged area, which helps the spackle adhere better and reduces the amount of compound needed.
- First Coat of Spackle: The only product I consistently recommend for these larger repairs is DAP Alex Plus Spackling. Its caulk-like consistency makes it much easier to work with when wet, allowing for smoother application and less dust when dry compared to traditional spackling compounds like DryDex. Apply the spackling compound with a metal putty knife, pressing it firmly into the hole and spreading it evenly until it’s level with the drywall surface. Feather the edges thinly to prevent noticeable ridges.
- Allow to Dry Completely: This is a critical step for larger repairs. Allow the spackle to dry for at least 24 hours, or as recommended by the product manufacturer. Rushing this step can lead to cracking or crumbling later.
- Thorough Sanding (First Pass): Once completely dry, sand the area thoroughly. Sanding well is absolutely crucial for achieving a seamless finish. Start with medium-grit sandpaper to remove any high spots, then follow with fine-grit sandpaper. Use firm but even pressure, smoothing the area until it’s virtually flat and flush with the surrounding wall. Wipe away all sanding dust with a damp cloth or tack cloth.
- Repeat Application (if necessary): For deeper or wider holes, a single application may not be enough to achieve a perfectly smooth and level surface due to slight shrinkage as the spackle dries. Inspect the repair closely. If you still feel dips or imperfections, apply another thin layer of spackle. Allow it to dry completely, then repeat the thorough sanding process. For the repair in our guest room closet, I had to repeat this process twice to achieve a perfect finish.
- Prime and Paint: After the final sanding and cleaning, it’s a good idea to apply a thin coat of primer over the repaired area. Primer helps seal the spackle and ensures that your new paint absorbs evenly, preventing “flashing” (where the repaired spot looks duller or shinier than the rest of the wall). Once the primer is dry, apply your wall paint. You may need two coats of paint to blend the repair perfectly.
What you should ultimately achieve after proper sanding, priming (if used), and painting is a wall that looks completely untouched—no detectable repair work whatsoever.
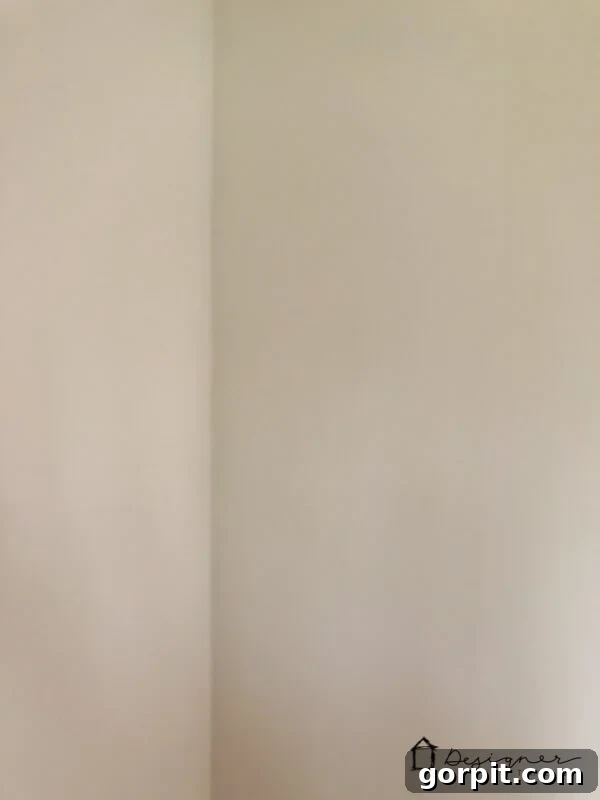
And there you have it! Simple yet effective tips for how to repair drywall for what I like to call “smallish” (yes, that’s definitely a word!) repairs. By following these steps, you can restore your walls to their original glory with confidence and ease.
If you encounter larger holes that you prefer not to tackle with extensive spackling and sanding, there are even easier methods! Check out my detailed tutorial on how to fix a hole in the wall the easy way using pre-made patches.
More Essential Home Repair Guides
SEE ALL HOME IMPROVEMENT POSTS
-
How to Fix a Hole in the Wall Yourself the Easy Way!
-
How to Fix a Door That Won’t Close
-
How to Match A Paint Color That’s Already On A Wall
-
How to Repair Holes in Your Doors
-
How to Repair Drywall: Tips for “Smallish” Repairs
-
How to Repair Chipped Baseboards
Wondering how I approach transforming rooms and spaces in our home? Dive into my proven methods with Designer in a Binder®, a simple and affordable system to help you decorate your home with confidence.
For exclusive content, behind-the-scenes peeks, and fresh DIY and design inspiration delivered straight to your inbox, be sure to subscribe before you leave!