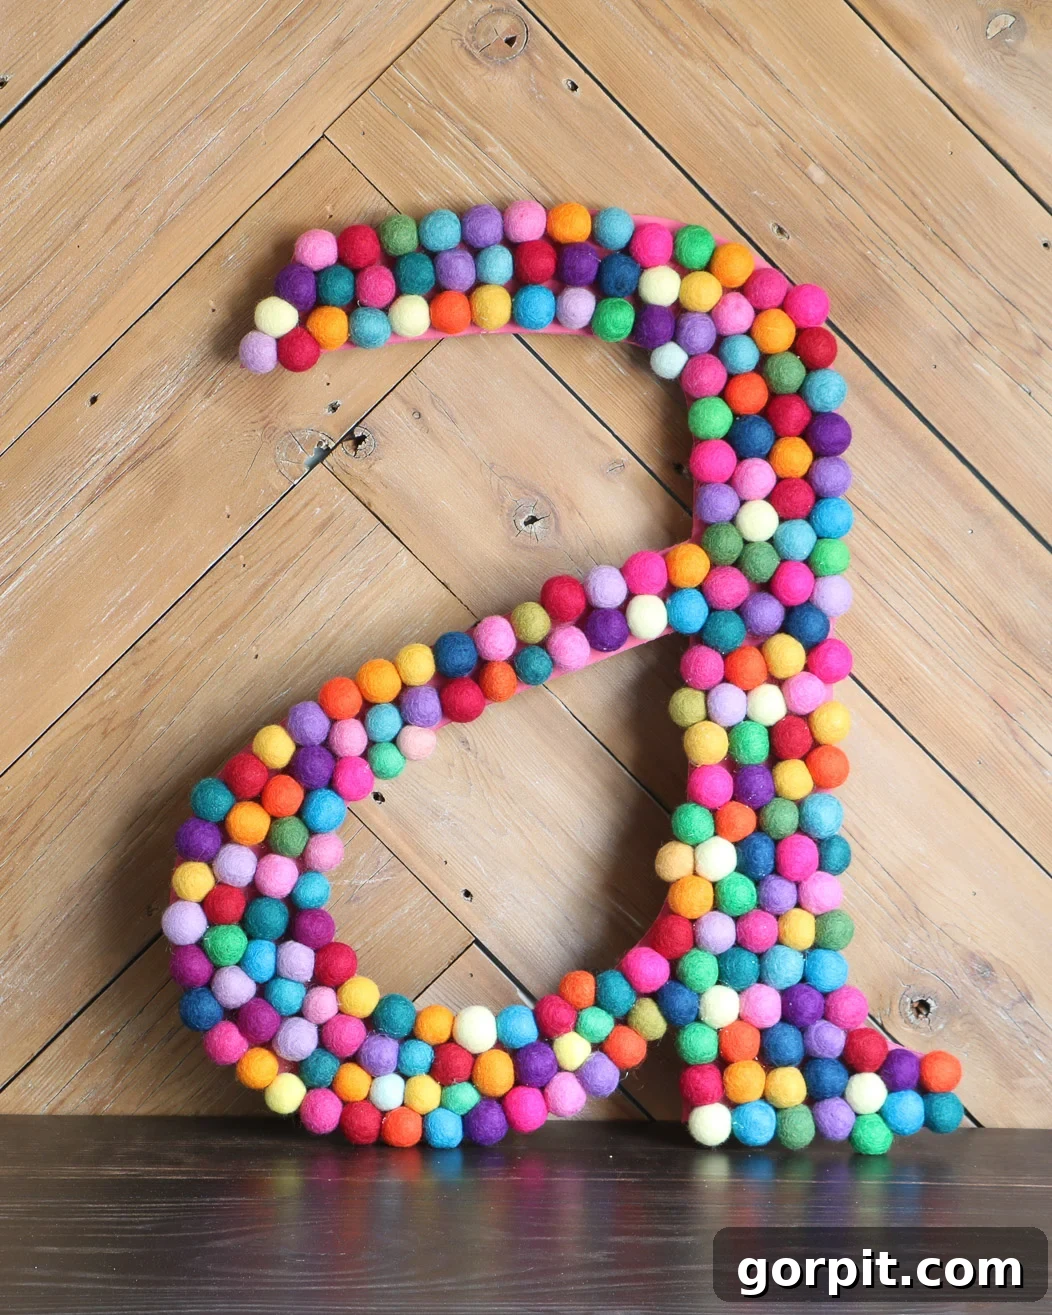
Are you searching for a unique and vibrant way to infuse personality into your home decor? Do you dream of adding a bespoke, personalized touch to a child’s bedroom, a lively playroom, or a serene nursery? Look no further than these captivating, oversized DIY wall letters! This project offers endless customization possibilities: choose any letter, size, and your favorite colors to create a truly one-of-a-kind piece of art. With a straightforward guide and just a few essential supplies, even novice DIY enthusiasts can craft this stylish and deeply personal wall decoration.
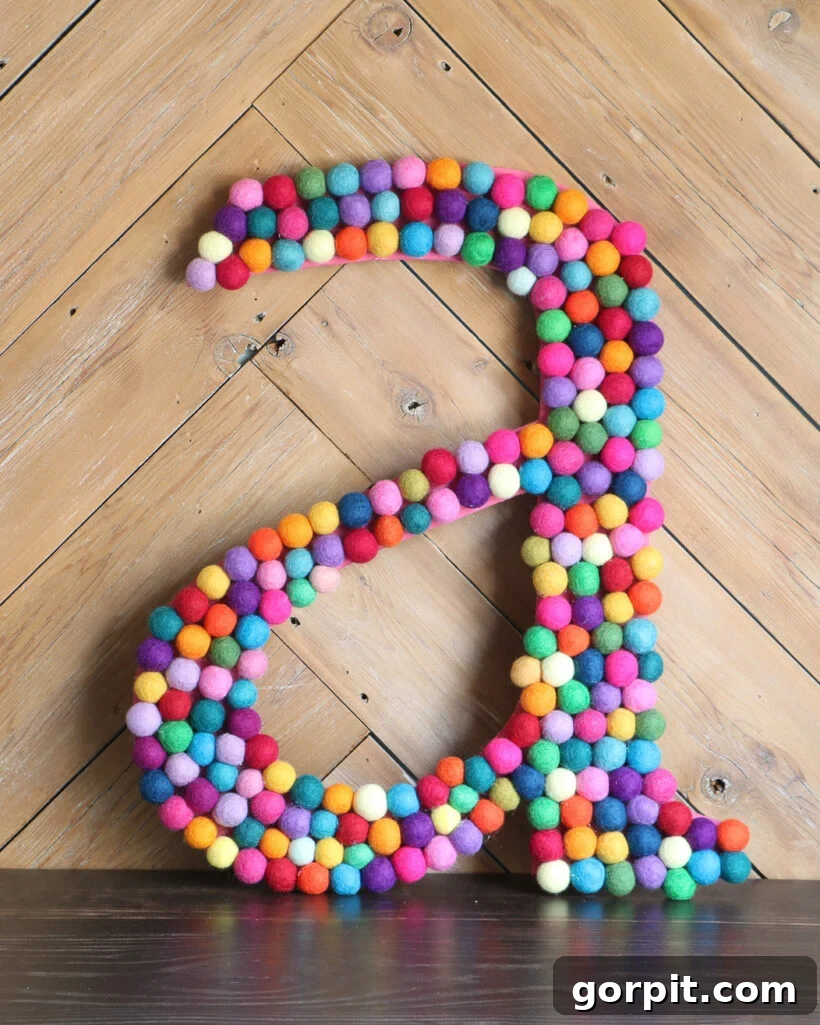
Table of Contents
Crafting Personalized Wall Art: Why Large DIY Letters Are Perfect
For those who have followed my decor journey, you know my enthusiasm for incorporating large, personalized letters into home styling. They offer such a delightful and intimate alternative to conventional art prints or canvases, transforming blank walls into statements of personality. My fondness for colorful felt balls is equally well-known, inspiring creations like my DIY felt ball wreath. This particular project beautifully marries these two passions: oversized letter decor and the whimsical charm of felt balls, culminating in vibrant, personalized wall art.
I originally crafted these radiant DIY wall letters for my twin daughters back in 2017 when they transitioned into their own bedrooms. Years later, these oversized letters remain a cherished part of our home. Their versatility is truly remarkable; they’ve graced various walls and rooms, adapting seamlessly to changing decor styles. Best of all, they were incredibly enjoyable and simple to create, proving that this is a project accessible to anyone, regardless of their DIY experience. Personalized initial art adds a touch of bespoke elegance and warmth to any space, making it feel uniquely yours.
So, let’s dive into the creative process! Read on to discover how you can craft your own stunning large DIY wall letters and add that special, custom touch to your home.
This post contains affiliate links for your convenience. Click here for my full disclosure policy.
Video Overview: Your Guide to Making Large DIY Wall Letters
This concise video offers an excellent visual walkthrough of the entire project, from inception to completion. I highly recommend watching it first to get a clear understanding of each step involved in creating your personalized felt ball letters.
Essential Materials for Your DIY Wall Letter Project
Gathering the right materials is the first exciting step in bringing your personalized wall letter to life. Here’s a comprehensive list of what you’ll need, along with some insights to help you make the best choices for your project:
- 2cm Wool Felt Balls: These are the heart of your project! The 2cm size provides excellent coverage and a satisfying visual texture. I consistently source my felt balls from this fantastic Etsy shop due to their quality and vibrant color selection. For a single large letter like the ones I made, you’ll typically need approximately 175 felt balls. Consider your desired color palette carefully – will you opt for a rainbow of colors, a gradient, or a more subdued, monochromatic theme? The choice of colors will greatly influence the final aesthetic of your personalized wall art.
- Adhesive: DAP RapidFuse All Purpose Adhesive is my go-to for this project. Its fast-setting properties (around 30 seconds for initial set) make the gluing process much quicker and more efficient. This strong bond ensures your felt balls stay firmly in place, creating a durable piece of decor that will last for years.
- Paint (Optional but Recommended): Choose a paint color that closely matches or complements your felt balls. I painted my letters before applying the felt balls so that any tiny gaps or visible edges of the letter base would blend in seamlessly. This simple step ensures a more professional and polished finish, preventing the base material from peeking through and distracting from the colorful felt balls.
Choosing Your Letter Base: DIY Cut or Pre-Made?
You have two main paths when it comes to the base of your large wall letter: cutting it yourself or purchasing a pre-cut blank. Each option has its advantages depending on your tools, skills, and time availability.
Option 1: To Cut Your Own Letter Base
Cutting your own letter offers maximum control over size, font, and material. It’s often the most cost-effective option for truly oversized letters.
- White Hardboard from Home Depot (or pre-cut hardboard on Amazon): Hardboard is an excellent choice due to its affordability and smooth surface, which is ideal for felt ball adhesion. Other suitable materials include MDF (Medium-Density Fiberboard) or plywood, which are also durable and readily available.
- Cutting Tools:
- Circular Saw or Utility Knife and Straight Edge: These are for cutting the hardboard down to a more manageable size before tracing your letter. Safety first – always use proper safety gear and techniques.
- Scroll Saw or Jigsaw: These tools are essential for cutting out the intricate shape of your chosen letter. A scroll saw is great for more detailed, smaller cuts, while a jigsaw is versatile for larger letters and quicker cuts.
Option 2: To Buy a Pre-Cut Letter Base
If you prefer to save time or lack the necessary tools, purchasing a pre-cut letter blank is a fantastic alternative. This option allows you to jump straight into the fun part: decorating!
- There are many readily available options for pre-made letter blanks, ranging in size from a convenient 12 inches up to impressive 30-inch giants. These are typically made from MDF, wood, or sometimes even sturdy foam.
- For an extensive selection of sizes and fonts, I recommend browsing CraftCuts. Look for their thin, MDF options for the most budget-friendly choice, which are perfect for covering with felt balls.
Below, you can scroll through some common options for pre-made letter blanks. Click on any image for full product details and to compare sizes and styles.
PRE-MADE LETTERS
Turn on your JavaScript to view content here.
Step-by-Step Tutorial: Create Your Own Felt Ball Wall Letter
Time needed: 4 hours
Crafting these DIY wall letters typically takes me about 4 hours per letter. However, if you opt for a store-bought, pre-cut letter, your project time will be significantly reduced! This tutorial includes instructions for cutting your own letter, but feel free to skip those initial steps if you’ve purchased a pre-made blank.
-
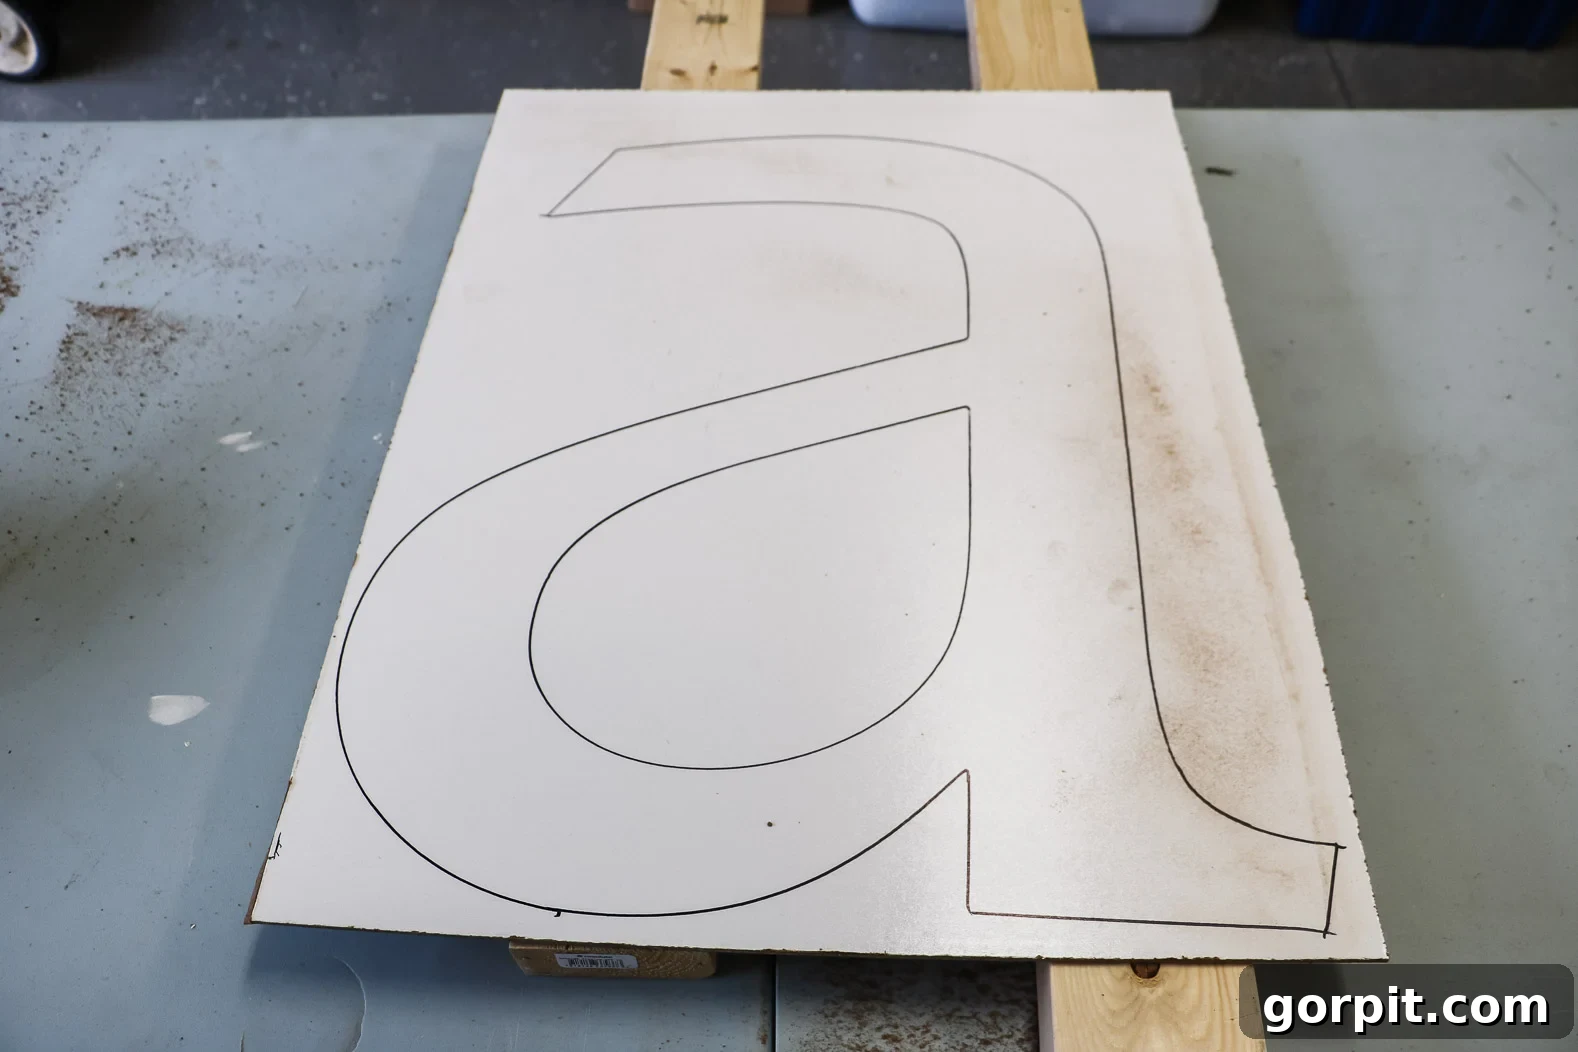
Draw or trace your letter onto your hardboard, MDF, or wood.
Begin by outlining your desired letter. For accuracy and size, I often trace an existing large letter or use a projector to scale up a font I like from my computer. You can select any font that speaks to your style – bold sans-serif fonts often lend themselves well to this project, but elegant serifs can also create a beautiful effect. If you’re feeling artistic, you could also freehand draw your letter. Remember, the felt balls are quite forgiving, so slight imperfections in the outline won’t be noticeable in the final product. Using a pencil allows for easy adjustments.

-
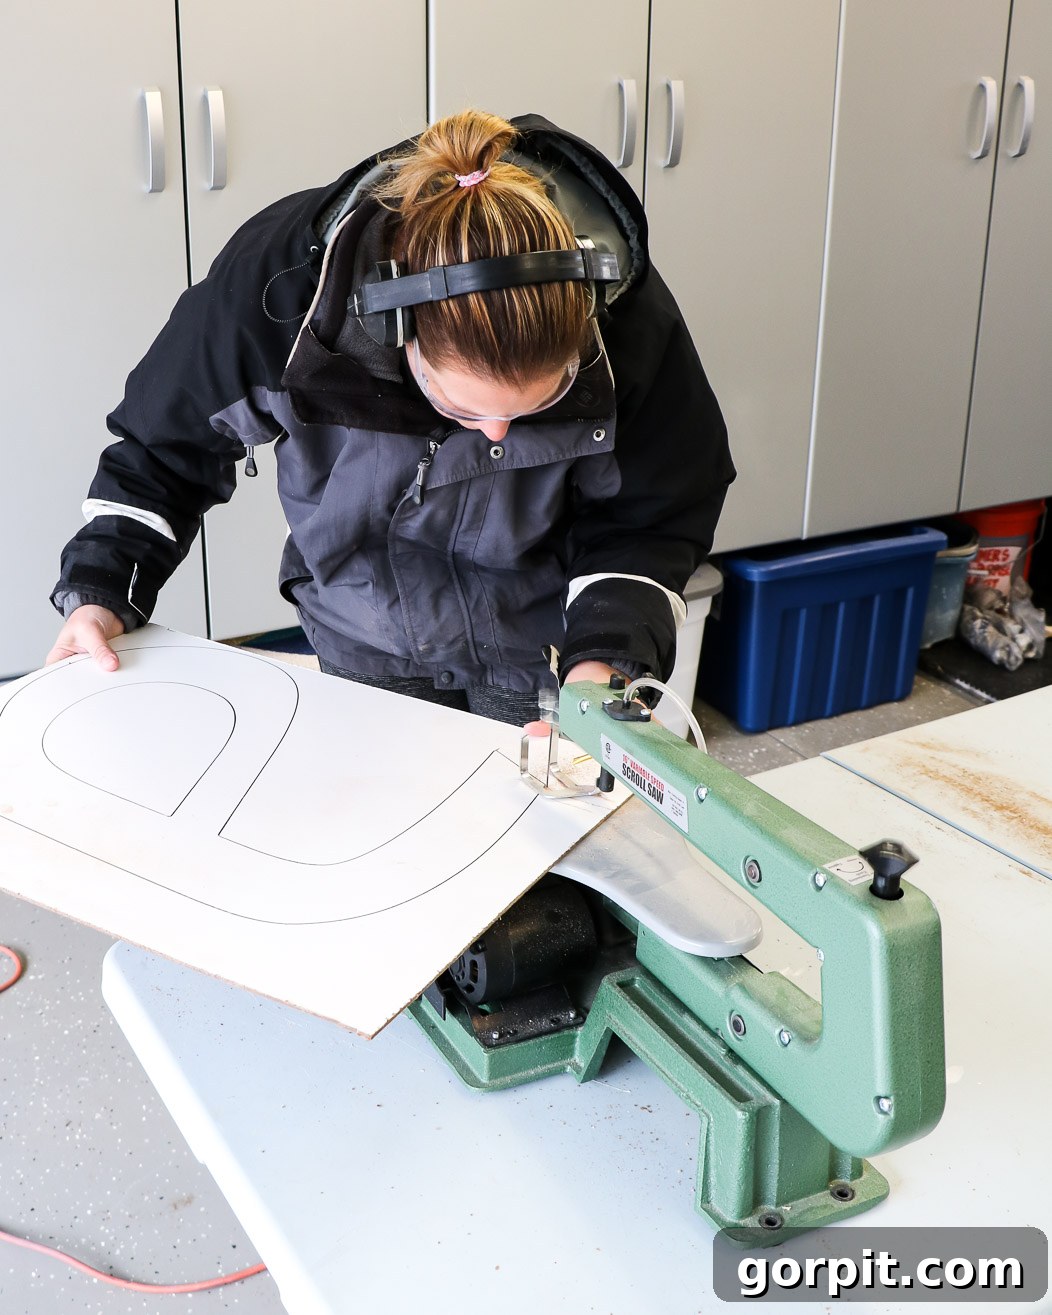
Carefully cut out the shape of your letter using a scroll saw or jigsaw.
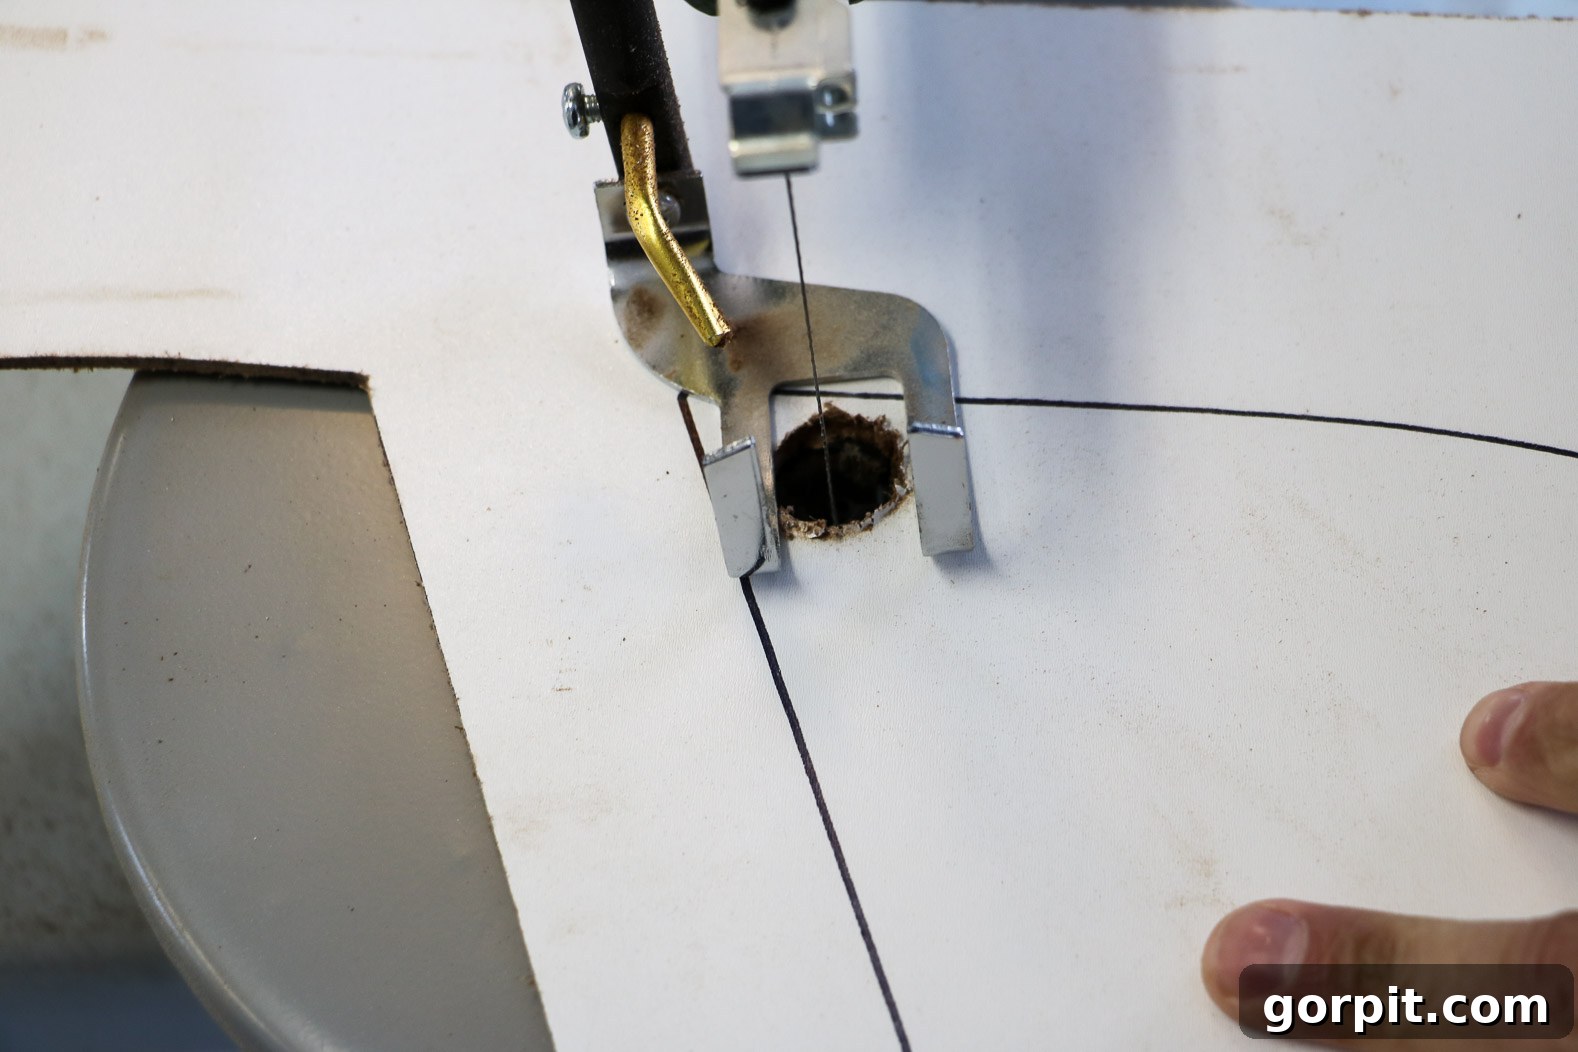
With your chosen cutting tool, meticulously follow your traced outline. Don’t stress too much about achieving absolute perfection at this stage – the felt balls will generously cover up any minor wobbles or uneven edges. This forgiving nature is one of the many reasons why felt balls are such a wonderful medium for these DIY letters. For letters that require internal cuts (like an ‘A’ or ‘O’), use a paddle bit or drill to create one or more starter holes. Once a hole is drilled, insert your saw blade and continue cutting along the inner lines. Always prioritize safety: wear appropriate eye and ear protection, and ensure your workpiece is securely clamped.
A close-up view of the scroll saw in action, precisely cutting the internal details of the letter.
-
Clean up the edges, if needed.
Once your letter is fully cut out, take a moment to refine the edges. A light sanding with fine-grit sandpaper (around 120-180 grit) will smooth out any rough spots or splinters, making the letter safe to handle and giving it a cleaner look before the next step. While the felt balls will cover the surface, smooth edges ensure a nicer overall feel and prevent snags.
-
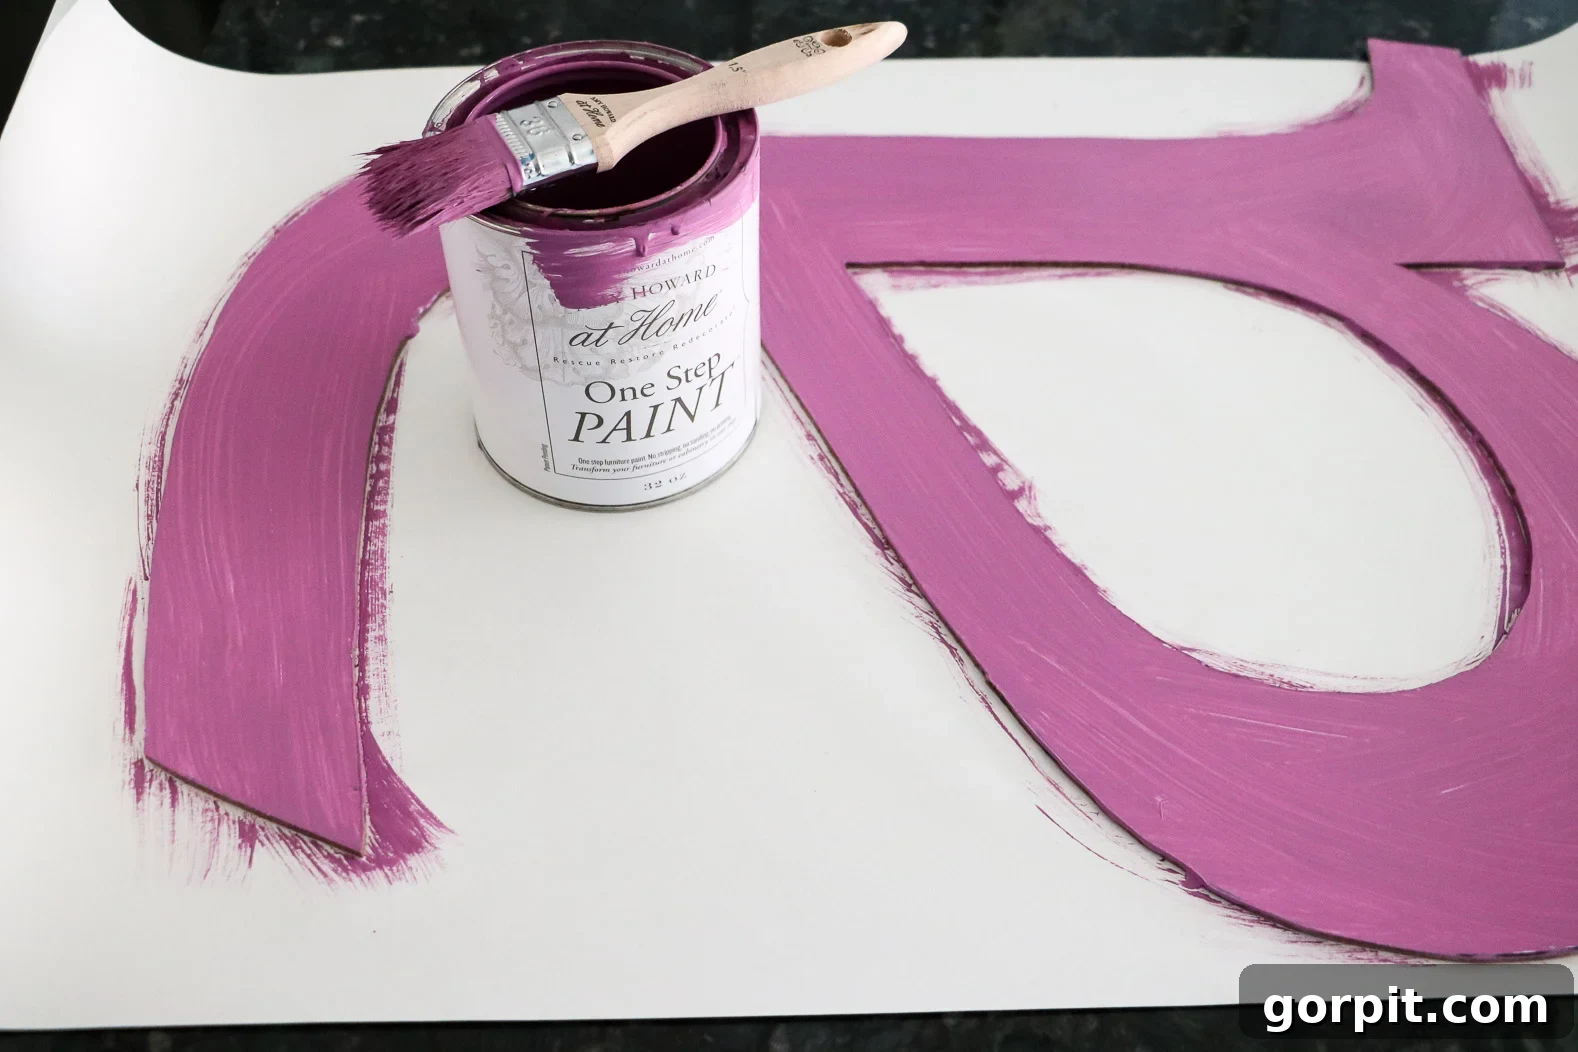
Paint your large wall letter.
This step, though optional, is highly recommended for a professional finish. Apply a coat of paint that closely matches or harmonizes with the colors of your felt balls. I chose to paint mine a soft purple, anticipating the felt ball colors I would use. The purpose of this is to ensure that if any small gaps appear between the felt balls, the underlying color blends in rather than standing out starkly against the raw material. This creates an illusion of a completely felt-covered surface and elevates the overall quality of your decorative letter.
-
Begin gluing on your felt balls with precision.
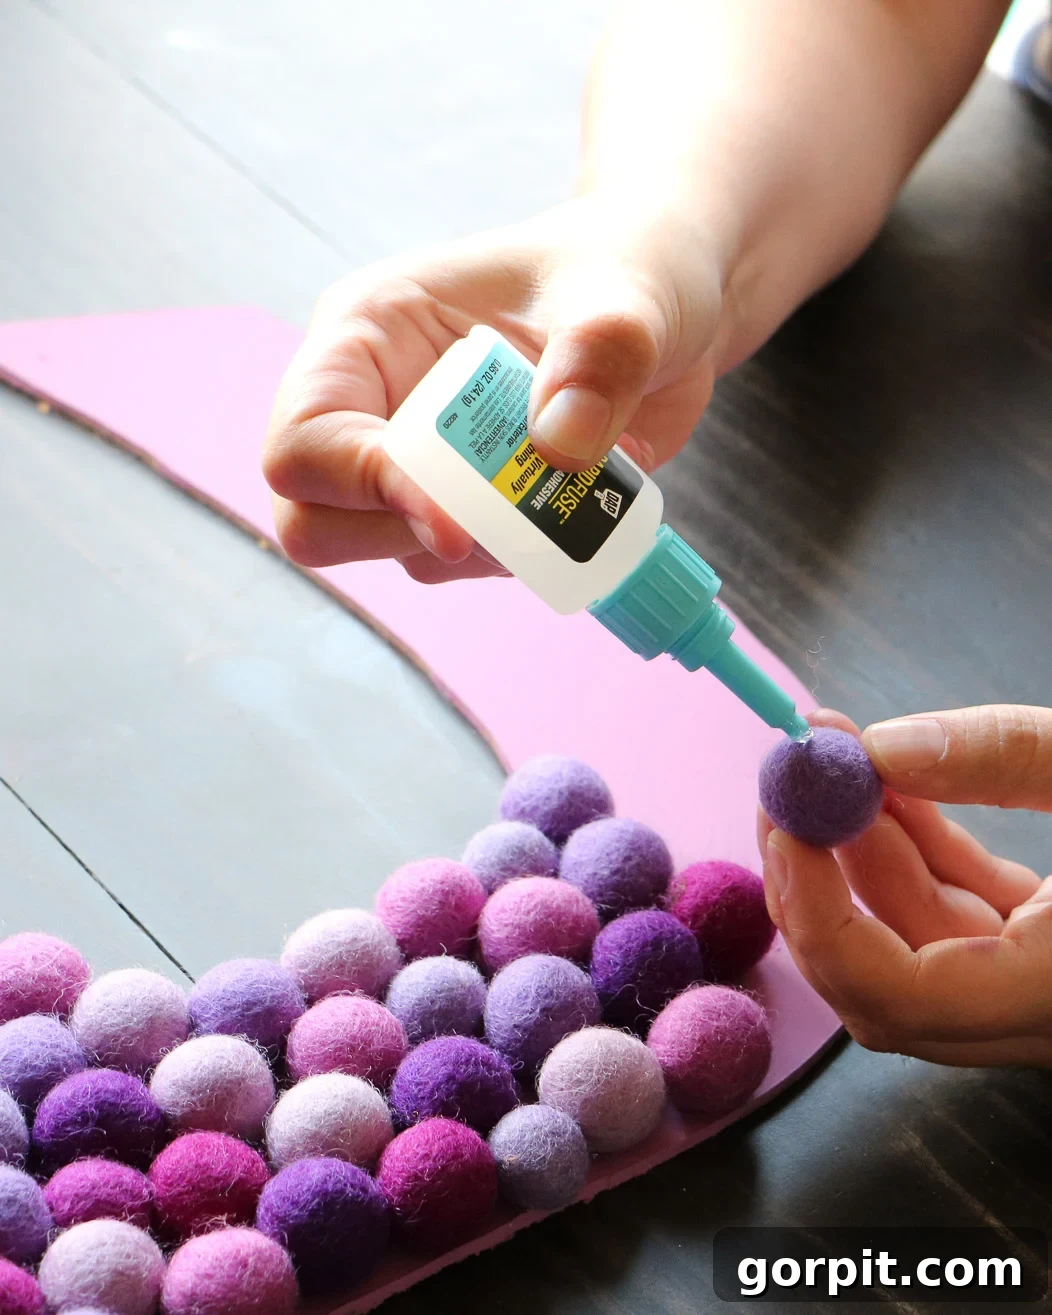
After your paint has thoroughly dried, it’s time for the most visually rewarding part: applying the felt balls! This is where your DIY wall letter truly transforms and bursts with personality. Felt balls are not only easy to handle but also exude a cheerful and adorable charm, making them ideal for initial or monogram wall art, especially for vibrant kid’s bedrooms, cozy nurseries, or playful playrooms.
To attach them, apply a small dab of DAP RapidFuse All Purpose Adhesive to the bottom of each felt ball. Carefully place it onto your painted letter, pressing gently but firmly. The RapidFuse glue begins to set in approximately 30 seconds, which allows for a good pace. You don’t need to hold each ball in place for the entire setting time; you can continue moving along and gluing more balls. Just exercise caution to avoid shifting any recently placed felt balls that haven’t fully adhered yet. Start along the edges or a consistent line to ensure an even and full coverage.
-
Allow your masterpiece to dry completely.
Once all your felt balls are securely in place and your letter is fully adorned, carefully lay it flat on a stable surface. Allow it to dry undisturbed for about 30 minutes, as RapidFuse fully cures and sets within this timeframe. This ensures maximum adhesion and durability. After the drying period, your brand new, visually delightful wall letter is ready to be hung and admired. Step back and enjoy the vibrant, personalized touch you’ve added to your space!
The Joy of Customization: Unique Wall Letters for Every Style
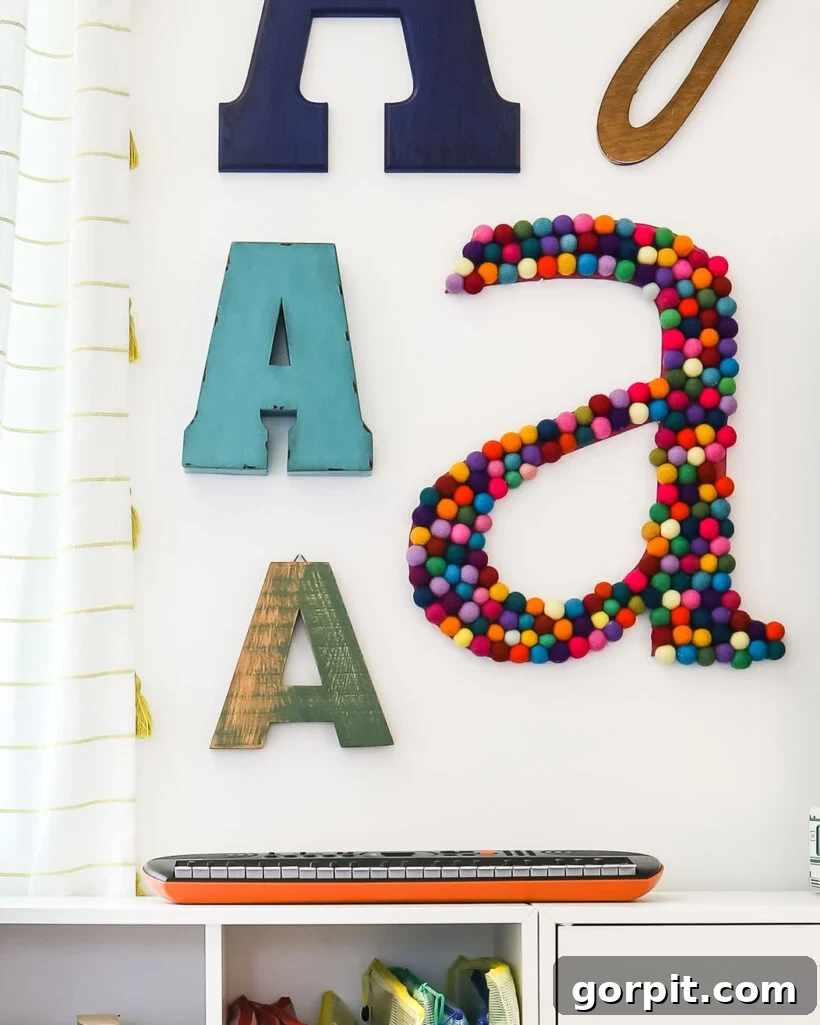
As you’ve seen, my twin girls each selected vastly different color palettes for their respective wall letters, truly reflecting their individual personalities! I adore how their vibrant wall letters are completely distinct, just like they are. The beauty of this project lies in its incredible customizability, allowing for endless variations depending on the typography you choose for your giant wall letter. Don’t be afraid to experiment with both serif and sans-serif fonts for your DIY initial art to discover a lettering style that perfectly captures your unique aesthetic and complements your home’s decor.
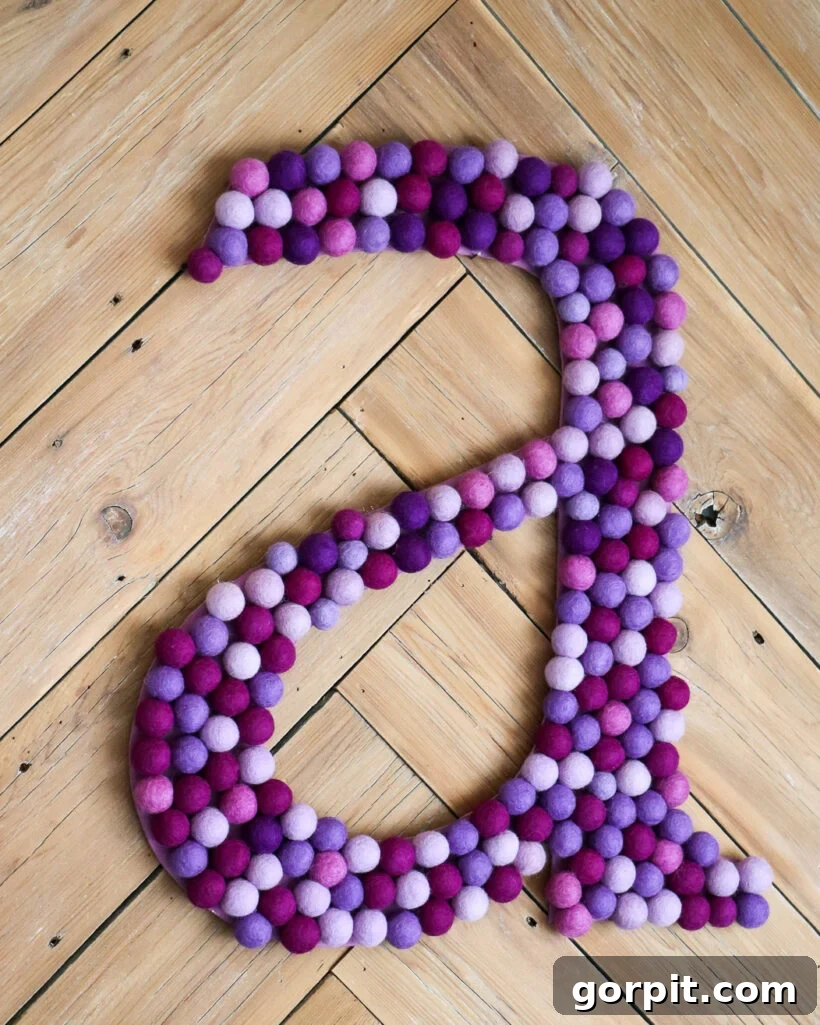
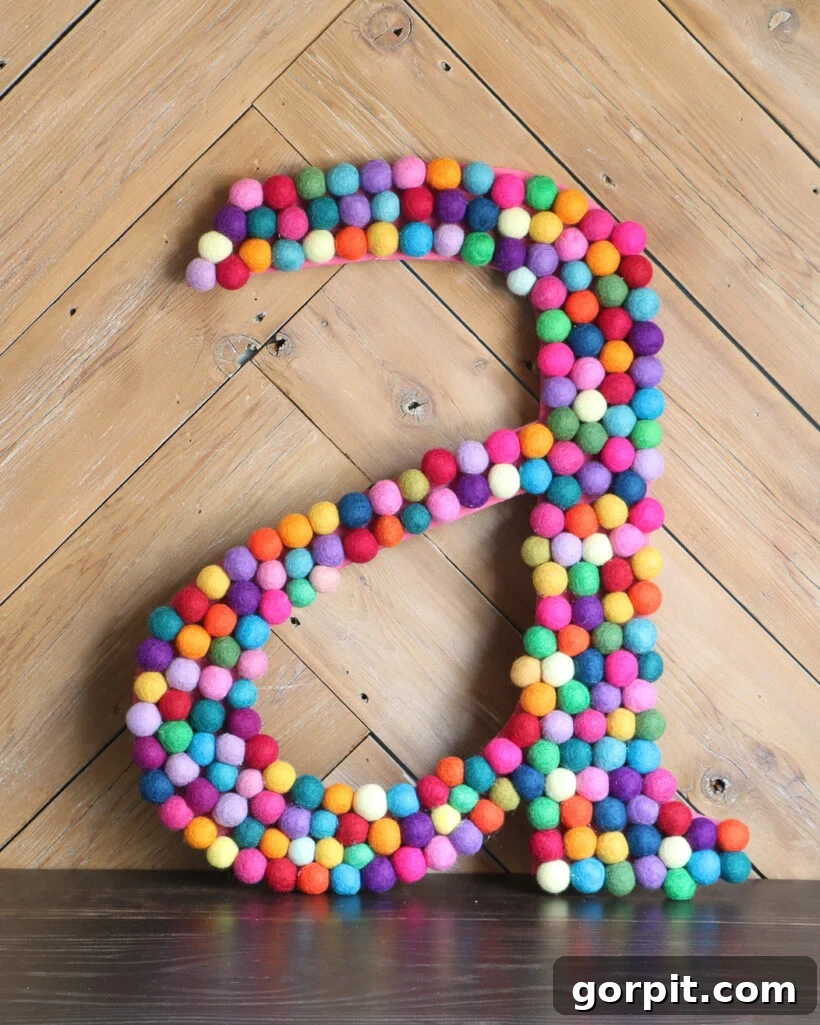
Attley’s Room: A Vibrant Journey
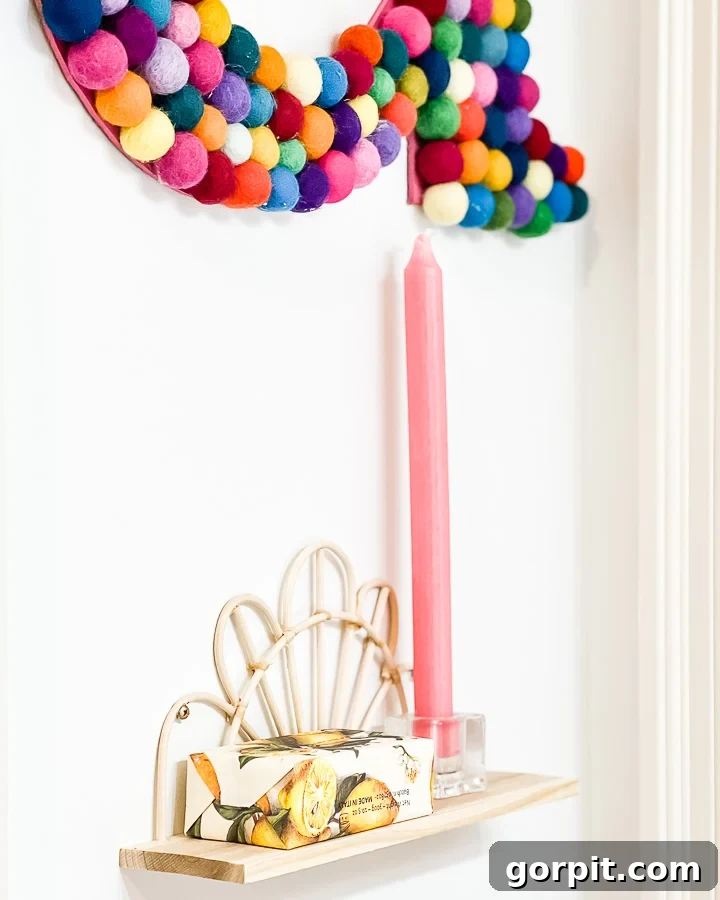
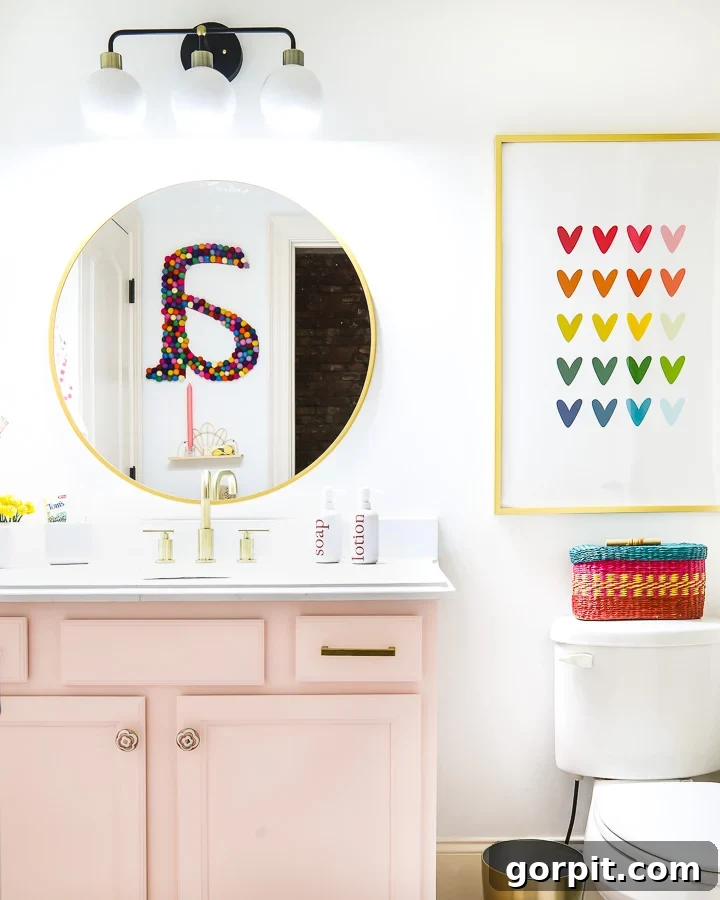
Here’s a glimpse into how Attley’s wall letter, a joyful explosion of “all the colors,” turned out. For many years, it held a prominent place in her bedroom in our previous home, evolving gracefully with her room’s changing themes and styles over time. It later found a temporary home in Attley’s vibrant bathroom, adding a whimsical touch to the space. Currently, this beloved piece of personalized wall art brightens our colorful family bonus room, serving as a constant reminder of personalized creativity and cherished memories. Its journey through our home truly exemplifies the adaptability and enduring appeal of custom DIY decor.
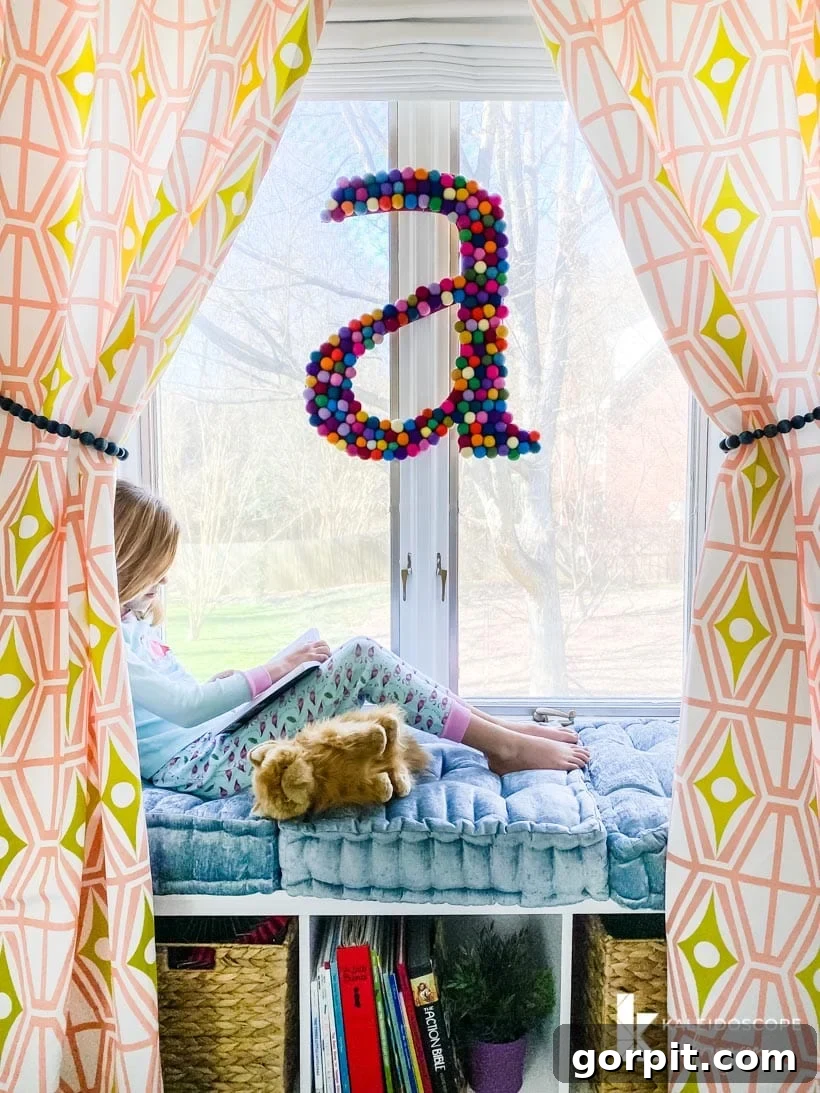
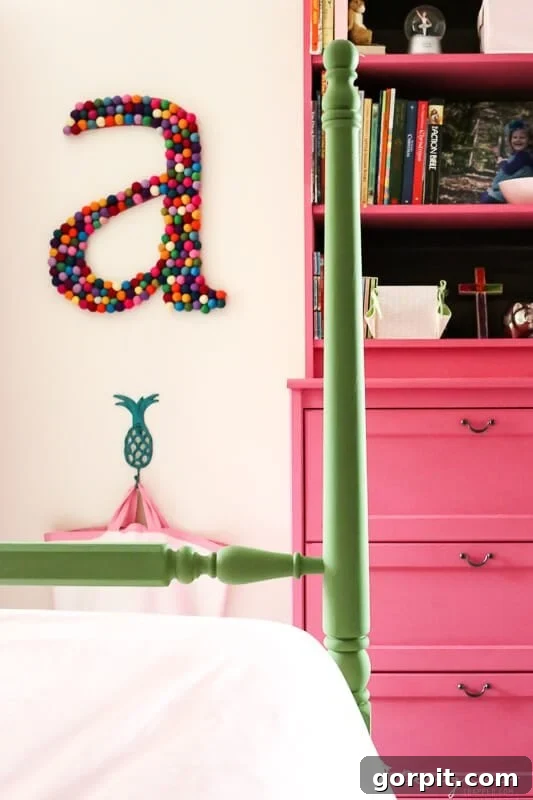
Avery’s Space: Evolving Style
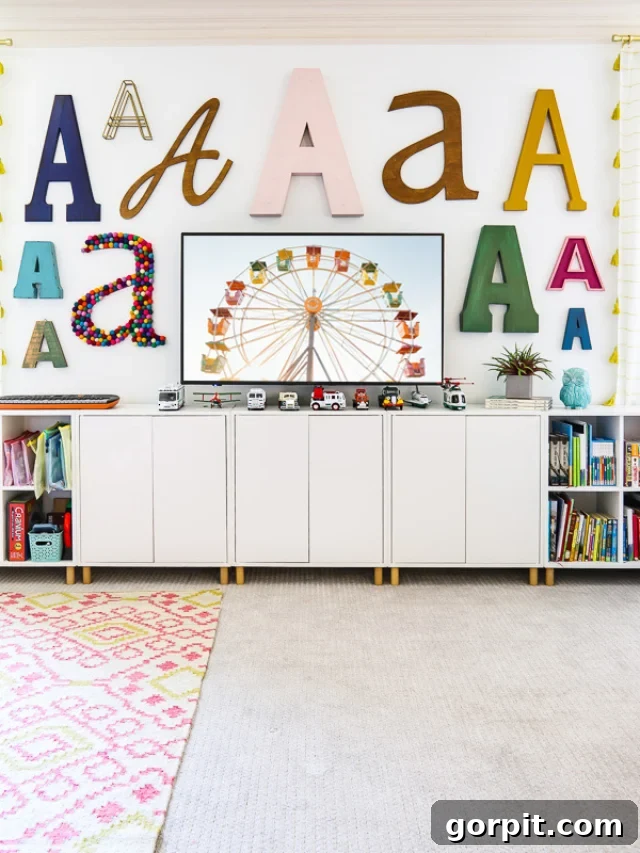
Avery’s wall letter has also experienced its own journey through different spaces. It proudly hung in her bedroom, which featured charming built-in bunk beds, for a significant period in our old home. Today, this unique piece of initial art adds character and a personal flair to Avery’s current mid-century modern bedroom. The longevity and adaptability of these felt ball letters truly make them a timeless addition to any room, growing with your family’s style and needs.
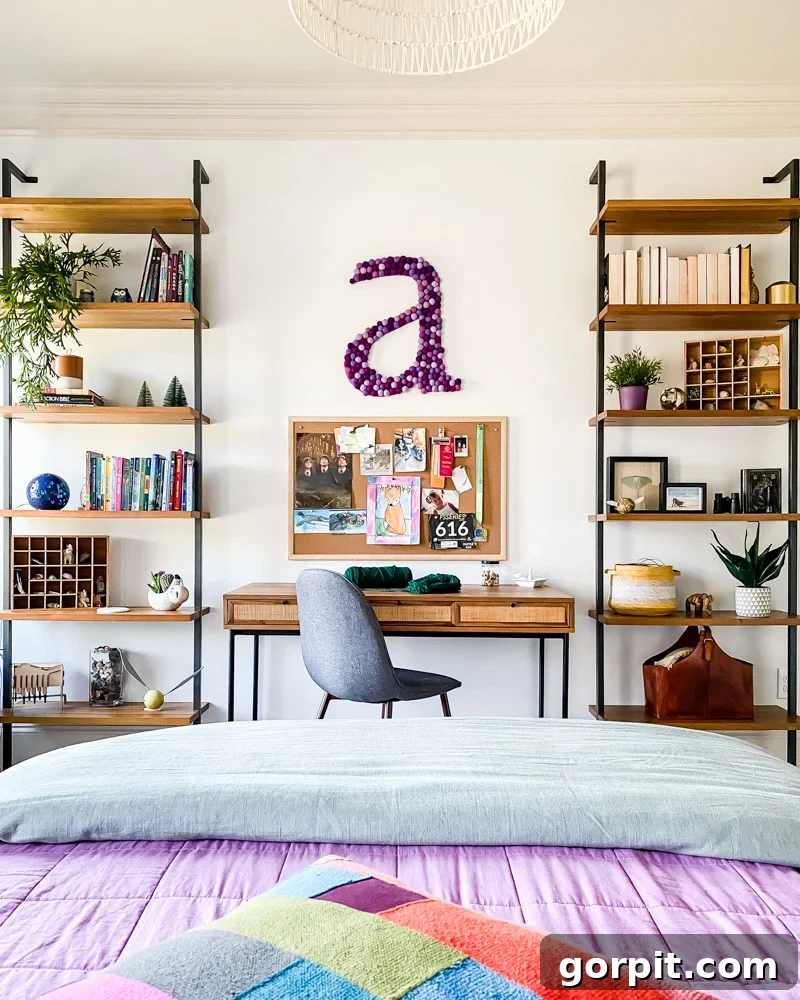
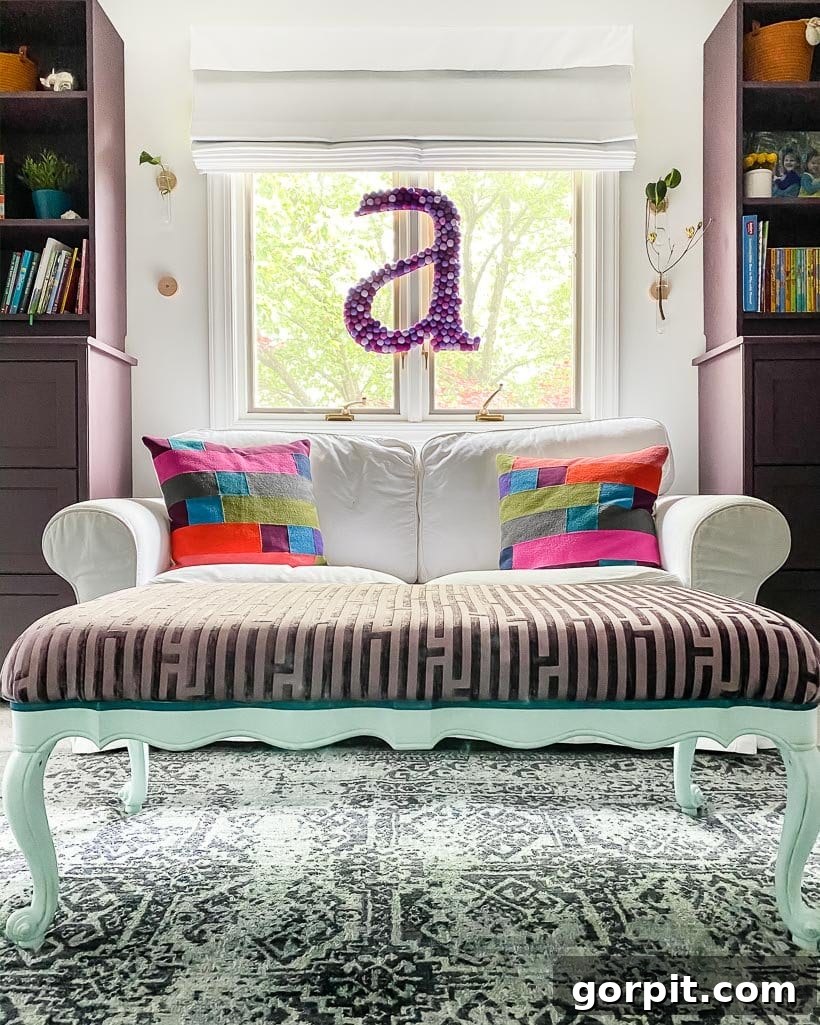
Need a link?
If you’re curious about the paint colors we’ve used in our current home or where we’ve discovered our furniture, art, rugs, and other decor elements, simply click below to explore our comprehensive home tour page!
Conclusion: Your Next Personalized DIY Adventure
And there you have it! I genuinely hope this detailed tutorial has left you feeling inspired and ready to embark on creating your very own custom wall letters. Having crafted ours over six years ago, I can happily attest that they remain one of our most treasured DIY wall decor projects. The sense of accomplishment and the unique charm they add to a space are truly unparalleled. This project isn’t just about making a decor item; it’s about crafting a piece of family history that can be cherished and passed down through generations. So gather your supplies, unleash your creativity, and enjoy the immensely satisfying process of making something beautiful and personal for your home!
More ART & Wall decor IDEAS
SEE ALL art POSTS
-
How to Display Art On Almost Any Smart TV
-
How to Make Faux Oversized Poster Hangers
-
DIY Light Up Wall Art
-
Make Large DIY Picture Frames For Less than $20 Each
-
DIY Magnetic Poster Hangers
-
27 Gallery Wall Ideas + Practical Tips to Inspire You
Other posts you may enjoy for further inspiration and DIY ideas:
- How to Make Vinyl Wall Quotes Yourself
- Colorful DIY Wreath Made from Felt Balls
- 16 Gallery Wall Ideas (and Tips) To Inspire You
- Fun and Stylish Playroom Ideas & Decorating Tips
- 16 Teen Bedroom Ideas for Boys + Girls
Curious about my unique approach to transforming rooms and spaces in our home? Be sure to explore Designer in a Binder® – your ultimate guide to affordable and stylish home decoration.
And for exclusive content, behind-the-scenes glimpses, and the latest updates, remember to subscribe to our newsletter before you go!
Stay connected and inspired!