
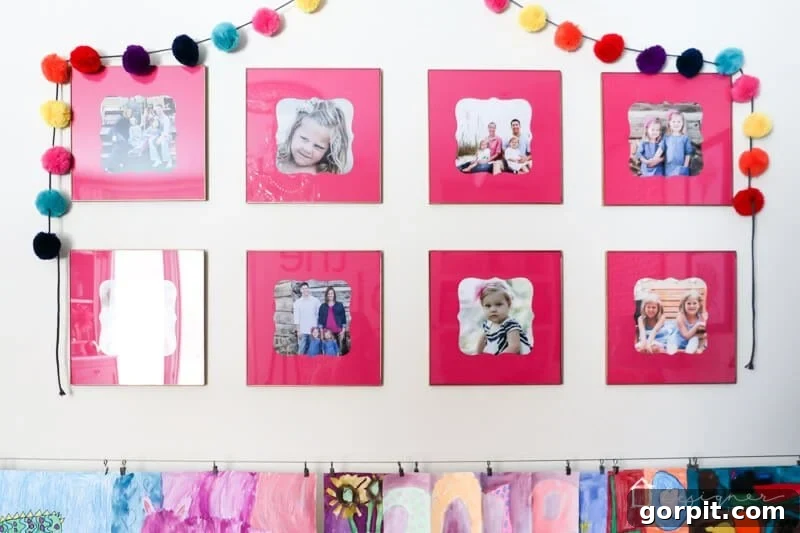
Unlock Creativity: Craft Your Own Custom DIY Picture Mats with Ease
Picture mats are an indispensable element for elevating your framed photographs, turning simple prints into captivating visual displays. However, finding the perfect mat can often be a frustrating and costly endeavor. Store shelves rarely stock the precise custom shapes or unique sizes you envision, and commissioning bespoke cuts can quickly inflate your project budget. But what if you could bypass these limitations entirely, creating stunning, personalized picture mats that perfectly complement your photos and decor?
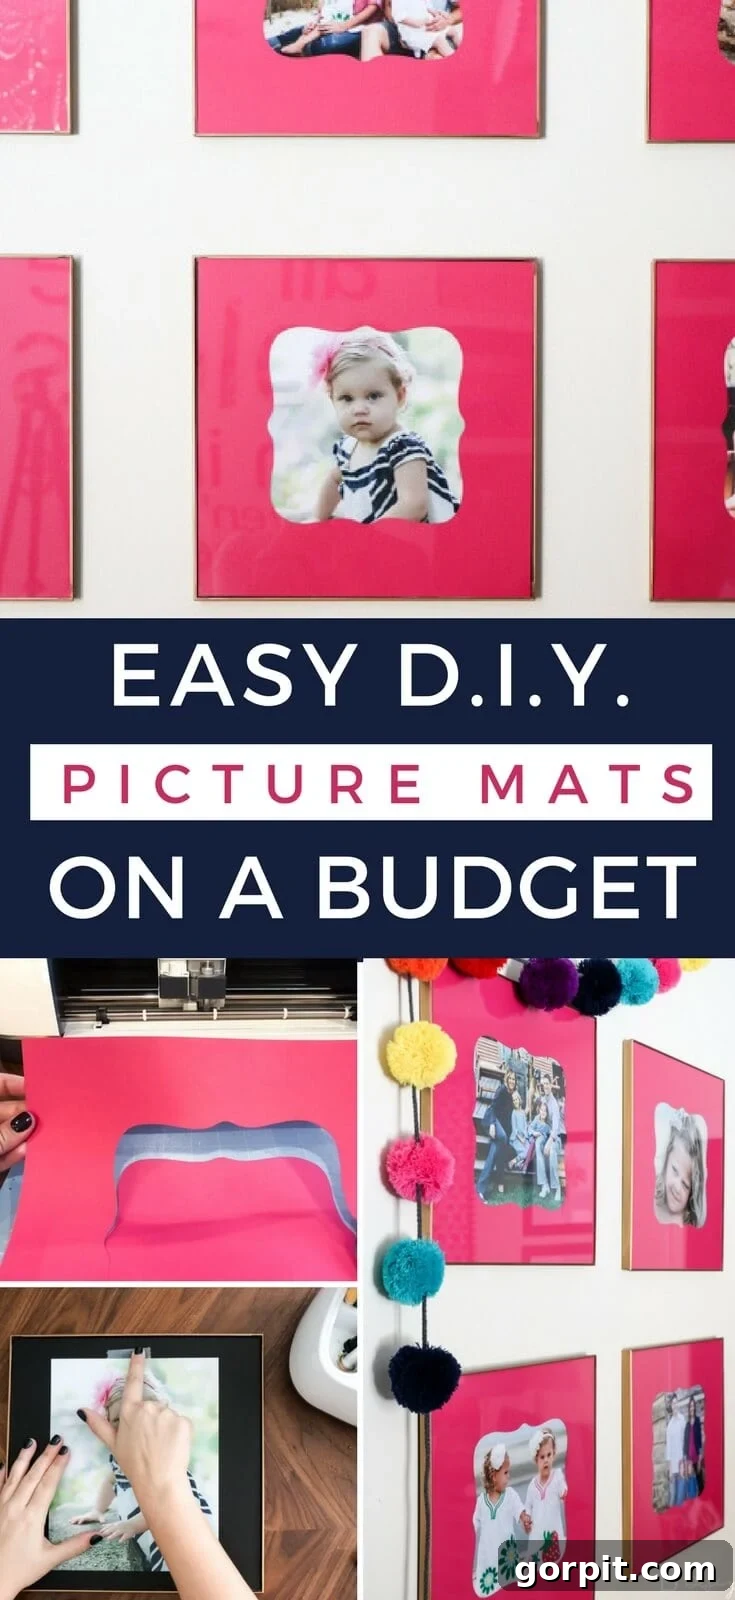
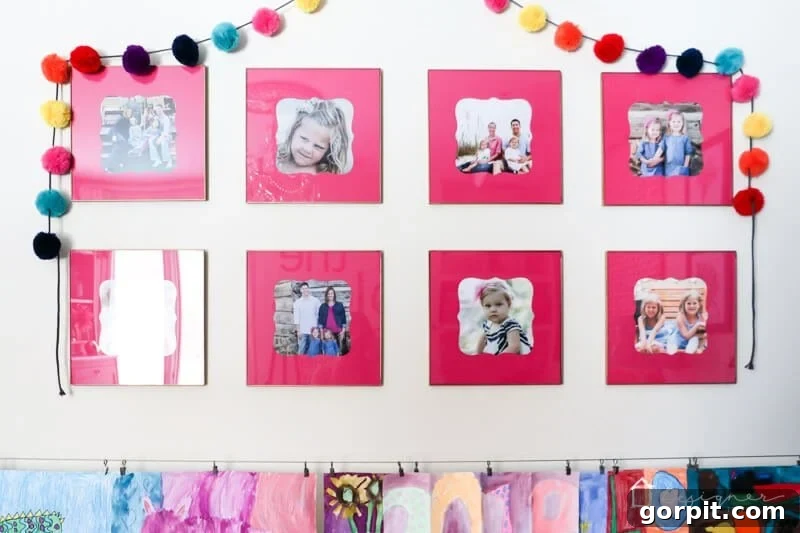
That’s precisely what we’re going to explore today! Like many DIY enthusiasts, I recently found myself facing this exact dilemma. After separating our twin daughters’ bedrooms, Attley’s room, though functional, felt incomplete. One wall remained an assortment of disparate items, lacking the cohesive touch I desired. More importantly, she noticed the absence of personal family photos, a contrast to her sister Avery’s room, which proudly displayed DIY photo canvases I had crafted months prior. This realization spurred a new mission: to create a heartwarming, personalized photo gallery wall for her.
My vision involved using square frames paired with photo mats that exuded a playful, “little girl flare.” Yet, despite extensive searching, commercially available options failed to meet my specific aesthetic or sizing requirements. Custom cutting services proved prohibitively expensive, quickly threatening to derail the project’s affordability. It was clear: a DIY solution was the answer. And so, with a little ingenuity and a lot of fun, I devised a method to craft custom picture mats for a remarkable total of just $4.00! This budget-friendly approach allowed me to achieve a high-impact look without breaking the bank. (And yes, despite my gentle suggestions for alternative colors, Attley’s heart was set on pink – a true pink enthusiast she is!)
This post is proudly sponsored by Cricut, a brand whose innovative tools made this project not only possible but incredibly enjoyable. Please note that this article contains some affiliate links for your convenience. This means that if you make a purchase after clicking on certain links, I may earn a small commission, at no extra cost to you. For a full understanding of my disclosure policy, please click here.
The Art of Personalization: Making Your Own DIY Picture Mats
Creating your own picture mats offers unparalleled benefits: complete control over size, shape, and color, significant cost savings, and the immense satisfaction of a truly personalized touch. Whether you’re aiming for a minimalist display or a vibrant gallery wall, this tutorial will guide you through the process step-by-step.
Essential Materials and Tools:
- High-Quality Cardstock: Opt for 12 x 12 inch sheets. The weight and texture of your cardstock can dramatically impact the final look. I found excellent deals on sturdy cardstock during a sale, costing me less than fifty cents a sheet – a fantastic budget find!
- Cutting Machine (Recommended):
- A cutting machine, such as a Cricut Maker, streamlines the process, ensuring precise and clean cuts every time. For this project, I utilized my Cricut Maker. Its versatility is exceptional, though a Cricut Explore machine would also be perfectly suitable as this particular project doesn’t require the rotary blade. If you’re curious about the full capabilities of the Cricut Maker, including its impressive ability to cut materials like crepe paper, fabric, wood, and thick leather, you can read my comprehensive review here.
- No Cutting Machine? No Problem! You can still achieve beautiful results. Simply create a template out of sturdy cardboard and use a craft knife with a self-healing mat to carefully make your cuts on the cardstock. While it requires more patience and a steady hand, the outcome can be just as rewarding.
- For those exploring cutting machines, a detailed comparison of Silhouette vs. Cricut can help you decide which machine best suits your crafting needs.
- Discover a wide array of projects you can create with cutting machines on this page.
- Square Photo Frames: I opted for 12 x 12 inch square frames, which provide a modern and cohesive look for a gallery wall. (More details on the specific frames I used and how I enhanced them will be shared soon!)
- Photo Prints: For these mats, 8 x 10 inch photo prints are ideal. I printed mine at home using this fantastic printer, which I’ve relied on for about a year with excellent results.
- Adhesive Tape: To secure your photos neatly behind the mats.
- Ruler and Pencil (Optional): Useful for precision, especially if cutting manually.
Step-by-Step Guide: Crafting Your Personalized Photo Mats
If you’d like a visual guide to this project, watch our detailed video tutorial:
[Video Player Placeholder: Click to watch the full tutorial on crafting DIY picture mats]
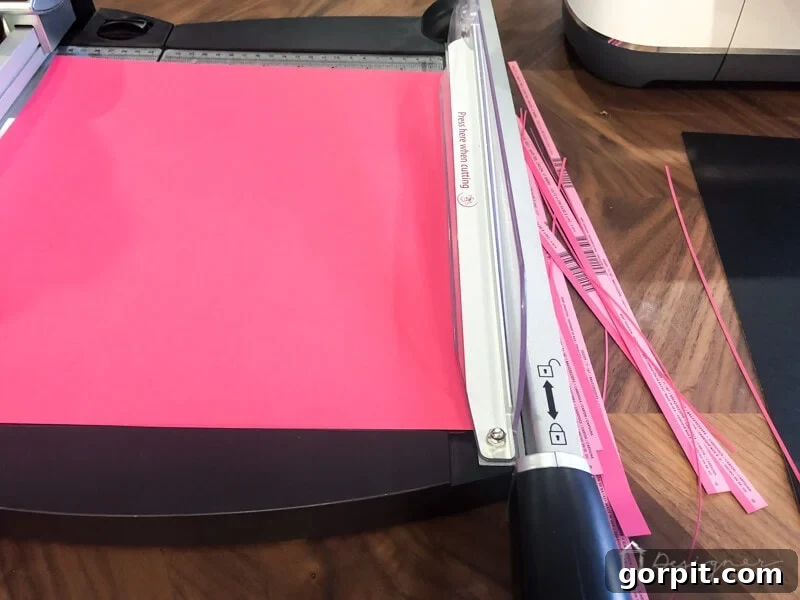
QUICK TIP: Many 12 x 12 inch cardstock sheets sold in stores are slightly larger than their stated dimensions due to barcode printing. Always measure and trim your cardstock precisely to 12×12 inches before beginning, ensuring a perfect fit for your frames and cutting mat.
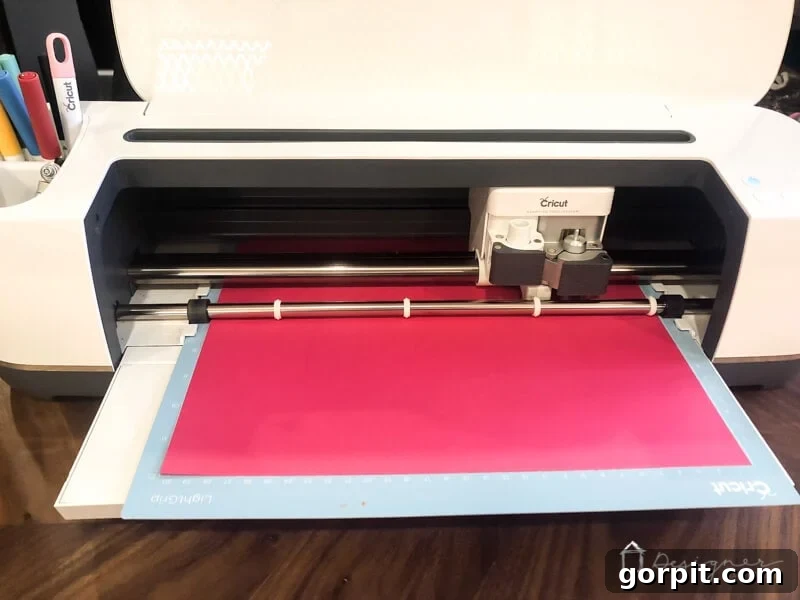
- Design Your Cut File: If you are using a cutting machine, begin by designing your mat in the corresponding software. For Cricut users, this means Cricut Design Space. You can access my exact cut file by clicking here, which provides a perfect 8×10 inch opening centered within a 12×12 inch mat. Ensure your design is precisely sized and centered on the software’s preview of your cutting mat.
- Verify Placement: Before initiating any cuts, double-check that your design is perfectly centered on the virtual representation of your cutting mat within the software. This critical step prevents misaligned cuts and wasted materials.
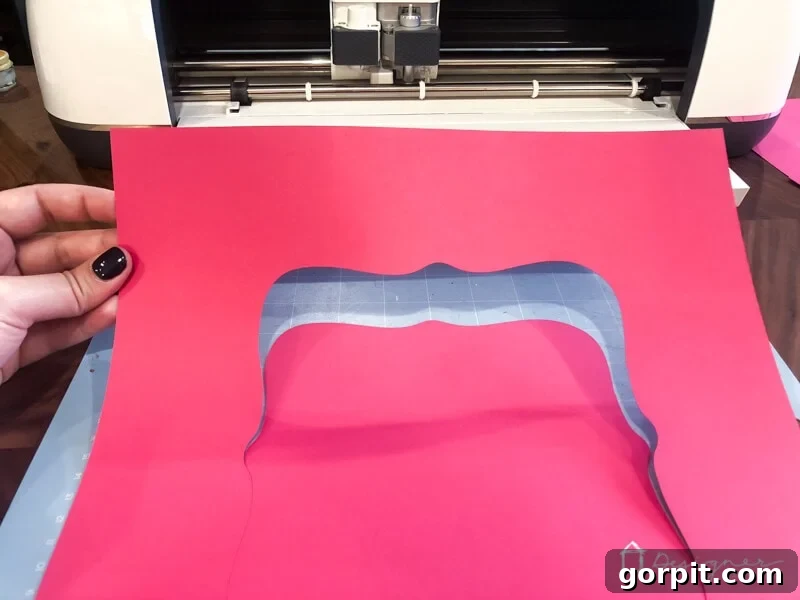
- Prepare for Cutting: Carefully place one sheet of your chosen cardstock onto your cutting mat. Select the appropriate material type in your cutting machine’s software. For the thicker cardstock I used, the “heavy card stock” setting worked flawlessly, delivering clean, crisp edges.
- Execute and Repeat: Initiate the cutting process. Once completed, carefully remove the cut mat from your machine. Repeat steps 1 through 3 for each DIY photo mat you need. For Attley’s gallery wall, I created 8 unique mats, each perfectly tailored.
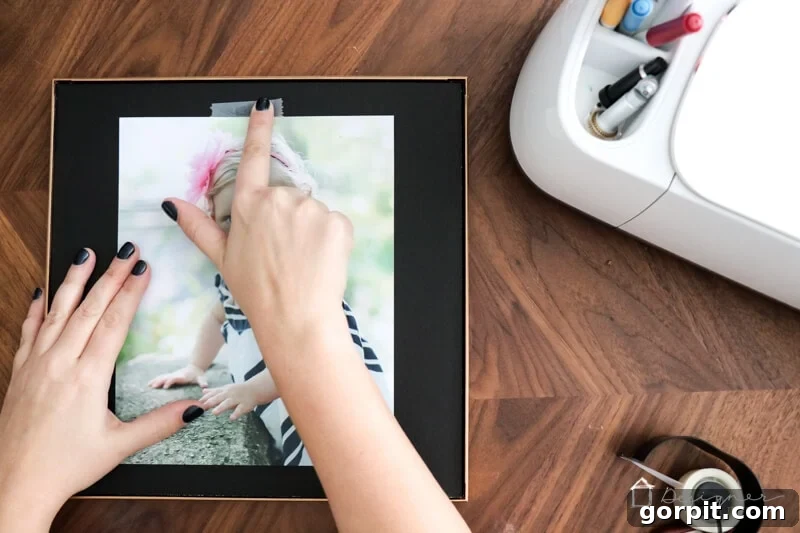
- Assemble Your Frame: Take one of your 8 x 10 inch photo prints and position it carefully behind the newly cut mat. Secure the photo in place using a small piece of tape on each corner or along the edges from the backside of the mat. This prevents the photo from shifting once framed.
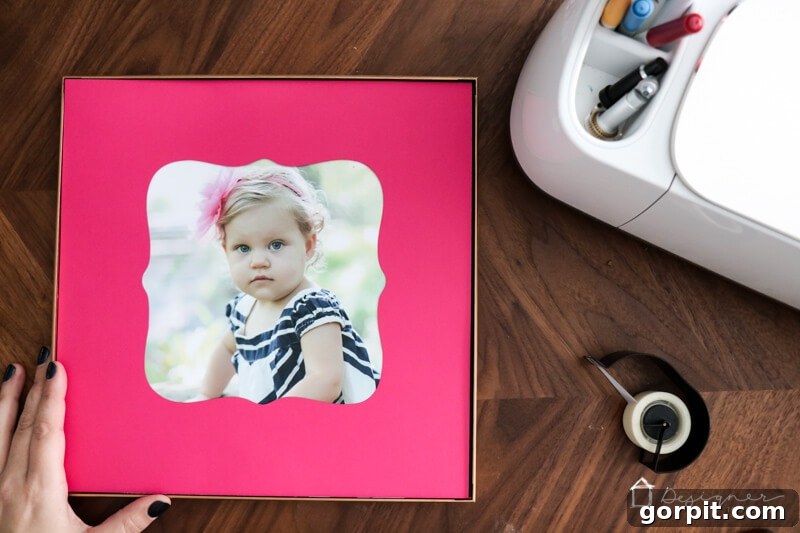
- Insert into Frame: With your photo securely attached to the mat, carefully insert the assembled mat and photo into your chosen 12 x 12 inch frame. Ensure it sits flush and the mat is perfectly aligned. Close the frame backing, and voilà! You’ve just created a professional-looking, custom-matted photo.
Bringing Your Gallery Wall to Life
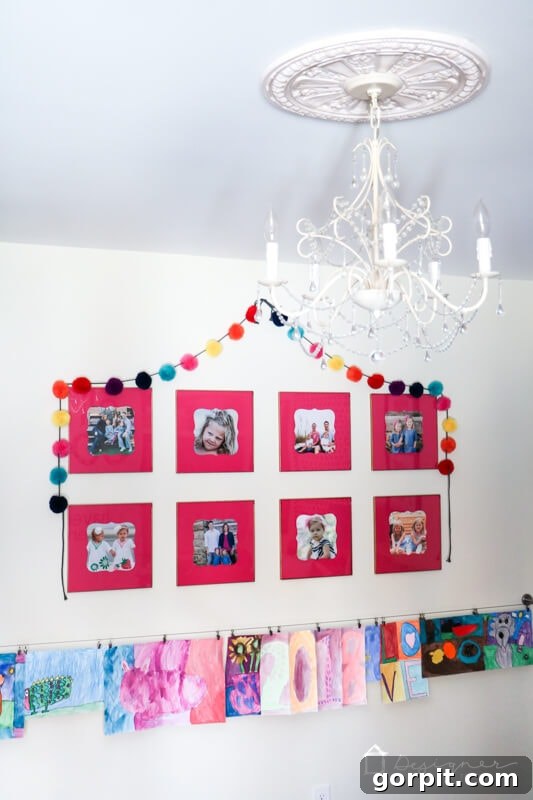
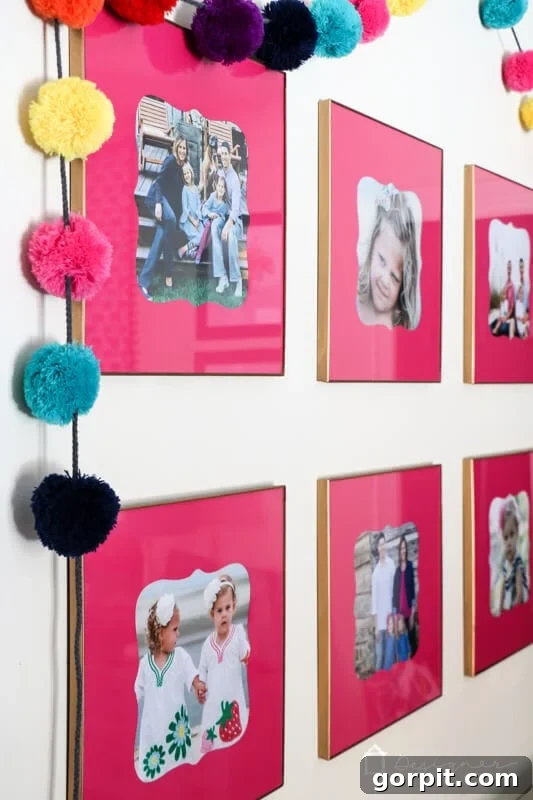
The beauty of DIY picture mats truly shines when brought together in a cohesive gallery wall. By making your own mats, you control the entire aesthetic. This project, combined with some incredibly inexpensive frame solutions I discovered, brought the total cost of Attley’s entire photo gallery wall to approximately $65.00. That’s a huge impact for such a low price point!
Now, Attley’s room boasts a vibrant collection of family photos, all beautifully framed with her favorite shade of pink. It’s a testament to how simple, affordable DIY projects can transform a space and add immense personal value.
Final Thoughts and Creative Possibilities
This DIY picture mat project is more than just a cost-saving hack; it’s an opportunity to infuse your personal style into your home decor. Imagine creating mats with scalloped edges for a whimsical touch, geometric cut-outs for modern flair, or even layered mats using different colored cardstock for added depth. The possibilities are truly endless when you’re no longer confined by off-the-shelf options.
Consider these custom mats for:
- Personalized Gifts: Frame a cherished photo with a mat designed specifically for the recipient.
- Seasonal Decor: Change out mat colors with the seasons or holidays.
- Children’s Art Display: Create vibrant mats to showcase little masterpieces.
- Themed Events: Design unique mats for wedding photos, baby showers, or anniversary celebrations.
With a cutting machine, a bit of cardstock, and this straightforward guide, you can transform ordinary frames into extraordinary display pieces, adding character and warmth to any room. So, ditch the expensive custom cuts and embrace the creative freedom of DIY. Your walls, and your wallet, will thank you!
This content was created and written by me, with sponsorship from Cricut. All opinions and experiences shared are entirely my own.
