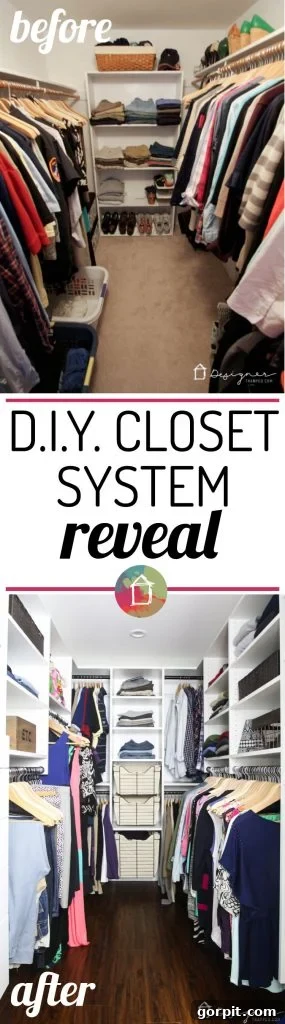
The transformation of a living space can be incredibly rewarding, and few areas benefit as dramatically from a thoughtful redesign as a master closet. Earlier this month, we hinted at the significant undertaking of installing our custom DIY closet system from EasyClosets. Today, we are absolutely thrilled to report that the installation process was remarkably smooth, culminating in a master closet that truly feels like a masterpiece! This journey from cluttered chaos to organized elegance is one we’re excited to share, detailing every step from the initial state of disarray to the glorious reveal. But before we dive into the stunning “after,” let’s revisit where we started and walk through the surprisingly straightforward installation process.
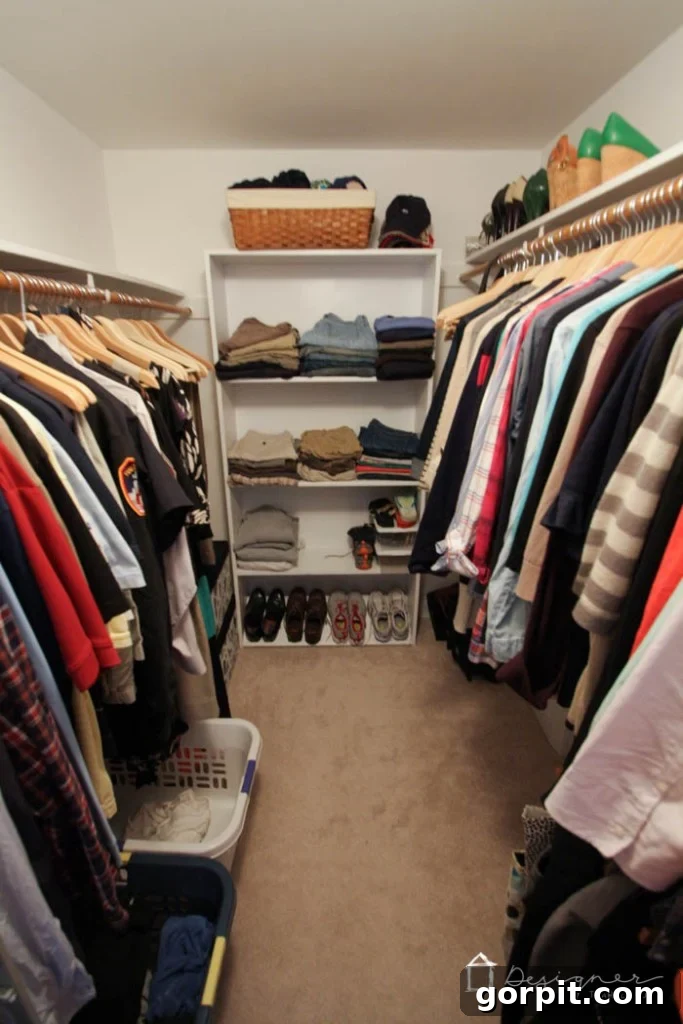
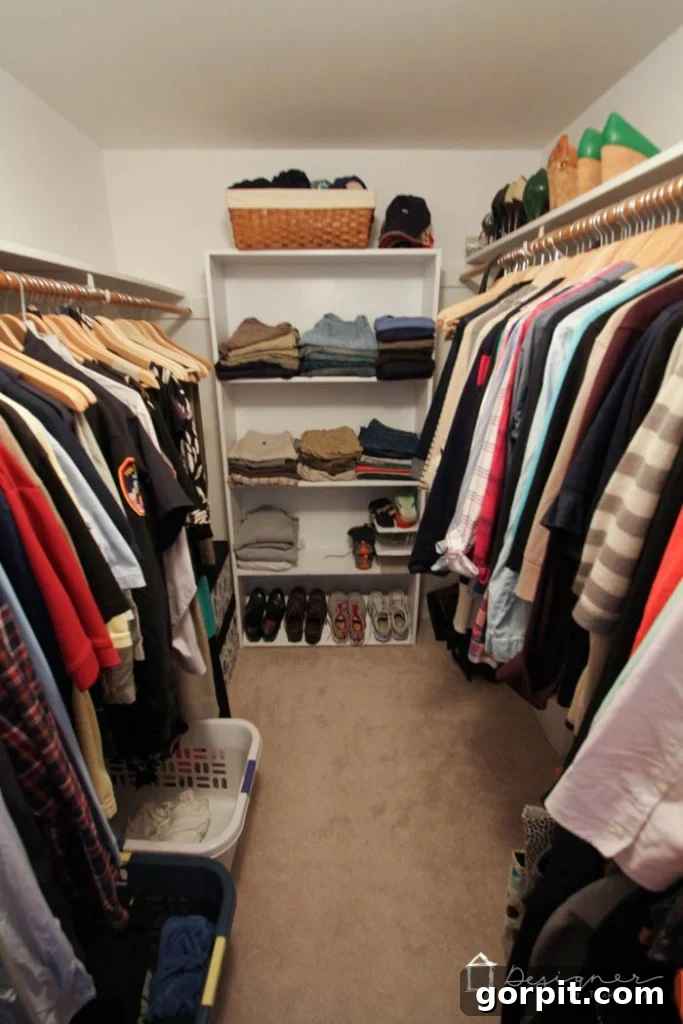
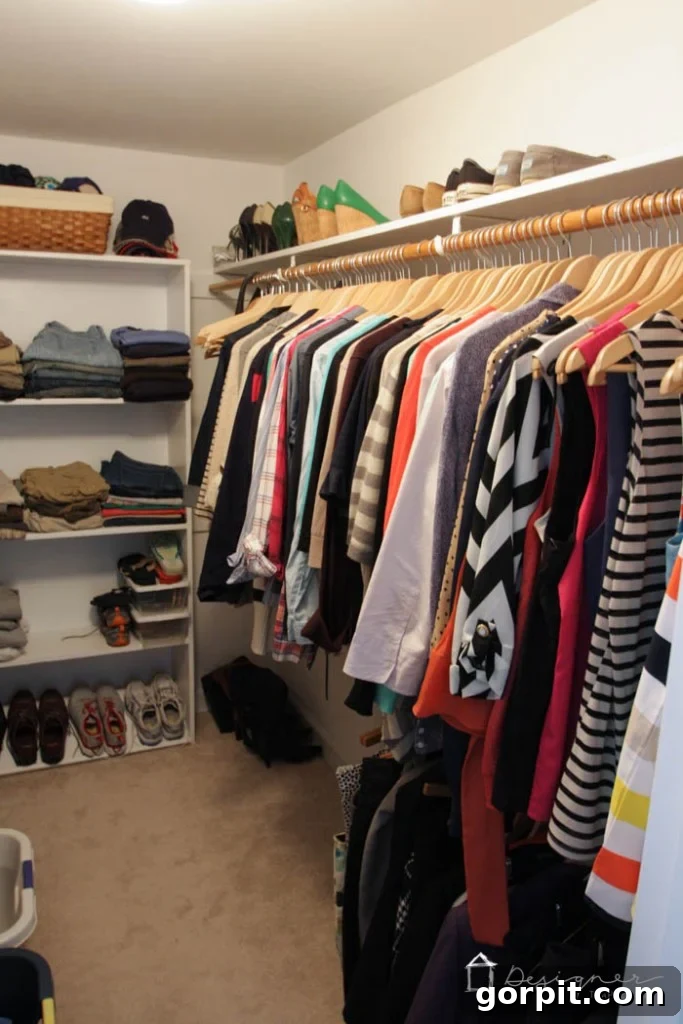
For the past three years, our master closet had remained largely unchanged, a space we knew was severely underutilized. Despite our aspirations for better organization, the sheer thought of transforming it felt daunting. As dedicated DIYers, we’re no strangers to home renovation projects. However, with numerous other ambitious DIY endeavors on our plate, embarking on a custom-built closet from scratch simply wasn’t a feasible option for us at the time. The intricate measurements, detailed planning, material sourcing, and construction involved in a truly custom solution demanded a level of time and dedication we couldn’t spare. This realization prompted us to explore readily available DIY closet system options that could offer both functionality and aesthetic appeal without the extensive commitment of a ground-up build.
Our search for the perfect closet solution was exhaustive, involving considerable research and comparison of various systems available on the market. We weighed factors such as cost, material quality, ease of installation, and customization possibilities. After careful deliberation, we confidently chose to install an EasyClosets system. Their reputation for quality and the comprehensive design tools they offer were key deciding factors. For an in-depth look at our design journey and the specific plans we developed for our closet, including the initial brainstorming and layout choices, we encourage you to read all about the design process and our specific closet plans in this post. Understanding the design phase is crucial as it lays the foundation for a successful and highly functional closet space tailored precisely to your needs and preferences.
DIY Closet System: Planning & Installation Insights
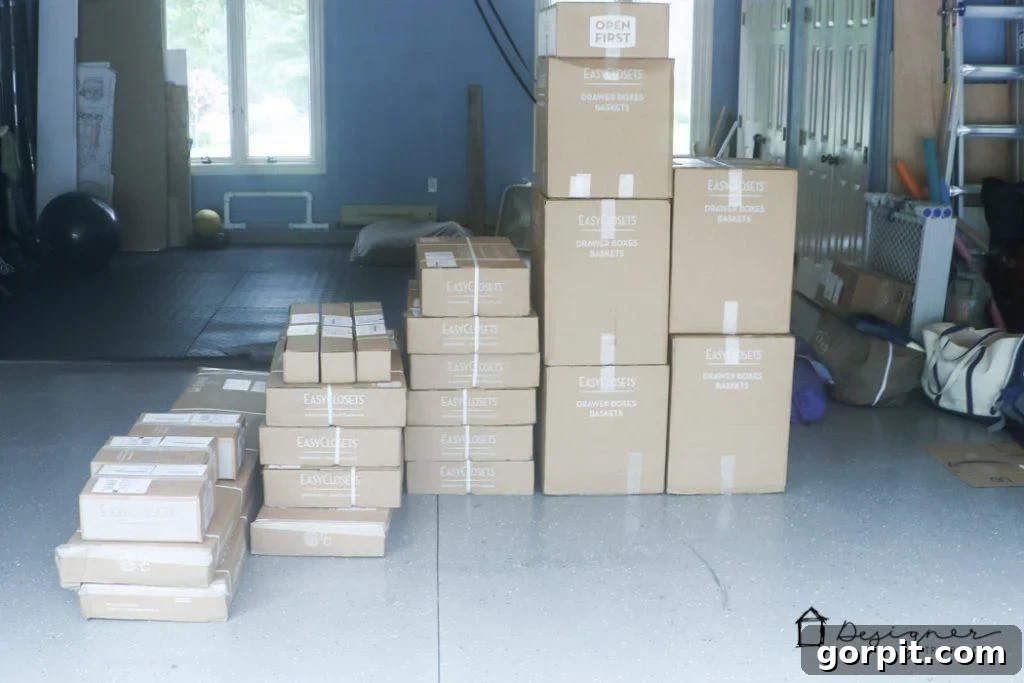
The journey to our dream closet began, as many renovations do, with a bit of demolition. We started by meticulously ripping out our old, inefficient closet storage. This initial phase, while necessary, left us with a fair amount of patching and painting to tackle, a common precursor to any significant interior upgrade. Beyond the structural changes, we also seized the opportunity to elevate the entire space by replacing the existing carpeting with the stunning laminate flooring we had previously installed in our master bedroom. This not only created a seamless flow between the bedroom and closet but also added a touch of modern sophistication. Furthermore, we upgraded the lighting by installing new can lights in the ceiling, drastically improving visibility and ambiance within the closet. All this prep work – the demolition, patching, painting, flooring, and lighting – was undoubtedly messy and time-consuming. Understandably, we harbored some concerns about the complexity and duration of installing the new EasyClosets system, especially after witnessing the sheer number of boxes being unloaded from the UPS truck. That initial pile of boxes certainly presented a moment of apprehensive anticipation!
Despite the initial wave of mild panic induced by the mountain of boxes, we took a deep breath and turned our attention to the EasyClosets installation instructions. Our past experiences with ready-to-assemble furniture and systems have often left us frustrated, sometimes even resorting to deciphering ambiguous stick-figure drawings. However, we were incredibly and pleasantly surprised by the exceptional clarity and comprehensive detail provided in the EasyClosets instructions. They were a breath of fresh air, offering every bit of guidance a DIYer could possibly need, presented in a straightforward and easy-to-understand manner. This meticulous attention to instructional design immediately alleviated our worries and instilled confidence in our ability to successfully complete the installation.
Once we began, the DIY closet system installation process unfolded far more quickly and smoothly than we could have ever imagined. The genius behind the EasyClosets system lies in its foundational element: a robust steel rail that you precisely install at the correct height along your closet walls. Attaching this rail proved to be remarkably easy thanks to the clear instructions. Our first step was to follow their guidance and accurately mark the studs within our closet walls, ensuring a secure and stable anchor point for the entire system. This critical initial step is often overlooked in less professional systems but is paramount for the long-term durability and safety of your closet.

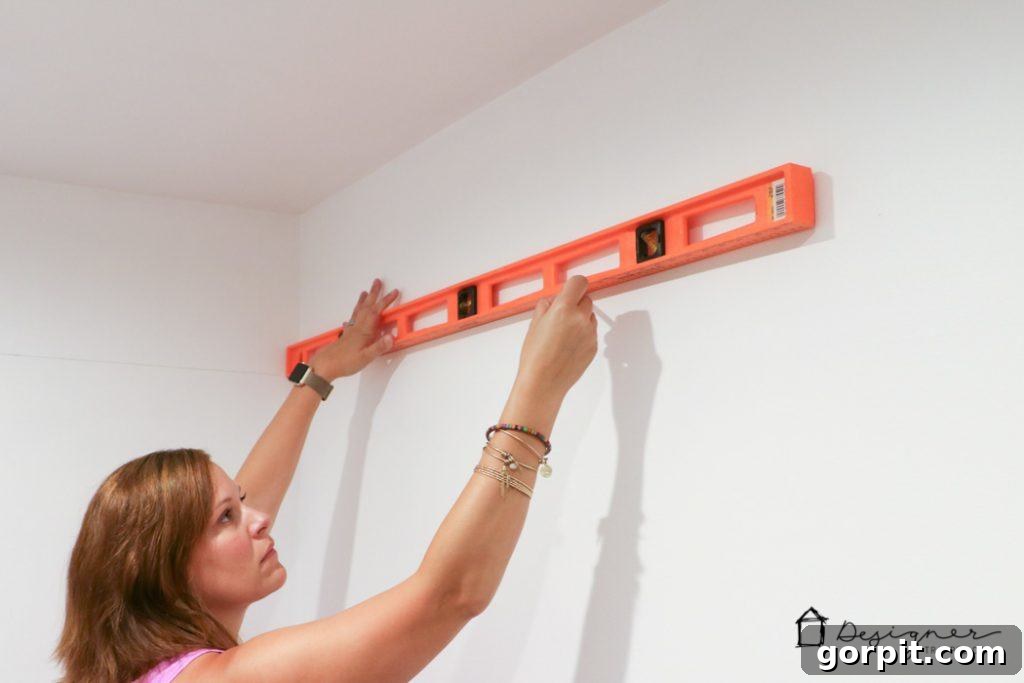
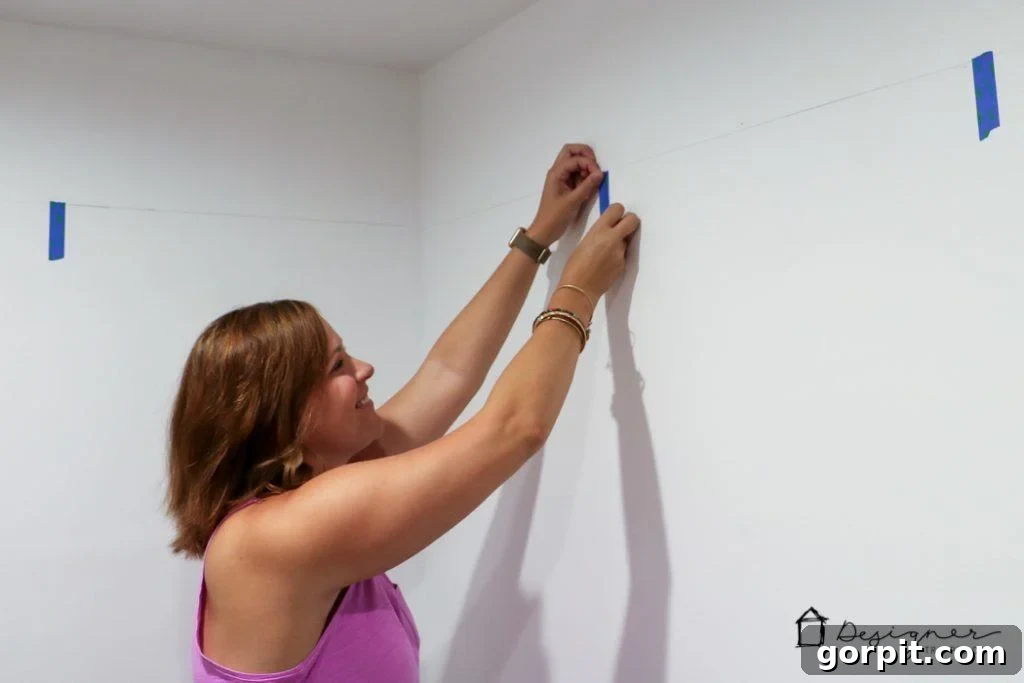
With the studs located, we then carefully measured and marked the appropriate height for the steel rail, drawing a perfectly level line across the wall where the rail would be securely attached. Precision at this stage is absolutely vital to ensure that all subsequent components of the closet system hang evenly and function flawlessly. After establishing our level line, we proceeded to mark the precise locations where our vertical panels would hang, utilizing painter’s tape for clear visualization. This step is particularly important because if any of your vertical panels fall too far from a wall stud, you’ll need to use the specialized E-Z Toggle bolts, thoughtfully provided by EasyClosets, to guarantee the rail receives adequate and robust support. These toggle bolts are designed to provide exceptional stability in drywall, distributing weight effectively and preventing future sagging or structural issues. Taking the time for these detailed marking and measurement steps dramatically simplifies the subsequent assembly and ensures a professional-grade finish.
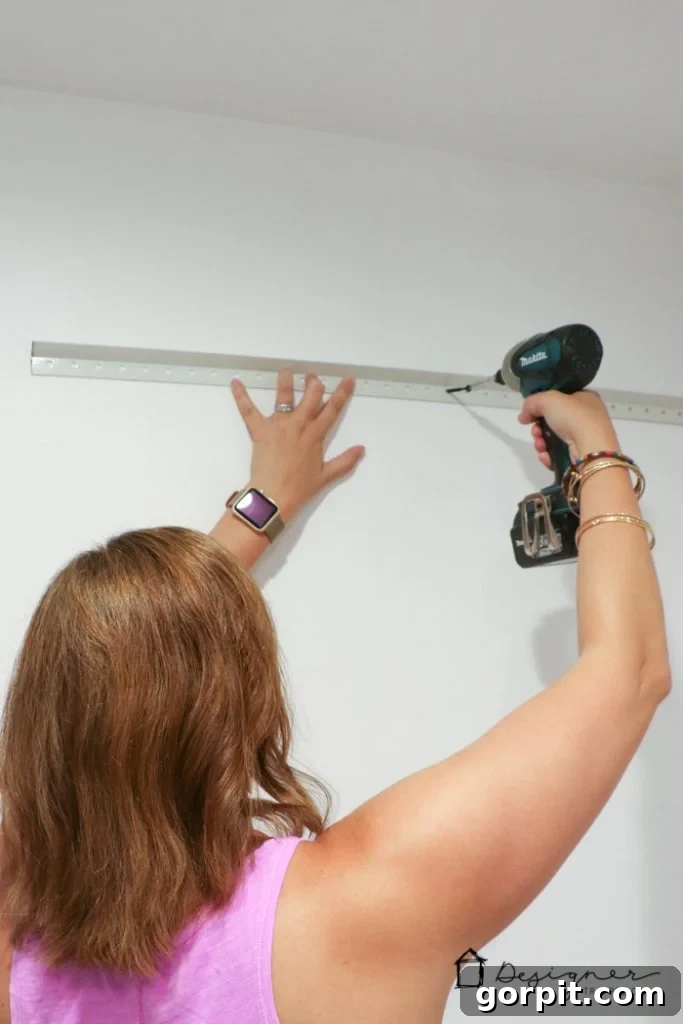
Once we had inserted the necessary E-Z Toggle bolts where required, ensuring maximum structural integrity, we proceeded to cut our steel rails to their precise lengths according to our design plan. This step was surprisingly straightforward, and with the rails properly cut, we then securely fastened them in place along the marked level line. The feeling of seeing the foundational framework come together was incredibly satisfying, transforming a blank wall into the beginnings of a sophisticated storage solution. The modular nature of the EasyClosets system truly shines during this stage, making what could be a complex task remarkably manageable for even a moderately experienced DIYer.
From that point forward, the remaining steps moved with remarkable speed. One of the most appreciated aspects of the EasyClosets system is that the drawers arrive fully assembled. This feature alone saved us hours of painstaking work, avoiding the fiddly and often frustrating process of assembling drawer slides and boxes from flat-pack components, a common bane of many ready-to-assemble furniture pieces. Overall, the entire EasyClosets installation process, including the arduous task of hauling all the numerous boxes upstairs, took us approximately 6 to 7 hours. Considering the comprehensive transformation and the sheer amount of storage created, this was, without a doubt, one of the most worthwhile investments of time we have spent on a home project in a very long time. The result is a beautifully organized and highly functional closet that perfectly caters to our needs, making daily routines smoother and more enjoyable. We finally have a truly organized and aesthetically pleasing closet that functions flawlessly for our lifestyle.
Our Master Closet System: A Stunning Reveal!
The moment you’ve been waiting for is here! While I’m incredibly excited to share all the beautiful static pictures of our newly installed DIY closet system, I highly recommend starting with a video tour for a dynamic perspective. It provides a comprehensive walkthrough, capturing the full scope and functionality of the space (the video will play after a short advertisement).
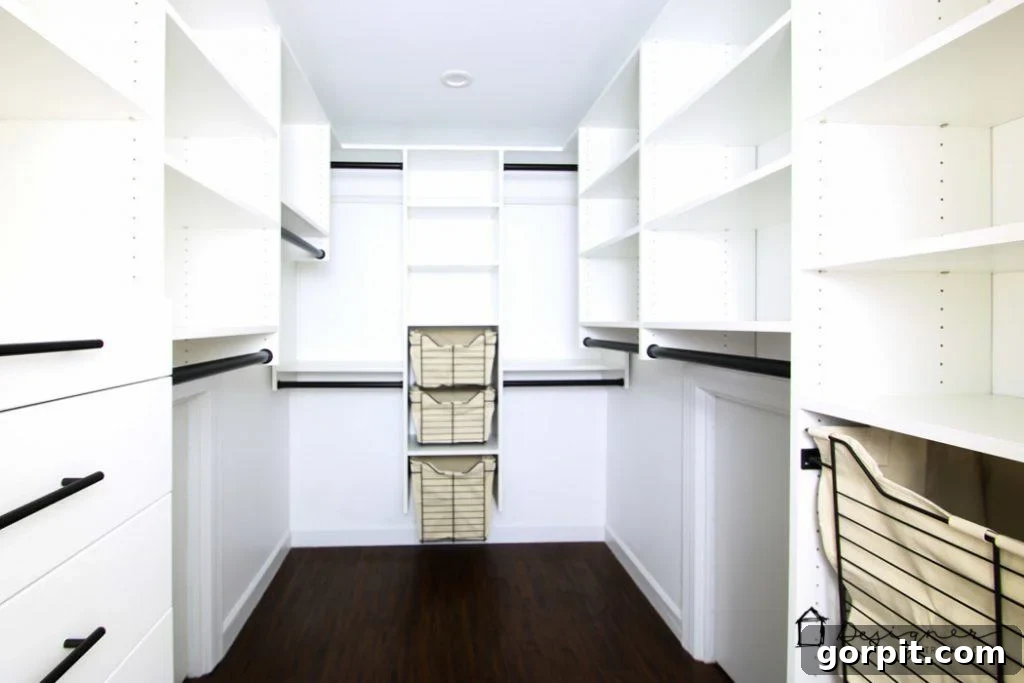
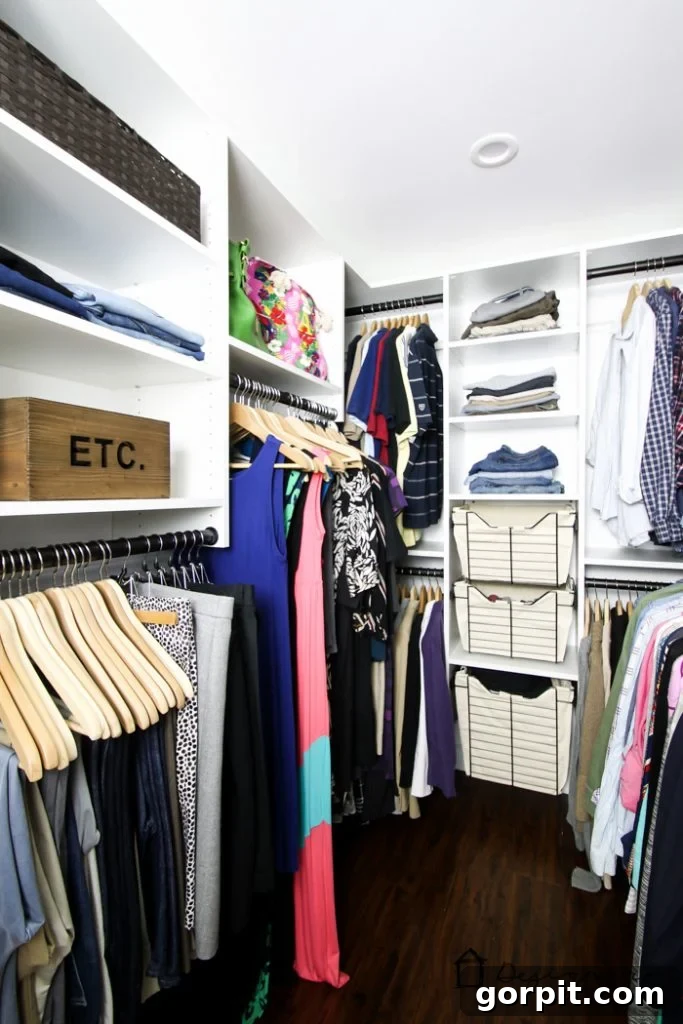
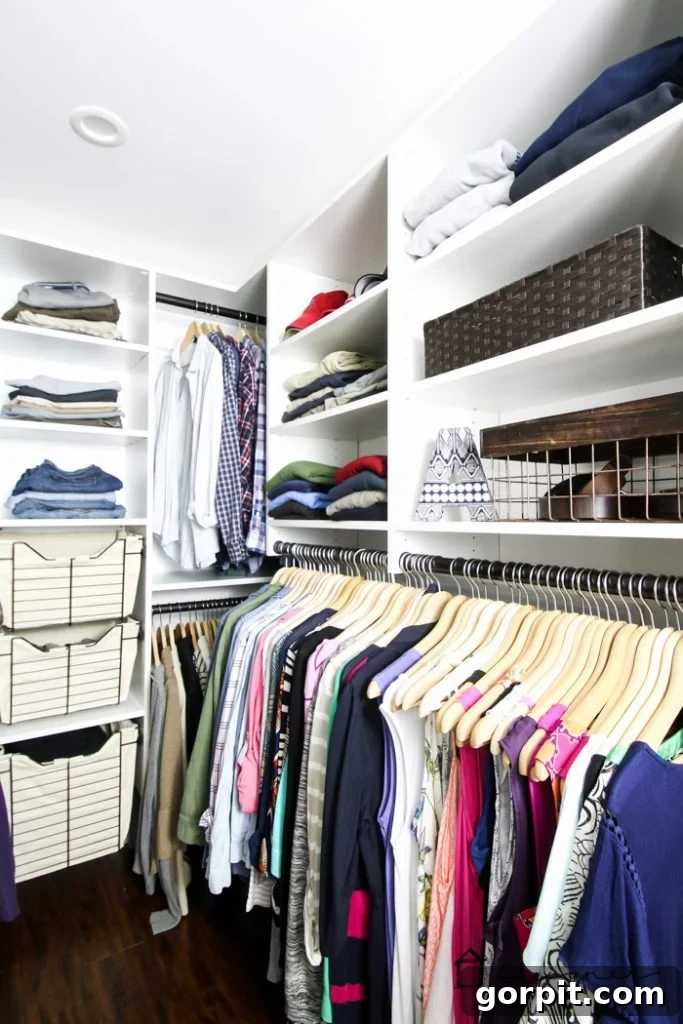
For those who prefer to savor every detail through still photographs, prepare to feast your eyes on our brand new, exquisitely organized master closet. These initial images showcase the system immediately after installation was complete, prior to moving all of our belongings back in. Given the incredibly reasonable pricing of EasyClosets, I admit I wasn’t entirely sure what to expect in terms of overall quality and finish. However, let me assure you, the quality is truly exceptional and absolutely does not disappoint! From the sturdy construction to the smooth finishes, every element speaks of superior craftsmanship. We are genuinely astonished by the incredible value offered; it feels like a custom, high-end solution at a fraction of the typical cost. This reveal marks a significant milestone in our home organization journey, turning a once chaotic space into a perfectly tailored sanctuary for our wardrobe.
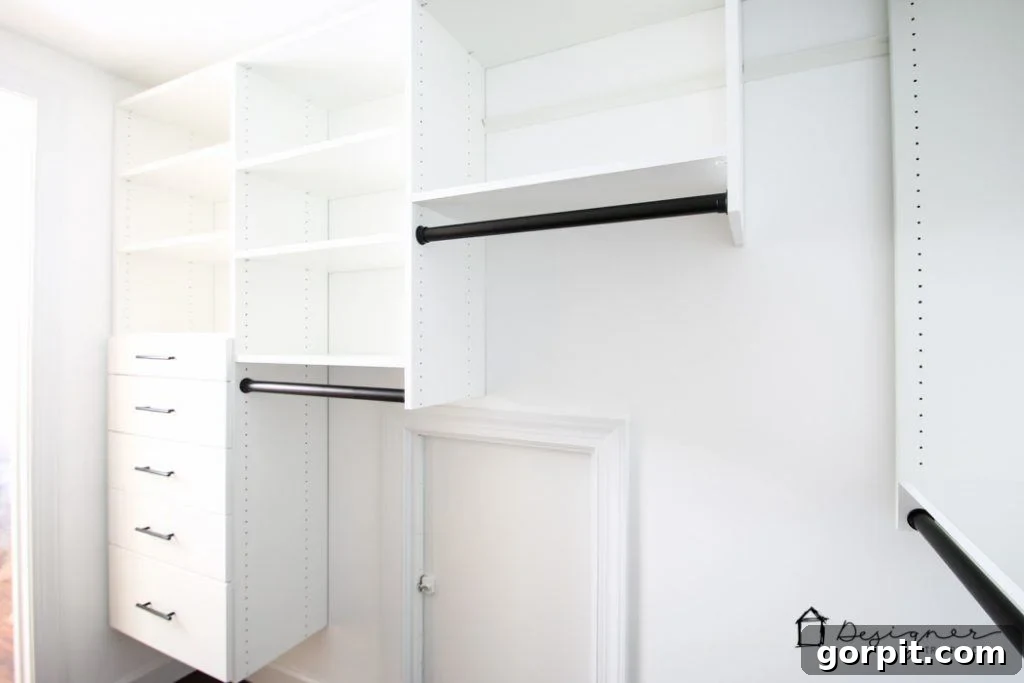
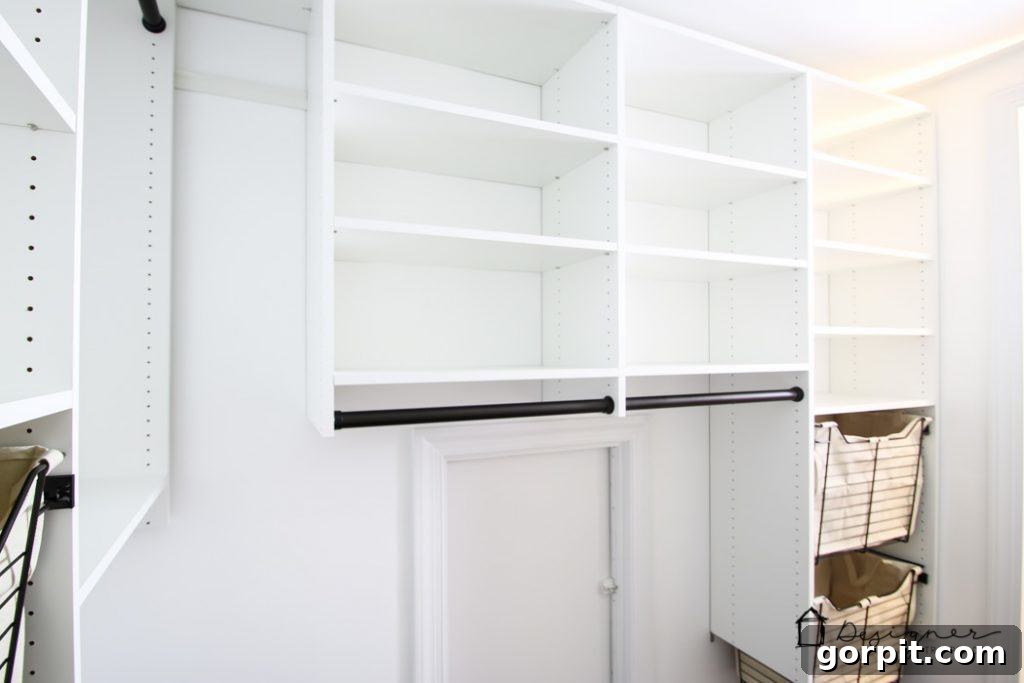
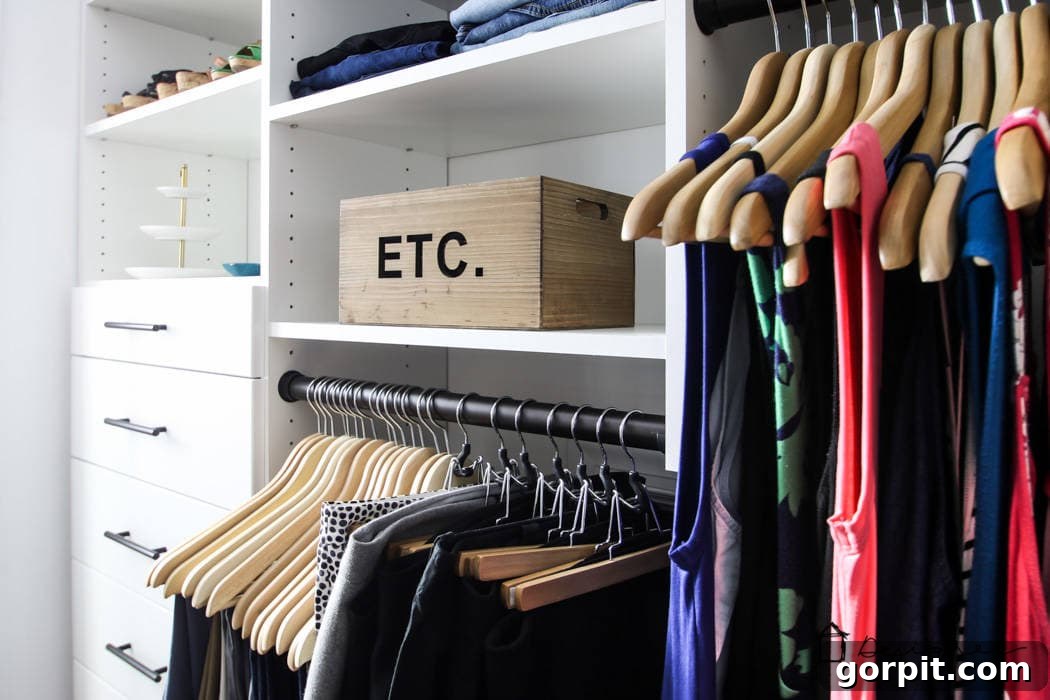
Once the system was fully installed, the real fun began: moving every single piece of clothing, every pair of shoes, and all our accessories back into our new closet. Unlike some staged photos you might see from other bloggers, we made a conscious decision not to edit down our items for the camera. What you see here genuinely reflects our closet as we utilize it every single day; it is not staged or curated solely for photographs. This commitment to authenticity highlights how effectively the EasyClosets system accommodates a real, working wardrobe. All our shoes are neatly arranged on ample shelving, while belts and scarves find their perfect place within stylish baskets, keeping everything visible and easily accessible. The dedicated storage solutions have revolutionized how we interact with our wardrobe, making dressing a pleasure rather than a chore.
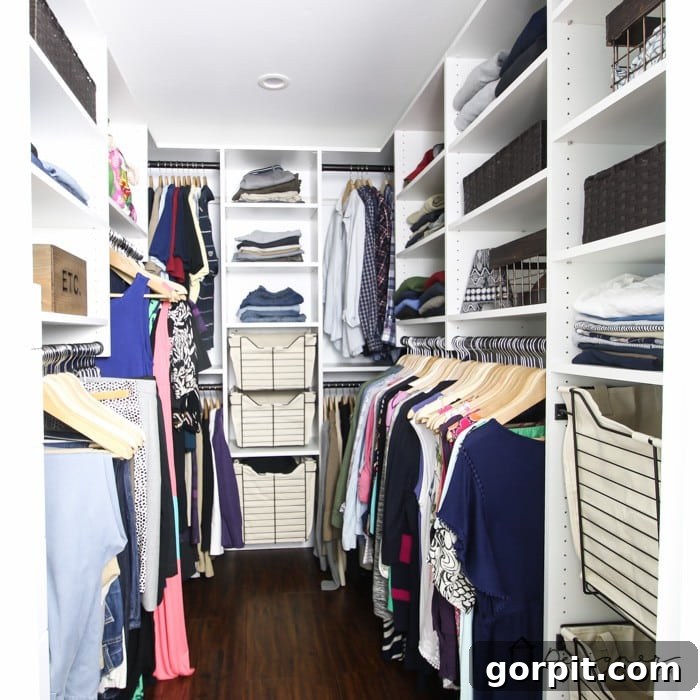
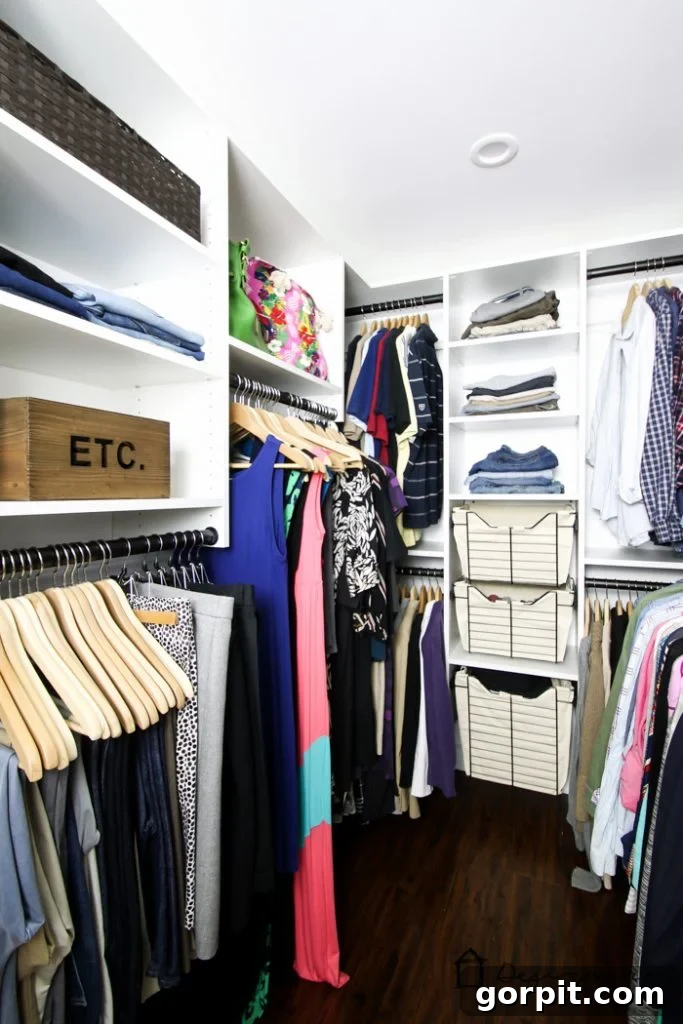
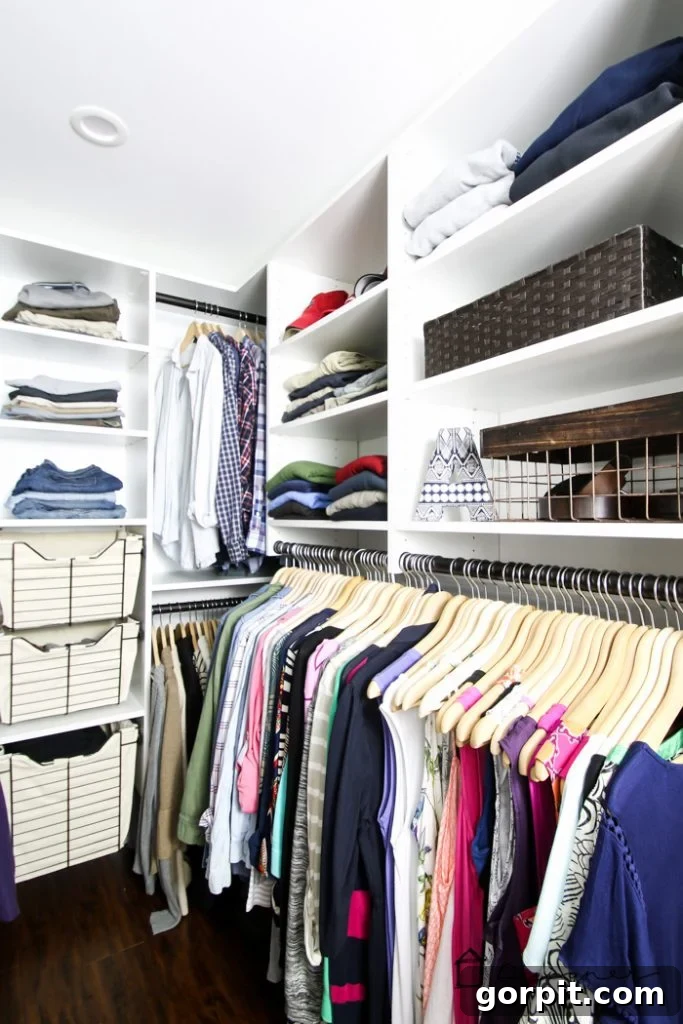
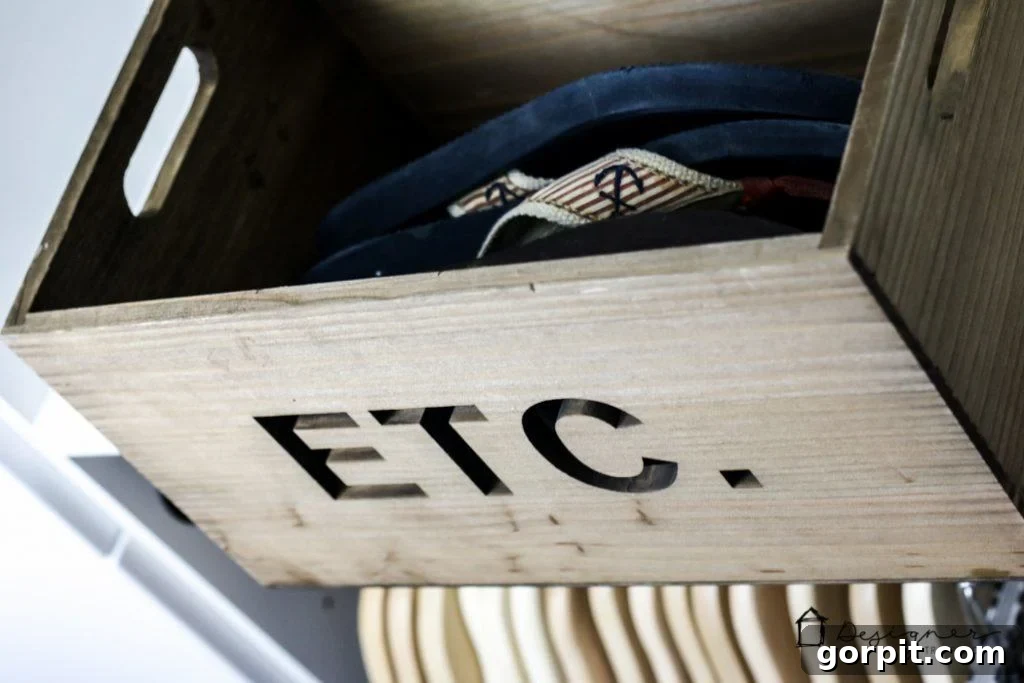
Beyond its immense functionality, I couldn’t resist adding a few decorative items to further enhance the aesthetic appeal of our newly organized closet. Thoughtfully placed accents, such as small plants, a framed picture, or stylish organizational boxes, transform the space from a mere storage area into a personalized extension of our home’s decor. These small touches contribute significantly to making the closet feel like a truly integral and beautiful part of our master suite, reflecting our personal style and making it an even more enjoyable space to start and end our days.
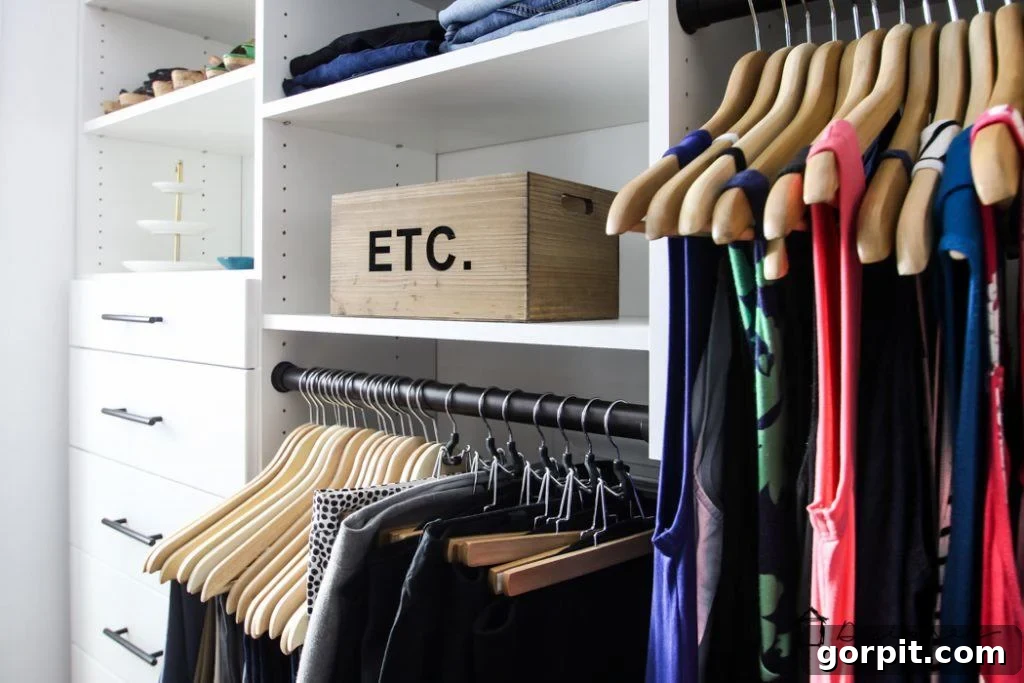
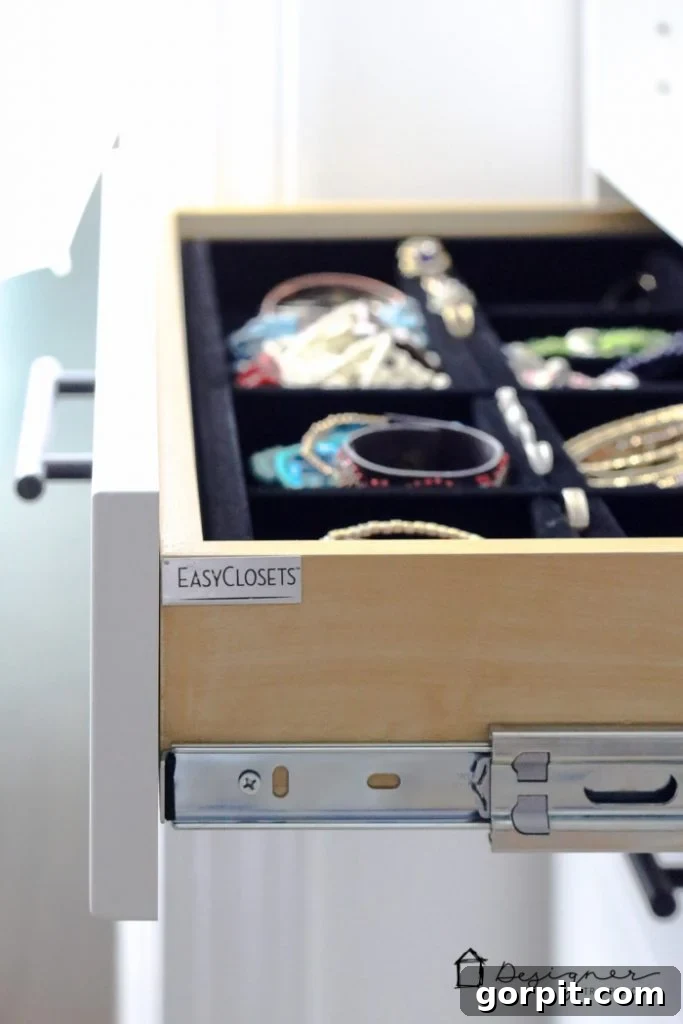
Among the many fantastic features, the velvet-lined jewelry organizer and the luxurious soft-close drawers stand out as two of my absolute favorites. The jewelry organizer keeps precious items protected and perfectly categorized, eliminating tangles and making selection effortless. Meanwhile, the soft-close drawers are a testament to the system’s high quality, offering a smooth, silent operation that elevates the everyday experience. This attention to detail in components like these truly makes a difference, adding a touch of elegance and convenience that one would typically associate with far more expensive, fully custom closet installations. These thoughtful inclusions significantly enhance both the functionality and the overall user experience.
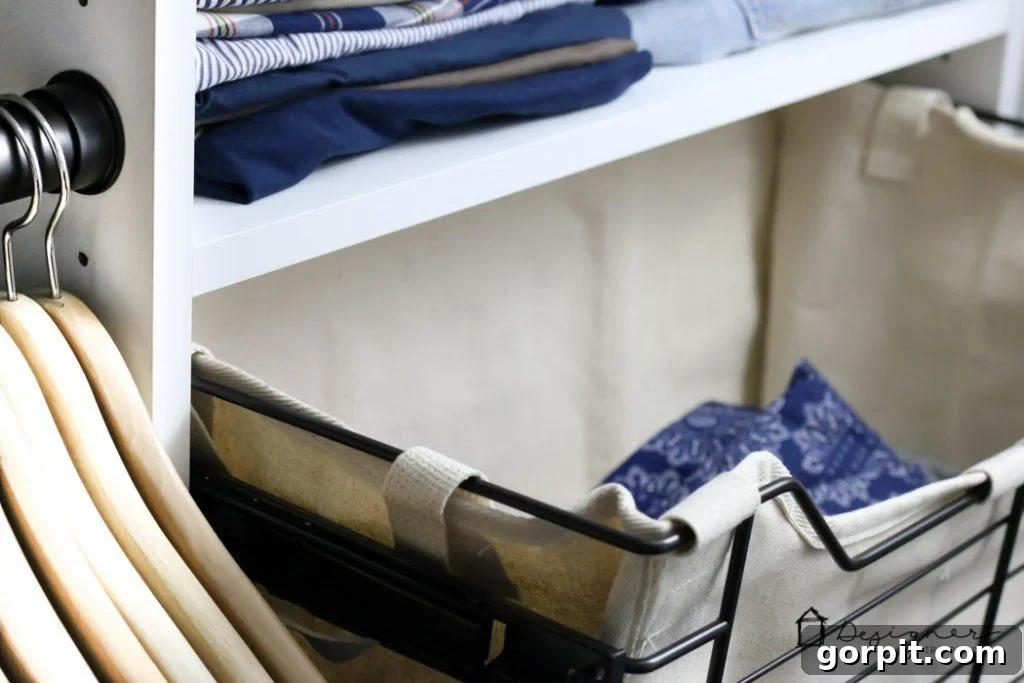
And speaking of convenience, the built-in laundry hampers have quickly become our new best friends. The days of unsightly, cheap plastic laundry baskets cluttering our floor, which we’d had since our college days, are finally over. These integrated hampers offer a discreet and organized solution for laundry, maintaining the clean lines and sophisticated look of the closet. This simple yet impactful feature contributes significantly to the overall tidiness and streamlined functionality of the space, truly demonstrating how well-designed storage can simplify daily life and elevate the aesthetic of even the most practical elements of a home.
But enough with the descriptions – let the pictures do the rest of the talking. Immerse yourself in the detailed views of our DIY closet system reveal and witness the remarkable transformation firsthand. Each section is meticulously designed to optimize space, enhance accessibility, and present a visually pleasing environment. From the carefully arranged hanging areas to the well-appointed shelving and drawer units, every element works in harmony to create a truly organized and inspiring space. These images are a testament to the power of thoughtful design and the incredible potential of a well-executed DIY project.
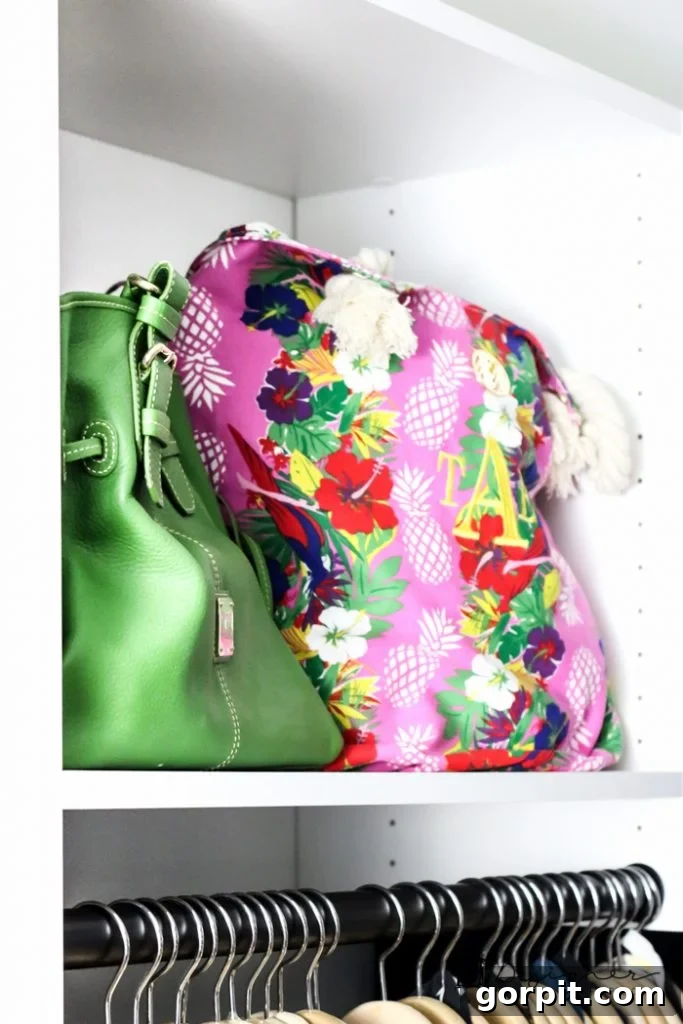
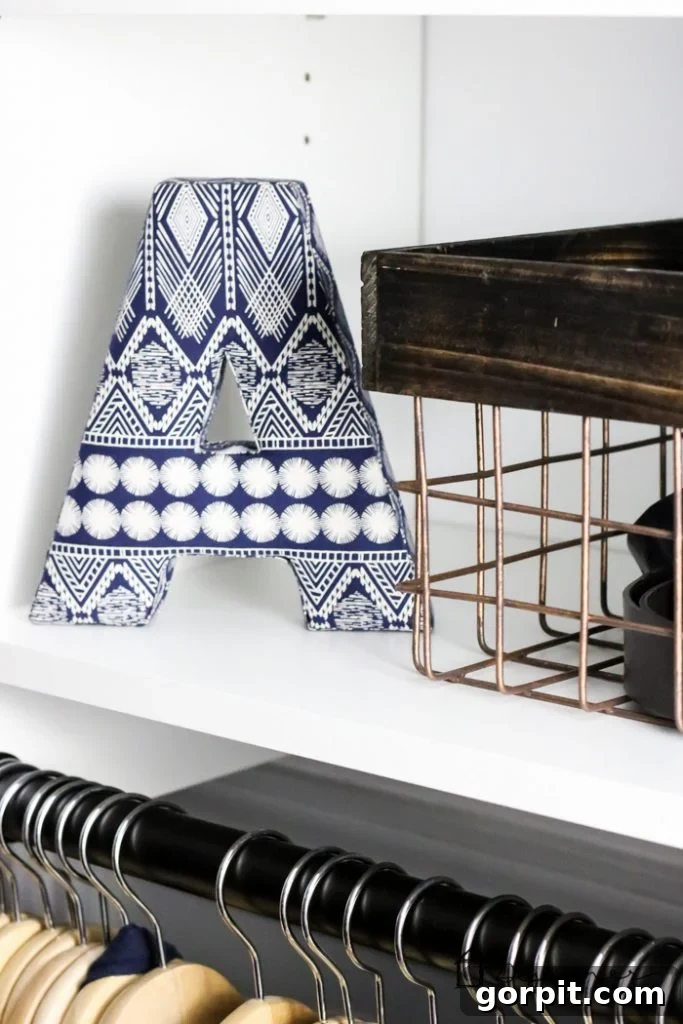
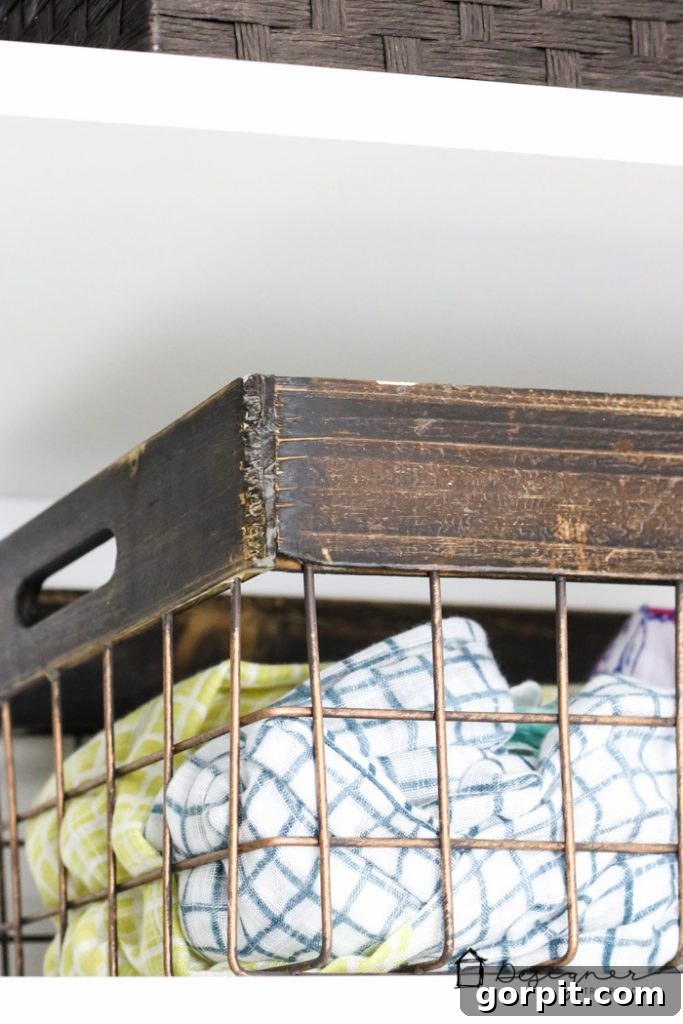
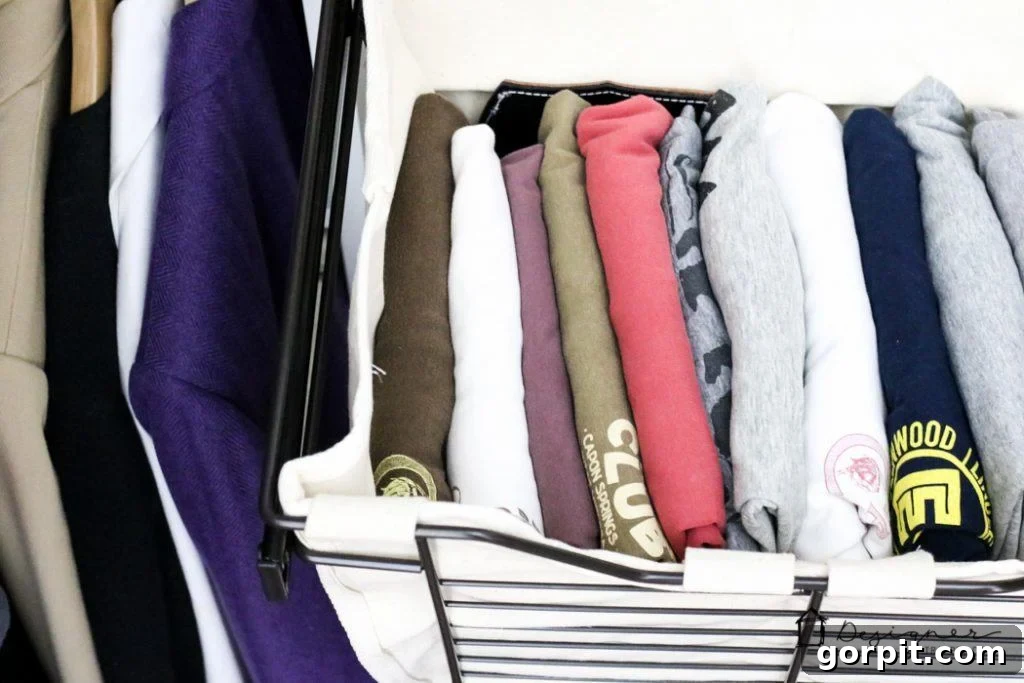
Of course, no transformation story is complete without a compelling visual representation of the journey. I couldn’t possibly conclude this reveal without offering you the quintessential side-by-side comparisons, showcasing the dramatic difference between our master closet’s “before” state and its magnificent “after” following the installation of our DIY closet system. These comparisons truly underscore the impact a well-designed and organized space can have on daily life and overall home aesthetics. Prepare to be amazed by the visual evidence of this incredible upgrade!
 |
 |
 |
 |
We were fortunate to be provided with free product from EasyClosets for this post. We did not receive any financial compensation and as always, my opinions are 100% my own! I would never recommend something I do not truly love!
Most Popular Projects
- DIY Home Decor Projects
- Our Master Bedroom Makeover Reveal
- Budget Kitchen Renovation Ideas
- Bathroom Remodel on a Dime
- Creative Solutions for Organizing Small Spaces