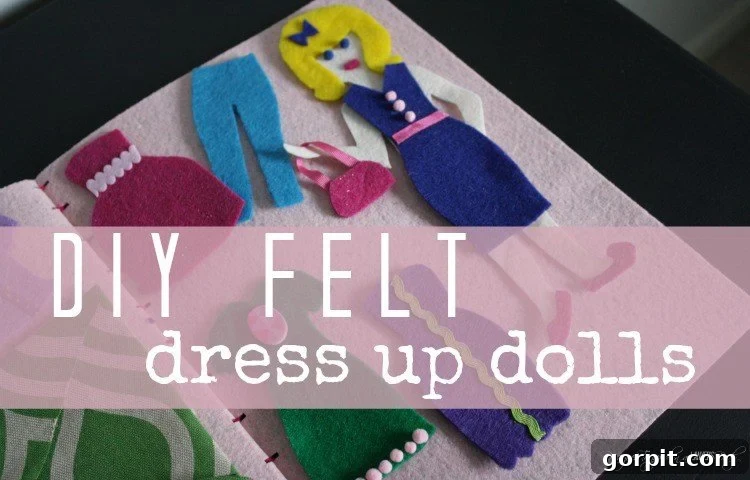
Are you searching for a delightful, easy, and budget-friendly craft that will captivate any child in your life? Look no further than these charming DIY felt dress-up dolls! This project is a fantastic way to spark imaginative play and create a cherished toy without needing any sewing skills or specialized tools. Prepare to bring smiles and hours of creative fun with this simple yet enchanting craft.
Crafting Joy: Easy No-Sew Felt Dress-Up Dolls for Endless Imaginative Play
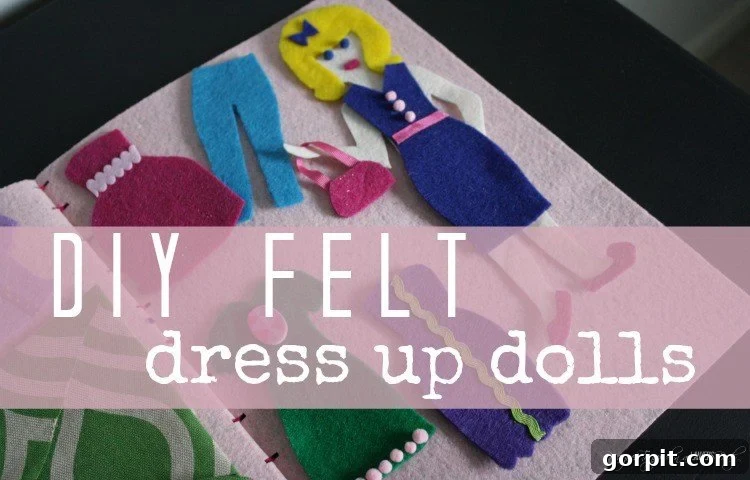
Table of Contents
Toggle
Do you fondly remember spending hours with dress-up dolls as a child? I certainly do! I recall having those classic paper dolls with their clever tab-attached clothes – a true relic for anyone much younger than me. Inspired by those cherished memories, I wanted to create a more durable and lasting version of dress-up dolls for my own sweet girls. That’s when I discovered the magic of felt. Felt offers a soft, pliable, yet sturdy material that’s perfect for little hands, and the best part is, it requires no sewing! The process was incredibly fun and surprisingly easy. Join me as I share the full tutorial to create your very own set of adorable felt dress-up dolls.
This post contains affiliate links for your convenience. Click here for my full disclosure policy.
How to Make Felt Dress-Up Dolls: A Detailed Tutorial
Creating these no-sew felt dress-up dolls is a rewarding project that’s perfect for crafters of all skill levels, especially those who appreciate simplicity and charm. The beauty of felt lies in its versatility and ease of use—no fraying edges, just clean cuts and simple adhesion. Follow these detailed steps to bring your very own collection of adorable felt friends to life, complete with a personalized carrying case for all their outfits.
Essential Materials You’ll Need
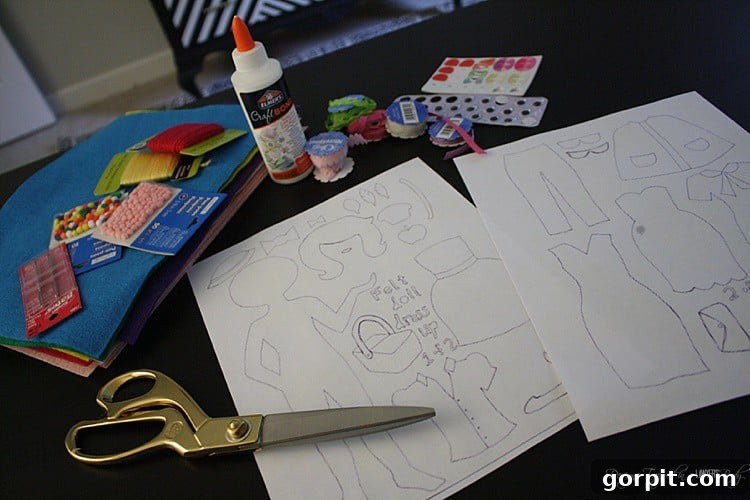
Gathering your materials is the first exciting step in any DIY project. For these felt dress-up dolls, you’ll find most items are readily available at craft stores, and many might even be hiding in your existing craft stash. Opt for good quality felt to ensure your dolls stand up to countless hours of play.
- Sticky Stiff Felt (2 pieces): Choose a sturdy color for the covers of your doll book. The “sticky” aspect simplifies the cover construction.
- Stiff Felt (2 pieces): Select a peach, tan, or brown shade to create the doll bodies. This stiff felt provides a firm base that helps the dolls maintain their shape.
- Regular Felt (5 or more sheets): This is where the fun begins! Pick a variety of colors and patterns for the doll’s extensive wardrobe and accessories. Softer felt works best for clothing.
- Hair-Colored Felt (1 piece): A sheet of yellow, brown, black, or even vibrant purple felt for your doll’s unique hairstyle.
- Elmer’s Craft Bond Fabric and Paper Glue: A reliable adhesive that works wonderfully on felt and paper, ensuring everything stays securely in place.
- Yarn and Yarn Knitting Needle: To bind your felt book covers together, adding a charming, handmade touch.
- Hole Punch: A standard hole punch or a Rectangle Hand Punch works great for creating the binding holes.
- Scrap Fabric: Leftover fabric pieces are perfect for creating the inner storage envelope for clothes.
- Decorative Embellishments: Ribbon, ric rac, Tiny Pom Poms, buttons, sequins, or glitter glue—anything to add sparkle and personality to the outfits.
- Doll and Clothing Templates: You can create your own or find excellent, free templates online. I highly recommend the amazing templates found at Smile and Wave.
- Ruler: For accurate measuring and marking.
- Marker or Fabric Pen: To trace templates and mark cutting lines.
- Scissors and/or a Cutting Machine: Sharp scissors are essential, but a cutting machine (like a Silhouette CAMEO) can make precise cuts even easier.
Step 1: Crafting Your Adorable Felt Dolls
This is where your dolls begin to take shape, becoming characters ready for countless stories. Take your time with these steps, and don’t be afraid to experiment with different expressions and styles.
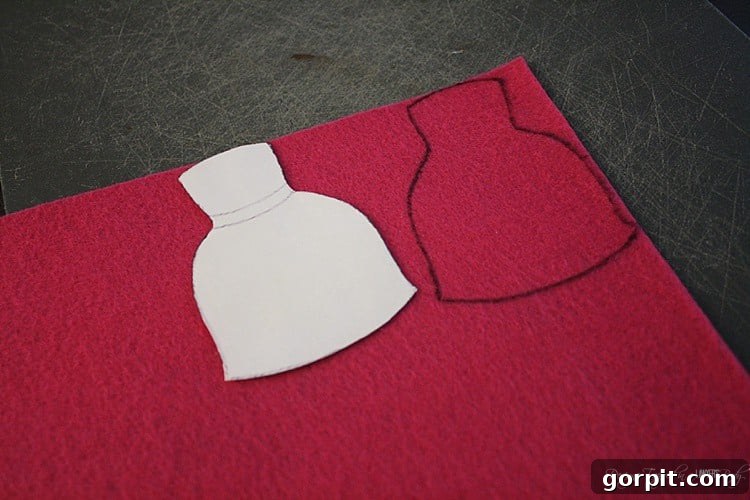
1) Cut Out Your Doll Templates: Begin by carefully cutting out your chosen doll body and clothing templates. Precision here will make the following steps much smoother.
2) Prepare Your Doll’s Body: First, cut out the doll body from the stiff felt you selected for the skin tone. This forms the foundation. Next, choose your hair color from the regular felt and cut out the doll’s hair template. For my blonde girls, blonde hair was a must! Use your craft glue to firmly attach the hair to the doll’s head. You’ll also want to cut small, sweet lips from a contrasting felt color and glue them into place. Finally, add personality to your doll by gluing on small pom-pom eyes, or use small felt circles for a different look. Allow ample drying time before moving on.
3) Cut Out Clothes and Accessories: Now for the wardrobe! Using your regular, softer felt sheets and your clothing templates, cut out a variety of dresses, shirts, pants, skirts, hats, shoes, and any other accessories you can imagine. The softer felt will drape better and be easier for little fingers to manipulate on the doll.
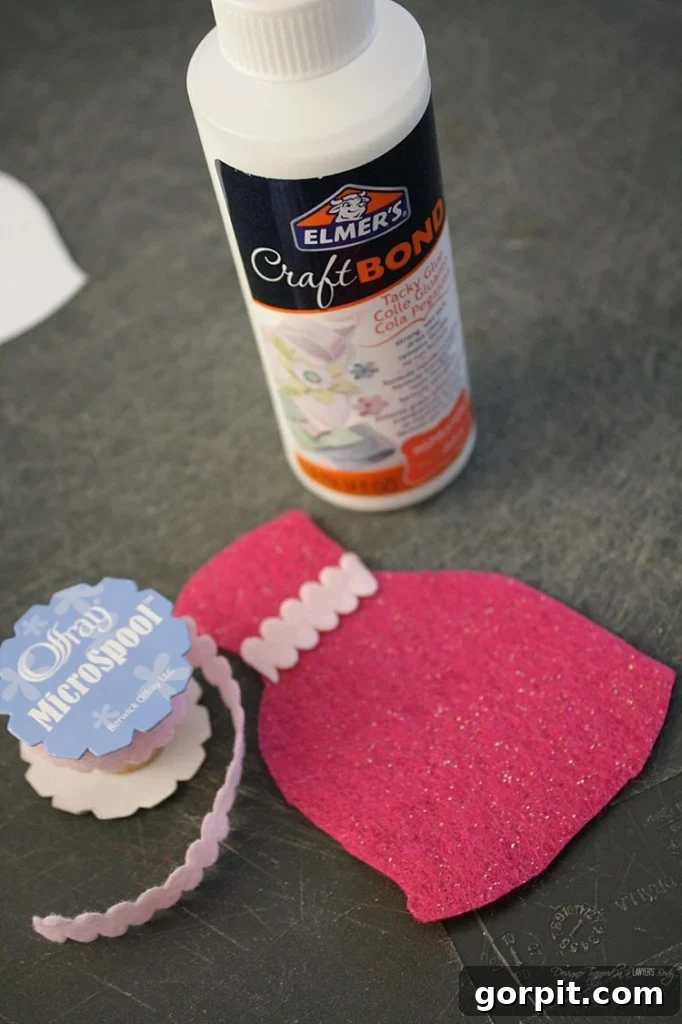
4) Embellish Your Clothing: This is where creativity truly shines! Grab your ribbons, ric rac, tiny pom-poms, and other decorative elements. Glue them onto the felt clothes to add unique details, patterns, and textures. There’s no right or wrong way to do this—let your imagination run wild! Think about themes: a sparkly dress for a party, a striped top for a day out, or a cozy sweater for winter. These small details make each outfit special.
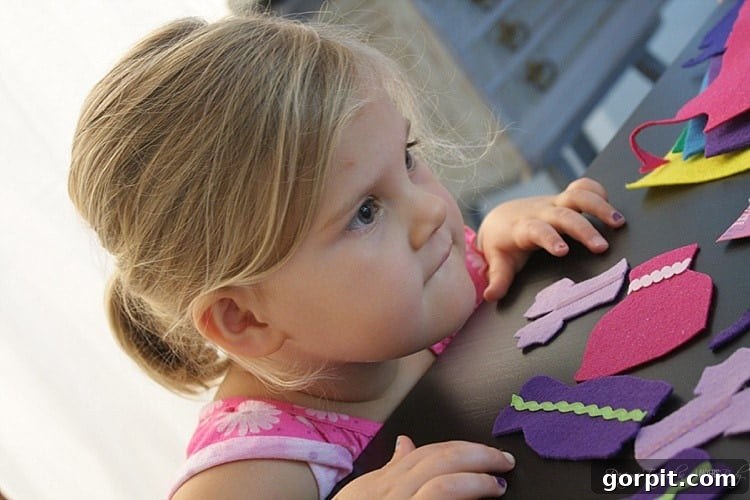
Having cute little assistants involved in every step of the way makes the crafting process even more enjoyable and memorable. Their enthusiasm and unique ideas will add a special touch to your felt dolls.
Step 2: Assembling the Portable “Doll Book”
A “doll book” is not just a carrying case; it’s a portable play set that keeps all the pieces together and organized. This ingenious design allows for easy transport and storage, making it perfect for travel or quiet play anywhere.
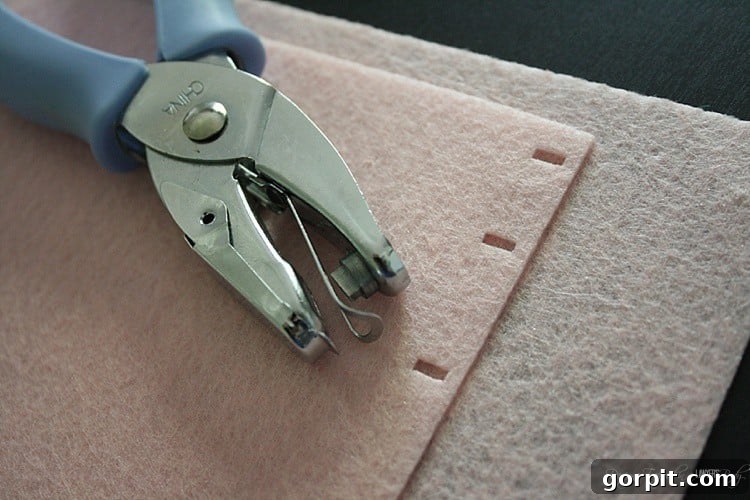
1) Prepare the Book Covers: Take two pieces of your chosen sticky stiff felt for the book covers. Using your ruler and marker, carefully mark 1-inch increments along one of the long edges of both felt pieces. These marks will guide your binding holes.
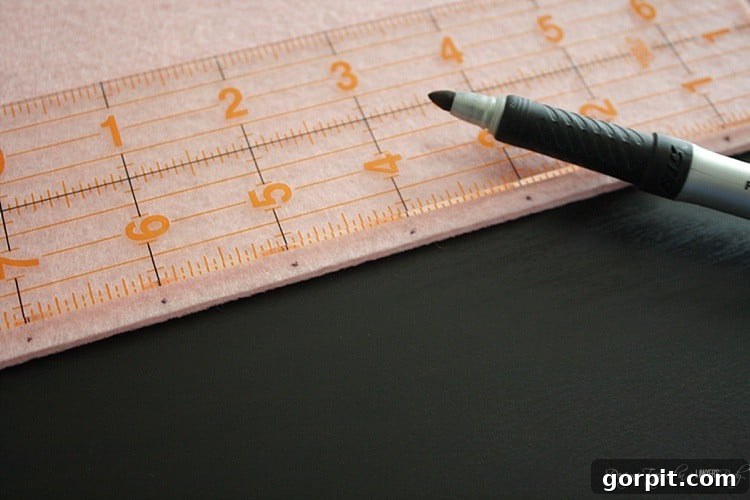
2) Punch the Holes: Using your hole punch, punch a hole precisely on each mark you made on both pieces of felt. Ensure the holes are aligned so the book binds neatly.
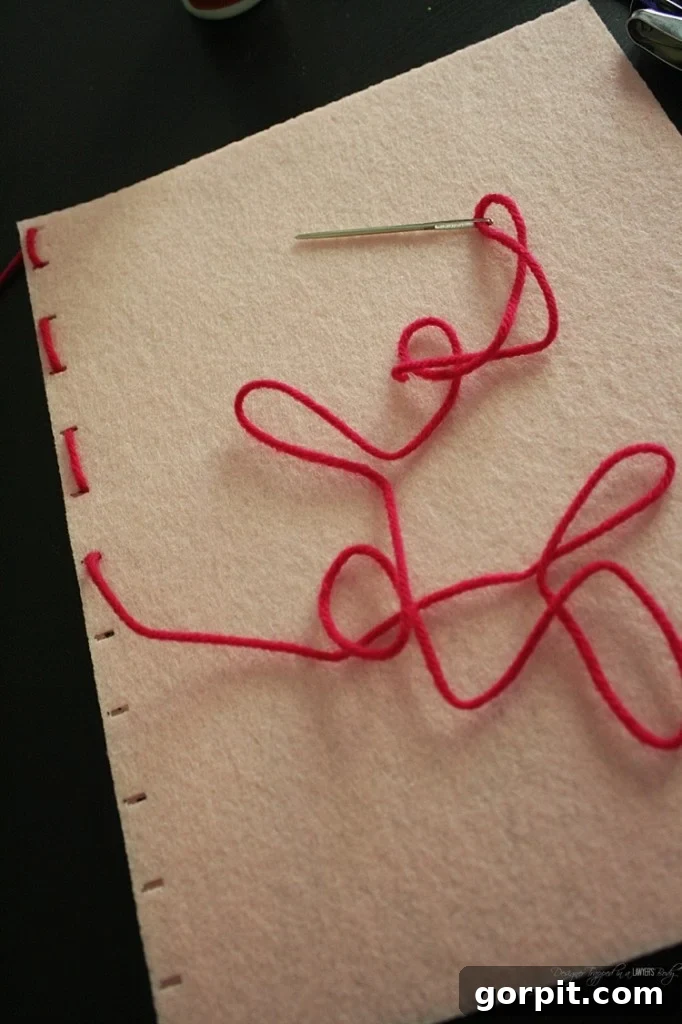
3) Bind the Book: Thread your yarn through your yarn needle. Now, stitch the two pieces of stiff felt together using a simple whipstitch or blanket stitch through the punched holes. This creates a sturdy spine for your “book” and adds another decorative element.
Step 3: Creating a Handy Storage Envelope
Keeping all those tiny felt clothes organized is key to long-lasting play. This fabric envelope is designed to store the outfits securely when not in use, preventing lost pieces and encouraging tidiness.
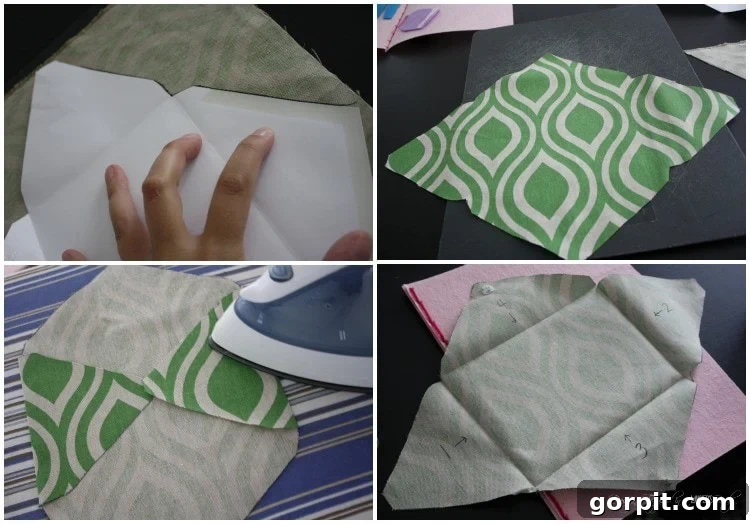
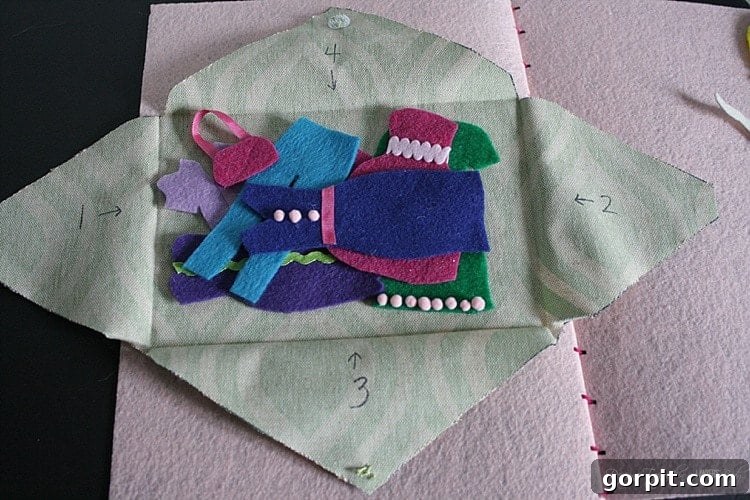
1) Construct the Envelope: To create an internal envelope for storing the doll’s clothes, start by using a standard paper envelope as a template. Trace its shape onto your chosen scrap fabric and carefully cut it out. Iron the seams of your fabric envelope for crisp, clean folds. Next, sew on small round Velcro circles to the flaps to ensure the envelope stays securely closed. For added functionality, use a permanent marker to label the flaps with numbers, guiding your child on how to fold the envelope back together independently. This small detail works like a charm for teaching organization! Finally, use your craft glue to attach the finished fabric envelope firmly to the inside cover of your felt “book.”
Step 4: Personalizing Your Doll Set with a Name (Optional)
Adding your child’s name to the cover transforms the doll book into a truly special, one-of-a-kind gift. This personalized touch not only fosters a sense of ownership but also makes the gift even more memorable. While optional, it’s a wonderful way to make the project uniquely theirs.
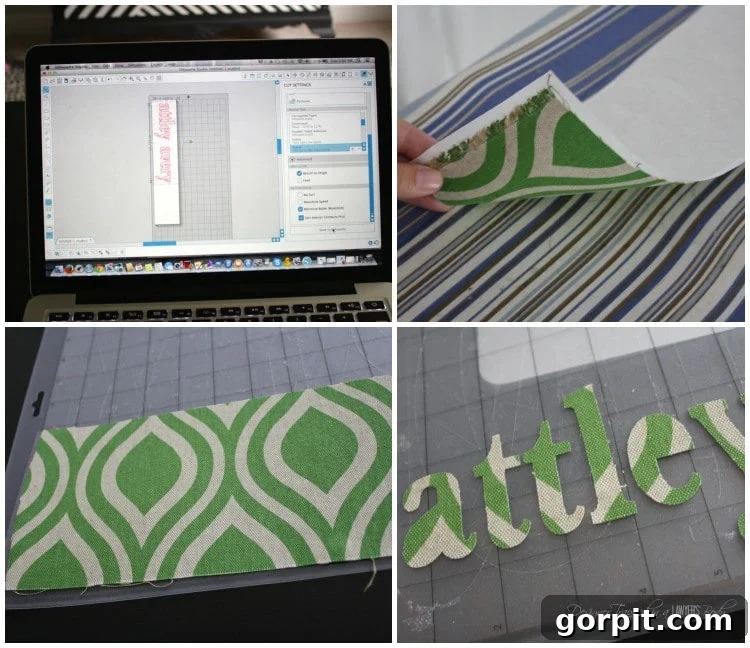
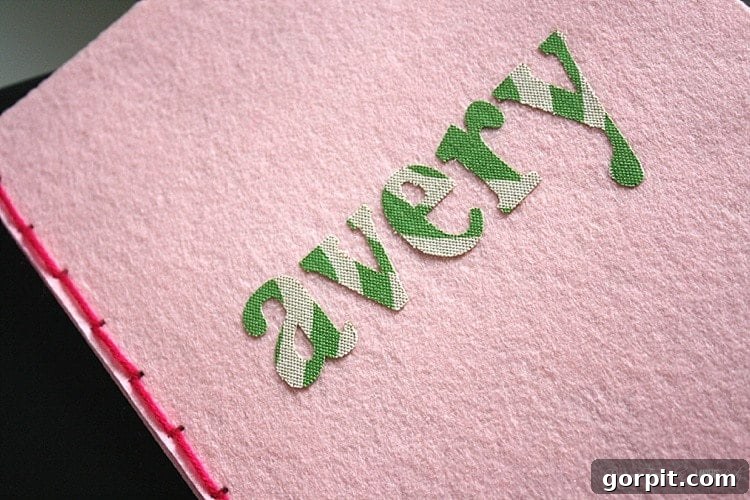
1) Prepare Fabric for Cutting: This step is completely optional but adds a wonderful personalized touch! If you have a cutting machine like a Silhouette CAMEO, it’s perfect for cutting out names. Customizing the books for my twin girls, Attley and Avery, was important to give them each a unique sense of belonging. Start by ironing Silhouette Clean Cut Fabric Interfacing to the back of your chosen fabric. This interfacing stabilizes the fabric and prevents fraying, making it ideal for precise cuts.
2) Cut Out the Names: Next, use your Silhouette Fabric Blade and Silhouette Studio software to cut out your child’s name from the interfaced fabric. If you don’t have a cutting machine, you can carefully hand-cut letters or use pre-made felt letters.
3) Attach the Name: Finally, use your craft glue to securely attach the fabric letters of their name onto the front cover of the felt “book.” Allow it to dry completely.
Step 5: The Joy of Gifting and Play
That’s it! Your DIY felt dress-up doll sets are complete. Imagine the squeals of delight when a little girl unwraps this thoughtful, handmade gift. These sets are not just toys; they are portals to imaginative worlds, making them the perfect Christmas or Hanukkah present, birthday surprise, or even a ‘just because’ gift to show you care.
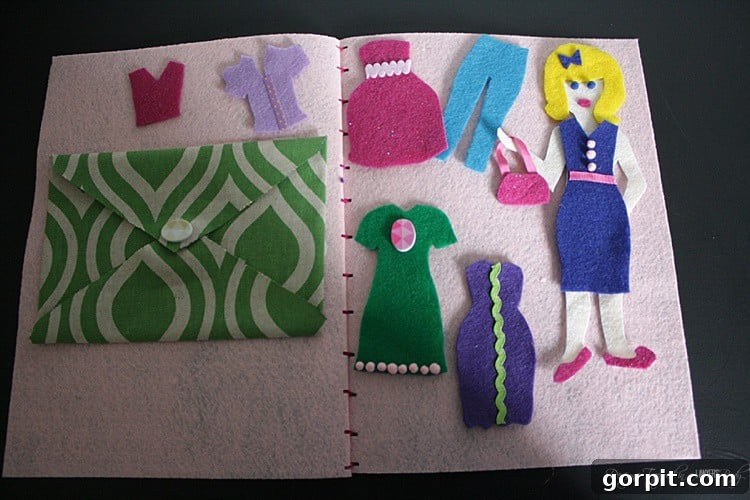
My girls, Attley and Avery, absolutely adore playing with their dress-up doll sets. They’ve already spent countless hours inventing elaborate stories and scenarios for their felt friends, and the dolls are holding up wonderfully! For instance, they often imagine their doll returning home from work, only to quickly change into pajamas – I have no idea where they might have observed such behavior, haha! These dolls truly foster storytelling and creativity, making them a staple in their playtime.
If you think this is a fantastic idea, please consider sharing it on Pinterest or Facebook to inspire other crafters and parents!
More Ideas for Kids’ Spaces
SEE ALL kid’s spaces
-
IKEA Billy Bookcase Hack for Loads of Storage
-
Fun and Stylish Playroom Décor Ideas & Tips
-
28 Dreamy Bedroom Ideas for Girls
-
How to Decorate Bedroom Doors to Look Like Apartment Doors
-
25 Unique Bedroom Ideas for Teen Boys and Girls
-
30 Genius Shared Bedroom Ideas for Kids
Wondering how I approach transforming rooms and spaces in our home? Check out Designer in a Binder®.
And if you want exclusive content and behind-the-scenes sneak peeks, be sure to subscribe before you head out!