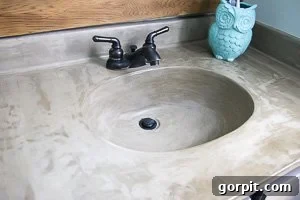
Dreaming of a sleek, modern concrete bathroom vanity but intimidated by the thought of heavy lifting, complex form-building, and high costs? You’re in luck! This guide will show you how to create an stunning DIY concrete vanity top and sink that looks custom-made, but won’t break your back or your bank. With our simple concrete overlay method, you can achieve a sophisticated “faux” concrete finish for under $50, with no heavy forms or strenuous lifting required. Get ready to transform your outdated bathroom into a contemporary oasis!
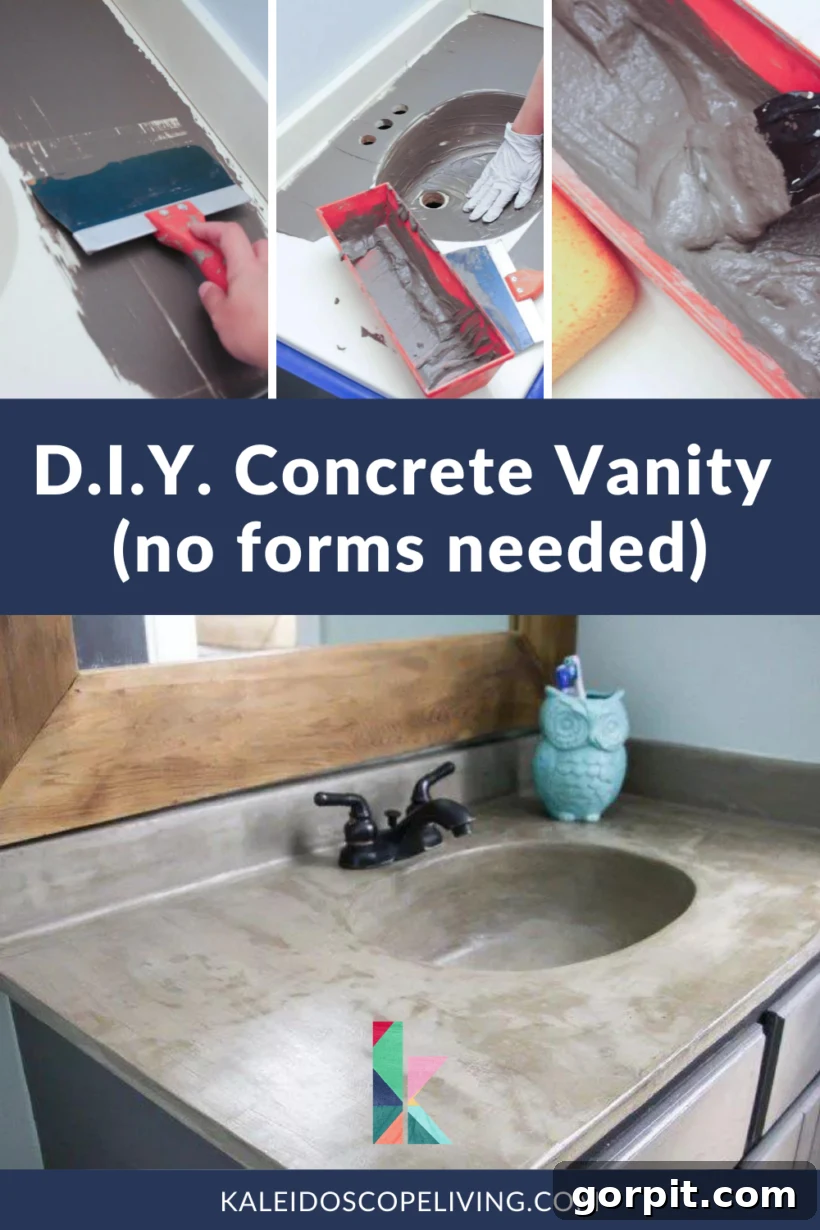
Do you have a dated bathroom vanity that desperately needs a modern refresh, but your budget is tight? Perhaps you’ve fallen in love with the sophisticated aesthetic of concrete vanity tops, yet the logistical challenges of pouring a heavy concrete slab – custom forms, immense weight, and complex installation – have held you back. Even a small concrete vanity can be incredibly heavy, requiring multiple people to lift and install. The good news is, you don’t have to compromise on style or break the bank. We’re here to share all the details of an incredible DIY bathroom vanity makeover, using an ingenious, inexpensive concrete overlay technique to craft a stunning “faux” concrete vanity top and sink.
This project was originally completed in 2014, and we updated this post in 2019 after a complete renovation of this powder room. And guess what? This concrete overlay held up BEAUTIFULLY for over five years, enduring daily use without a hitch! This incredible durability is a testament to the effectiveness and longevity of this DIY method, proving that an affordable solution can also be a long-lasting one.
The bathrooms in our previous home, like many from the early 80s, featured cultured marble countertops with integrated sinks. While popular at the time, this look felt decidedly outdated and wasn’t my personal style. Replacing the entire vanity top in our powder room was not within our budget, prompting us to seek a creative and cost-effective solution. Having successfully created our own DIY concrete fireplace with fantastic results, we decided to take a calculated risk. We applied the same DIY concrete overlay method to transform our powder room vanity, aiming for a realistic “faux” concrete sink and countertop. The outcome exceeded our expectations – IT WORKED! Continue reading to discover how you can replicate this amazing transformation in your own home.
You can even watch a video update to see how this DIY concrete vanity has held up over the years.
(Video demonstrating the longevity of the DIY concrete vanity would be embedded here, typically via a simple iframe or a no-script fallback image if JavaScript is disallowed.)

This post contains some affiliate links for your convenience. Click here to read my full disclosure policy.
DIY “Faux” Concrete Vanity Top & Sink Tutorial
Materials Needed
- Ardex Feather Finish or Henry’s Feather Finish: These cement-based compounds are key to achieving the thin, durable concrete overlay.
- 14 inch drywall tray: Essential for mixing your concrete overlay in manageable batches.
- 6 inch metal Drywall knife: Your primary tool for spreading the concrete mixture smoothly across larger surfaces.
- 2 inch putty knife: Ideal for detailed work, corners, and the backsplash area.
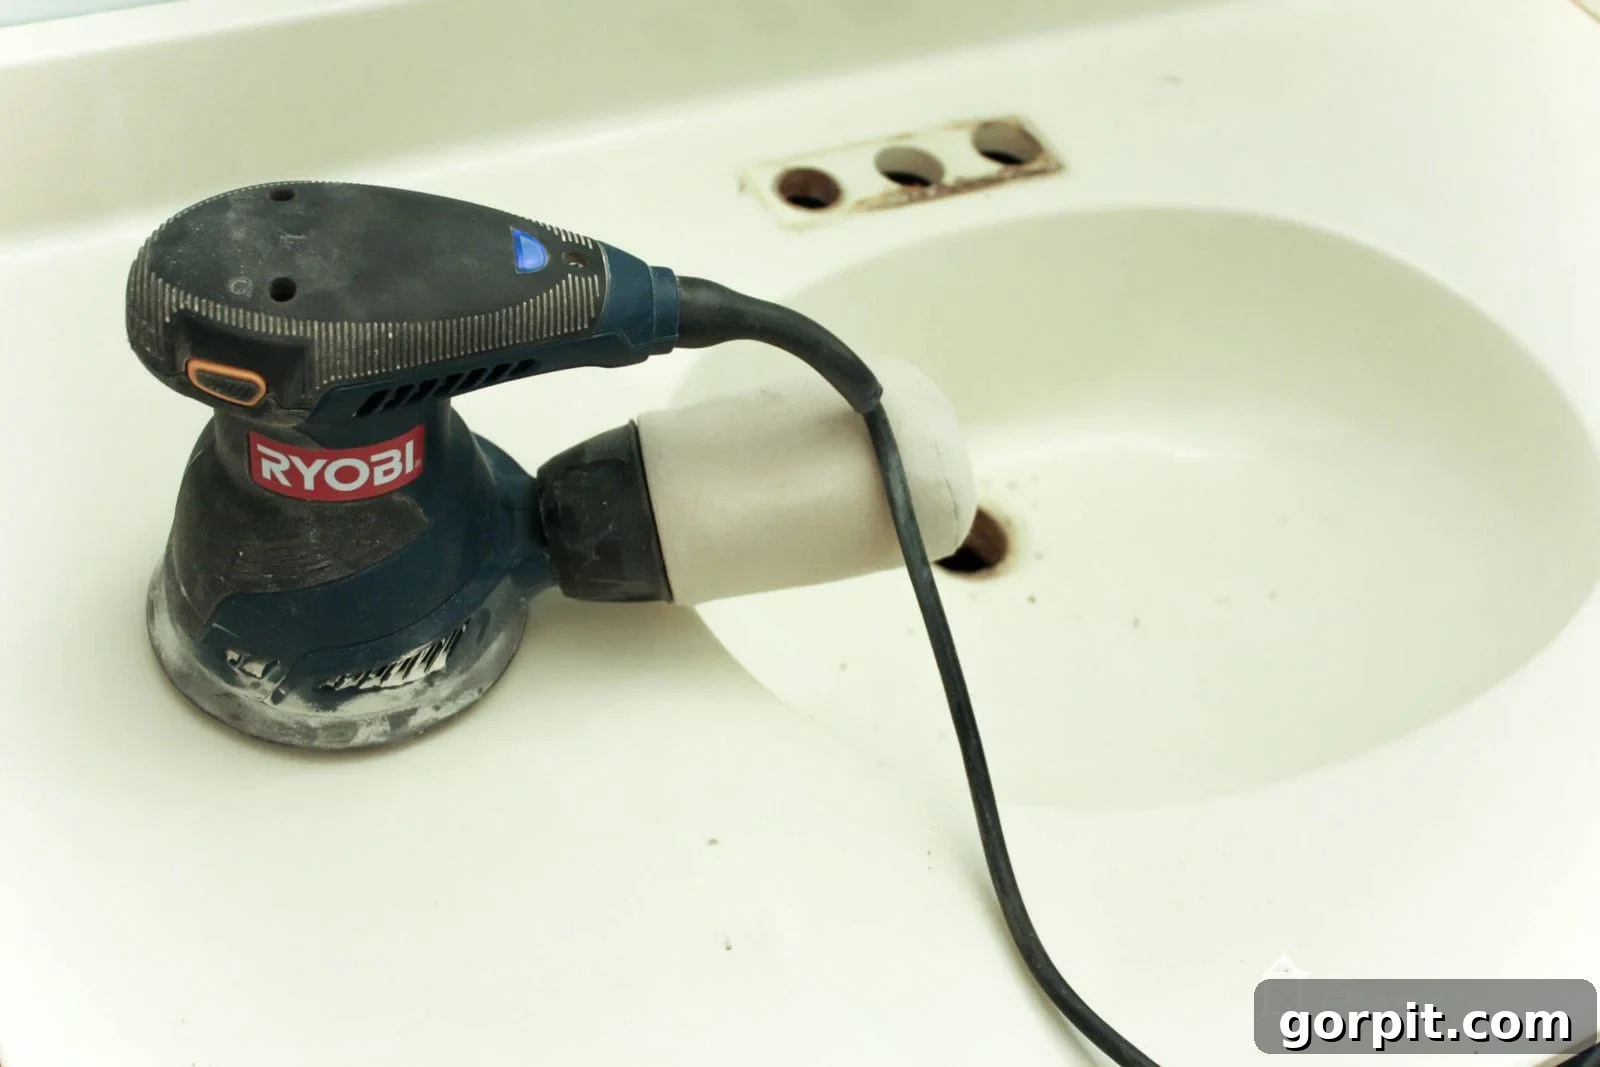
- An electric sander (optional, but highly recommended for efficiency): While hand sanding is possible, an electric sander significantly speeds up the process, especially if dealing with thicker applications. We used a Ryobi Random Orbit Sander.
- Latex gloves: Crucial for protecting your hands from the concrete mixture and during application.
- Acrylic concrete sealer: A vital step for protecting your new surface and achieving the desired finish. We used Quikrete 873002 Concrete Cure And Seal Satin Finish.
- 150 and 220 grit sandpaper: Used for smoothing out coats and achieving a refined finish.
- A large sponge: Helpful for smoothing concrete in the sink basin.
NOTE: We also painted the vanity cabinet to complete the quick update. We utilized the same process and paint we previously used for our kitchen cabinets, which you can read all about here. This is another proven method I’ve used for painting cabinets, yielding brilliant results!
Step-by-Step Tutorial
Time needed: 2 hours and 30 minutes
This entire project is surprisingly quick and straightforward, taking approximately 2.5 hours of active work (excluding drying time). You’ll be amazed at how fast you can transform your bathroom!
-
1. Remove your old faucet.
Begin by turning off the water supply to your vanity and removing the old faucet. If you plan to replace your drain stopper, now is also the time to remove it. However, if you intend to reuse your existing drain stopper, you can leave it in place for now. This initial step ensures a clean working surface and prevents any obstruction during the concrete application.
-
2. Scuff sand your countertop and sink.
Using 150-grit sandpaper (or a higher grit if you prefer a less aggressive scuff), lightly sand the entire surface of your existing countertop and sink. The goal here isn’t to remove the entire finish, but rather to create a dull, scuffed surface. This textured surface provides the necessary grip for the concrete overlay to properly adhere, ensuring a strong and lasting bond. This step should be quick – you’re just aiming to break the shine.

-
3. Install your new drain stopper.
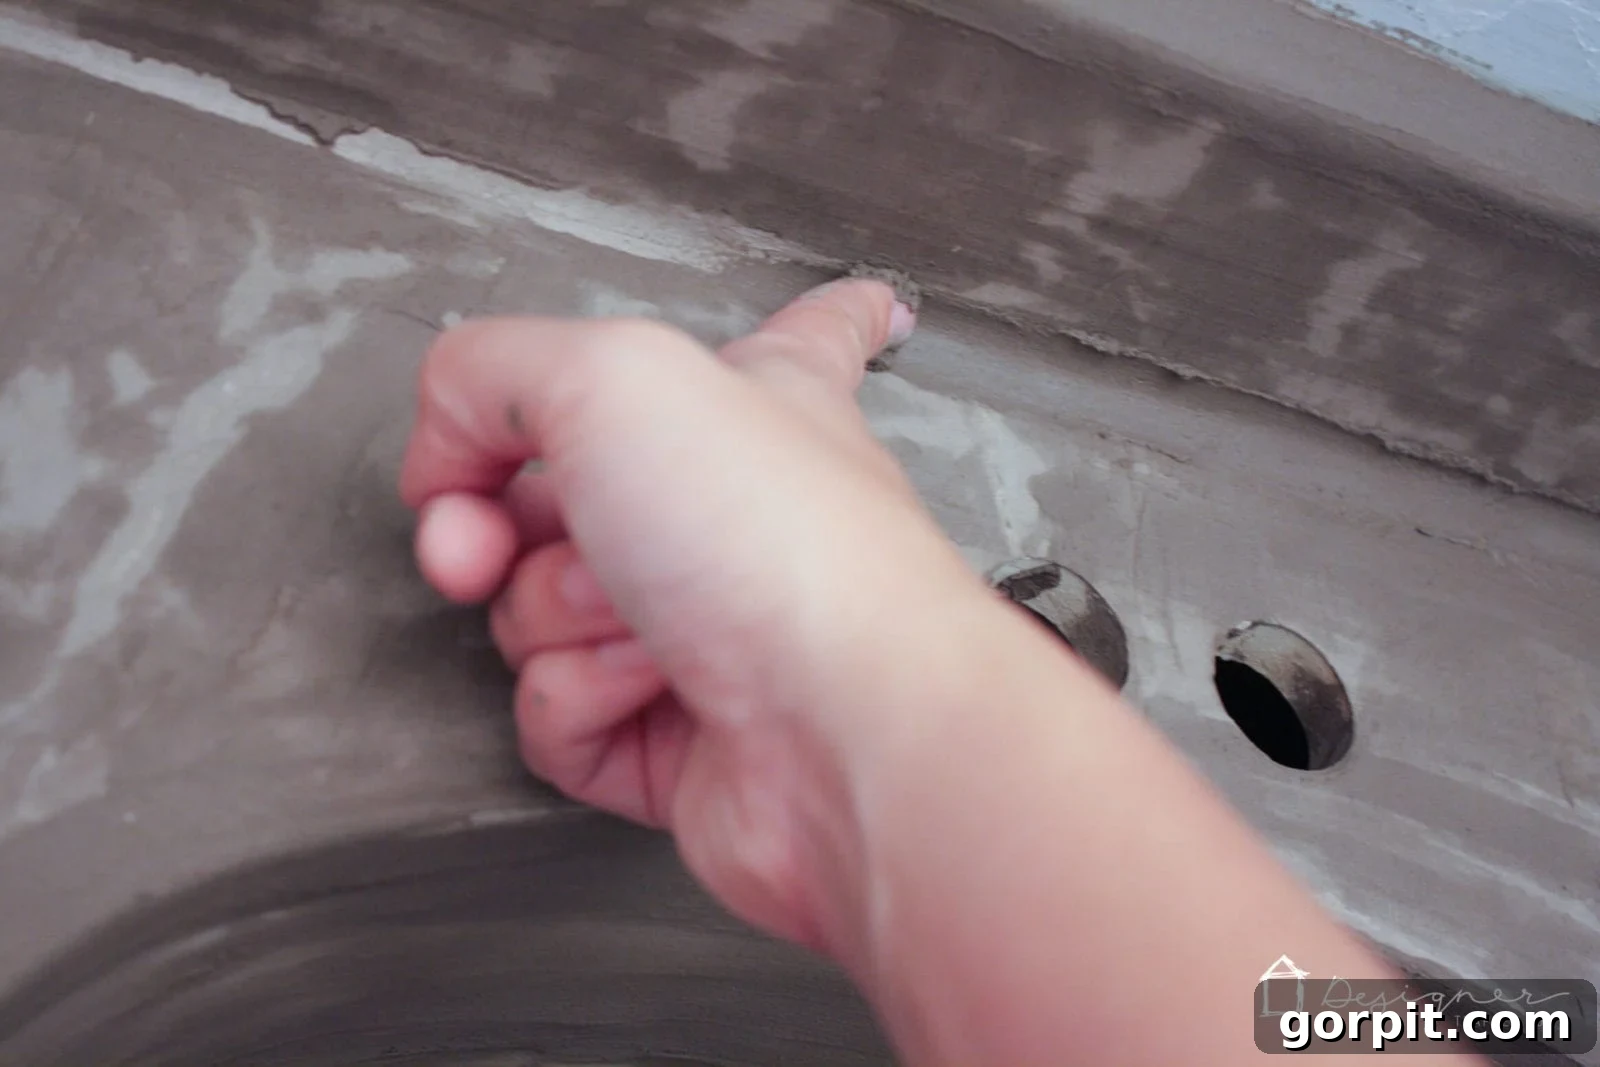
If you’re upgrading your faucet and drain stopper, install the new drain stopper now, *before* applying any concrete. We learned this the hard way! Originally, we completed this project without the drain stopper installed, which unfortunately led to some discoloration around the drain a year later, likely due to water seeping underneath and darkening the concrete. We successfully fixed it by removing the drain, carefully chipping away a bit of concrete, reseating the drain, and then applying new concrete around its edge (you can see our repair process here). To save yourself this extra step, ensure your drain stopper is firmly in place from the start. You’ll install the new faucet later.
-
4. Mix your concrete overlay.
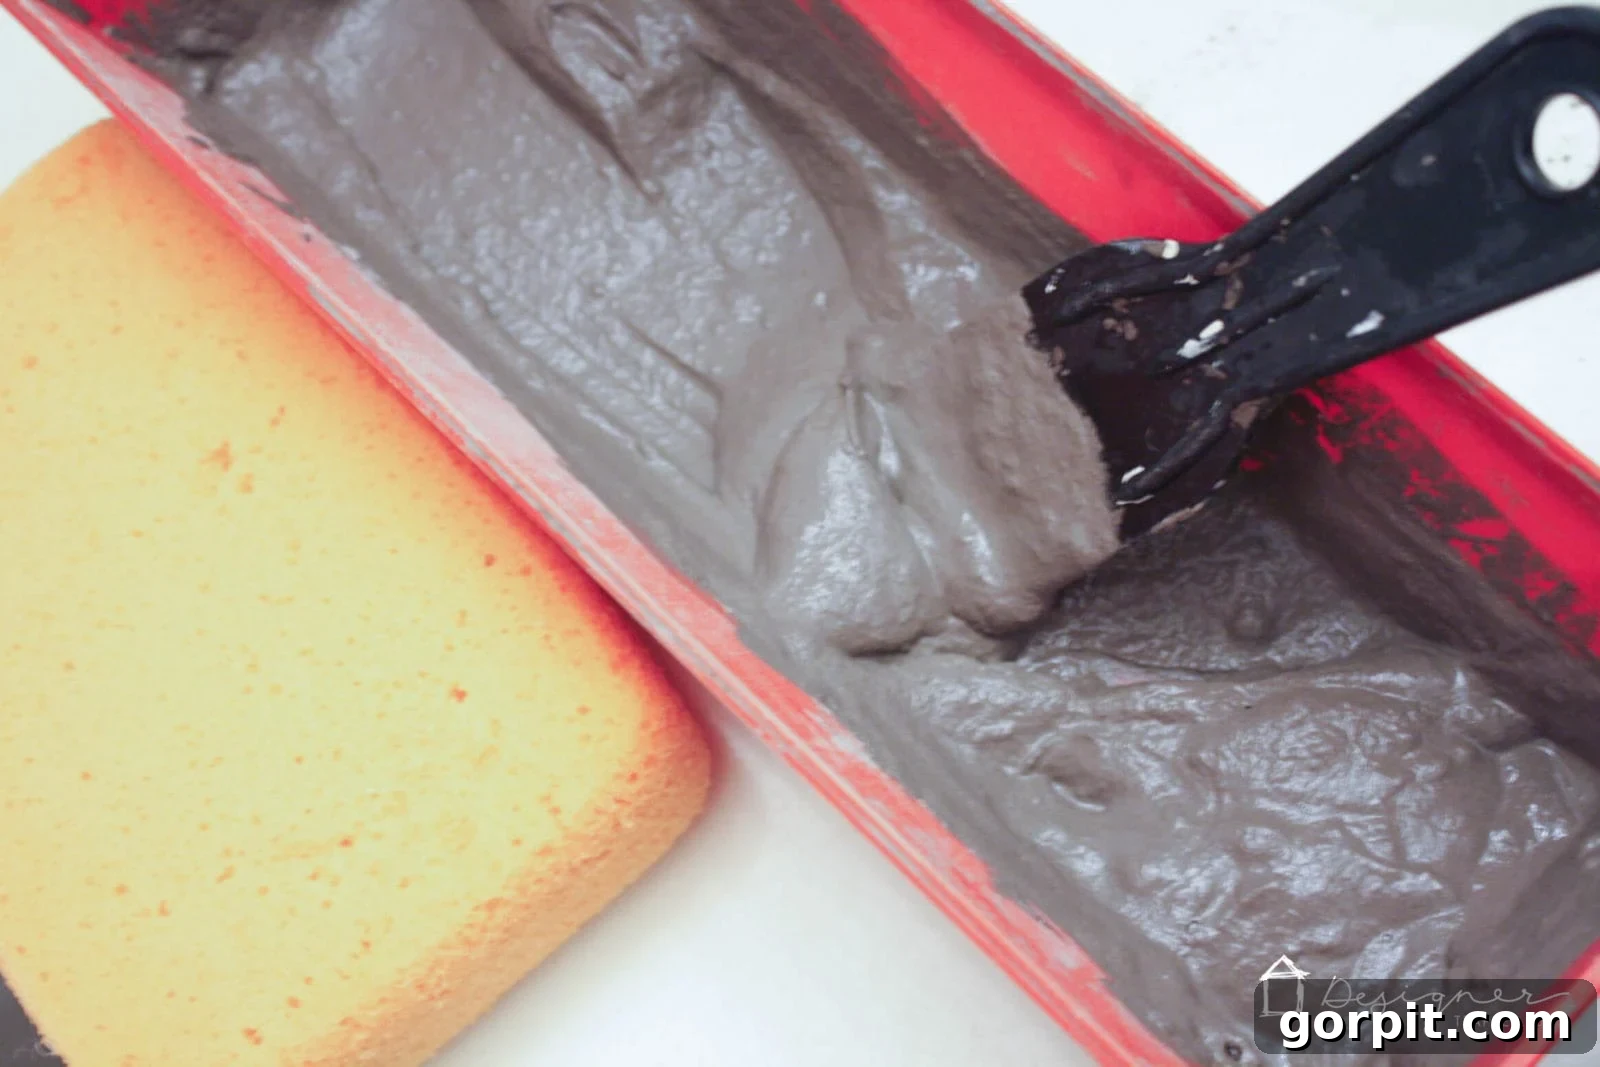
Now it’s time to mix your Ardex or Henry’s Feather Finish. Pour a reasonable amount of the dry mix into your drywall tray. Gradually add water, mixing thoroughly with a small putty knife. The ideal consistency you’re aiming for is similar to thick pancake batter – not too runny, not too stiff. After initial mixing, let the mixture sit for about 2-3 minutes; this allows the polymers to fully hydrate. Then, give it another good stir. Your concrete overlay is now ready for application.
-
5. Apply your first thin coat of concrete.
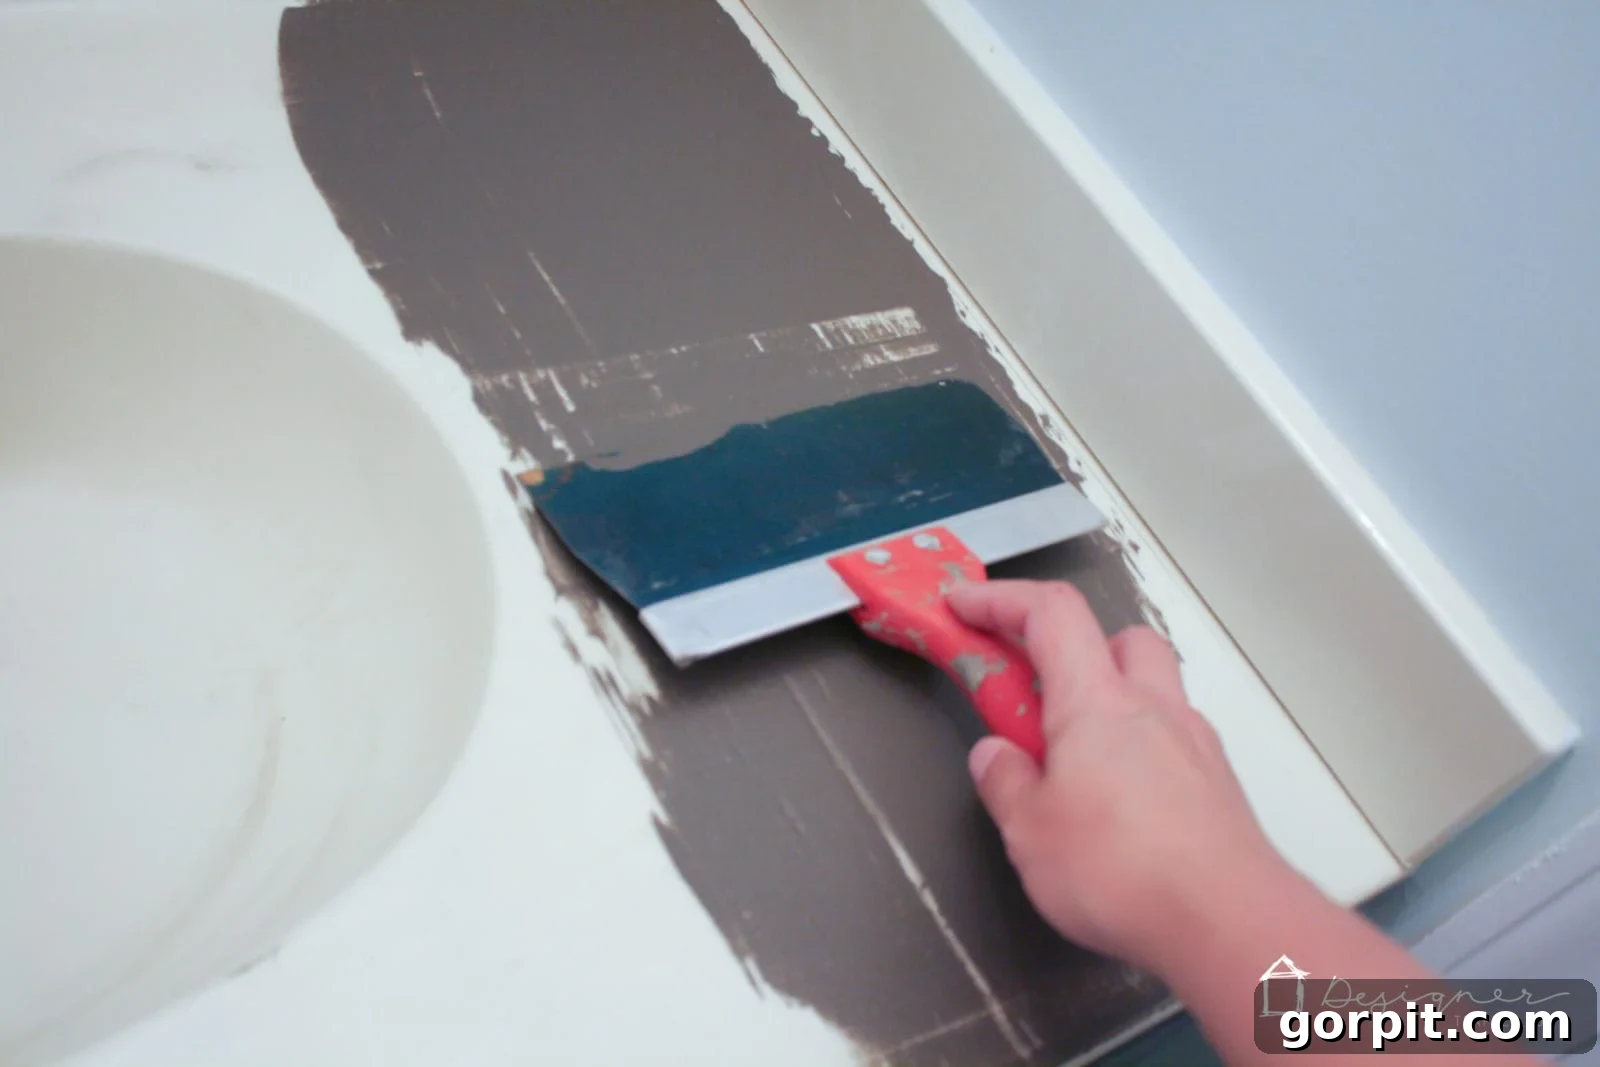
Using your large drywall knife, apply a very thin, even coat of concrete to the entire cultured marble countertop surface, including any backsplash. It’s crucial to apply this first layer thinly; do not try to achieve full, opaque coverage. This initial coat will likely look messy and uneven, with the original surface still showing through – this is completely normal and expected, so don’t get nervous! Use your smaller putty knife for the backsplash and your gloved fingers to work the concrete into corners and along the edges. Don’t worry if you get some on the walls; it can be wiped off easily, even after drying.
-
6. Apply concrete to the sink basin.
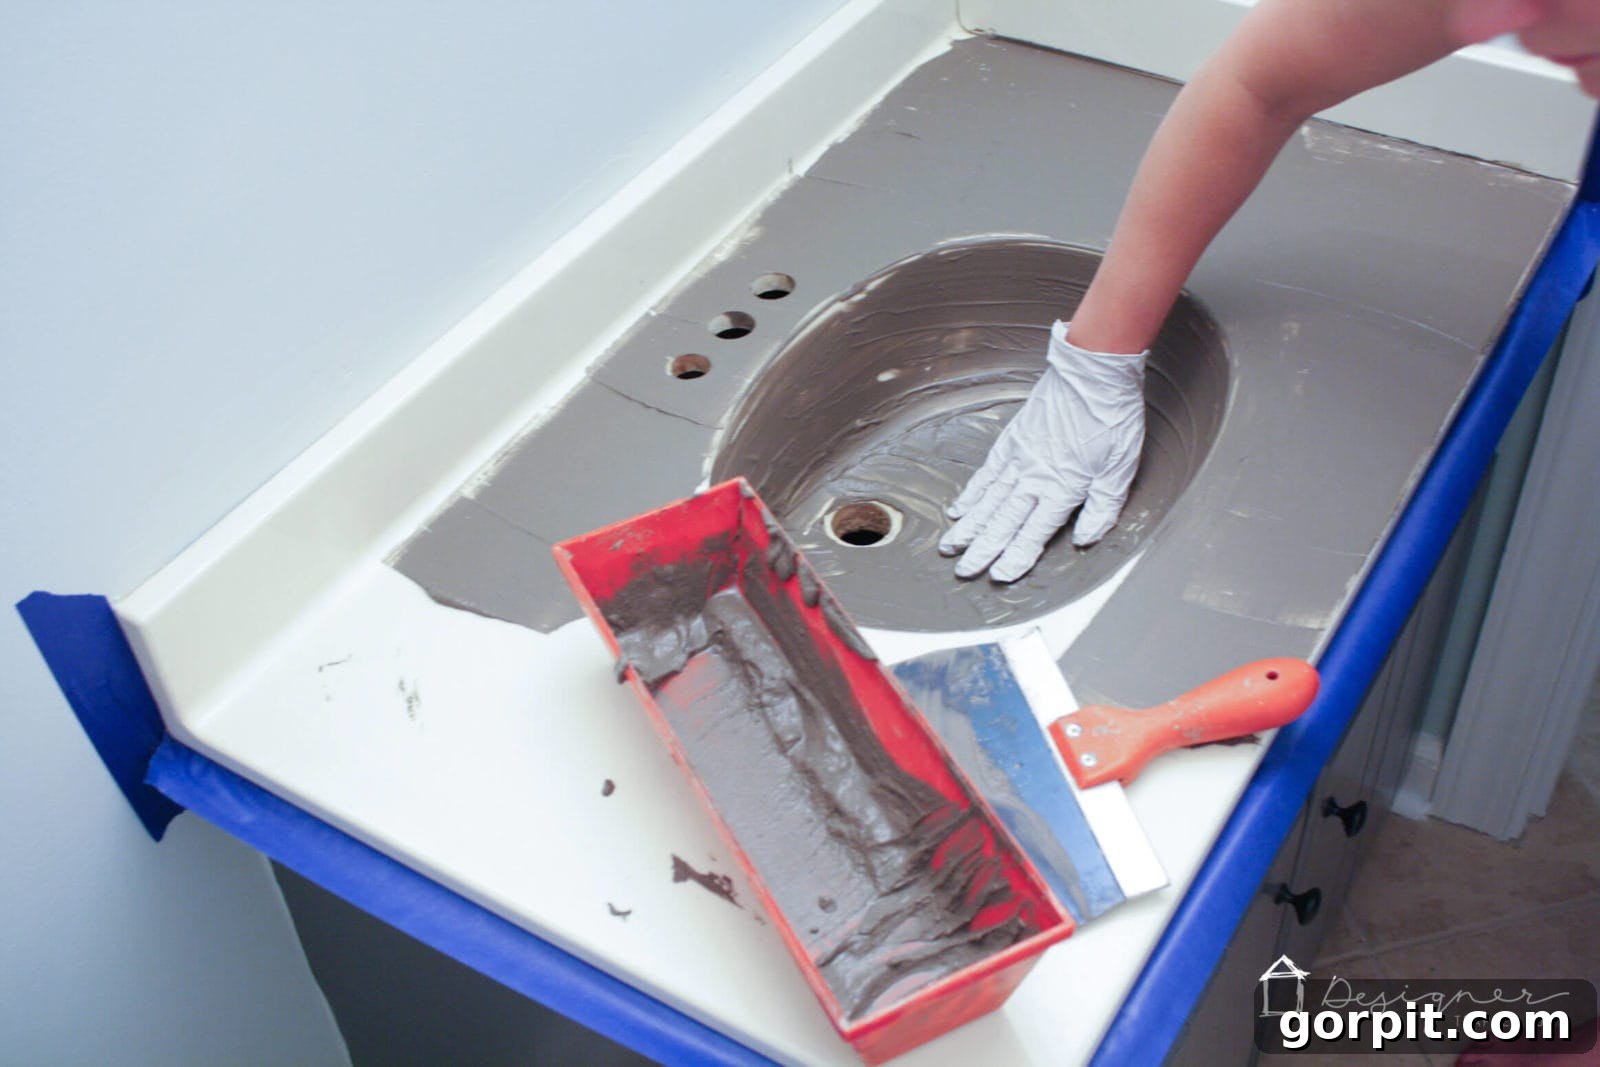
Next, apply the concrete overlay to the sink basin. For this intricate area, your gloved fingers are the best tools. Gently spread the concrete around the curves and contours of the sink. Again, the goal for this first coat is thin coverage, not perfection. It will appear messy with visible finger marks, and that’s perfectly fine for now. Remember to always protect your skin with latex gloves throughout this process.
-
7. Allow the first coat to dry completely.
Patience is key! Allow the first coat of concrete to dry completely. While it dries fairly quickly, especially in well-ventilated areas, I typically let each coat cure overnight. This ensures maximum strength and adhesion before proceeding to the next step, preventing any issues with subsequent layers.
-
8. Lightly sand the dried coat.
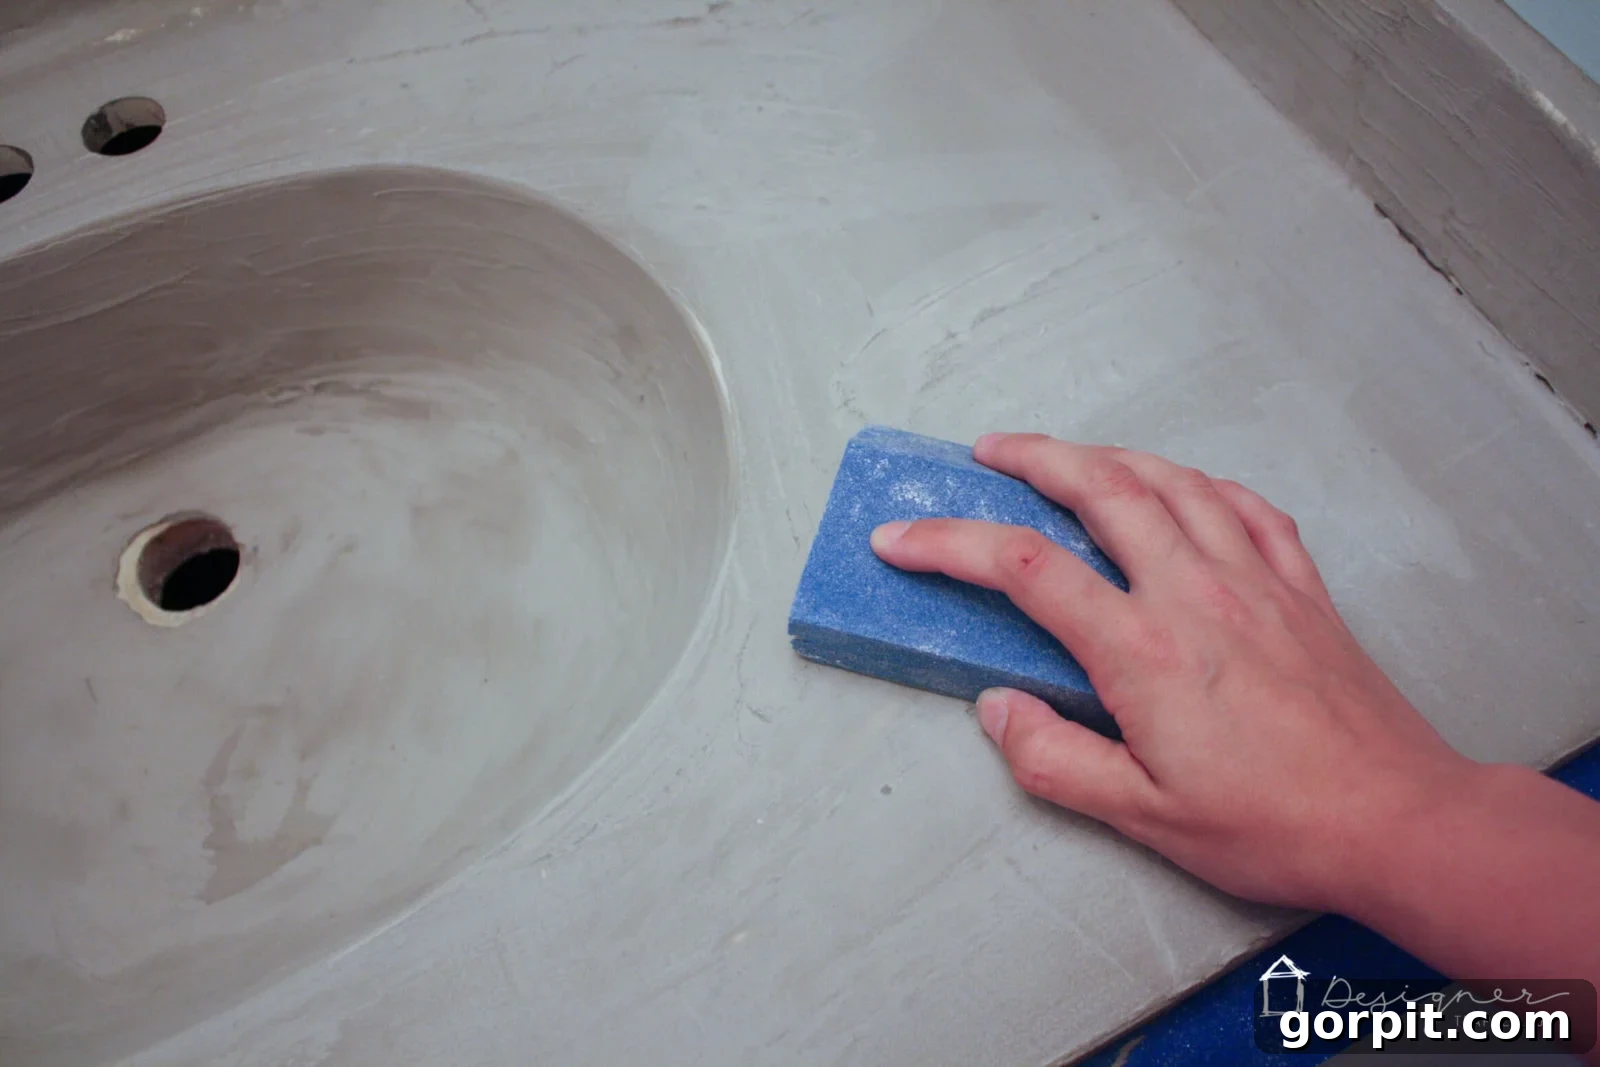
Once the first coat is fully dry, gently hand sand the entire surface with 150 or 220-grit sandpaper. The aim is to knock down any high spots, rough edges, or noticeable imperfections, creating a smoother base for the next layer. NOTE: If your first coat was applied too thickly and has significant ridges or bumps, an electric sander might be more effective for achieving a smoother surface efficiently.
-
9. Layer additional coats until desired coverage.
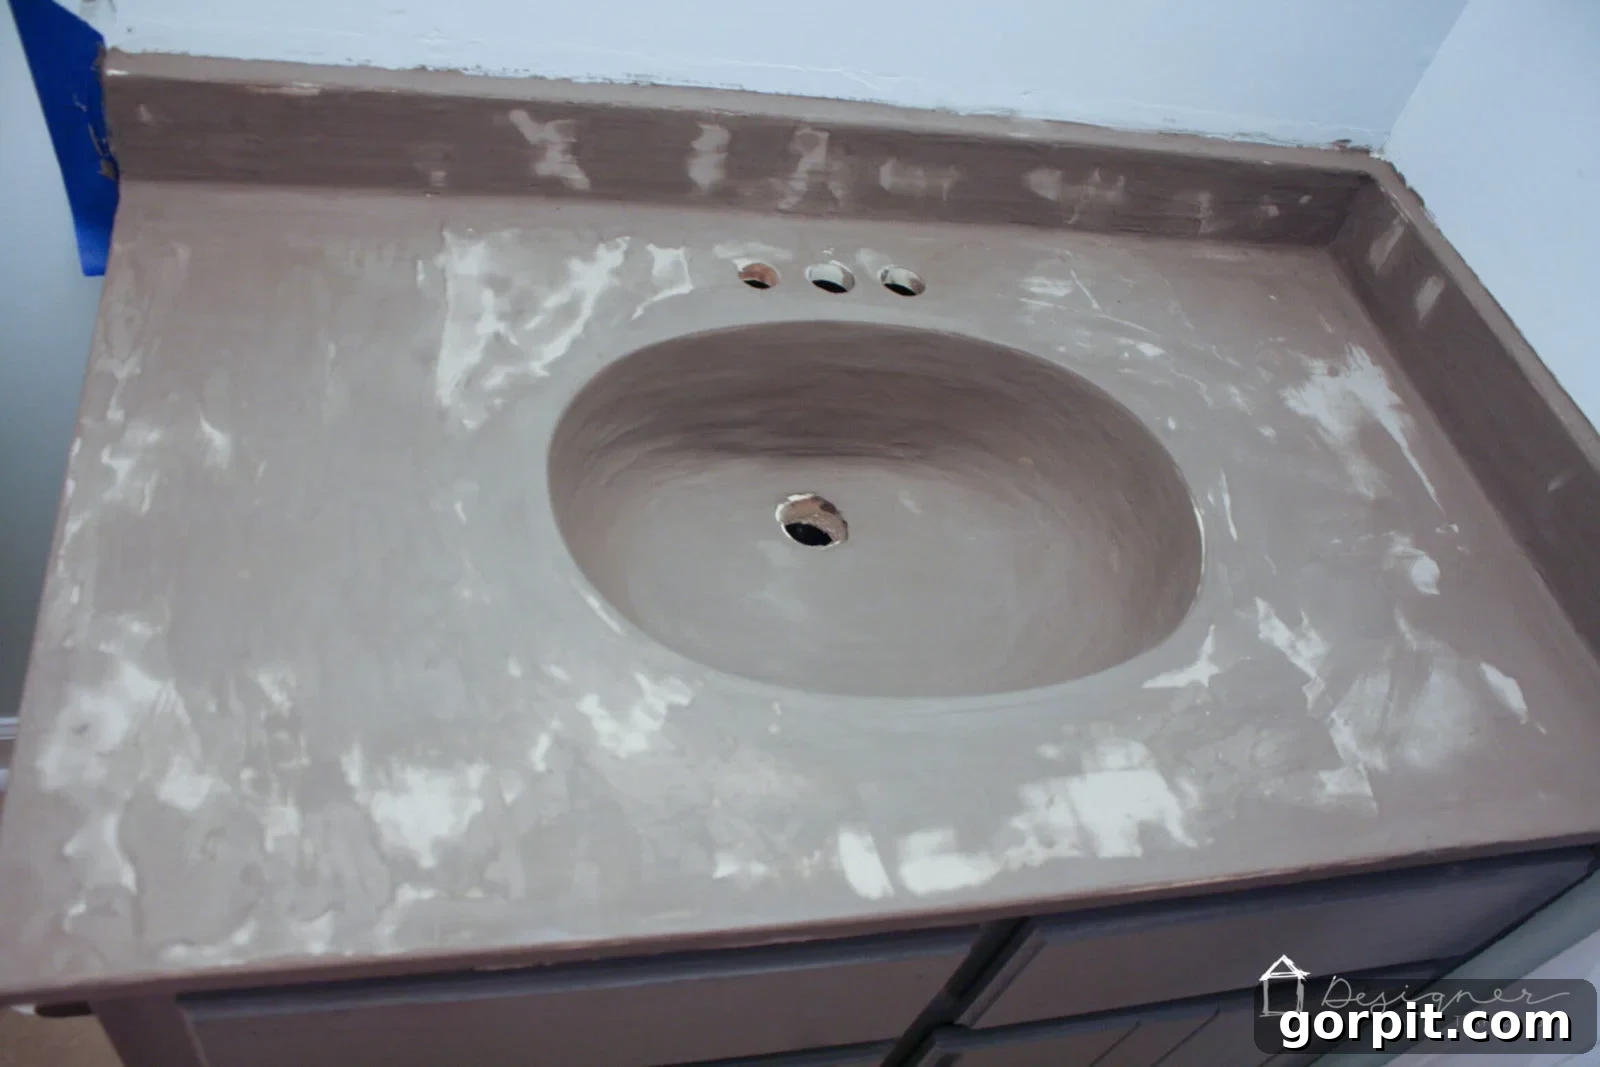
Repeat steps 5 through 8 (mix, apply, dry, sand) until you achieve your desired coverage and smoothness. With each subsequent coat, you’ll find it easier to build up the concrete, filling in gaps, smoothing imperfections, and getting better coverage in corners and on edges. I personally used my fingers to ensure thorough application in all the nooks and crannies. I was satisfied after three coats, but I have considerable experience with this product from our DIY concrete fireplace project, allowing me to apply it quite smoothly. If you’re new to this, you might need four or more coats to achieve a perfectly smooth finish. Remember, the goal is to build up thin layers. The photo below shows what the second coat looks like while drying – it will still appear splotchy and imperfect! DON’T PANIC! This is part of the process, and it will smooth out with further coats and sanding.
This image shows the second coat drying, still a “splotchy mess.”
-
10. Smooth out the concrete in the sink basin.
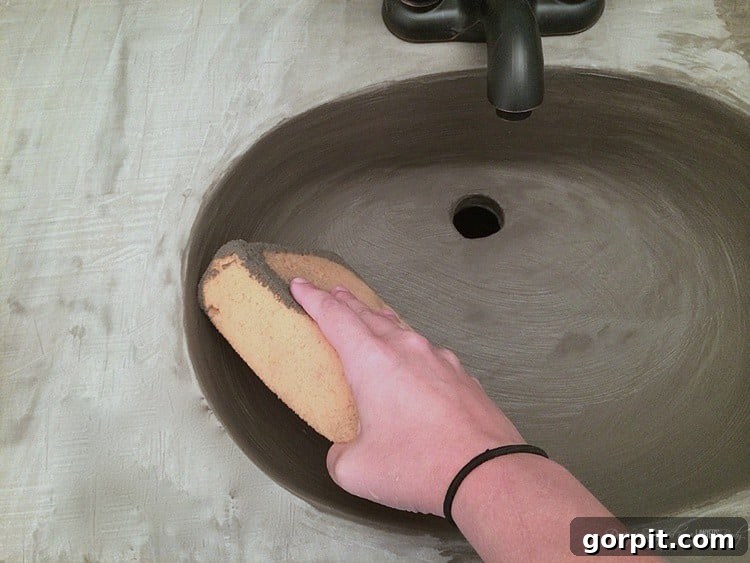
For your second and third coats within the sink basin, an important technique is to gently smooth out any finger ridges with a damp sponge AFTER the concrete has dried slightly. The timing is crucial here: you want the concrete to be firm enough to hold its shape but still workable. If it’s too wet, you’ll simply wipe the concrete away, which is not what we want. This step might require a little trial and error, but generally, waiting 10 to 20 minutes after application allows for optimal smoothing. As mentioned in step 6, do not attempt to smooth the first coat in the sink, as it will just wipe off. This smoothing technique is only effective and necessary for the subsequent coats.
-
11. Perform a final sanding.
Once you are completely satisfied with the coverage and overall appearance of your concrete vanity top, it’s time for the final sanding. I prefer to do this by hand using fine-grit sandpaper (220-grit) to maintain precise control and avoid over-sanding, especially along edges and corners. The goal is to achieve a silky-smooth finish that feels pleasant to the touch. If, however, you still have stubborn imperfections or rough patches, you might need to bring out the electric sander for a more aggressive but careful approach.
-
12. Apply a concrete sealer.
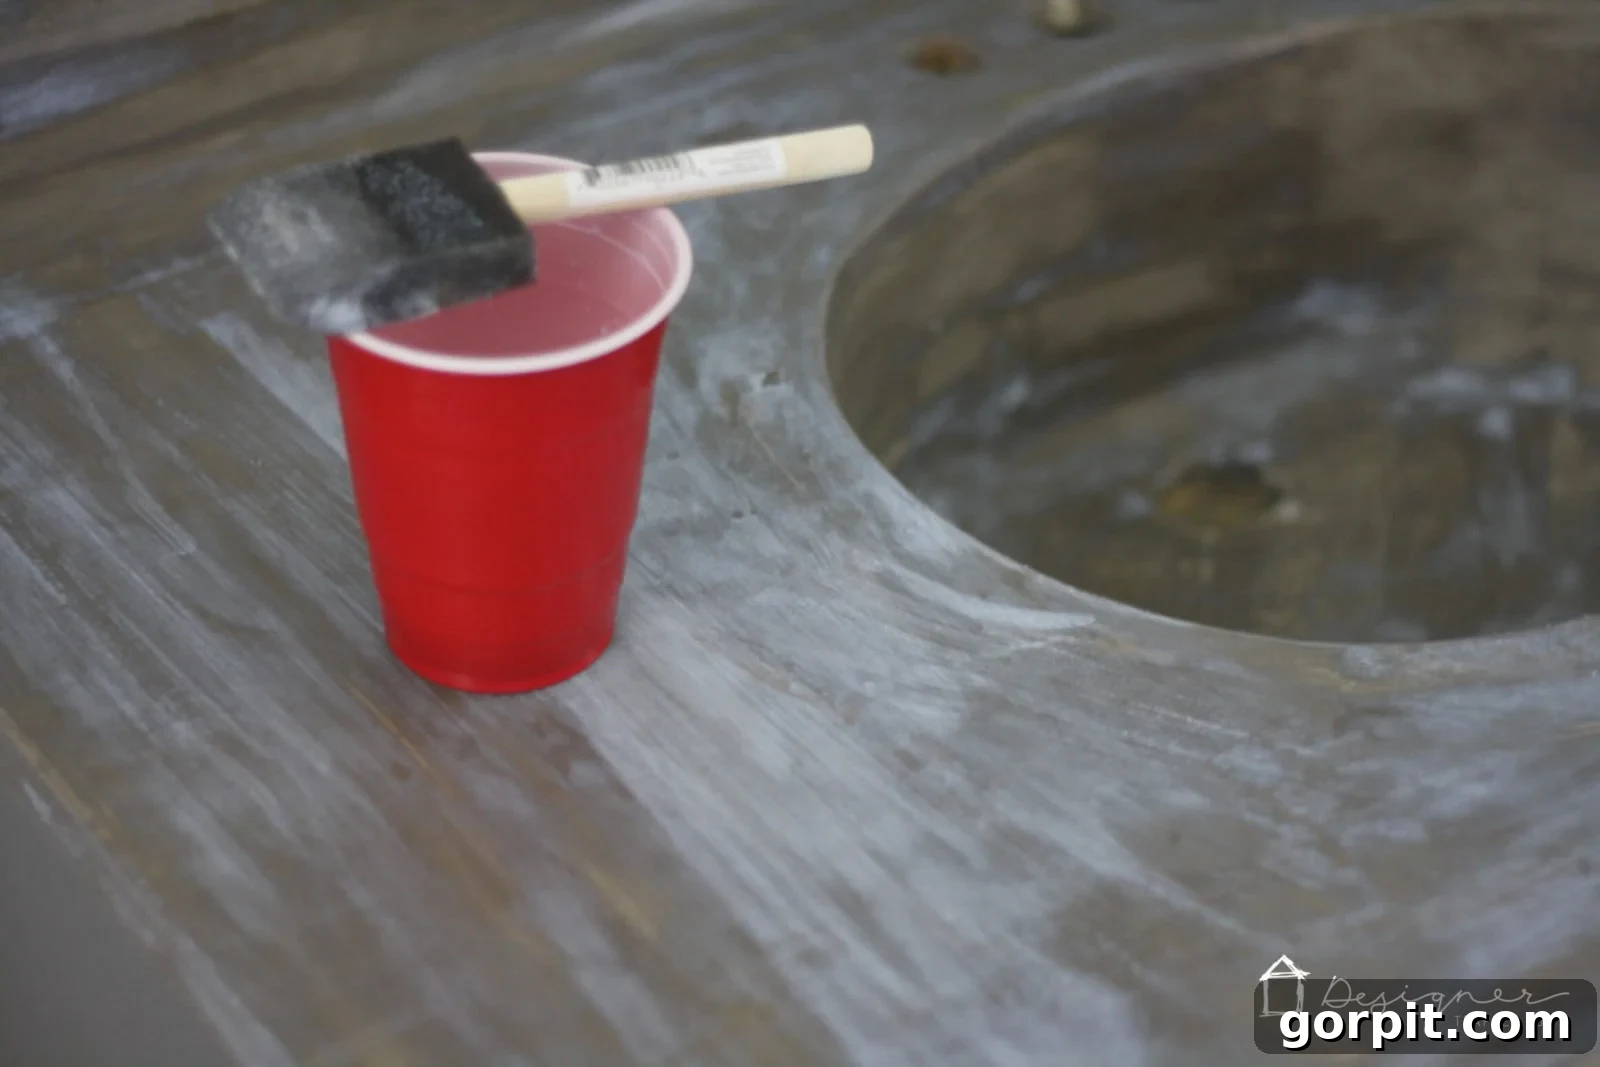
The final crucial step is to apply a high-quality concrete sealer. I strongly recommend using a water-based acrylic concrete sealer with a satin finish. This type of sealer not only protects your concrete from moisture, stains, and daily wear but also imparts a beautiful, smooth finish with a subtle sheen. It also tends to slightly deepen and darken the concrete color, which I personally find enhances its aesthetic. When applied, the sealer may initially appear milky, but don’t worry – it will dry crystal clear. Follow the product directions carefully; avoid applying the sealer too thickly or allowing it to puddle. Ensure you smooth out any air bubbles as you go. I applied two coats for maximum protection and a flawless finish.
-
13. Install your new faucet.
Once the concrete sealer has completely dried and cured according to the manufacturer’s instructions, you can proceed with installing your new faucet (or reinstalling your old one if you kept it). We sourced our fantastic new faucet from Amazon for just $39 – an incredible deal that perfectly complements the concrete look. You can find the exact faucet we purchased here. Connect the water lines, turn the water back on, and check for any leaks. Your stunning new DIY concrete vanity is now ready to enjoy!
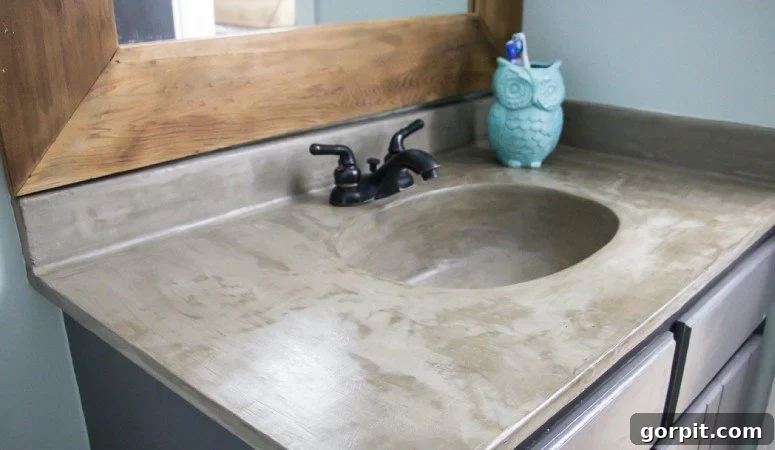
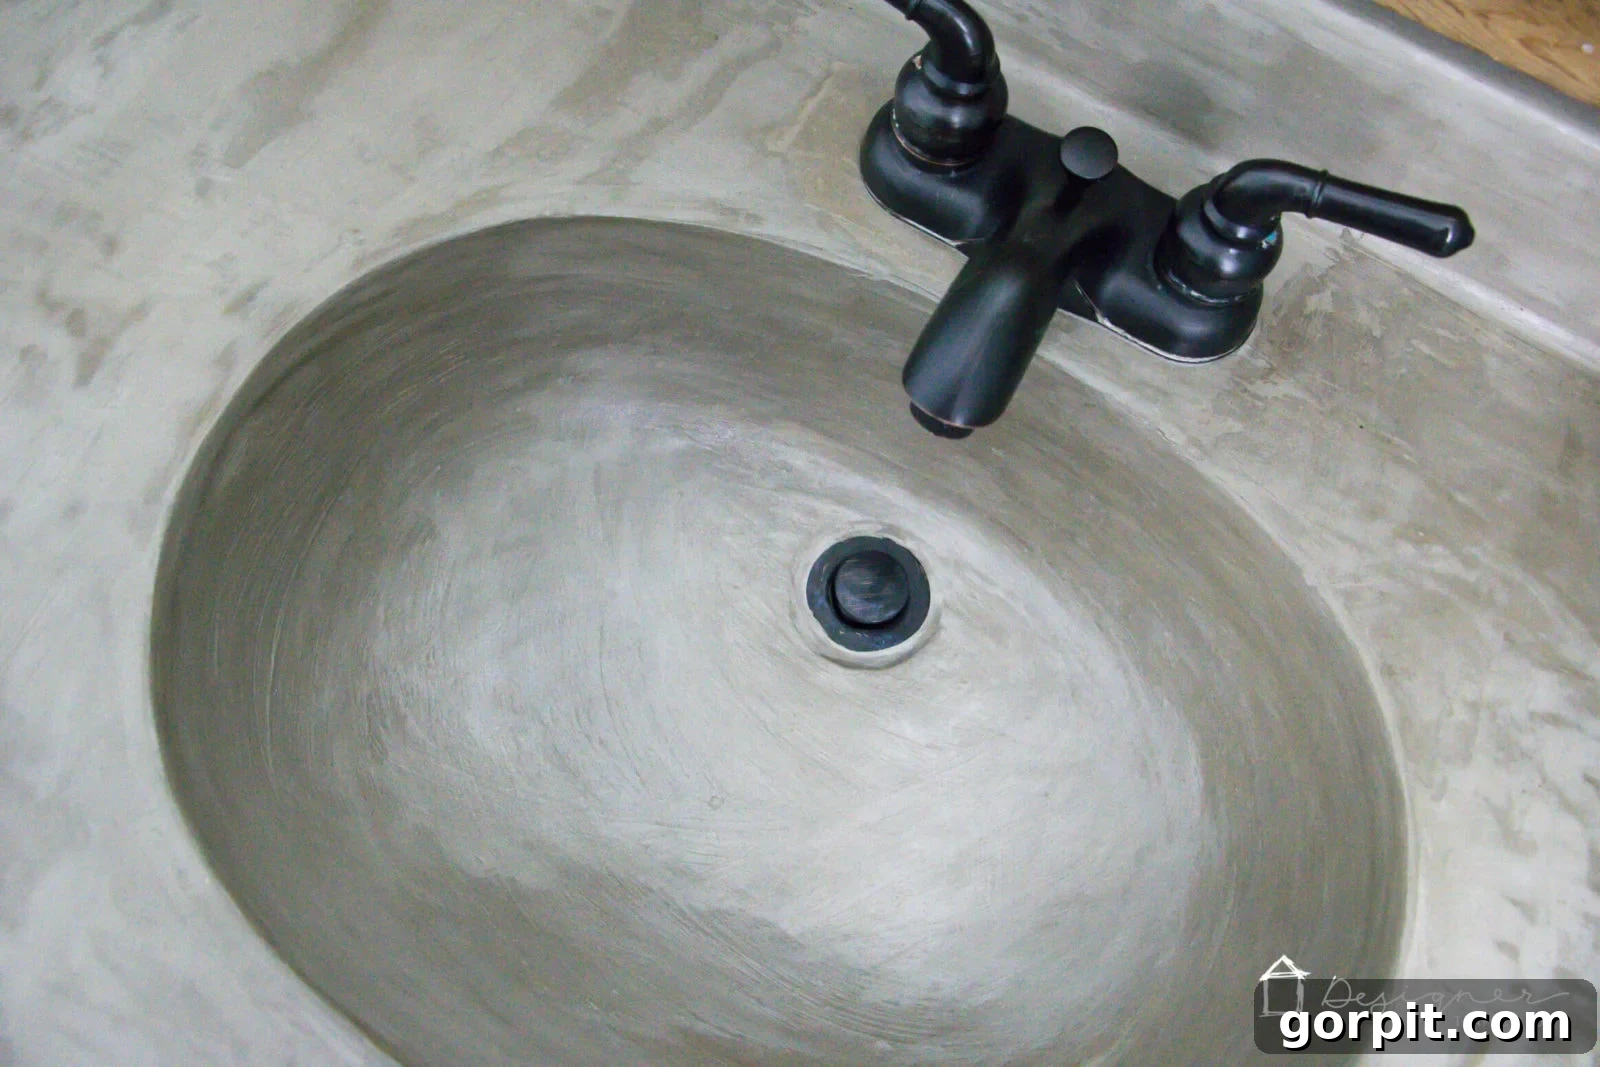
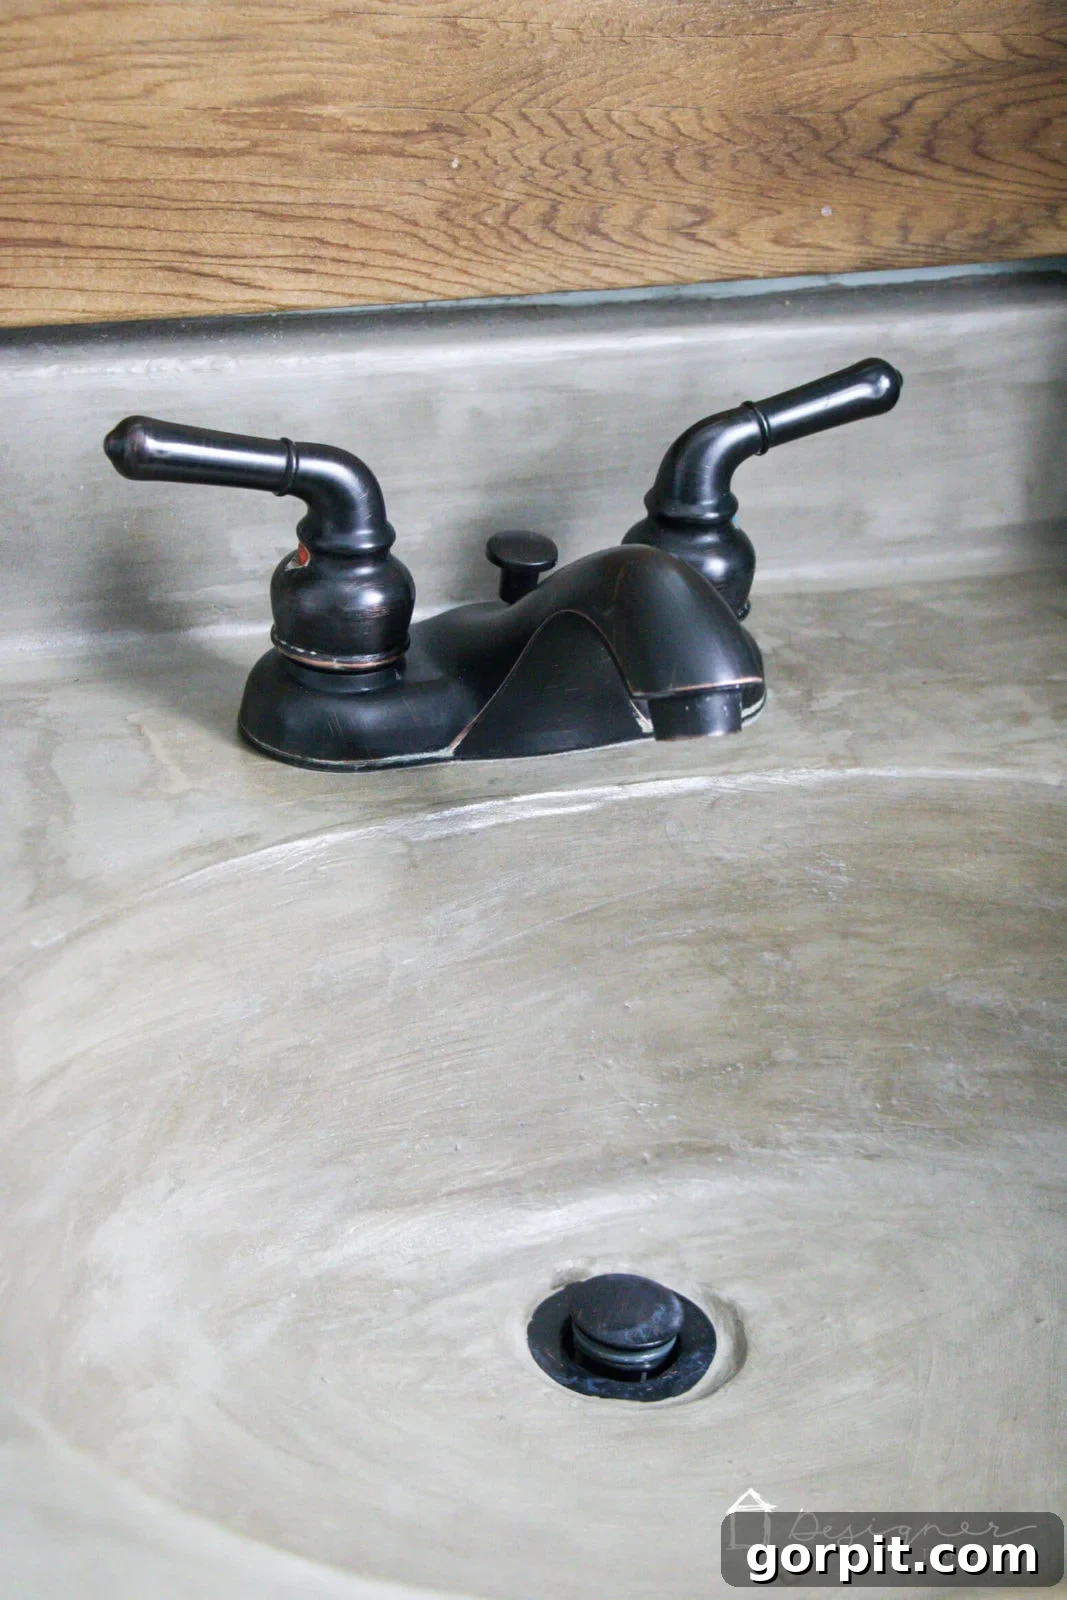
Here’s a look at the incredible final outcome. We were absolutely thrilled with how our budget-friendly concrete vanity makeover turned out!
Time and Cost Involved
You might be wondering about the time and financial investment for this “faux” concrete sink and vanity top transformation. The active working time for each coat application and subsequent sanding cycle was remarkably efficient, taking only about 30 minutes. Including the final sealing step, removal of the old faucet, and reinstallation of the new one, the entire project required just about 2.5 hours of hands-on work (excluding the necessary drying times between coats). I spread this out over several evenings after my girls were in bed, making it a very manageable DIY project even for busy schedules.
The cost effectiveness of this DIY concrete overlay is truly outstanding, coming in at well under $20 for the core materials. We purchased a box of Henry’s Feather Finish from Home Depot for approximately $16.00 and used less than a quarter of the contents for this vanity. We already had the concrete sealer on hand, leftover from when we applied this same technique in our laundry room. As avid DIY enthusiasts, we also had all the necessary tools and supplies in our workshop. Even if you needed to purchase the sealer and a few basic tools, your total investment for this DIY vanity makeover would still be significantly less than the cost of a brand new vanity or a custom-fabricated countertop. This project offers incredible value, delivering a high-end look for a fraction of the price of traditional options, making it an ideal choice for a budget bathroom remodel.
Frequently Asked Questions About This Project
This vanity held up absolutely beautifully for the entire duration we had it! We adored it from the moment we completed it in 2014 until we finally demoed it in 2019 as part of our new powder room design. Its durability truly impressed us, enduring daily use without any major issues. You can see the stunning powder room renovation reveal here, which includes a look at its replacement. For a visual testament to its longevity, be sure to watch the video update located earlier in this post!
No, thanks to the effective acrylic concrete sealer, the surface does not noticeably darken when water gets on it. The sealer forms a protective barrier that repels moisture. We highly recommend watching the video embedded just before the tutorial in this post, where you can see for yourself how well the surface repels water and maintains its appearance!
Absolutely no regrets! In fact, a million, zillion times YES, we would enthusiastically do this project again! This entire transformation cost us around $20, and we loved the result so much. As mentioned in the tutorial, my only minor wish was that we had initially installed the drain stopper before applying the concrete. However, even with that slight discoloration issue (which we easily fixed!), it wouldn’t deter me from undertaking this project again. We are incredibly happy with the outcome and the value it provided!
This was such a common and important question, and we address it thoroughly in the short video update mentioned earlier in this post. Generally, the sealed concrete surface is quite easy to clean with mild soap and water, similar to cleaning a regular countertop. The sealer provides a durable, non-porous finish, making maintenance surprisingly simple.
No, I definitely would not recommend using this concrete overlay method in a shower or bathtub. While it’s incredibly durable for a vanity top, the thin concrete layer is not designed to withstand the continuous saturation and substantial weight of standing water in a tub, nor the constant foot traffic and direct impact of a shower floor. These environments require specialized waterproofing and structural reinforcement that this particular overlay method does not provide.
Theoretically, yes, it is possible to apply this concrete overlay to sinks with intricate shapes like “shell” or scalloped designs. However, successfully achieving a smooth, even finish within the complex curves and crevices of such a sink basin would be particularly challenging. It would require a great deal of patience, careful application with your fingers, and meticulous smoothing, making the process significantly more difficult than with a standard, simpler sink basin.
(Video demonstrating the longevity and cleaning of the DIY concrete vanity would be embedded here.)
Other posts you may enjoy for more DIY bathroom inspiration:
- The Easy Way to Update Bathroom Tile Without Replacing It!
- 15 Affordable DIY Countertops That Will Blow Your Mind
- 25 Stunning Powder Room Makeovers
- Attley’s Budget-Friendly Bathroom Renovation
- Avery’s Budget-Friendly Bathroom Makeover
- Affordable Master Bathroom Remodel REVEAL
Wondering how I approach transforming rooms and spaces in our home? Check out Designer in a Binder®.
And if you want exclusive content, behind-the-scenes sneak peeks, and more DIY inspiration, be sure to subscribe to our newsletter before you head out!
(Subscription form content would go here, without JavaScript.)