
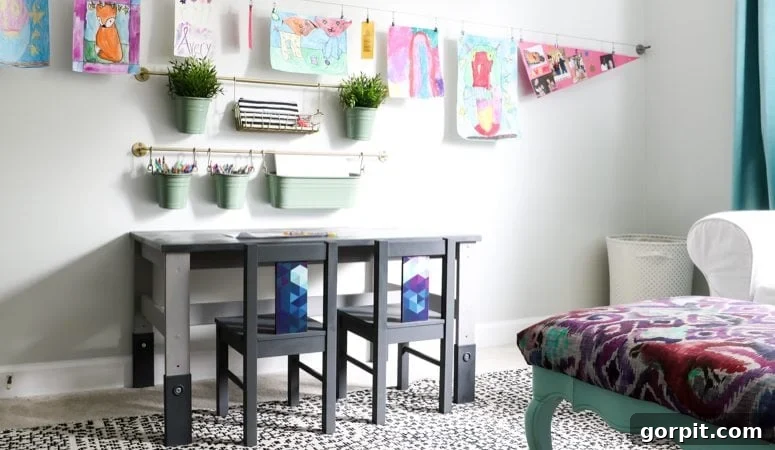
Transform Your IKEA Kritter: A Chic Kids’ Table and Chair Makeover That Looks High-End
Hello, fellow DIY enthusiasts and parents! Have you ever looked at a functional piece of IKEA furniture and imagined it as something truly extraordinary? That’s precisely the journey we’re embarking on today. For years, an inexpensive IKEA kids’ table and chairs set served a vital purpose in our home, diligently hosting countless art projects, playdough sessions, and snack times in our girls’ playroom. Its adjustable legs were a lifesaver, adapting as our children grew, making it a beloved fixture for about five years.
However, as our home decor evolved and our daughter Avery transitioned into her beautifully designed bedroom, featuring a soothing palette of purple and teal (you can explore her incredible DIY bed nook here and witness the transformation of her purple campaign dresser DIY makeover here), the vibrant red and blue hues of the original IKEA set simply no longer fit the aesthetic. It was time for a change, a significant upgrade that would blend seamlessly with her new sophisticated space without breaking the bank.
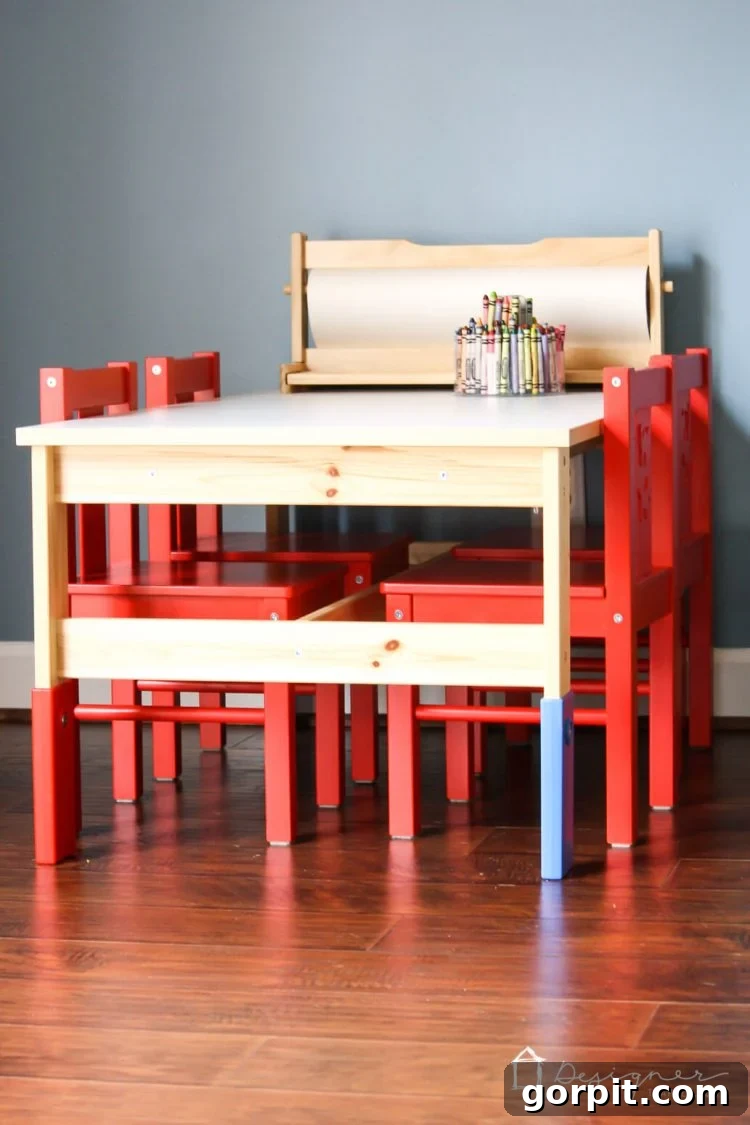
And so, with a modest collection of paint, a beautiful piece of fabric, and the magic of Mod Podge, this humble IKEA kids’ set underwent a remarkable transformation. It went from a bright, playful piece to a sophisticated, custom-looking ensemble that appears straight out of a high-end boutique. The result is not just a furniture makeover, but a testament to how simple DIY techniques can elevate everyday items into cherished pieces that perfectly reflect your style. Get ready to discover how you can achieve this stunning IKEA Kritter hack for yourself!
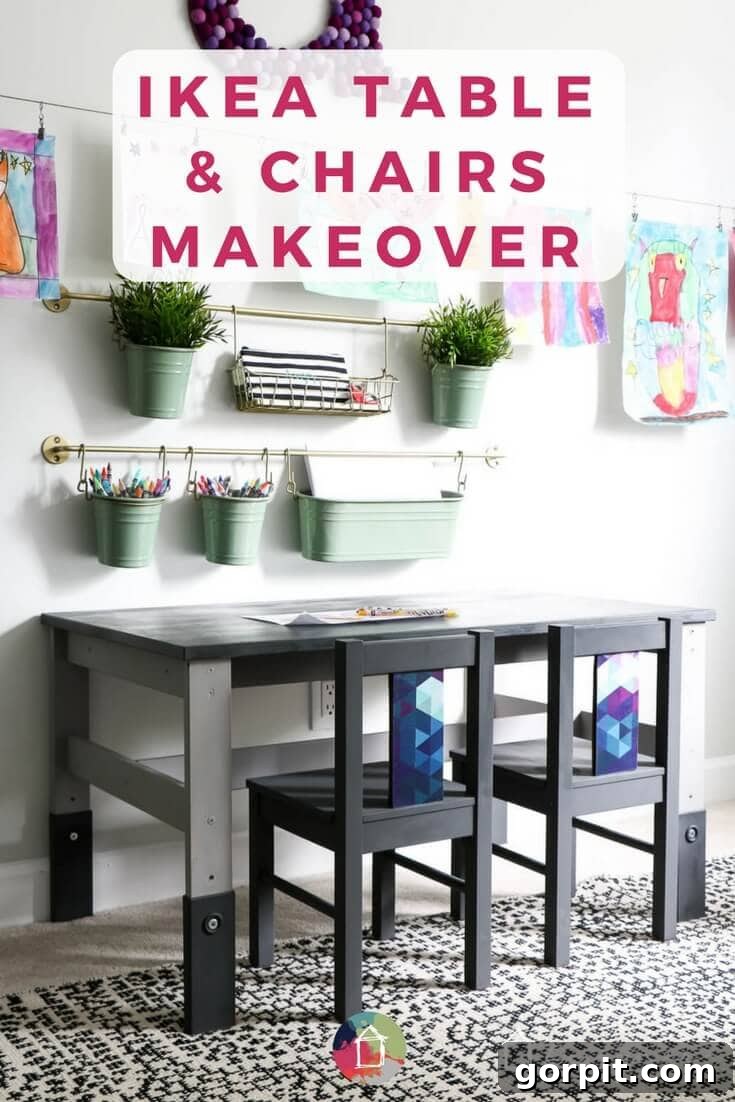
This comprehensive guide will walk you through every step of this easy and gorgeous IKEA kids’ table and chair makeover. Whether you’re an experienced DIYer or just starting, you’ll find these instructions simple to follow. Let’s turn that ordinary kids’ furniture into something extraordinary!
This post contains some affiliate links for your convenience (which means if you make a purchase after clicking a link I will earn a small commission which helps keep my blog up and running but it won’t cost you a penny more)! Click here to read my full disclosure policy.
DIY IKEA Kids’ Table and Chairs Makeover: Elevating Playtime Style
Embarking on a furniture makeover project can be incredibly rewarding, especially when you see the dramatic “before and after” results. This particular IKEA Kritter makeover is not only budget-friendly but also an excellent way to introduce custom, personalized touches into a child’s room or play area. By taking a few hours and applying some creative flair, you can transform a mass-produced item into a unique statement piece that truly complements your home’s aesthetic. Forget expensive boutique furniture; with this guide, you can create something equally stunning, designed specifically for your space.
Materials Needed: Crafting Your High-End Look
Gathering your materials efficiently is the first step to a smooth DIY project. Here’s everything you’ll need to give your IKEA kids’ table and chairs their luxurious upgrade:
- Chipboard: This sturdy material will serve as the base for our fabric panels. I used a piece measuring approximately 11″ x 17″, which was sufficient for two chairs. Adjust the size based on the dimensions of your chair backs and the number of chairs you plan to cover.
- Fabric of Your Choosing: This is where your personality shines! Select a fabric that complements your room’s decor. The amount you need will depend on the width of your desired panels, but a little goes a long way. I found that less than half a yard of scrap fabric from another project was more than enough, making this an incredibly economical hack.
- Matte Mod Podge: An essential for adhering fabric smoothly and creating a durable, sealed finish. While I opted for a matte finish to reduce shine, a glossy finish could also work if that suits your aesthetic.
- Foam Paint Brush: Perfect for applying Mod Podge evenly without leaving brush strokes.
- DAP Rapid Fuse All Purpose Adhesive: This fast-curing adhesive is my top choice for securely attaching the fabric-covered chipboard panels to the chair backs. Its quick drying time significantly speeds up the project.
- Cricut Explore Cutting Machine: This crafting marvel makes precise cuts incredibly easy. It’s a DIY enthusiast’s best friend for intricate designs and repetitive cuts.
- **No Cutting Machine? No Problem!** If you don’t own a cutting machine, a straight edge ruler and an X-Acto knife or sharp utility knife will achieve similar results. Just ensure your measurements are precise and you use a protective cutting mat.
- **Considering a Cutting Machine?** If you’re on the fence about investing in one, I highly recommend it for any serious crafter or DIYer. You can read my detailed review of Silhouette vs. Cricut cutting machines in this post to help determine which model is best suited for your needs. They truly open up a world of creative possibilities!
- **Explore More Cricut Projects:** Curious about what else these machines can do? Click here to see some of the diverse projects I’ve completed using my cutting machine.
- **Deep Cutting Blade:** Necessary for cutting thicker materials like chipboard with your Cricut.
- **Cricut Standard Grip 12″ x 24″ Cutting Mat:** Provides the necessary adhesion to hold your chipboard firmly in place during cutting.
- Chalk-Based Paint in Colors of Your Choosing: Chalk paint is fantastic for furniture makeovers because it often requires minimal prep (no priming or sanding!).
- For the table, I used a combination of Americana Decor Chalky Finish Paint in Relic (a rich dark gray) and Amy Howard at Home One Step Paint in Atelier (a lighter gray).
- For the chairs, the same dark gray Relic paint was used to create a cohesive look.
Steps: Bringing Your Vision to Life
This IKEA Kritter hack might seem like a series of steps, but each one is straightforward, leading you closer to a beautifully transformed piece of furniture. Don’t be deterred by the detailed instructions; my goal is to provide a comprehensive guide so you can achieve professional-looking results!
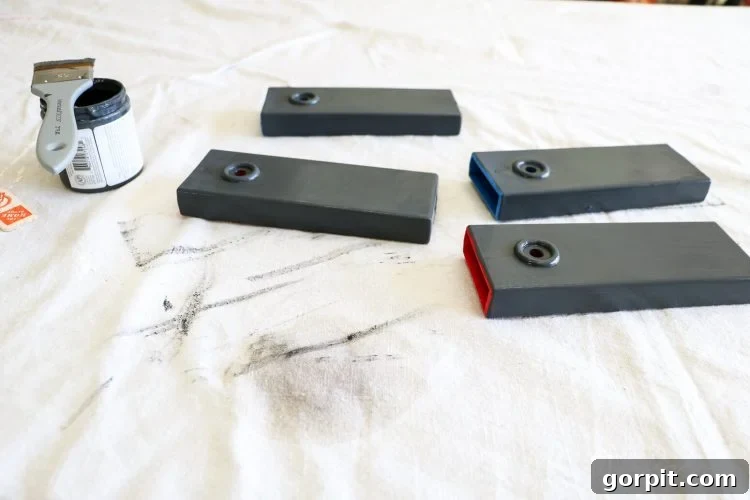
1) Prepare and Paint Your Table and Chairs: Begin by thoroughly cleaning your IKEA table and chairs. A simple wipe-down with a damp cloth and mild cleaner will remove any dirt, grease, or grime that could interfere with paint adhesion. Ensure the furniture is completely dry before moving on. Next, apply your chosen chalk-based paint. I found that this particular IKEA set took chalk paint exceptionally well, eliminating the need for a separate primer. For the table, I opted for a sophisticated two-tone look: the dark gray Americana Decor Chalky Finish Paint in Relic for the base and legs, complemented by the lighter gray Amy Howard at Home One Step Paint in Atelier for the tabletop. The chairs received a full coat of the dark gray Relic paint for a cohesive yet dynamic contrast.
Apply your paint in thin, even coats. Two coats usually provide excellent coverage and a durable finish. Allow each coat to dry completely according to the manufacturer’s instructions before applying the next. If you notice your paint beading up or struggling to adhere, particularly on very slick laminate surfaces, check out this helpful post of mine about how to effectively paint IKEA laminate furniture, which covers priming techniques and adhesion tips. Proper drying time between coats is crucial for a smooth, lasting finish.
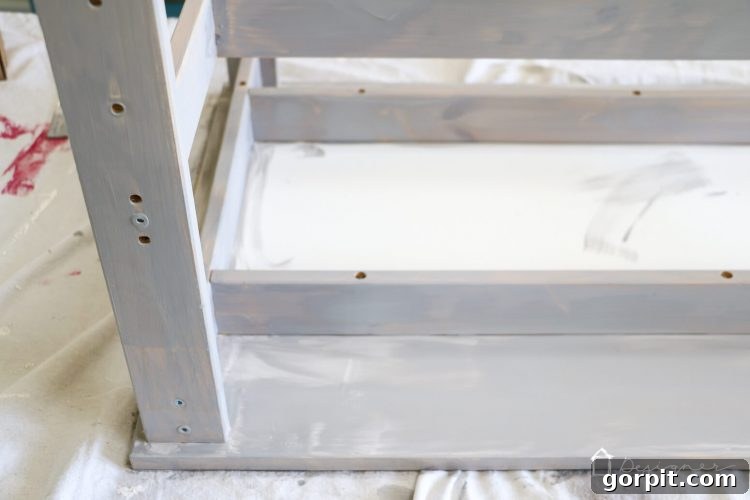
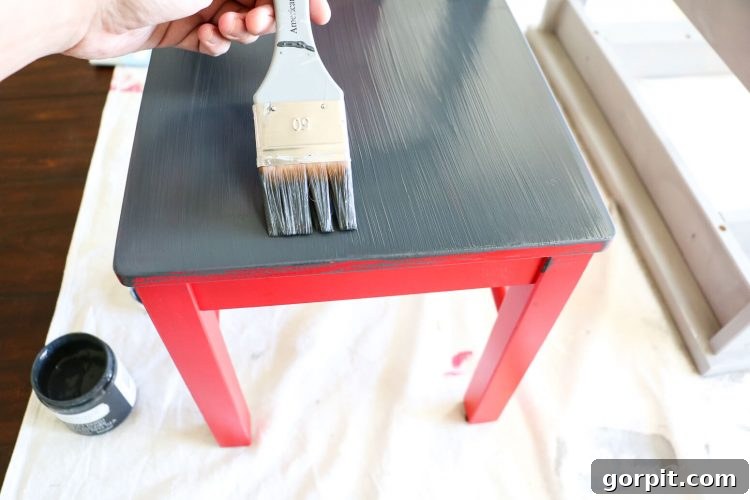
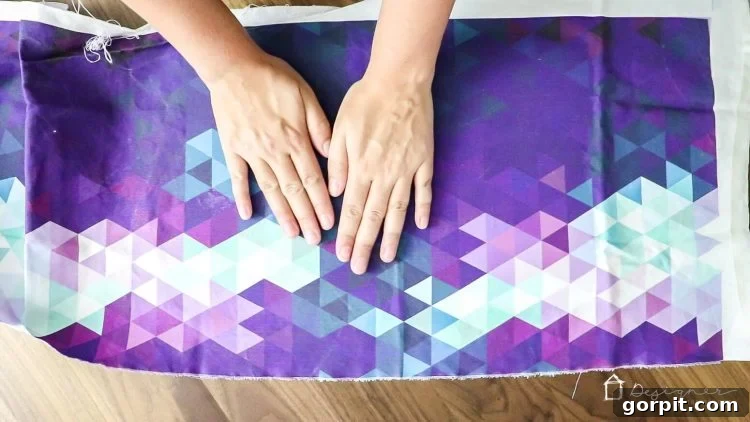
2) Prepare Your Fabric: This step, though simple, is critical for a flawless finish. Take the time to iron your chosen fabric thoroughly to remove any wrinkles or creases. A smooth fabric surface is essential for a clean, professional application when working with Mod Podge. Skipping this step often leads to frustrating bumps and uneven textures later on – a lesson I learned firsthand, which is why I’m emphasizing it here!
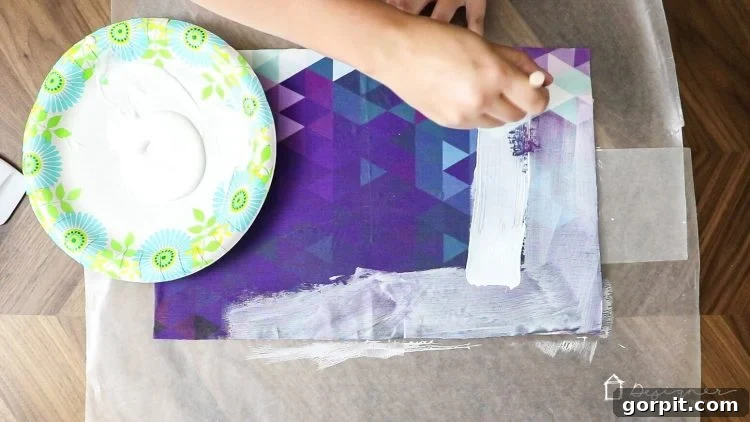
3) Adhere Fabric to Chipboard with Mod Podge: Lay your ironed fabric face down on a clean, flat surface. Apply a generous, even coat of Mod Podge (I used a matte finish for a subtle look) to one side of your chipboard piece using a foam brush. Carefully place the Mod Podge-coated side of the chipboard onto the backside of your fabric. Press down firmly with your hands, ensuring good contact across the entire surface. Flip the chipboard over (fabric side up) and use your hands, a brayer, or a plastic scraper to smooth out any wrinkles or air bubbles from the center outwards. Work slowly and meticulously to achieve a perfectly smooth finish. Allow the fabric-covered chipboard to dry completely. This might take several hours, or even overnight, depending on humidity and the thickness of your Mod Podge application.
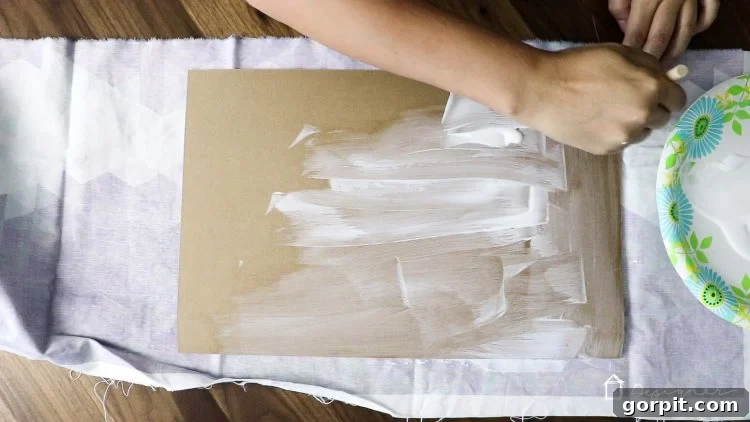
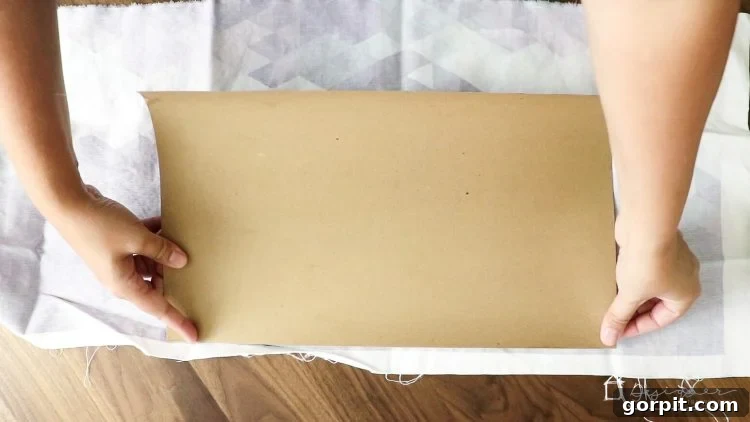
4) Seal Your Fabric with a Top Coat of Mod Podge: Once the initial Mod Podge application is completely dry, apply another even coat of Mod Podge directly over the top of your fabric. This layer acts as a sealant, protecting the fabric, enhancing its durability, and creating a cohesive, finished look. Be mindful not to overwork the Mod Podge, as this can sometimes lift the fabric. Allow this top coat to dry thoroughly. If you notice any slight curling of the chipboard as it dries, place some heavy books on top of it once it’s mostly dry but still pliable. This will help flatten it out perfectly before you proceed to the next step.
5) Measure Your IKEA Kritter Chair Backs: Precision is key for a seamless fit. Using a ruler or measuring tape, carefully measure the height and width of the main back support panel on your IKEA Kritter chairs. You will need these exact dimensions to cut your fabric-covered chipboard panels.
6) Design Your Cutting Templates in Cricut Design Space: Open Cricut Design Space on your computer or tablet. Using the shape tools, draw out rectangles that precisely match the height and width measurements you took in the previous step. Remember, you’ll need two rectangles per chair – one for the front of the back support panel and one for the back, ensuring a fully finished appearance. Arrange your rectangles on the virtual mat to optimize chipboard usage.
7) Cut Your Fabric-Covered Chipboard with Cricut: Place your fabric-covered chipboard securely onto a 12″ x 24″ standard grip cutting mat. Load the mat into your Cricut Explore Air 2 or similar cutting machine. Before cutting, turn the dial on your machine to “custom” and then select the “chipboard” material option from the drop-down menu in Design Space. Ensure your deep cutting blade is installed correctly.
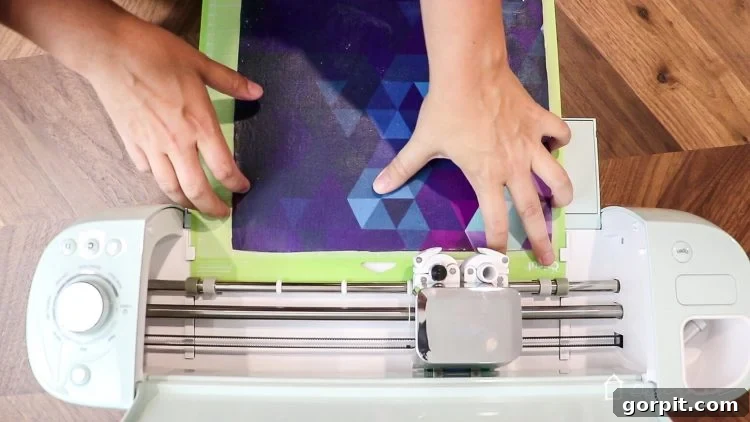
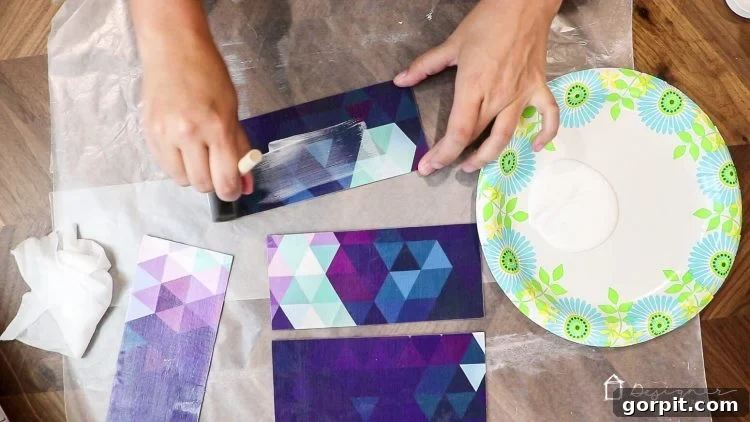
8) Final Mod Podge Sealing and Drying: Let your Cricut work its magic, precisely cutting out your fabric-covered rectangles. Once the cutting is complete, carefully remove the perfectly shaped panels from the cutting mat. For an extra layer of protection and durability, apply one final coat of Mod Podge to the front surface of each cut rectangle. This ensures maximum protection for the fabric and a uniform finish. Allow these panels to dry completely, ensuring they are firm and solid before proceeding.
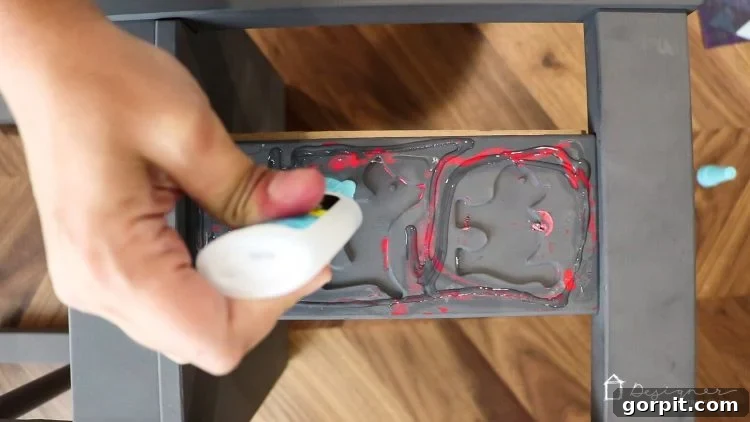
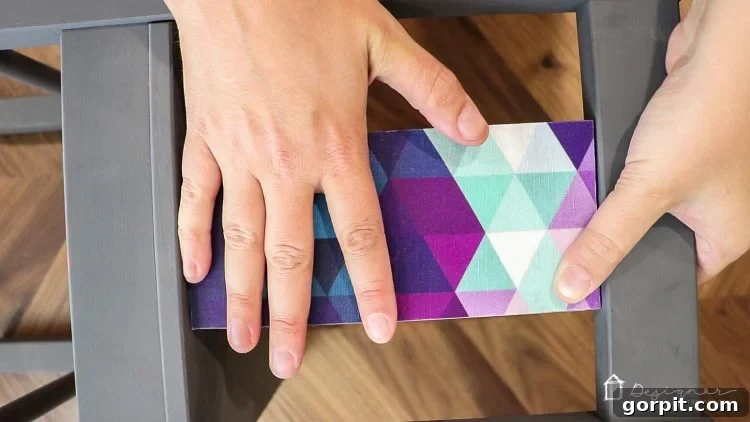
9) Attach Fabric Panels to Chair Backs: Once your fabric-covered rectangles are thoroughly dry and hardened, it’s time to attach them to the IKEA Kritter chair back support panels. Apply a strong adhesive like DAP Rapid Fuse All Purpose Adhesive (my go-to for its quick cure time and strong bond) to the back of one fabric panel. Carefully align it with the chair’s back support and press firmly. Hold it in place for a moment to allow the adhesive to set. Repeat this process for both the front and back of each chair panel, ensuring symmetrical and secure placement. The quick-setting nature of DAP Rapid Fuse means you won’t have to wait long for them to adhere securely.
The Final Reveal: A Boutique-Worthy Kids’ Furniture Set!
And there you have it! Your IKEA kids’ table and chairs makeover is complete! While the steps are detailed to ensure your success, this IKEA Kritter hack is genuinely quick and easy. The transformation from a basic, brightly colored set to a chic, customized ensemble is incredibly satisfying and speaks volumes about the power of DIY. Don’t let the length of this tutorial intimidate you; each step is manageable, and the end result is absolutely worth the effort.
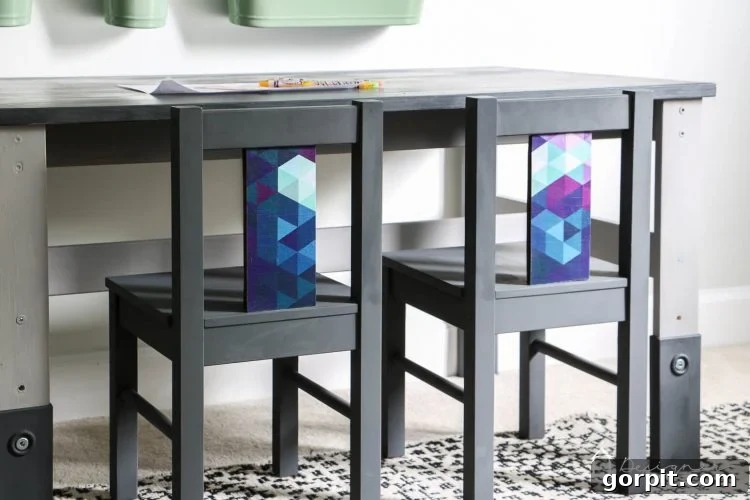
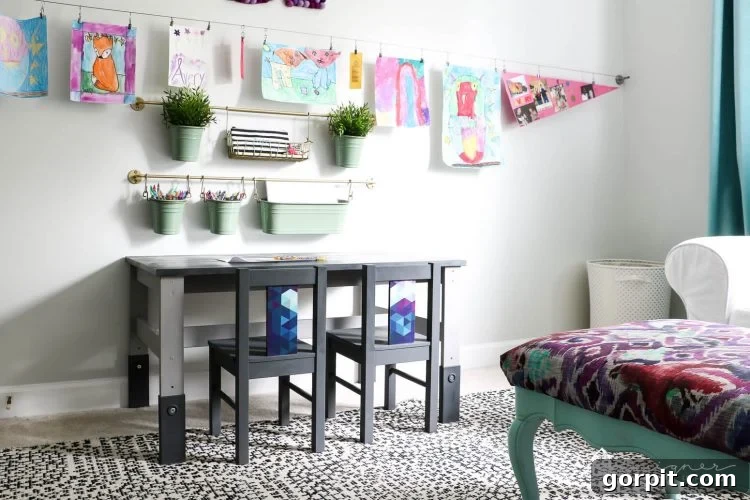
Take a moment to admire the finished makeover. The sophisticated gray paint combined with the elegant fabric panels creates a harmonious look that now perfectly complements the rest of Avery’s room decor. It’s truly amazing how a little creativity and effort can turn something ordinary into a standout piece that looks like it came from a high-end children’s boutique. This project is not just about furniture; it’s about creating a personalized, inspiring space for your child that reflects thoughtfulness and style.
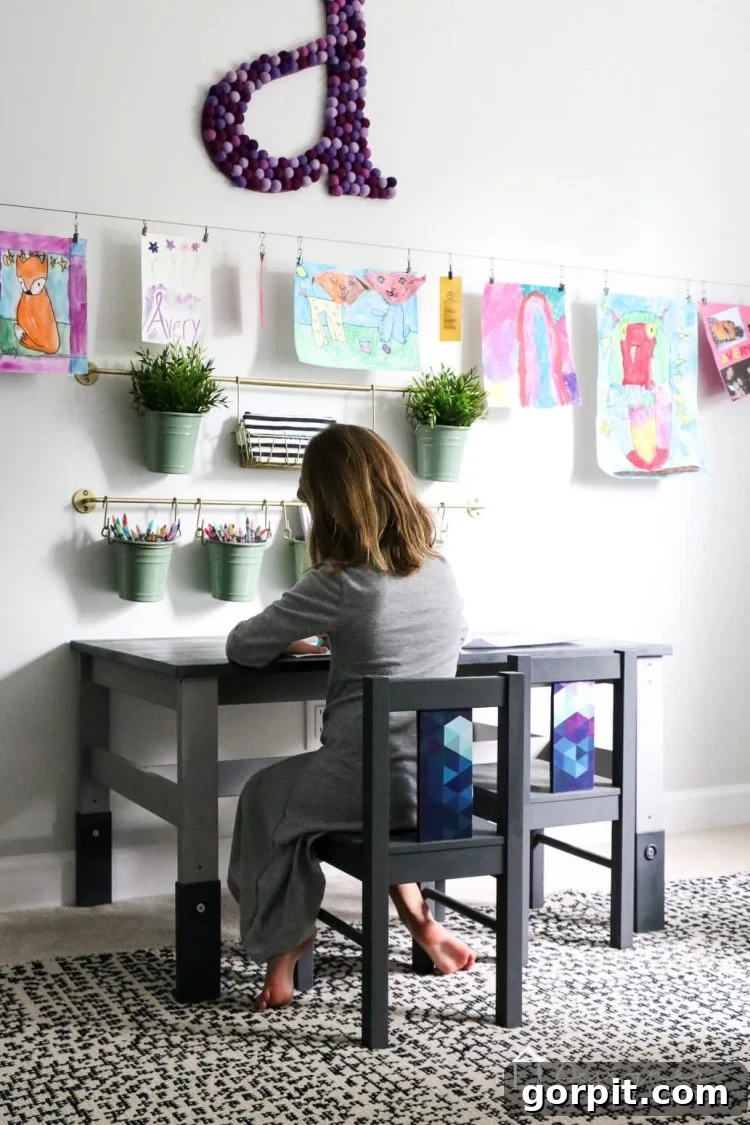
If you’re inspired by this transformation and excited to tackle your own IKEA kids’ furniture makeover, be sure to share this guide on Facebook or pin it to Pinterest. It’s a fantastic way to save the tutorial for later reference and inspire your friends and family with budget-friendly, high-impact DIY ideas!
Creating beautiful spaces doesn’t have to be expensive. With a little imagination and these easy steps, you can achieve remarkable results that are both functional and incredibly stylish. Happy crafting!
