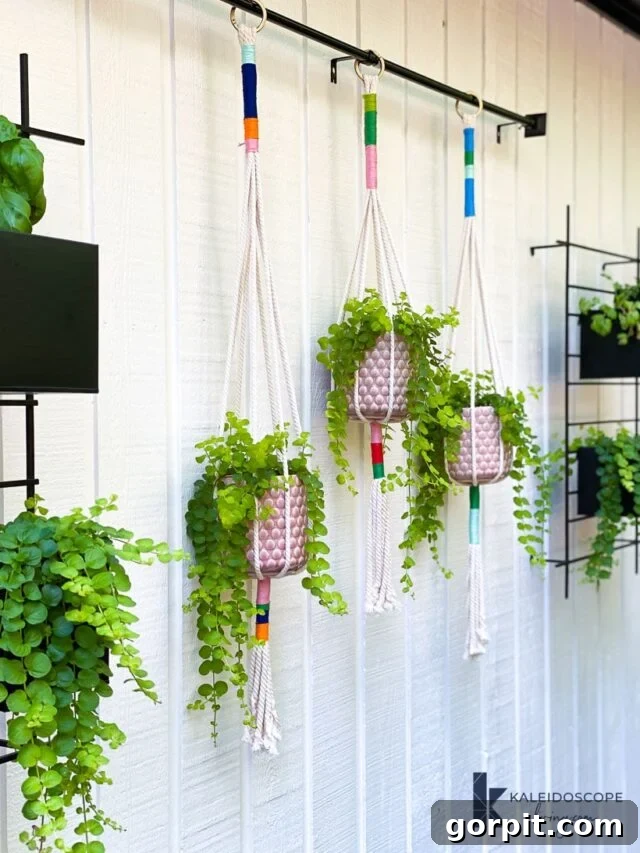
Craft Your Own Vibrant Macrame Plant Hangers: An Easy DIY Guide for Stunning Outdoor Decor
Transform your outdoor living area with a touch of handmade charm and a burst of color! Learning how to create a DIY macrame plant hanger is an incredibly rewarding project that’s not only simple and quick but also remarkably budget-friendly. Imagine custom hangers, perfectly tailored to your aesthetic, with any color combination your heart desires. This isn’t just a craft; it’s the perfect fun DIY project to brighten up your outdoor space this summer, bringing life and personality to your patio, deck, or balcony.
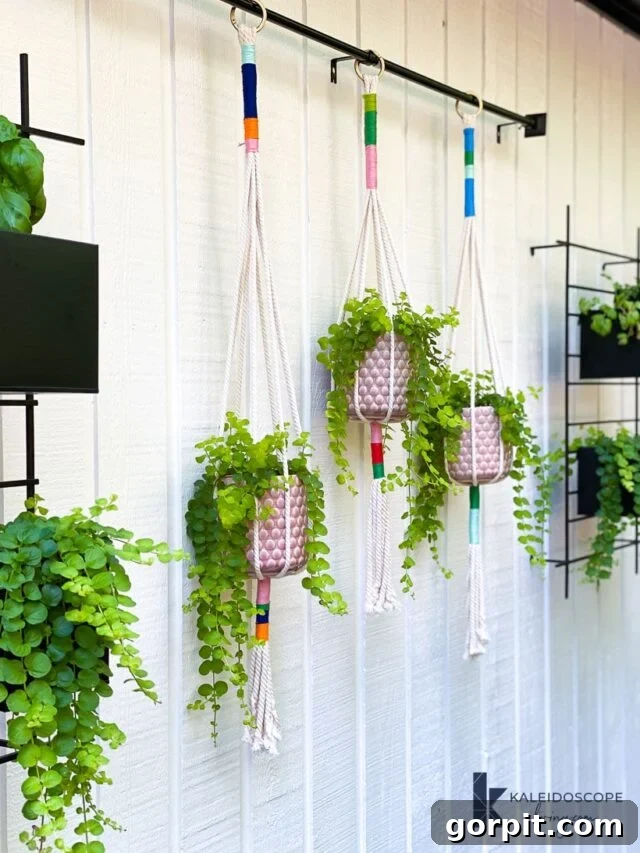
There’s a special kind of joy that comes from creating something beautiful with your own hands, especially when it involves family. Over the past few months, I’ve been on a quest for engaging and simple projects that my girls and I can tackle together. The excitement of discovering a new, fun craft that resonates with everyone is truly exhilarating! Recently, we stumbled upon the delightful world of rope wrapping crafts, and it’s safe to say we’re hooked. There’s a wonderfully therapeutic rhythm to the repetitive motion of wrapping, and it’s a craft that’s surprisingly accessible for kids, fostering creativity and fine motor skills.
Our journey began with some truly epic wall hangings that now adorn their bedroom doors, each one a testament to their budding artistic flair. Building on that success and our newfound passion for fiber arts, we shifted our focus to enhancing our outdoor decor. The result? These stunning DIY macrame plant hangers, which have not only added vibrant color but also an undeniable sense of bohemian chic to our exterior spaces. Now, let’s dive into how you can create your very own!
Mastering the Art: How to DIY a Macrame Plant Hanger
Creating your own macrame plant hanger might seem intricate, but with a few simple steps and the right materials, you’ll be amazed at how quickly you can achieve a professional-looking result. This tutorial focuses on a user-friendly rope wrapping technique, making it perfect for beginners and seasoned crafters alike. Get ready to add some handmade beauty to your plant collection!
Essential Materials Needed:
- Cotton Rope (6mm): Opting for a 6mm cotton rope is ideal for this project. Its thickness provides excellent durability and a substantial look for plant hangers, ensuring your pots are held securely. Cotton is also wonderfully soft to work with, environmentally friendly, and offers a natural, rustic aesthetic that complements any plant.
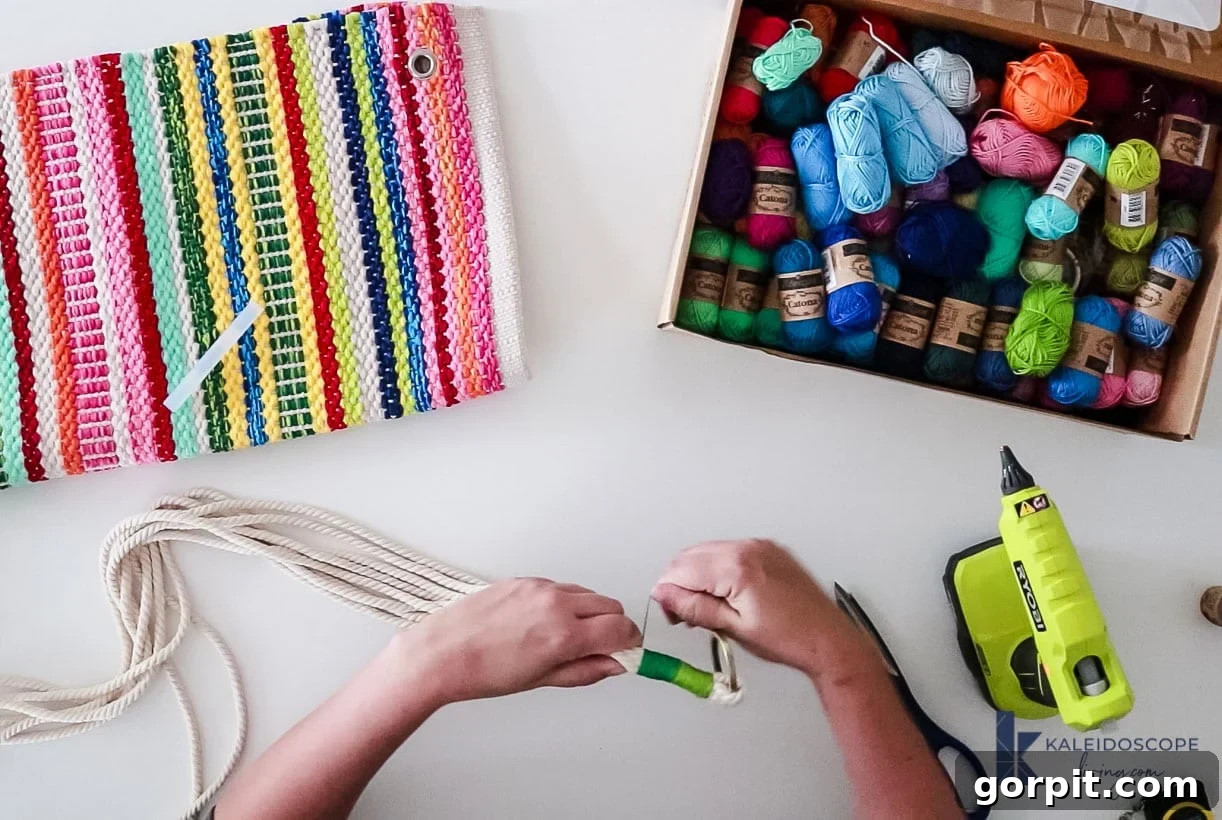
- Fine Yarn (Floss or Embroidery Thread): This is where the “colorful” aspect of your hanger truly comes to life! You can choose any type of fine yarn, floss, or embroidery thread to wrap around your cotton rope. The finer the thread, the more intricate your wrapped sections will appear.
- I highly recommend a diverse selection, like this huge box of yarn with 109 GORGEOUS colors. Having a wide range of colors allows for endless customization and experimentation, especially if you plan on embarking on more wrapped rope projects in the future.
- Carabiner Rings (1 ½ inch): These sturdy rings serve as the essential hanging mechanism for your plant hanger. A 1 ½ inch size is perfect for providing a secure and aesthetically pleasing loop at the top. Their design makes it easy to hook your hanger onto various fixtures, from ceiling hooks to curtain rods.
- Glue Gun: An indispensable tool for securing your yarn ends neatly and invisibly. A cordless glue gun (like my beloved cordless glue gun) offers unparalleled convenience, allowing you to move freely around your project without being tethered to an outlet.
- Pots that are 6″-8″ in diameter: The size of your pots will dictate the overall dimensions of your hanger. Pots within the 6-8 inch diameter range are versatile and commonly used for indoor and outdoor plants. (These are the exact pots I used). Consider the weight of your potted plants when selecting your rope and hanging location.
- Measuring Tape: Crucial for ensuring consistent lengths for your rope strands, which is key to a balanced and professional-looking finished product.
Step-by-Step Instructions to Create Your Macrame Plant Hanger:
Follow these detailed steps to assemble your vibrant macrame plant hanger. We’ll focus on the unique rope-wrapping technique that gives these hangers their distinctive, colorful charm, along with the essential macrame knots to cradle your plant pot.
1) Prepare Your Rope Strands:
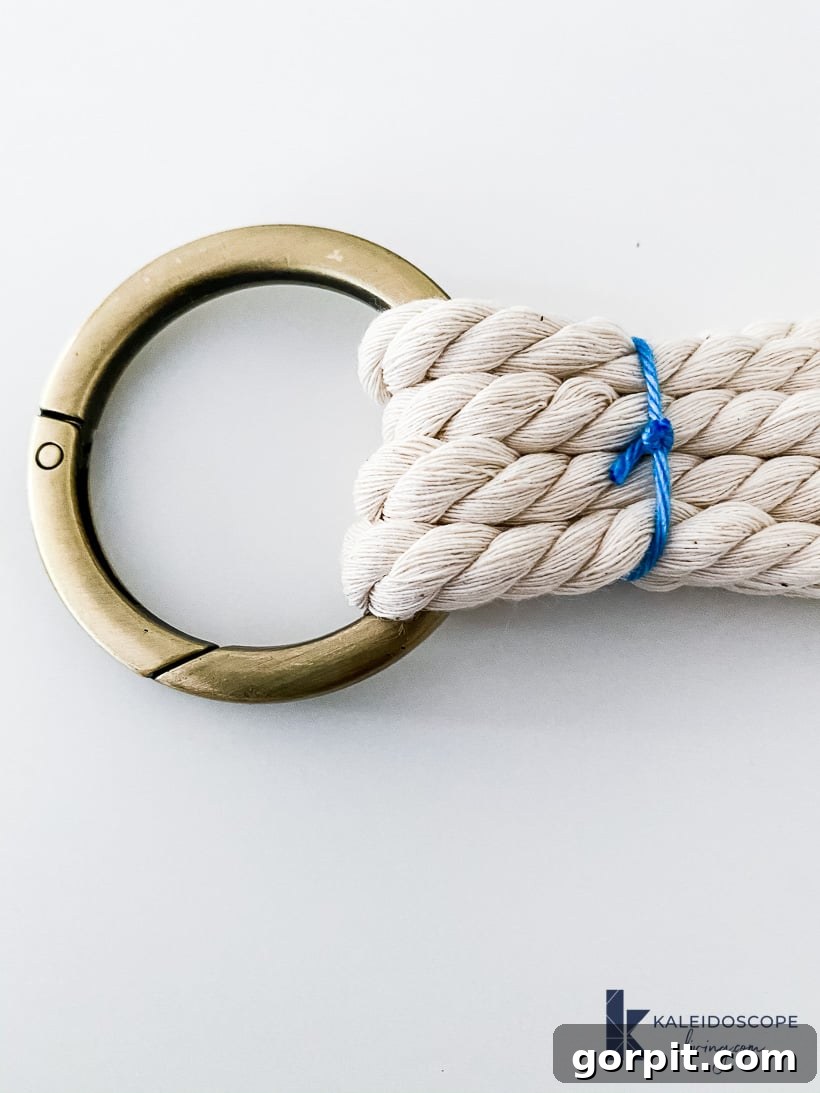
Start by unrolling your cotton rope. Determine the desired length for your finished plant hanger. For a longer, more dramatic effect, consider 40 inches as a good starting point for a “long” hanger. However, feel free to experiment with varying lengths to create visual interest when hung together, like making one in the middle shorter for variety. Once you have your desired length, double this measurement without cutting the rope. Repeat this process four times, ensuring each length is doubled, which will result in four loops. When you cut the ends of these loops, you will have a total of eight individual rope strands, all of equal length. Precision in this step is vital for a balanced hanger.
2) Attach the Carabiner Ring and Prepare for Tassel:
Gather all eight individual rope strands. Thread the carabiner ring through the middle of all four loops at the top. Once the ring is securely in place, take the bottom of the doubled ropes and cut them. This cut will release the loops, creating the eight individual strands that will eventually form the tassel and the body of your plant hanger. Ensure your cuts are clean to avoid fraying later on.
3) Begin the Colorful Yarn Wrapping:
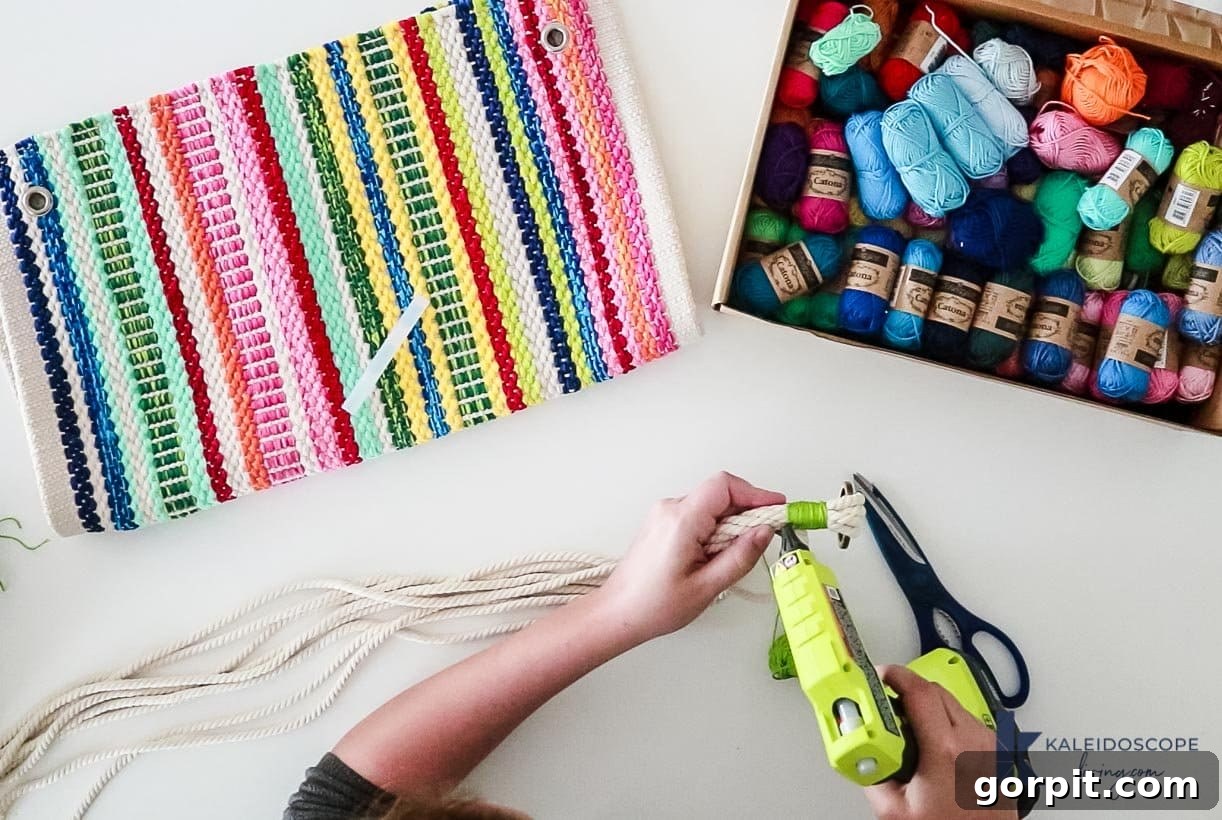
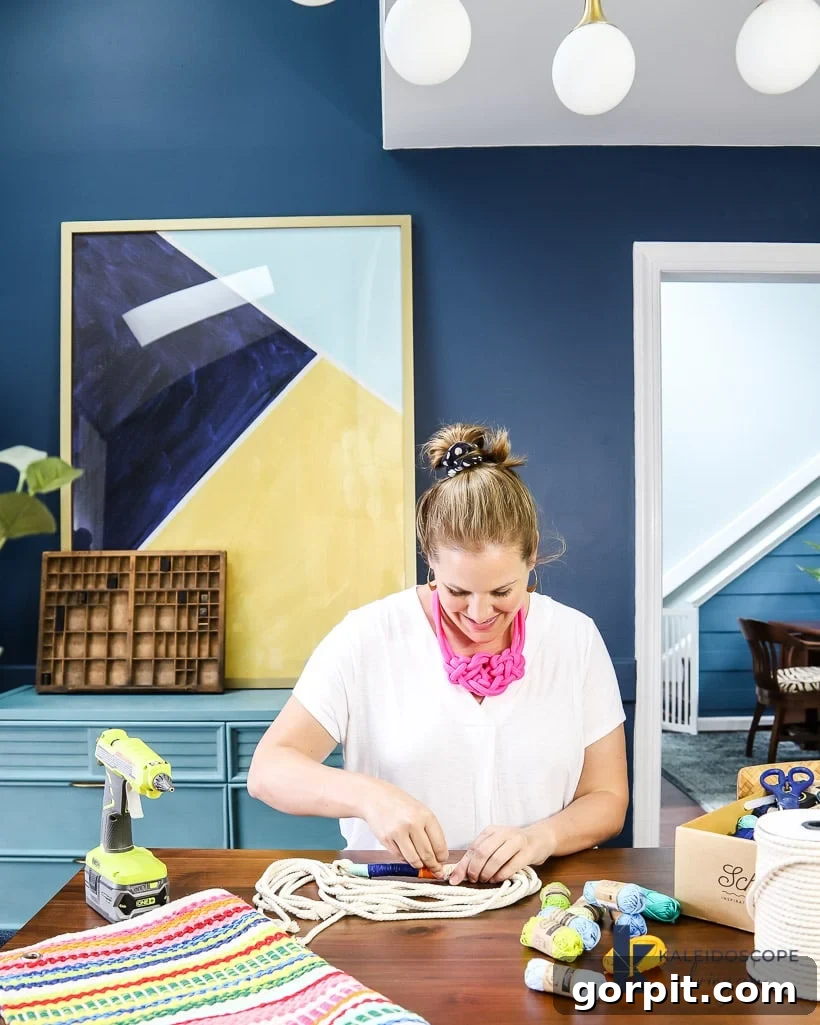
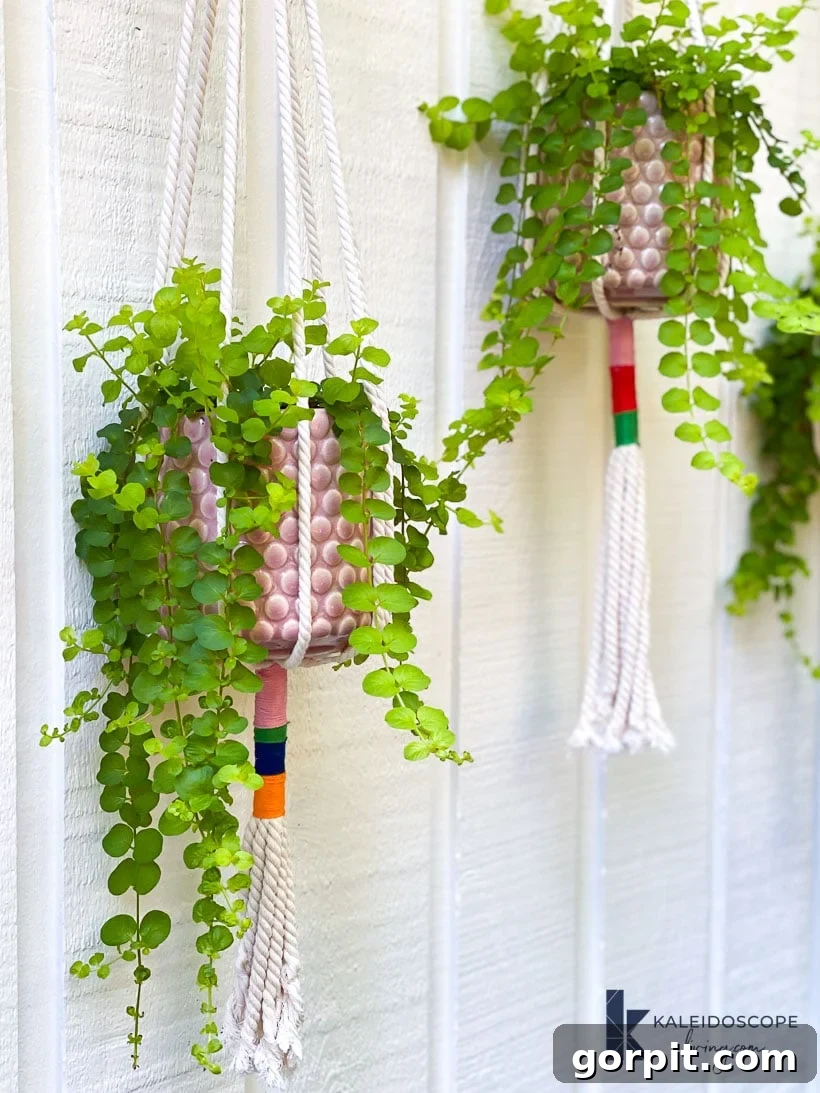
Now for the fun part – adding vibrant color! Take one piece of your chosen colored thread or yarn and tie it around all eight cotton rope strands, just below the carabiner ring. This initial tie helps keep your ropes neat and tidy as you begin wrapping. Before you start wrapping, apply a small dot of hot glue with your glue gun to secure the starting end of your yarn firmly to the cotton rope bundle. Now, tightly wrap the yarn around the cotton rope, working downwards. You have complete creative freedom here! Choose your colors, decide how long each color block should be, and create unique patterns. To change colors or finish a section, simply secure the end of the current yarn color with another small dot of hot glue, trim the excess, and then start your next color in the same manner. This wrapping technique creates beautiful, solid blocks of color.
4) Create the Second Wrapped Section and Plan Pot Placement:
Once you’ve completed your first wrapped section at the top, leave a substantial amount of unwrapped cotton rope. This space is crucial as it will be where your plant pot will rest. The length of this unwrapped section should be carefully considered based on the height of your pot and how low you want it to hang. A good way to estimate is to hold your pot against the ropes as you work. After leaving adequate space, move down to create your second wrapped section using the same technique as step 3. This creates a balanced visual flow and defines the upper part of the pot holder.
5) Form the Plant Pot Basket (Macrame Knots):
This is where your hanger truly takes shape to hold a pot. Below your second wrapped section, it’s time to create the “basket” using simple macrame knots.
- First Row of Knots: Separate your eight rope strands into four pairs (2 ropes per pair). Take the first pair and tie a simple overhand knot or a square knot about 4-6 inches below the end of your second wrapped section. Repeat this for the remaining three pairs, ensuring all knots are at roughly the same level. This creates four distinct sections.
- Second Row of Knots: Now, take one rope from the first knotted pair and one rope from the adjacent second knotted pair. Tie these two ropes together with another overhand or square knot, about 4-6 inches below the first row of knots. Repeat this process around the hanger, always pairing one rope from an adjacent section. This interlocking creates the net-like structure that will cradle your pot.
- Final Gathering Knot: Once the second row of knots is complete, gather all eight ropes together at a point below the second row of knots (usually 4-8 inches down, depending on your pot’s depth). Tie a large, tight gathering knot around all eight ropes. You can use a decorative wrapping technique here if you wish, or a simple secure knot, finished with a dab of hot glue. This final knot will secure the base of your pot holder and prevent the pot from slipping through.
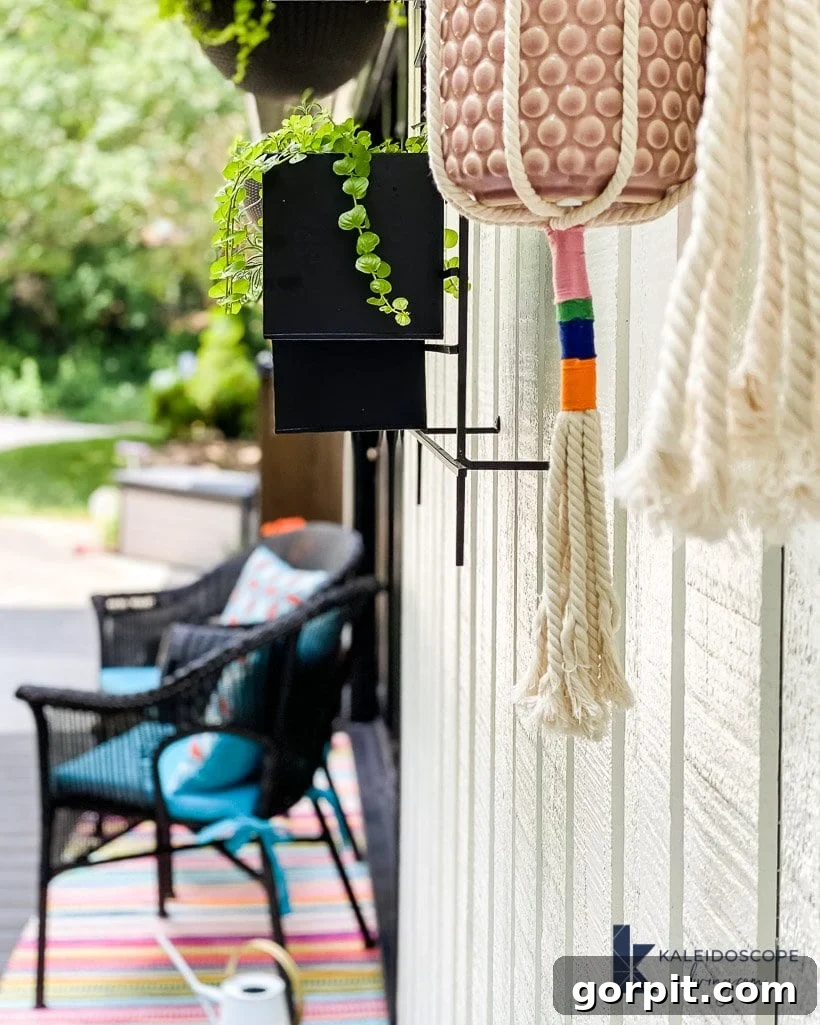
Remember to leave ample room at the very bottom for your rope ends to hang freely, creating a beautiful tassel effect.
6) Hang and Display Your Masterpiece:
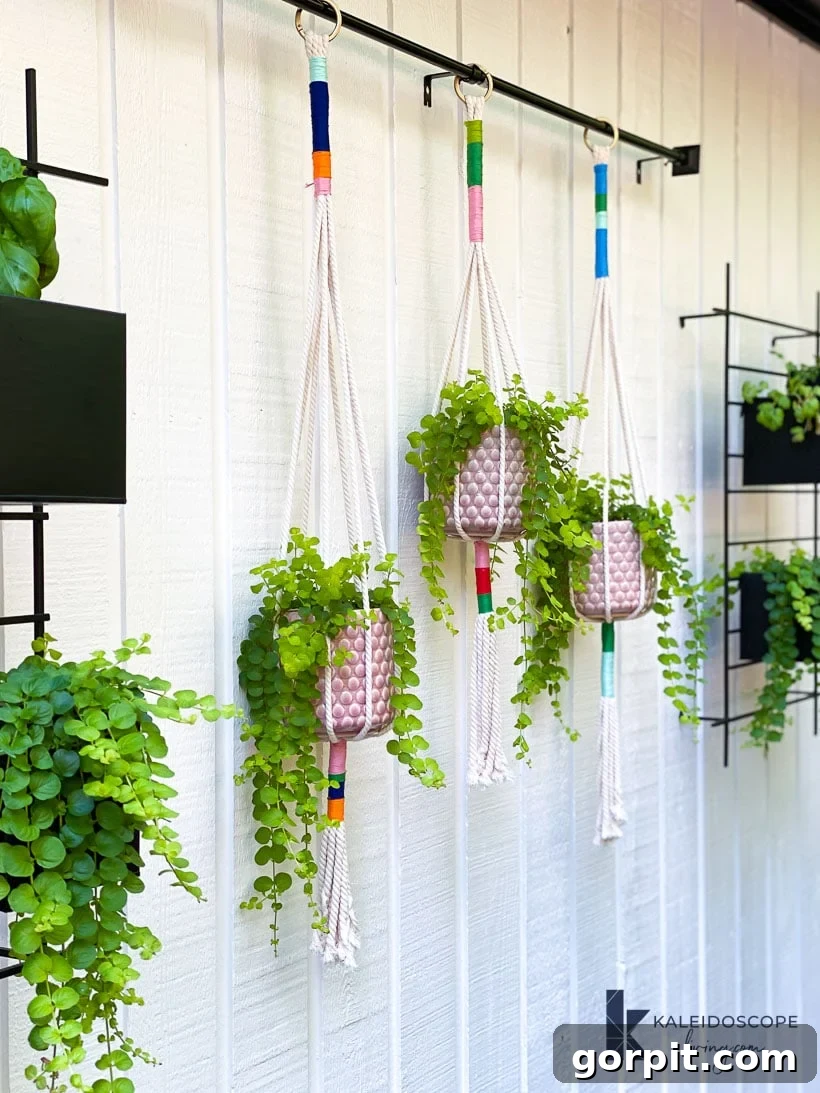
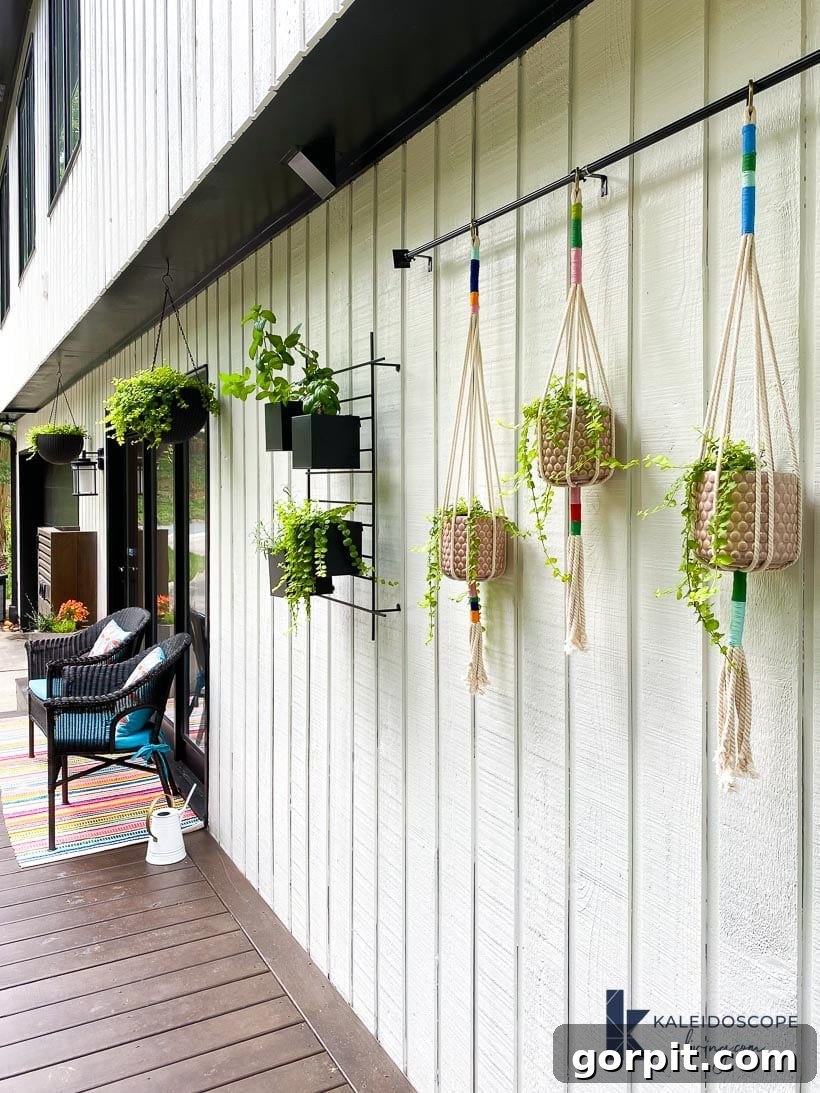
With your macrame plant hangers complete, it’s time for the exciting reveal! Hang them in your chosen outdoor spot. We found that a curtain rod provides an excellent way to display multiple hangers in a neat line, creating a cohesive and eye-catching arrangement. Don’t hesitate to hang them at different lengths – this variation adds even more visual interest and depth to your display, making a plain wall come alive. Once hung, gently place your pots into the macrame baskets, adjusting the ropes if necessary to ensure a snug fit. This striking display looks absolutely beautiful on our back deck, perfectly filling a large wall with vibrant life and artistry!
Tips for Customization and Success
While the tutorial provides a solid foundation, here are some ideas to further personalize your macrame plant hangers and ensure lasting beauty:
- Knot Variations: For the pot basket (Step 5), beyond simple overhand knots, consider exploring square knots or spiral knots for a more intricate look. YouTube tutorials abound for these basic macrame knots if you’re feeling adventurous.
- Color Play: Don’t limit yourself to single color blocks. Experiment with stripes, ombre effects, or even color-blocking using multiple yarn strands simultaneously for a variegated look.
- Rope Alternatives: While cotton is wonderful, you could also try jute, hemp, or synthetic ropes for different textures and outdoor durability, though some may be stiffer to work with.
- Plant Selection: Choose plants that complement your hanger’s aesthetic. Trailing plants like Pothos, Ivy, String of Pearls, or Spider Plants look fantastic in hanging planters, allowing their foliage to cascade beautifully.
- Maintenance: To prolong the life of your outdoor hangers, especially if using natural fibers, consider spraying them with a fabric protector that offers UV and water resistance. Bring them indoors during harsh weather.
- Creative Displays: If you don’t have a curtain rod, consider hanging individual hangers from S-hooks on pergolas, porch beams, or even from sturdy tree branches to create a whimsical garden display.
Conclusion: Elevate Your Outdoor Decor with Handmade Charm
And there you have it! A super simple DIY project that yields incredibly high-end results. I genuinely adore how these macrame plant hangers turned out, and they look absolutely amazing, especially when grouped together. There’s nothing quite like a well-placed pop of color to lift your spirits and enhance your living space, and these hangers deliver exactly that!
Not only do they add a unique, handmade touch to your decor, but the process of creating them is also a wonderfully meditative and enjoyable experience. Whether you’re a seasoned crafter or just looking for a new weekend project, these customizable, budget-friendly macrame plant hangers are a fantastic way to express your creativity and bring more greenery into your life. Gather your materials, choose your favorite colors, and get ready to transform your outdoor areas into vibrant, inviting havens.
More OUTDOOR IDEAS
SEE ALL outdoor POSTS
-
The Most Inspiring Screened-in Porch Ideas
-
Fire Pit Ideas for Every Outdoor Space
-
How to Make a DIY Outdoor Chandelier
-
DIY Outdoor Electrical Box Cover
-
A Complete Review of Vego Garden Beds: Pros, Cons, and Everything In-between
-
Inspiring Front Porch Christmas Decorations & Tips
Wondering how I approach transforming rooms and spaces in our home? Check out Designer in a Binder® for a comprehensive guide to decorating with confidence.
For exclusive content, behind-the-scenes sneak peeks, and more DIY inspiration, be sure to subscribe to our newsletter before you go! Join our community of fellow DIY enthusiasts and never miss out on our latest projects and tips.