

This post is sponsored by The Home Depot.
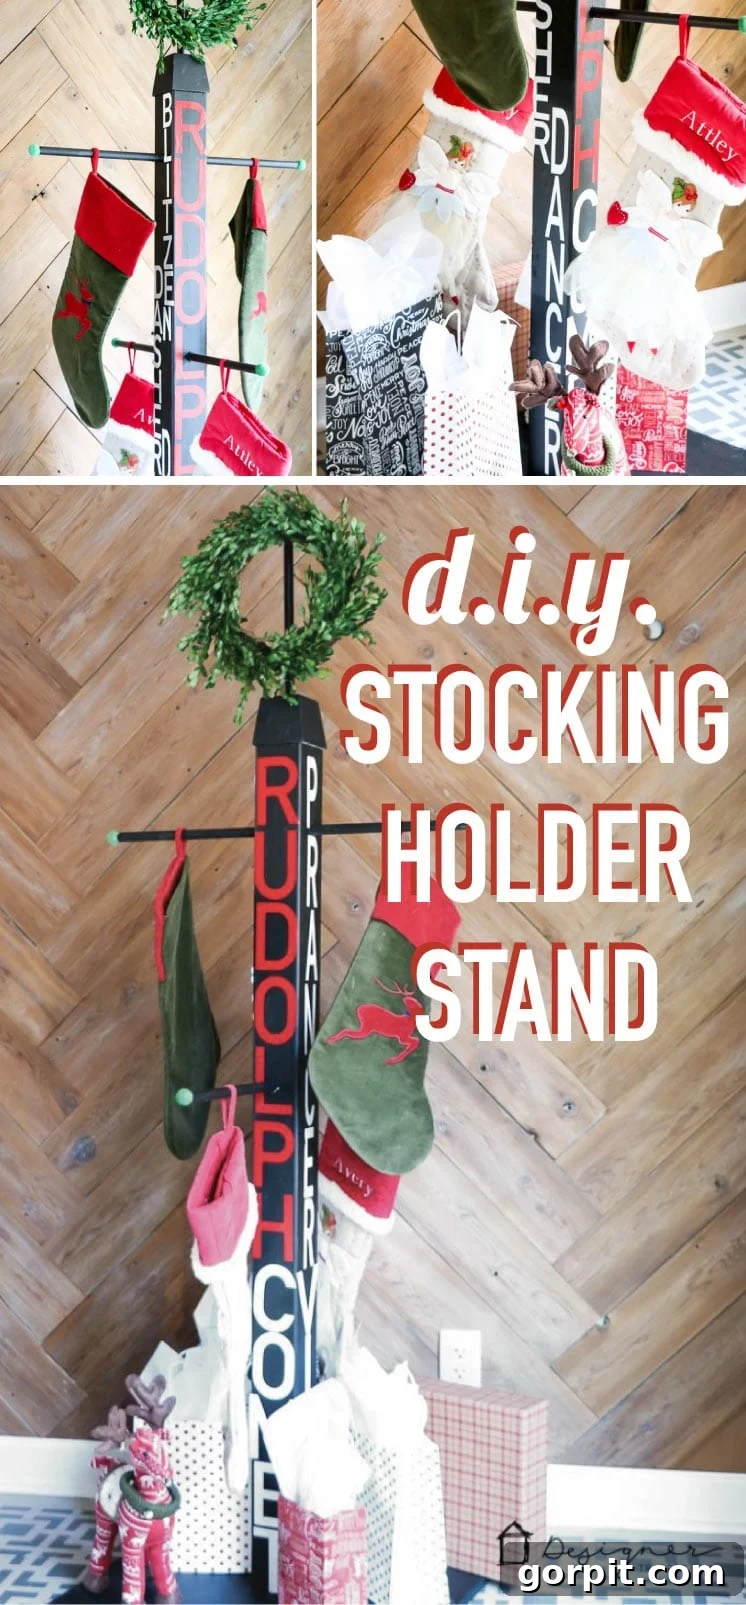
Hello, fellow DIY enthusiasts and holiday decorators! As the festive season approaches, many of us dream of a cozy fireplace mantel adorned with twinkling lights and, of course, a row of beautifully hung Christmas stockings. But what if you don’t have a mantel? Or perhaps you need extra space for your growing family’s stockings? Fear not, because today we’re diving into a fantastic solution: a custom-built DIY Stocking Holder Stand!
This project is not just a practical fix; it’s an opportunity to infuse your home with handmade charm and holiday spirit. I’m thrilled to be part of the #DIYworkshop virtual party, and I’ll walk you through how I created my version of this awesome stand. But the inspiration doesn’t stop here! You can also explore the unique creations of over 20 other talented bloggers (you’ll find links to their projects at the end of this post). This collaborative effort showcases the incredible versatility of this project and guarantees a design to spark your imagination.
Beyond our virtual gathering, you have the chance to get hands-on experience by registering for one of The Home Depot’s fantastic DIY workshops. This specific Holiday Stocking Post workshop is scheduled for November 19th, offering expert guidance right in your local store. Whether you’re a seasoned builder or picking up a tool for the first time, these workshops provide a supportive environment to learn new skills and create something amazing. Don’t miss out on this perfect pre-holiday activity! Click here or click the image below to register now and secure your spot.
Embrace Your Inner Crafter with The Home Depot Workshops
The Home Depot is a true champion of the DIY spirit, offering a diverse range of workshops designed to empower everyone to tackle home improvement and craft projects. They brilliantly categorize their workshops into three distinct types, ensuring there’s something for every skill level and interest:
- Do-It-Yourself (DIY) Workshops: These are perfect for individuals eager to learn practical skills for home projects. From basic plumbing to intricate woodworking, DIY workshops provide step-by-step instructions and hands-on practice, giving you the confidence to tackle tasks you once thought were too complex. They’re a fantastic way to expand your skillset and save money on home maintenance.
- Do-It-Herself (DIH) Workshops: Specifically tailored for women, DIH workshops create a welcoming and empowering environment to learn new skills. These sessions focus on projects often desired by female homeowners, fostering a sense of community and confidence among participants. It’s a wonderful opportunity to connect with other women who share a passion for creating and improving their homes.
- Kids’ Workshops: Igniting creativity and a love for building from a young age, The Home Depot’s Kids’ Workshops are an absolute delight. These family-friendly events are designed to be fun and educational, allowing children to construct simple wooden projects while learning basic tool safety and problem-solving. My twin girls are natural-born DIYers, and we absolutely cherish these workshops, knowing they’re building not just projects, but also valuable life skills and lasting memories.
Now, let’s get back to the star of our show! Read on to discover the detailed steps for crafting my unique version of this versatile DIY stocking holder stand.
DIY Stocking Holder Stand: A Step-by-Step Guide
Creating this beautiful and functional stocking holder is a rewarding project, perfect for adding a personal touch to your holiday decorations. I sourced all the necessary materials from The Home Depot, making it convenient to gather everything in one trip. If you’re ready to embark on this festive build, here’s what you’ll need:
Materials You’ll Need:
- 1 – 4″ x 4″ x 4 1⁄2′ Pressure-Treated Pine Wood Premium Eased Edge Deck Post (This forms the sturdy central pillar of your stand.)
- 1 – 22 ⁄32″ x 2′ x 2′ Sanded Plywood (We purchased a 2′ x 4′ piece and cut it down to size for the base, ensuring a stable foundation.)
- 1 – 4″ x 4″ Wood Bun Foot (This adds a decorative, finished touch to the top of the post.)
- 1 – 2′ x 5/8″ Wooden Dowel (For hanging stockings and lanterns.)
- Phillips Flat-Head Wood Screws (Essential for strong, secure assembly.)
- Drill and appropriate drill bits (Including a 5/8″ paddle bit for the dowel holes.)
- Hacksaw (Useful for precise cuts on smaller items or when a circular saw is overkill.)
- Circular Saw (For cutting larger wood pieces, like the plywood base.)
- Boxwood Wreath on Stand (A beautiful decorative element for the top.)
- Optional: 4 Luminaries or Lanterns (I used 2 of these white, battery-operated lanterns and 2 of these white, battery-operated lanterns for a charming glow.)
- Measuring Tape (Accuracy is key for a professional finish.)
- Chalk Line (For creating straight, precise lines on your plywood.)
Steps to Craft Your Own Stocking Holder Stand:
1) Prepare the Plywood Base: We began by cutting our sanded plywood down to a perfect 2′ x 2′ square. This will serve as the stable base for your entire stocking holder. If your plywood piece is larger, carefully measure and mark your cutting lines. My sweet daughter Avery, with her budding passion for photography, captured this lovely photo of me measuring for the cut. It’s moments like these that make DIY projects even more special!

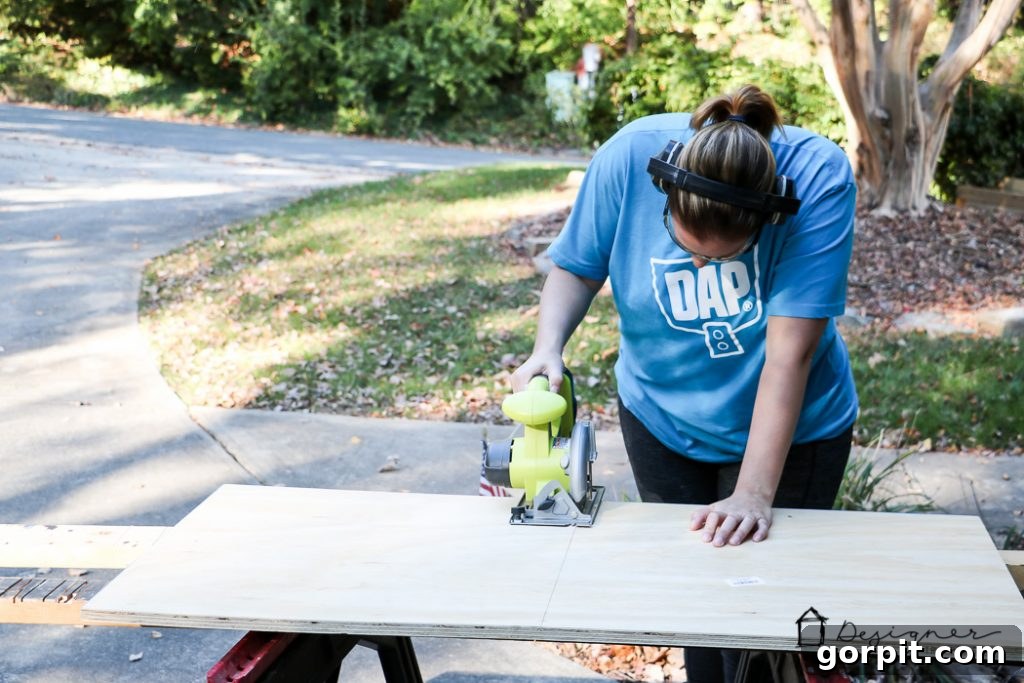
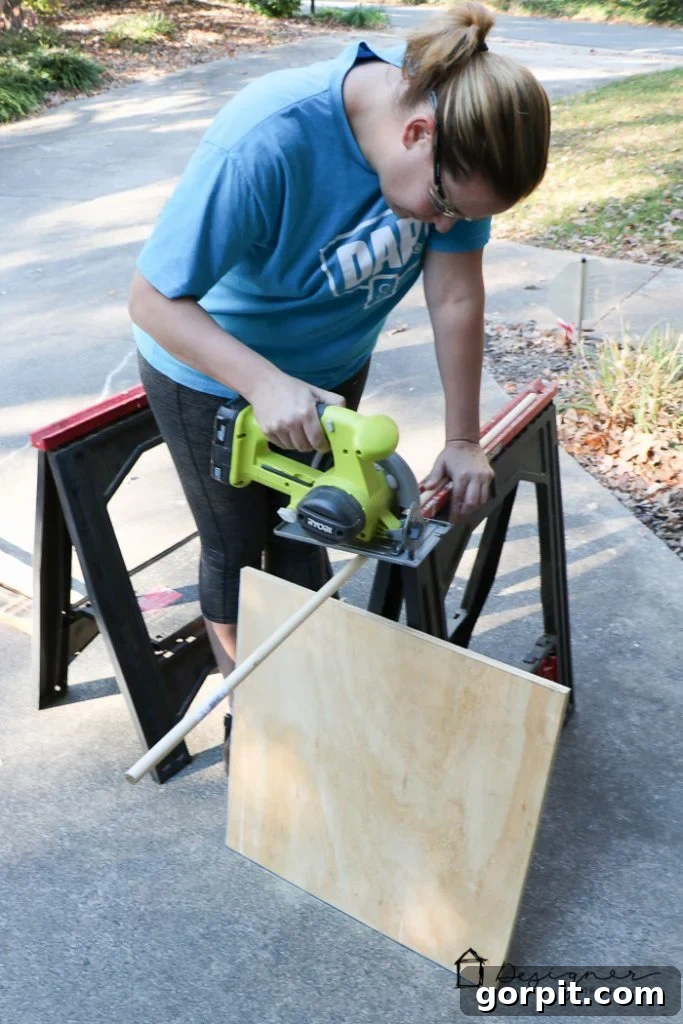
2) Cut the Wooden Dowel: Next, I took the 2-foot wooden dowel and carefully cut it in half, resulting in two 1-foot sections. These will eventually become the arms from which your stockings and lanterns will gracefully hang. Cutting the dowel now ensures both pieces are ready for painting and later installation.
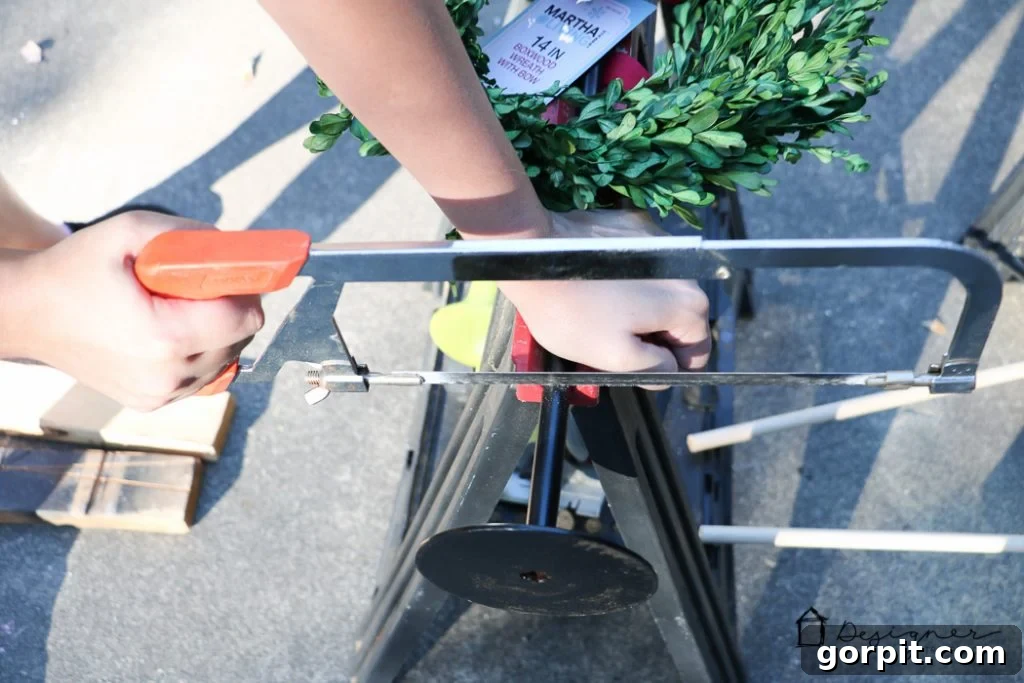
3) Adjust the Wreath Stand Height: I absolutely adored the boxwood wreath on a stand that I found at The Home Depot – it was the perfect decorative topper! However, for my vision, it was a tad too tall. Using my hacksaw, I carefully trimmed the stand to a more suitable height. This small adjustment makes a big difference in the overall proportionality of the finished piece, ensuring the wreath sits beautifully atop the bun foot without overpowering the design.
4) Prepare for Assembly and Painting: With the main pieces cut, it was time to prepare for assembly and give everything a fresh coat of paint. First, I marked the precise center of my plywood base using a chalk line. This central point is crucial for ensuring the main post is perfectly aligned and stable. Then, I drilled a pilot hole in the center. This hole will make attaching the post much easier and more accurate once all the painting is done.
Once the drilling was complete, I painted the plywood base, the main post, the decorative bun foot, and both wooden dowels with a sleek black paint. Painting all components separately before final assembly ensures thorough coverage, especially in crevices and edges, leading to a much cleaner and more professional finish. Allow ample drying time for all painted pieces.
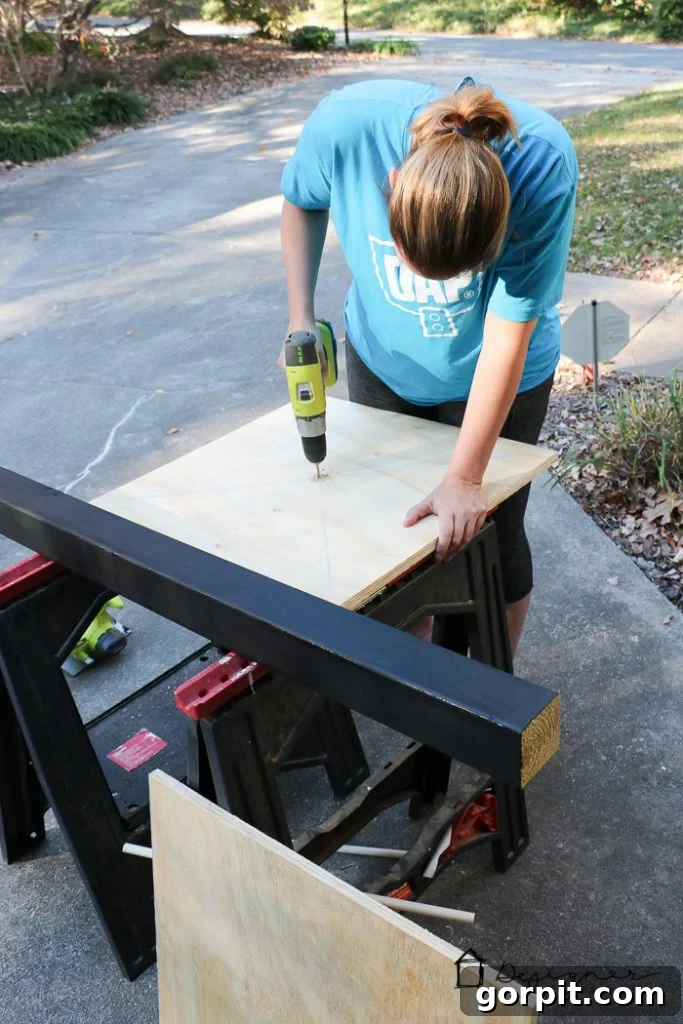
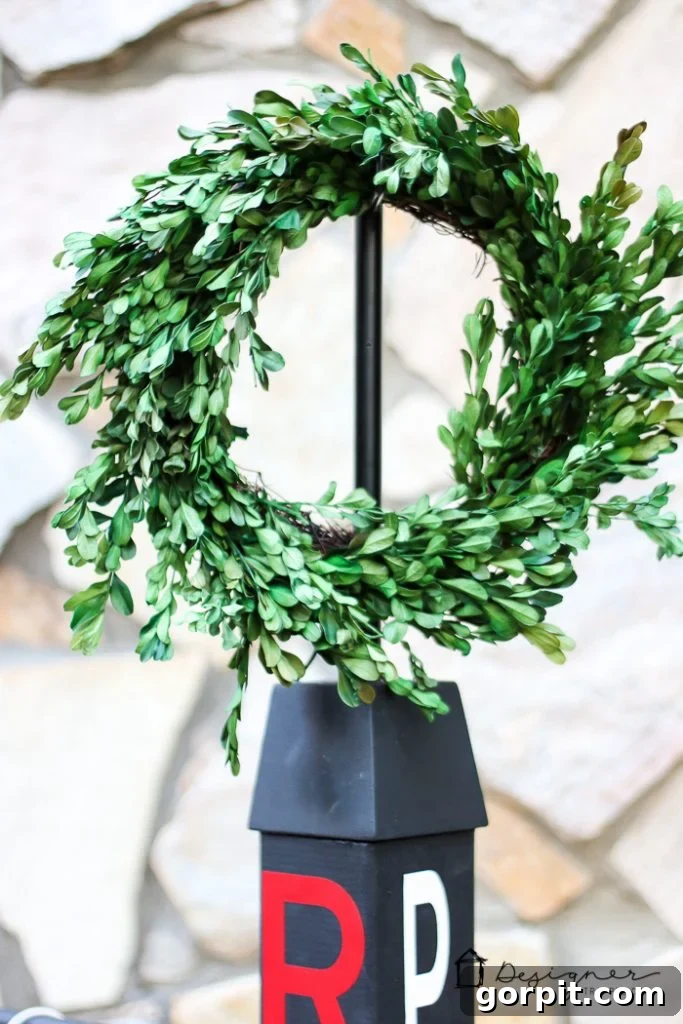
5) Assemble the Core Structure and Dowels: Once all the painted parts were completely dry, it was time for assembly. First, we securely attached the 4×4 post to the center of the plywood base using sturdy wood screws, driving them through the pre-drilled pilot hole from the underside of the base. For added stability, consider using corner braces on the inside if you’re concerned about heavy loads. Next, the elegant bun foot was attached to the very top of the post. This not only gives the stand a beautiful, finished look but also serves as a decorative cap.
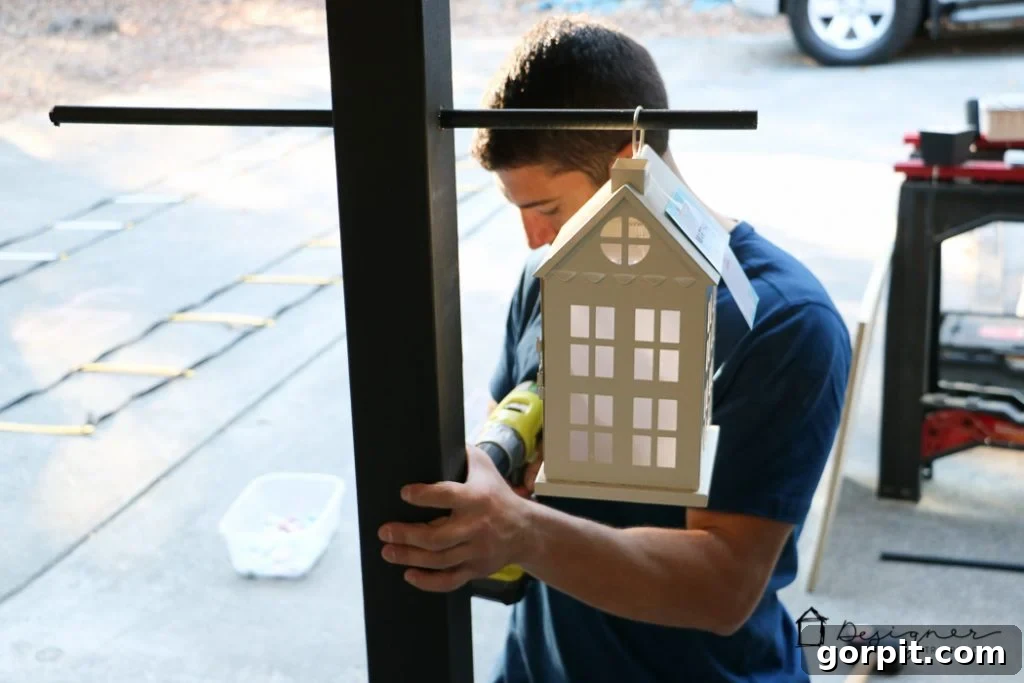
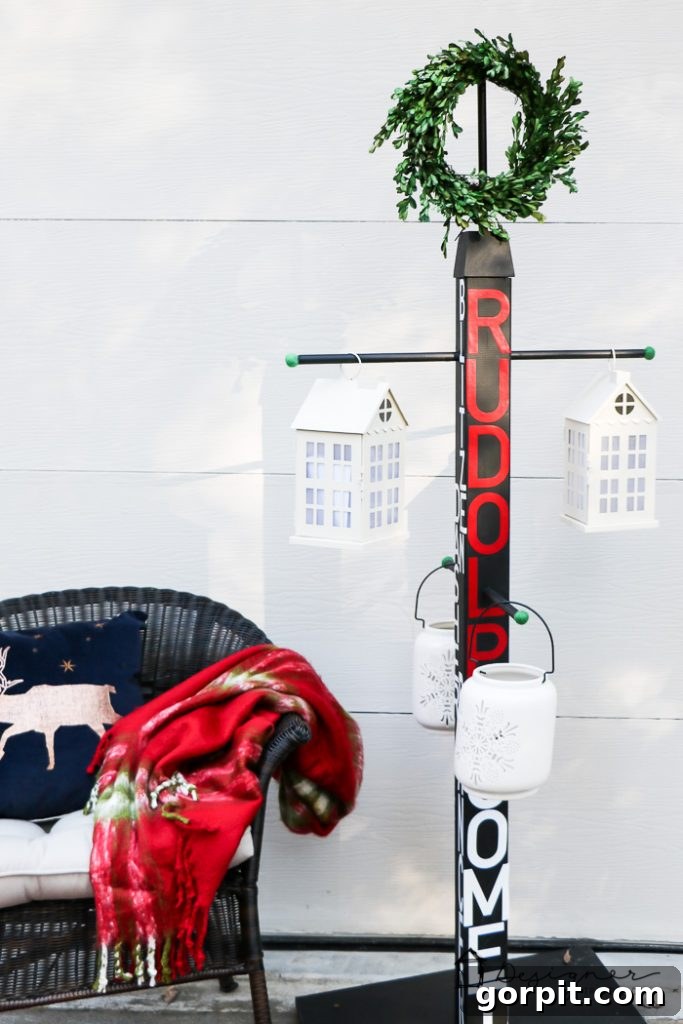
Now for the dowel rods! Using a 5/8″ paddle bit, we drilled holes straight through the post. We started with the top dowel rod, ensuring it was at a suitable height for larger stockings or lanterns. A clever trick here is to hang your tallest lantern or longest stocking on the first installed dowel to determine the ideal placement for the lower dowel rod. As you can see in the image, we strategically hung the rods on opposite planes of the post, creating a balanced and visually interesting design while maximizing hanging space.
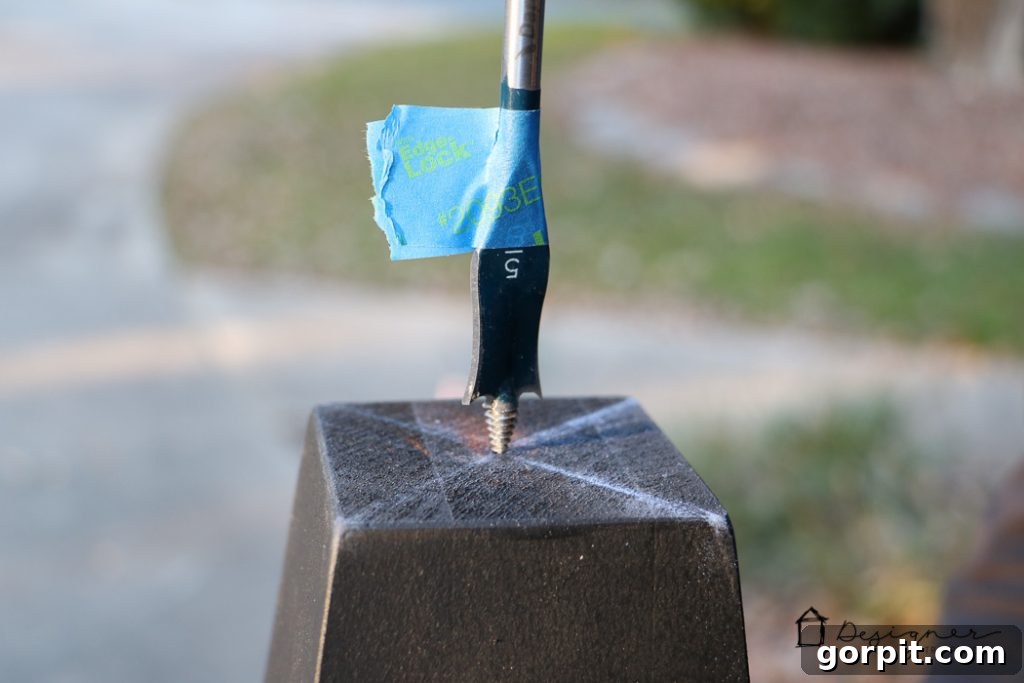
6) Install the Wreath Topper: With the main structure complete, we focused on the final decorative touch. A small hole was drilled into the top of the bun foot, sized just right to accommodate the pole of the boxwood wreath. This ensures the wreath sits snugly and securely. Once the wreath pole was inserted, our stocking holder stand was officially in business – functional and ready for festive adornment!
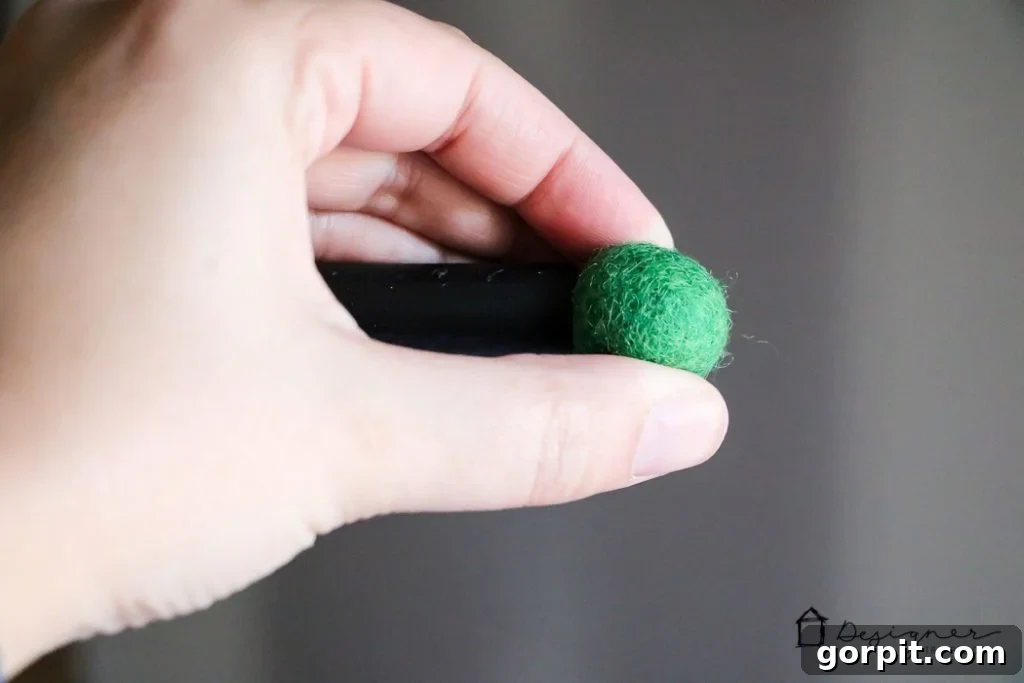
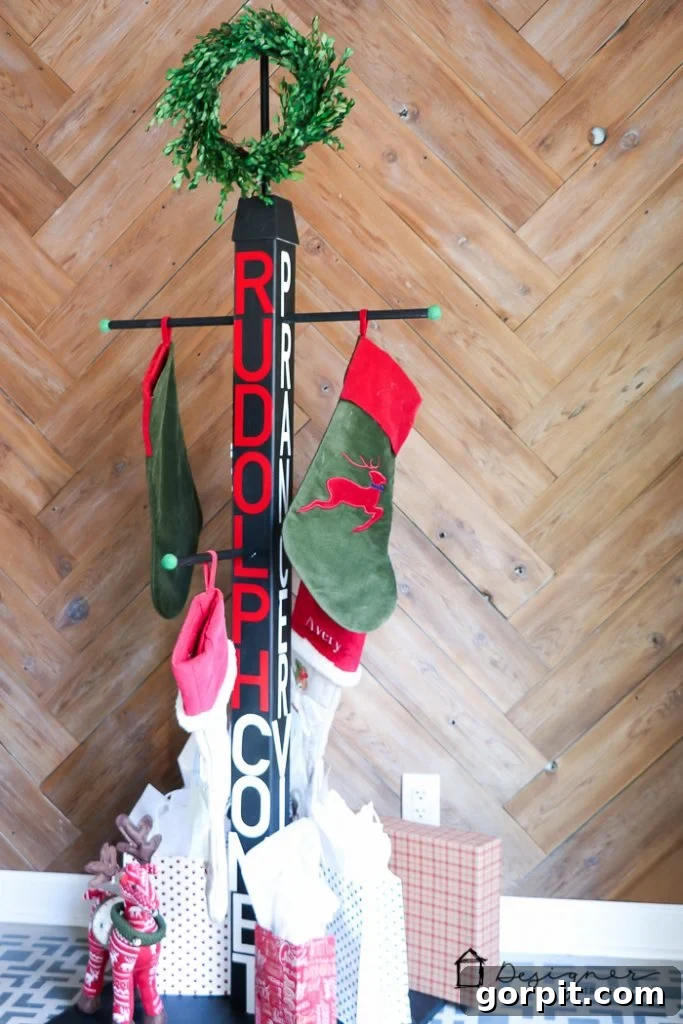
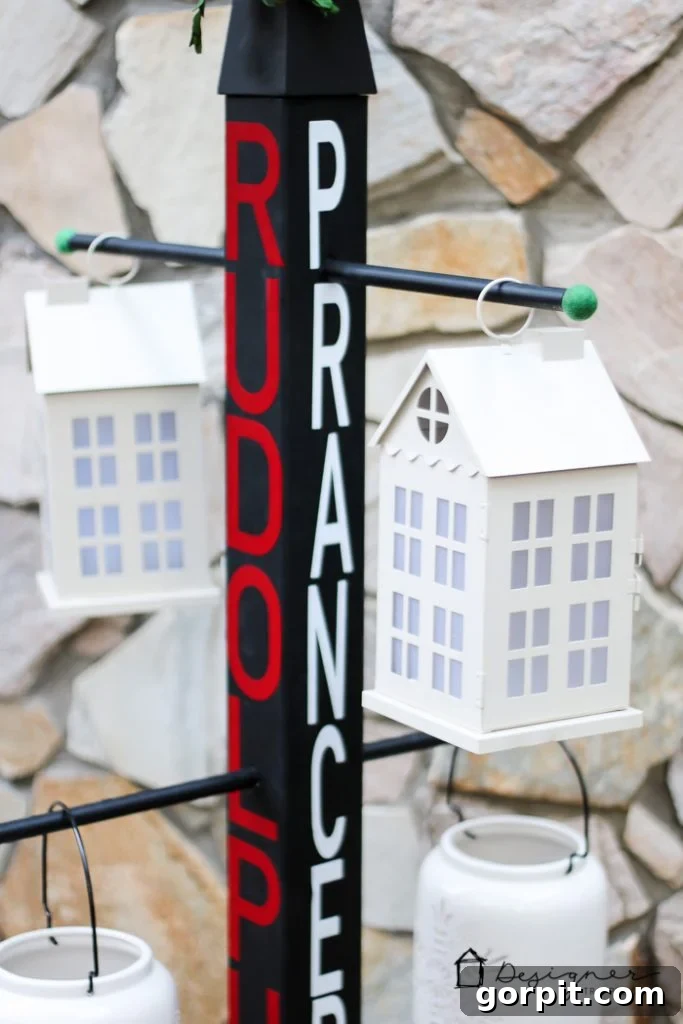
7) Personalize and Decorate: This is where you can truly make the stand your own! To add a personalized and whimsical touch, I cut out all of Santa’s reindeer names from vinyl and meticulously applied them to the post. This festive detail instantly elevates the holiday cheer. For a charming finish, I used hot glue to attach cheerful green felt balls to the end of each dowel rod, preventing stockings from sliding off and adding a pop of color. Consider other decorative options like painted stencils, hand-lettered messages, or even attaching small ornaments or garlands to the post.
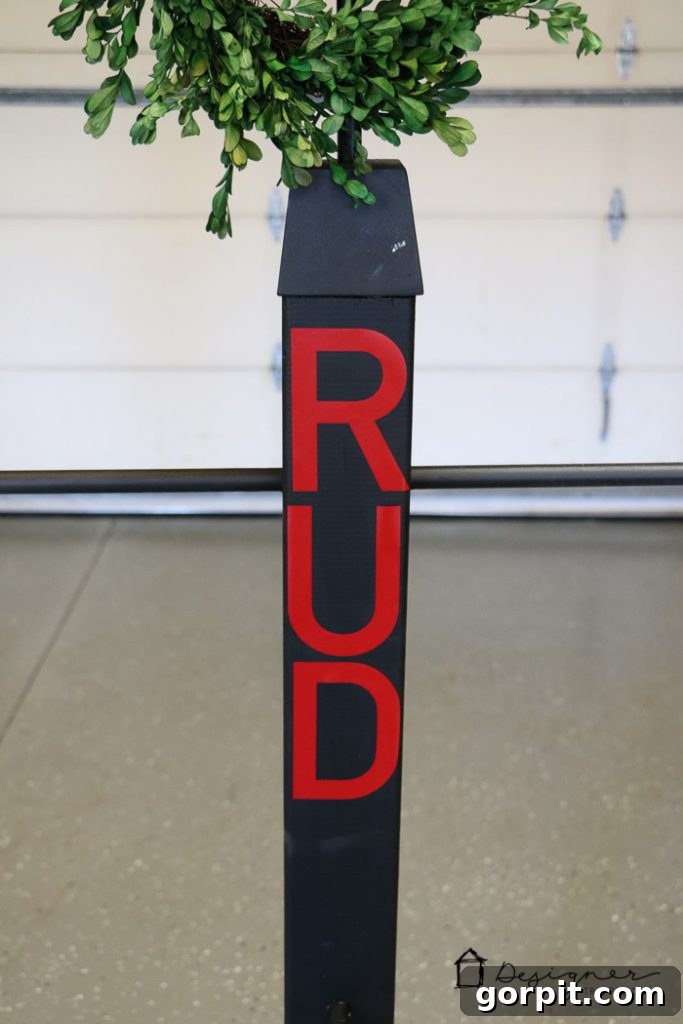
The Finished Stocking Holder Stand: Versatility in Design
And there you have it – the finished DIY stocking holder stand! Isn’t it just bursting with holiday potential? What I love most about this project is its incredible versatility. It’s not just a stand for stockings; it’s a dynamic piece of decor that adapts to your needs and preferences. Let’s explore its dual functionality:
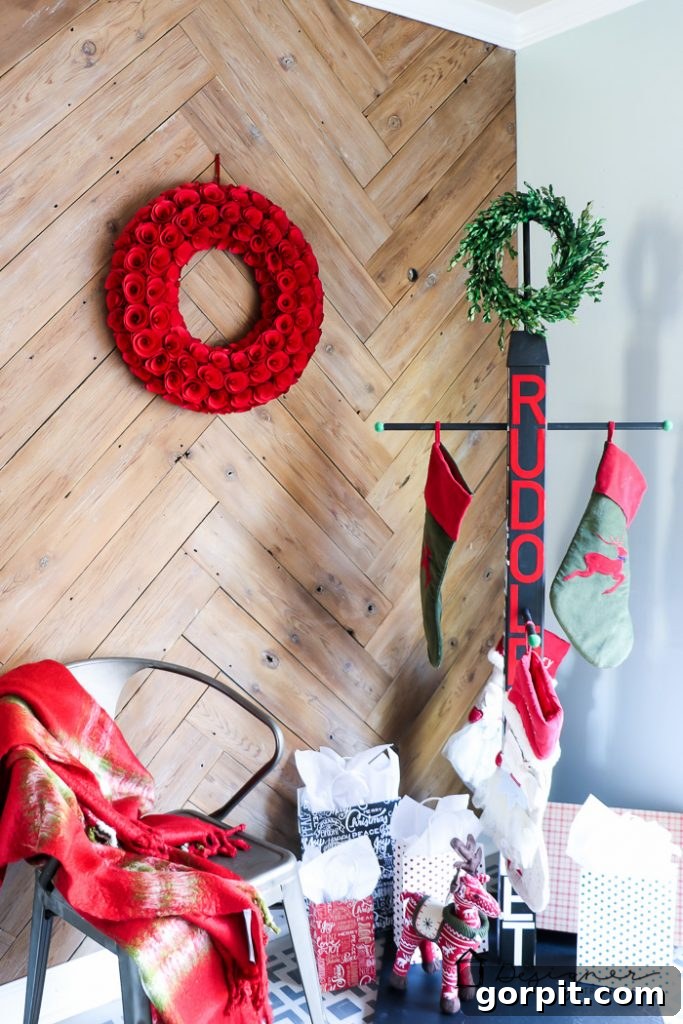
A Charming Christmas Stocking Display
If you find yourself without a fireplace mantel, or simply need an additional spot for your growing collection of stockings, this stand is the perfect indoor solution. It brings that quintessential holiday charm right into your living space, creating a focal point for your festive decorations. Imagine it nestled in a cozy corner, laden with colorful stockings, ready for Santa’s visit. It’s a wonderful way to keep the tradition alive and showcase those cherished stockings that hold so many memories. You can easily switch out stockings each year to match new decor themes, making it a timeless piece for your holiday celebrations.


A Welcoming Outdoor Lantern Holder
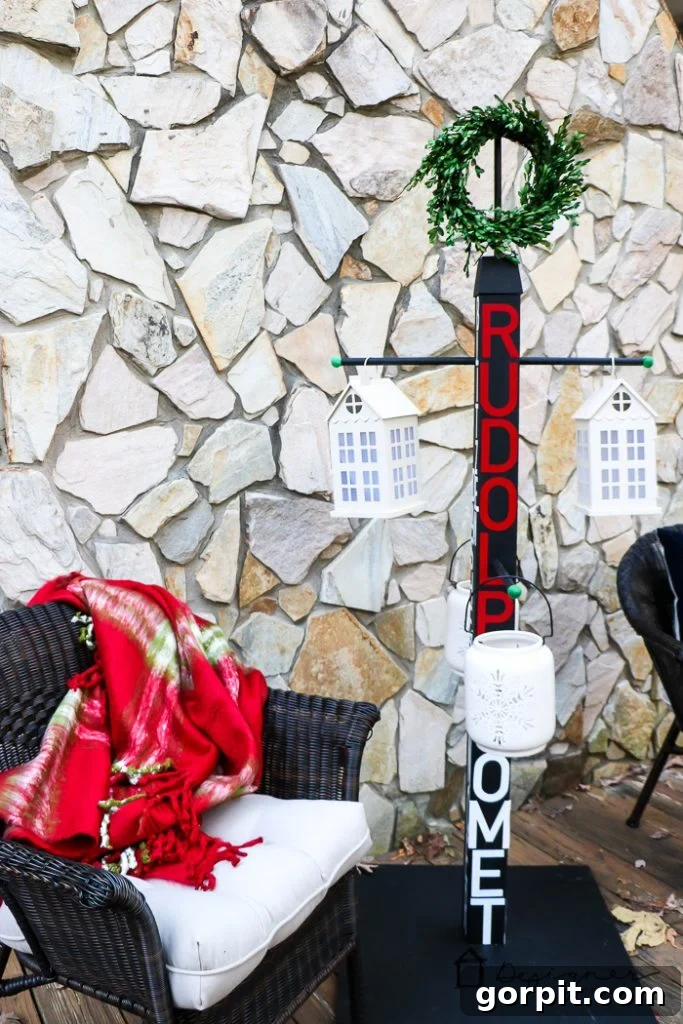
Beyond its indoor use, this stand transforms into an equally stunning outdoor lantern holder! Picture it greeting guests on your porch, illuminating a walkway, or adding an enchanting glow to your garden. Simply swap out the stockings for a few of your favorite lanterns – battery-operated ones are perfect for safety and convenience. The sturdy construction makes it suitable for outdoor conditions, and the elegant design complements any exterior decor. This versatility means you get year-round use from your handmade project, enhancing curb appeal during the holidays and beyond. I truly adore it both ways – it’s a functional piece of art that effortlessly transitions from indoor coziness to outdoor ambiance!
 What are your thoughts on this adaptable project? I find such versatile DIY creations incredibly satisfying! This stocking holder stand is absolutely doable, even if you’re just dipping your toes into the world of DIY. If you’re seeking in-person, hands-on guidance from experienced instructors to help you master this project, remember to click here to sign up for The Home Depot’s in-store Holiday Stocking Post workshop, happening on November 19th. It’s the perfect opportunity to build your confidence and create something beautiful with expert support.
Discover More DIY Stocking Holder Inspiration!
For an abundance of creative ideas and unique twists on this holiday project, be sure to explore the amazing work of my fellow bloggers. Each link below leads to a fresh perspective and a new way to personalize your DIY stocking holder stand. Click on any of the links to check out what these 20+ other super talented bloggers have created!
Domestic Charm
Homemade By Carmona
My Altered State
Smart Girls DIY
Chaotically Creative
Ciburbanity
Lazy Guy DIY
Build Basic
That’s My Letter
Her Toolbelt
The Handmade Home
The Heathered Nest
The Chronicles of Home
Cherished Bliss
Just a Girl and Her Blog
House of Wood
Shades of Blue Interiors
Uncookie Cutter
Ella Claire Inspired
Shine Your Light Blog
Sawdust 2 Stitches
Remodelando La Casa
Paper Daisy Design
Fix This Build That
