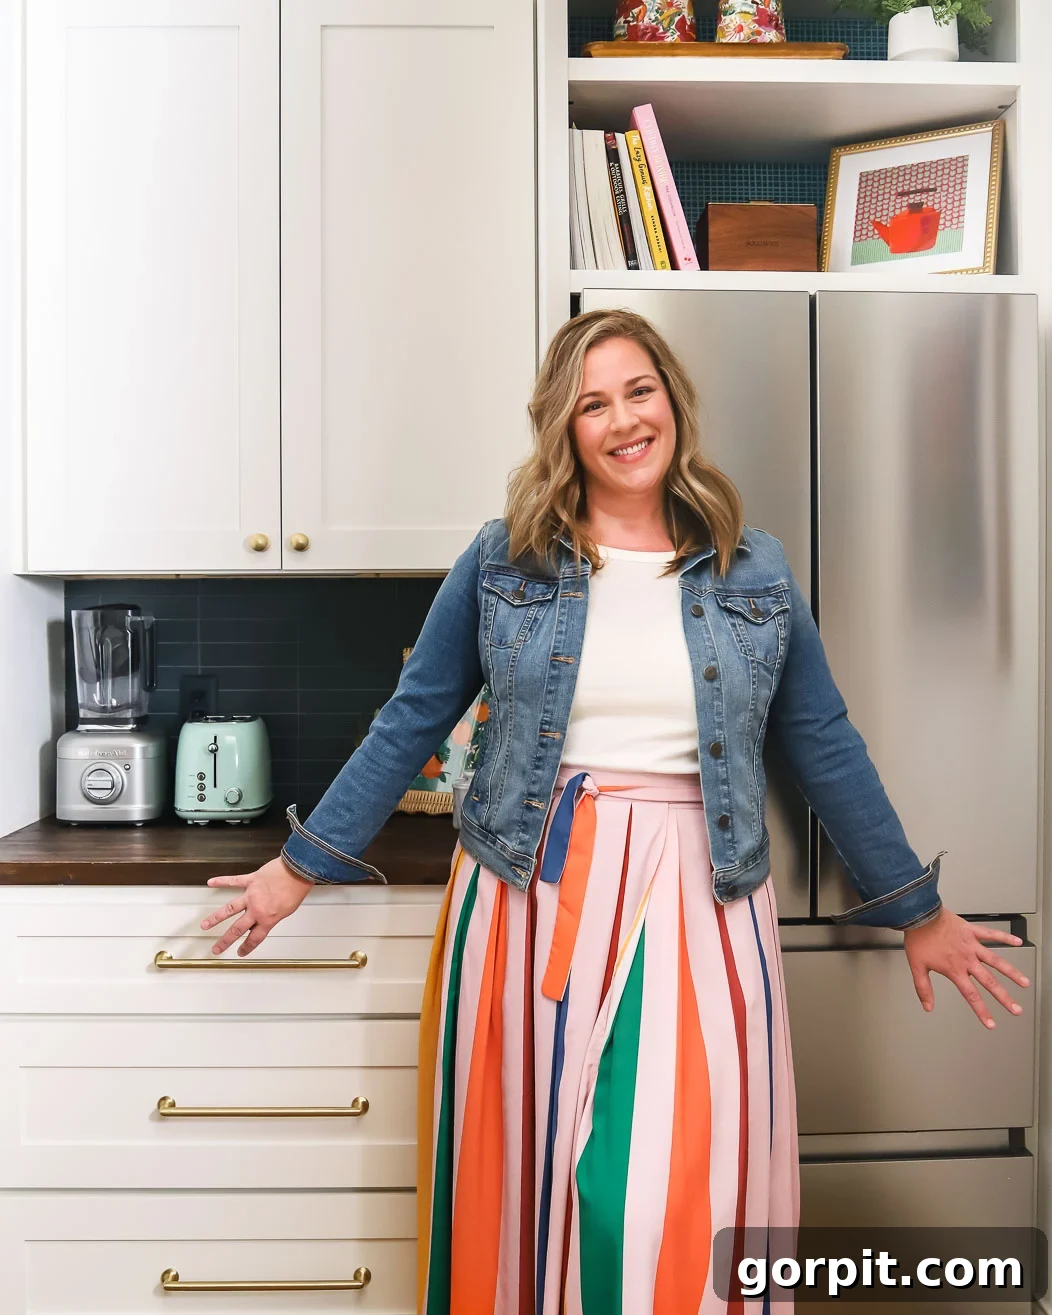
Do you also have one of those outdated, built-in desks in or near your kitchen that has become nothing more than a clutter magnet? You know the type – a relic from the 1980s and 1990s that promised functionality but often delivered only frustration. For many homeowners, these spaces are underutilized, collecting mail, keys, and miscellaneous items rather than serving as productive workstations. In our home, this awkward space near our kitchen was a constant eyesore, despite our best efforts to keep it tidy. We rarely used it as an actual office, so we embarked on an exciting journey to completely transform it into something truly functional and beautiful: a custom butler’s pantry.
This post offers a comprehensive look at how we reimagined this neglected area. Beyond sharing plenty of stunning photos of the finished butler’s pantry, I’ll delve into the strategic decisions behind our renovation, detailing why we chose specific changes, how I developed the space plan and design, and the entire process from inspiration to execution. Understanding the design process is just as crucial as admiring the beautiful results, and I hope our experience provides valuable insights for your own home projects.
Table of Contents
This post contains affiliate links for your convenience. Click here for my full disclosure policy.
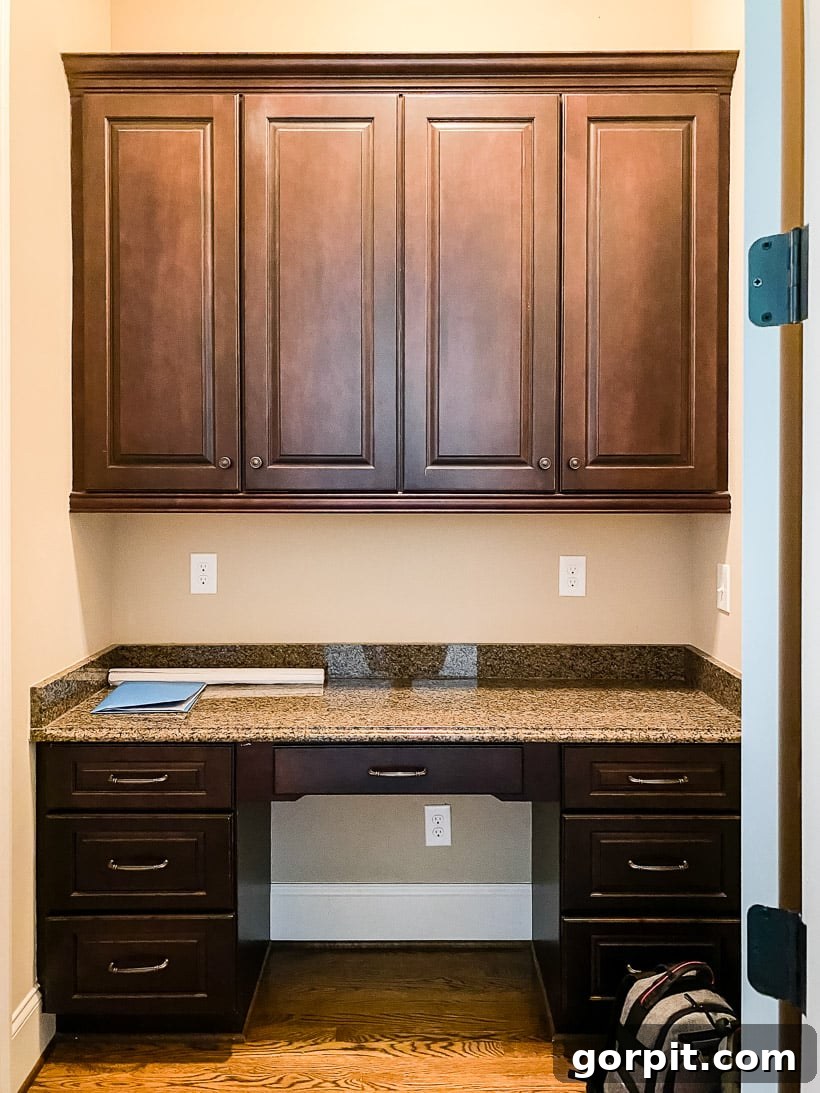
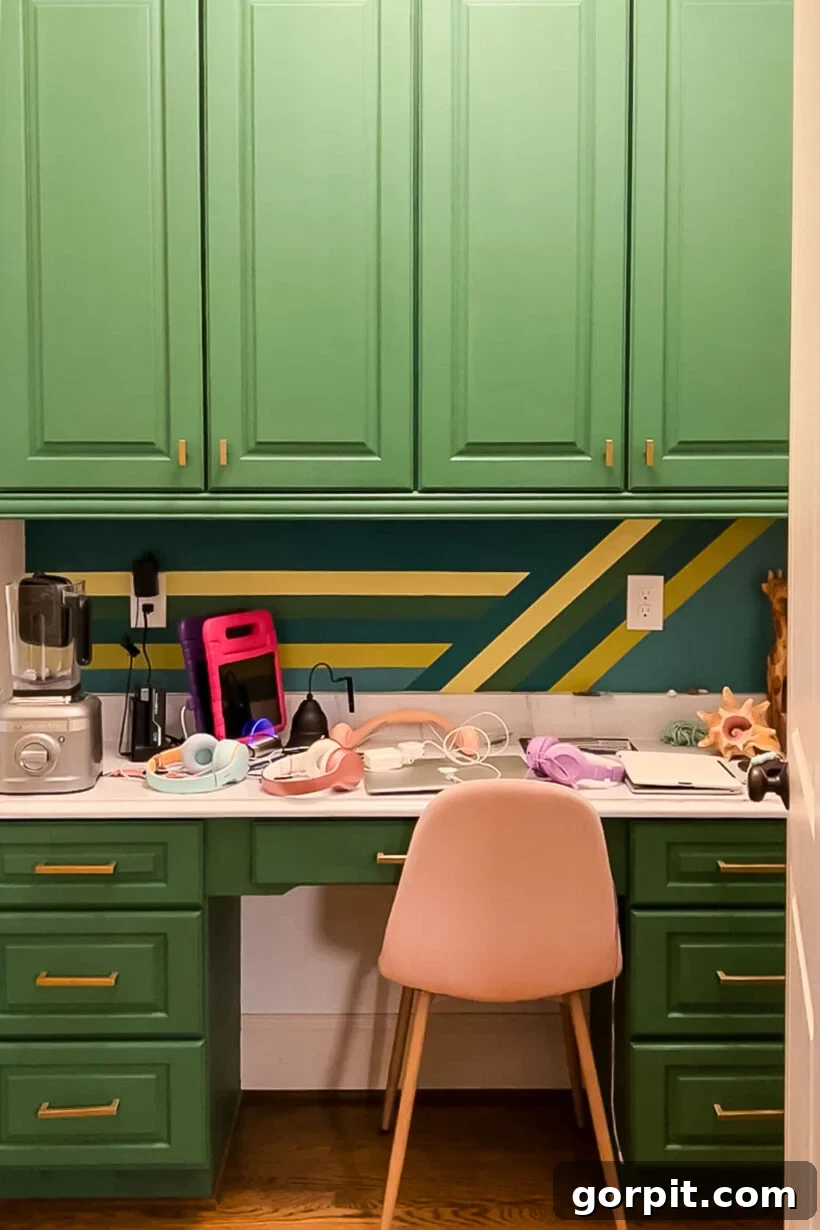
Despite our current home being built in 2012, well after the peak of the built-in desk trend, it still featured one of these infamous office nooks situated between our kitchen and a large walk-in pantry. When we first moved in, the area looked exactly as you might expect – functional in theory, but bland and uninspiring in reality. Approximately two years ago, we attempted a cosmetic refresh, painting the cabinets, updating the backsplash, and covering the dated granite countertops with a faux marble vinyl. While these changes offered a temporary aesthetic improvement, they didn’t fundamentally address the space’s core problem: its lack of genuine utility for our family.
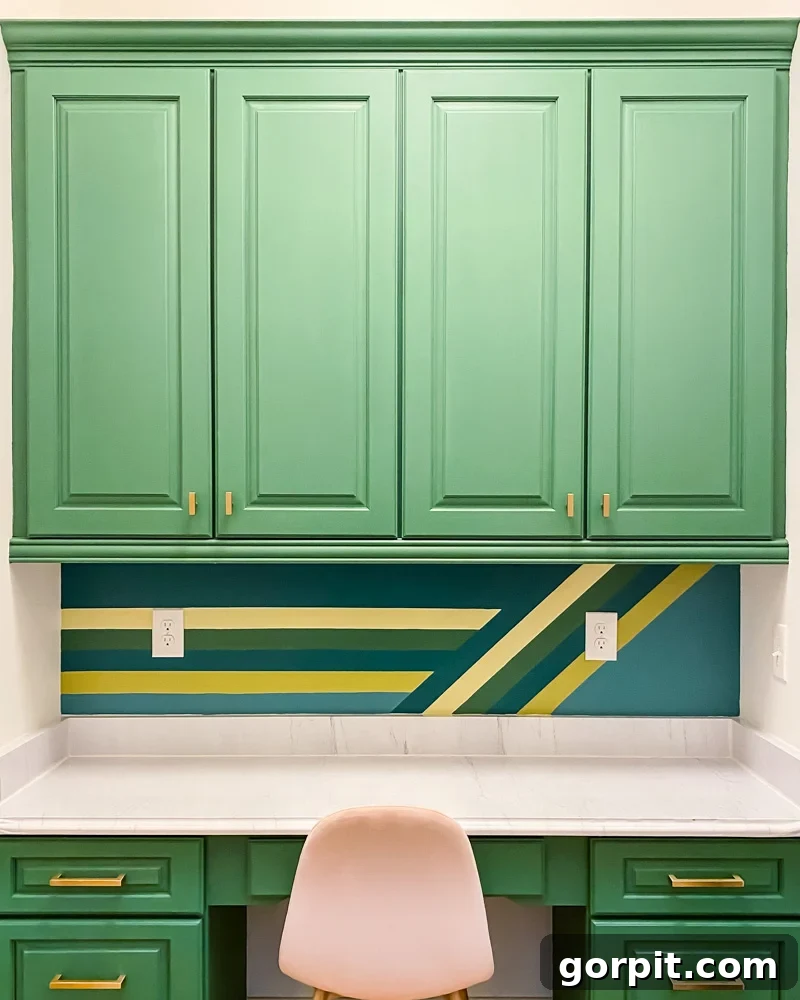
The Problem With Our Built-In Desk Area
The stark reality was that this built-in desk was never truly utilized as an office. We already have a dedicated workspace in our family room, complete with filing drawers, which serves perfectly for managing bills and other administrative tasks. Consequently, the kitchen desk quickly devolved into a perpetually messy horizontal surface. It became a dumping ground for anything and everything – mail, school papers, shopping lists, and various odds and ends. Despite being a generally tidy household, the lack of a clear purpose for this space meant we simply couldn’t keep up with its inevitable clutter. It was a constant source of mild irritation, reflecting a significant inefficiency in our home’s layout.
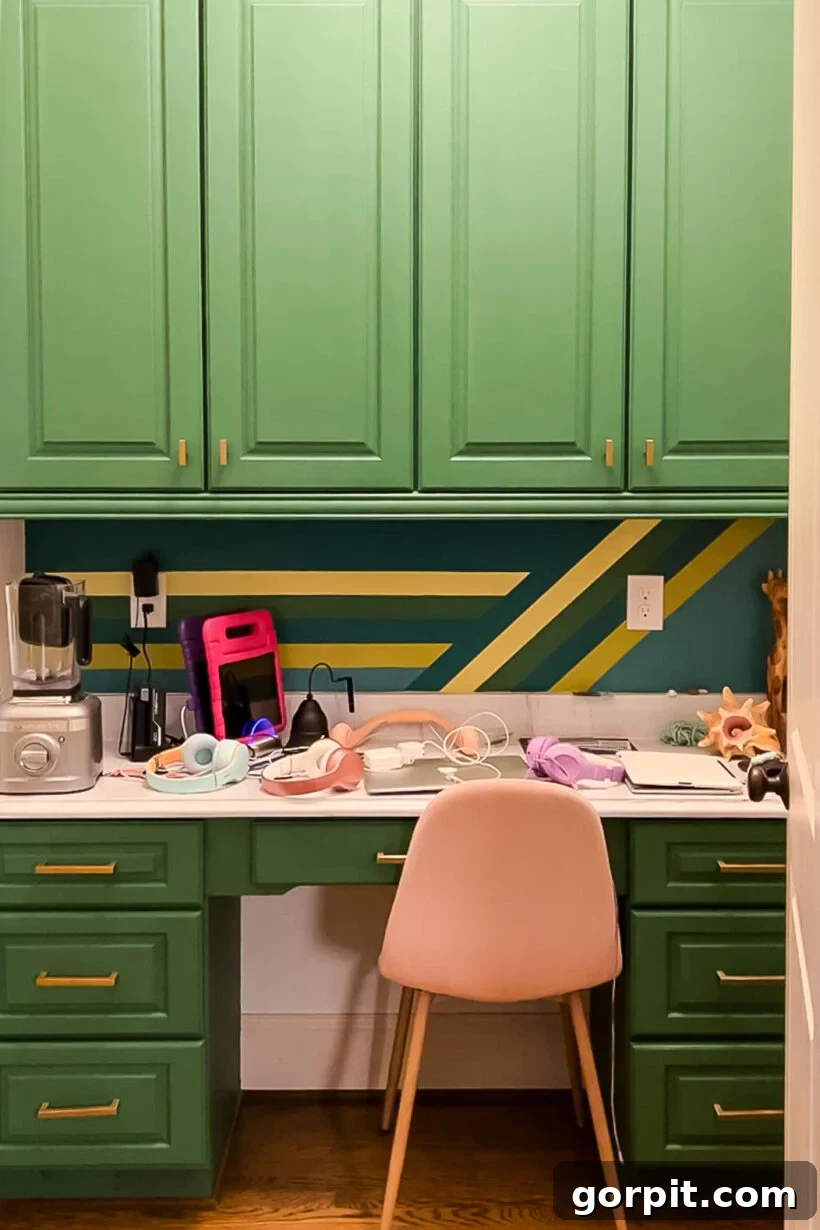
Regular readers of my blog or followers on social media know that wasted or underutilized spaces are a particular pet peeve of mine. I believe every square inch of a home should serve a meaningful purpose, enhancing daily life rather than detracting from it. This philosophy fueled our decision to transform this persistently cluttered desk area into a highly functional butler’s pantry – a space we anticipated using multiple times every single day, drastically improving our kitchen’s efficiency and overall aesthetic.
What Defines a Butler’s Pantry?
To truly appreciate the transformation, it’s helpful to understand what a butler’s pantry is and how its role has evolved. Historically, a butler’s pantry was a dedicated room or transitional space, typically located between the kitchen and dining room in grand homes. It served as a staging area for meals, a secure storage location for fine china, silverware, and linens, and a discreet space for butlers and staff to perform preparatory and cleanup tasks away from the guests’ view. Its primary purpose was to facilitate elegant entertaining while ensuring the main kitchen remained out of sight, preventing any glimpse of cooking chaos.
The Modern Utility of a Butler’s Pantry
Today, the concept of a butler’s pantry has been beautifully reinterpreted to suit contemporary living. While still providing additional storage, its functionality has expanded significantly. Modern homeowners often use these spaces as a secondary, “working kitchen” where food preparation and minor cleanup can occur, keeping the main kitchen pristine. This is especially useful for hiding less aesthetically pleasing but highly utilitarian small appliances like blenders, toasters, and coffee makers. It serves as an overflow zone, freeing up precious counter space in the primary kitchen and helping to maintain a clean, uncluttered look, particularly during entertaining.
For our family, a butler’s pantry offered several compelling advantages. Given our grocery shopping habits, a secondary refrigerator was a much-needed amenity. While we could have placed it in the garage, having it conveniently located within the house, adjacent to the main kitchen and our already spacious walk-in pantry, was ideal. Our existing walk-in pantry is ample for non-perishable food storage, so the new butler’s pantry could focus on other crucial functions. Furthermore, our main kitchen, despite its overall size, surprisingly lacks usable counter space. This new area would provide a dedicated spot for daily tasks like making smoothies, toasting breakfast, and packing school or work lunches, making our morning routines much smoother and more efficient. It transitions from an underperforming desk to a powerhouse of kitchen utility, proving that even a small space can dramatically enhance a home’s functionality.
Our Butler’s Pantry Layout and Design Process
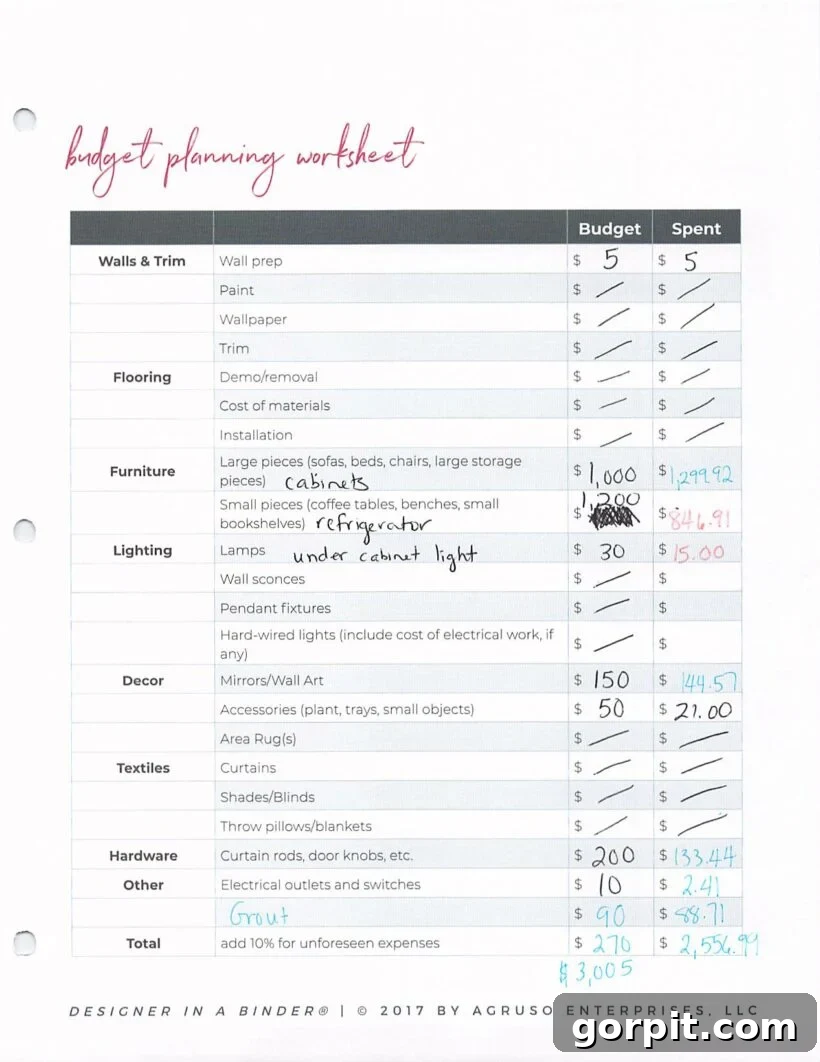
With a clear vision for the space’s purpose, the next crucial step was meticulous planning and design. I turned to my trusted Designer in a Binder®, a resource that consistently provides invaluable clarity through its structured worksheets. Answering the detailed questions helped us define our needs, constraints, and aspirations for the butler’s pantry, streamlining the initial conceptualization phase.
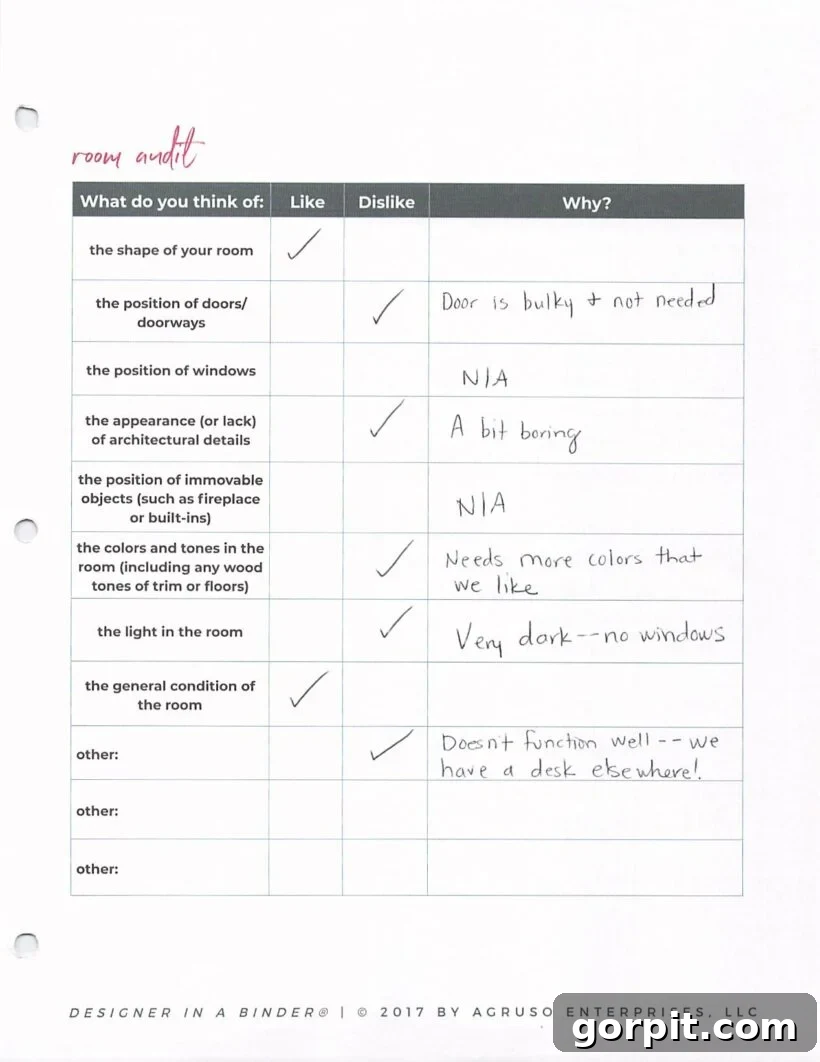
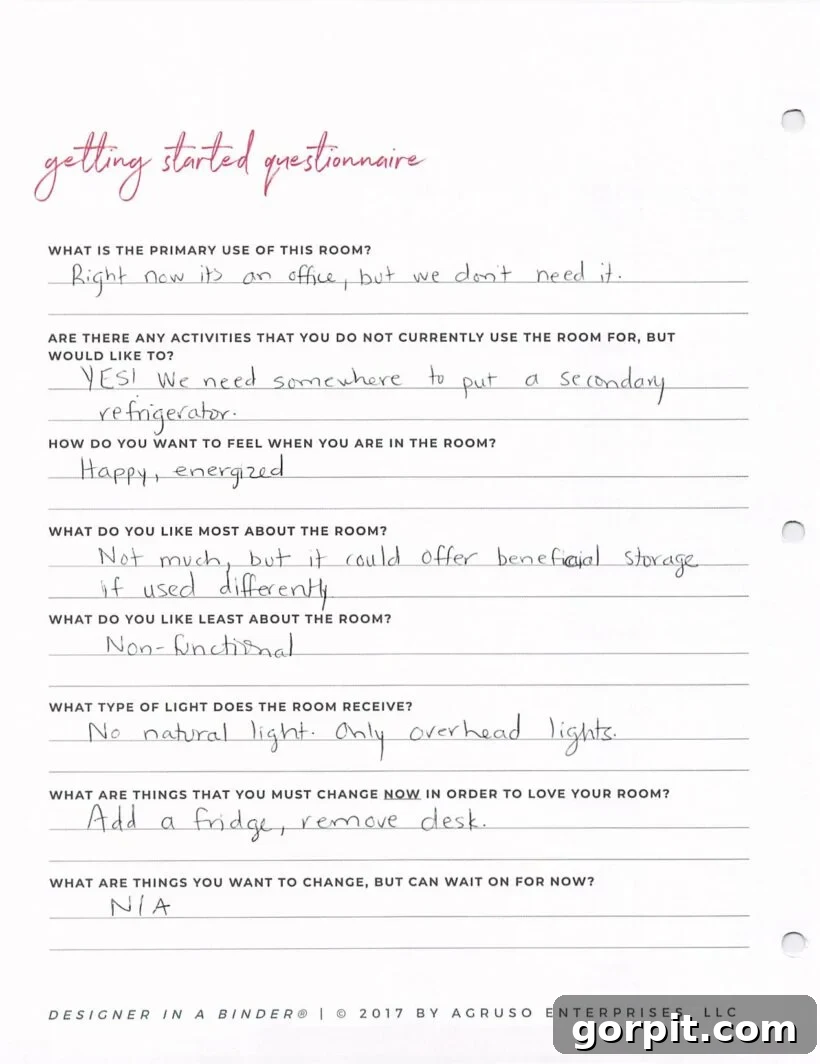
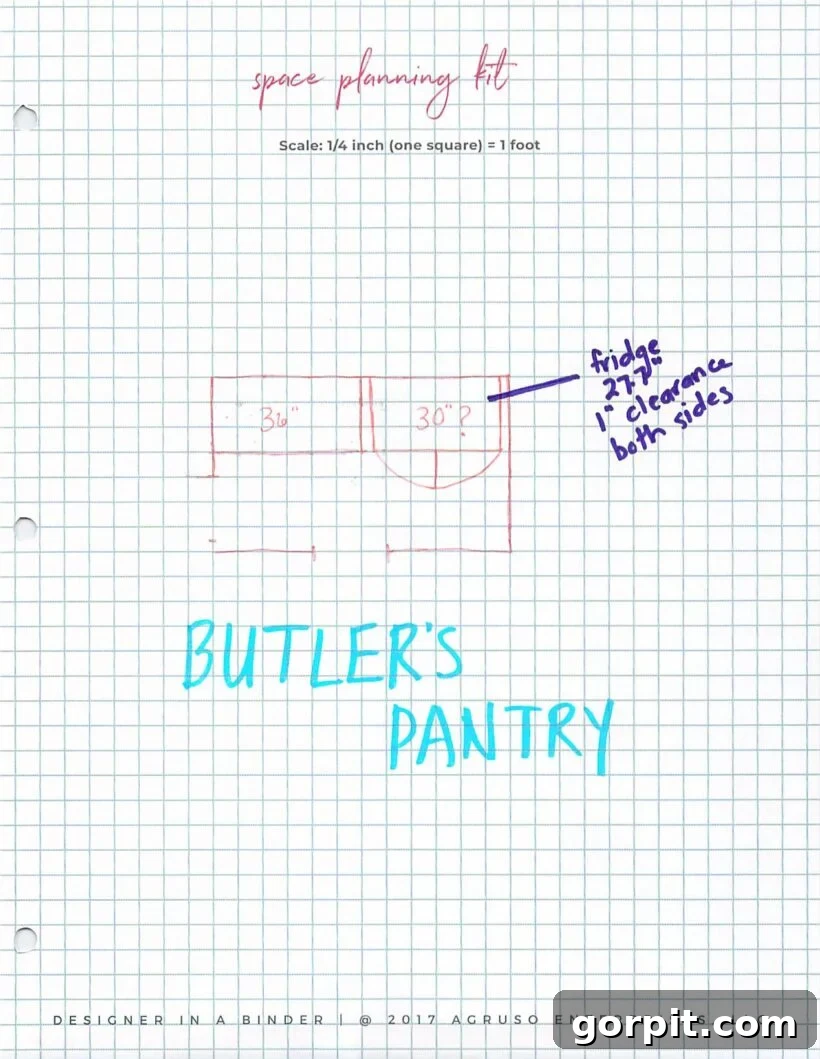
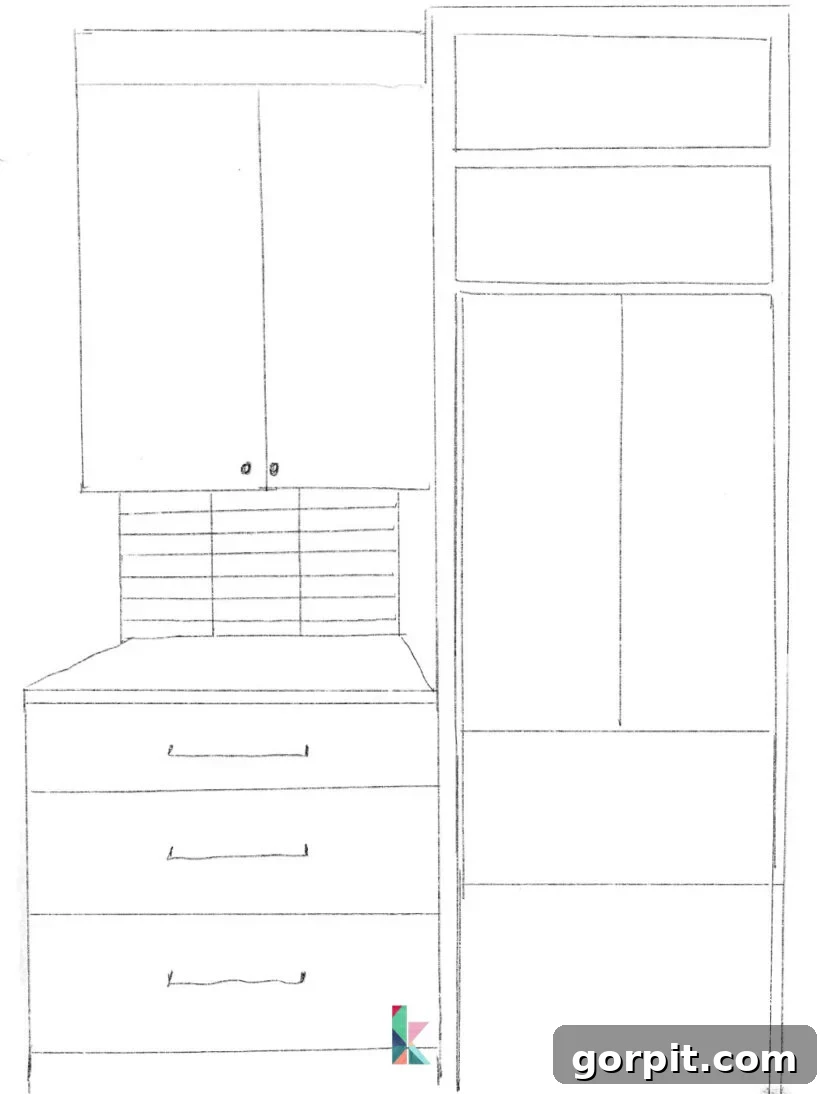
Once we had a clear understanding of the dimensions and what elements we could realistically incorporate into our compact butler’s pantry, the exciting creative phase began. We meticulously sketched out the proposed layout, ensuring every component – from cabinetry to appliance placement – was optimized for maximum efficiency and aesthetic appeal. This detailed sketch served as our blueprint, guiding every subsequent decision in the renovation.
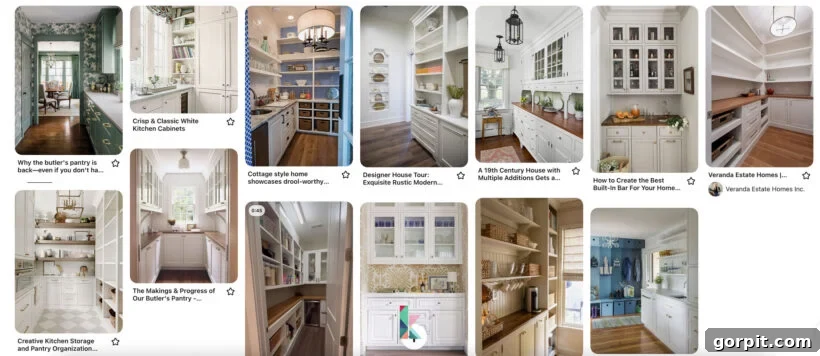
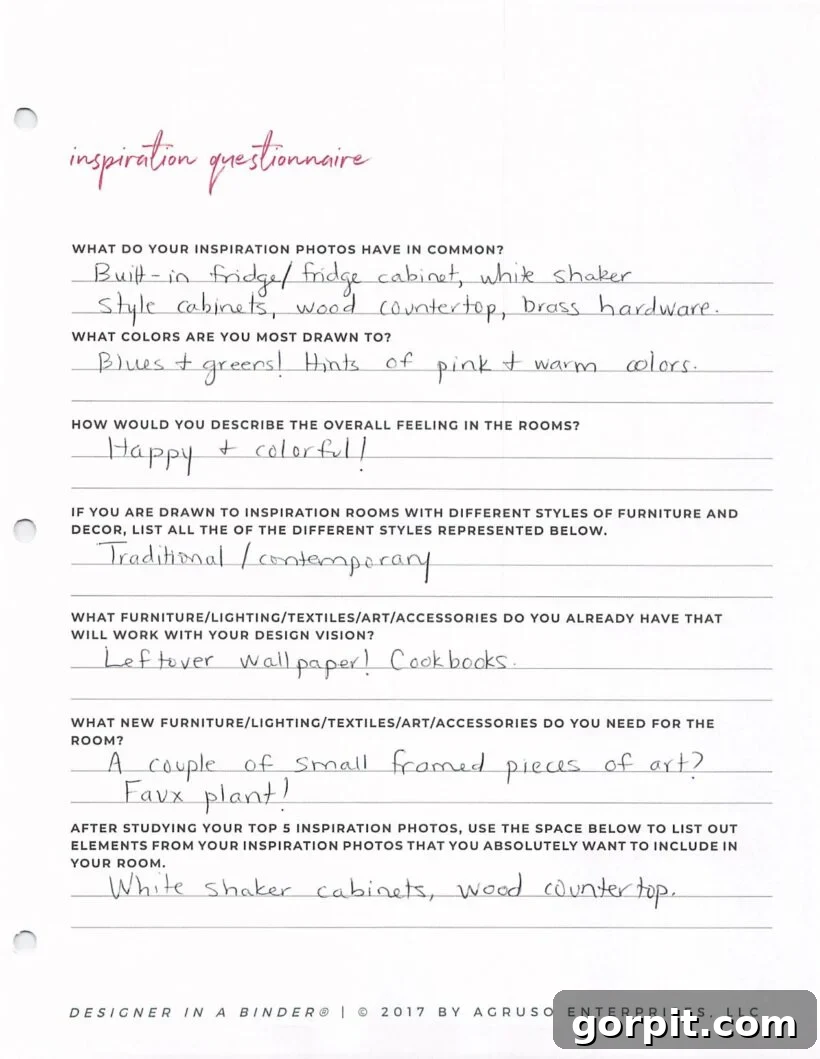
Next came my absolute favorite part of any design project: gathering inspiration and formulating a cohesive design plan. I diligently worked through the inspiration-gathering sections of the Designer in a Binder®. The systematic approach outlined in the binder for discovering personal style and translating inspiration into a tangible design is truly effortless and incredibly effective. I began by pinning numerous images of butler’s pantries and compact kitchen spaces that resonated with my aesthetic preferences. Through careful study and by completing the inspiration questionnaire, several key elements quickly emerged as recurring themes.
I found myself consistently drawn to designs featuring crisp white cabinets and warm wood countertops, a classic combination that offers both brightness and natural texture. Furthermore, three distinct inspiration images prominently showcased wallpaper, signaling its importance as a design element I wanted to integrate. Identifying these consistent preferences early on was instrumental in shaping our design choices.
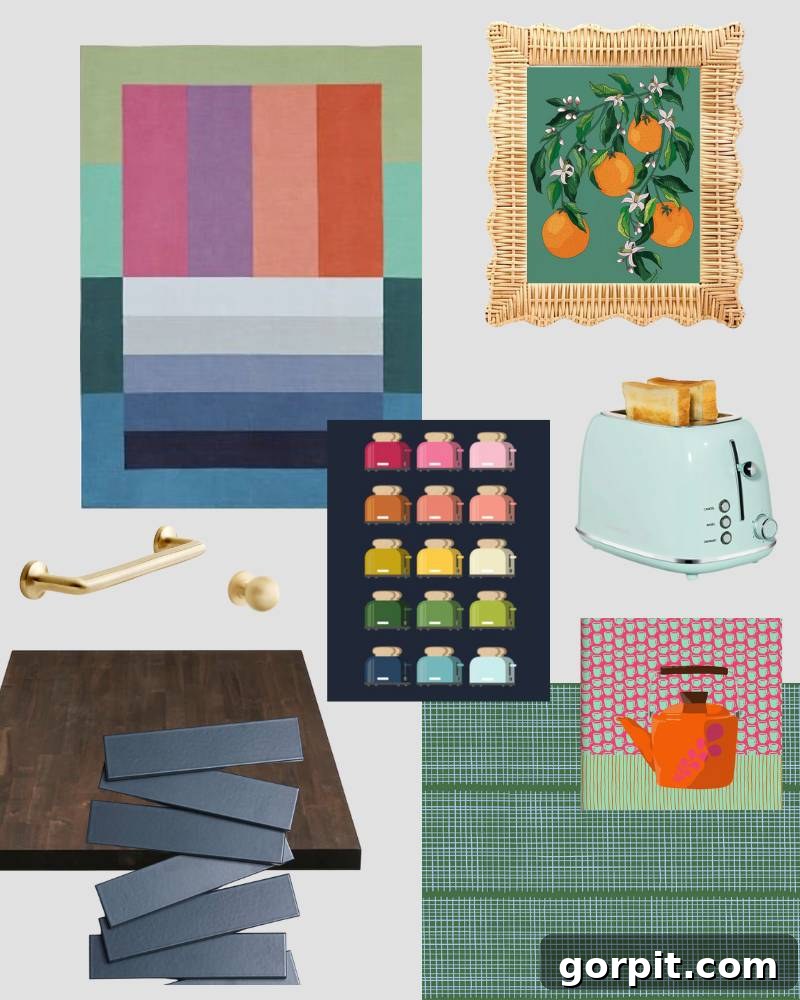
To visualize how all these chosen elements would harmonize, I created a mood board using Canva. This digital collage allowed me to experiment with different combinations of materials, colors, and textures, including various colorful kitchen art options, until I achieved a look that truly spoke to me. Fortunately, we had some of this beautiful wallpaper left over from a previous project where I used it behind the DIY wall shelves in our family room. Additionally, we had enough tile remaining from our DIY fireplace makeover to complete the backsplash area, which was a fantastic cost-saving bonus. The only minor disappointment was discovering that a beloved color block runner from our old house’s hallway was approximately six inches too long for the new space. Despite this small setback, the overall design was coming together beautifully, a testament to careful planning and resourceful use of existing materials.
SHOP THE DESIGN
- Backsplash Tile
- Toaster
- Drawer Pulls (12 inches long)
- Cabinet Knobs
- Wood Countertop
- Wallpaper
- Orange Blossom Art
- Scallop Rattan Frame
- Tea Kettle Art
- Colorful Toaster Art
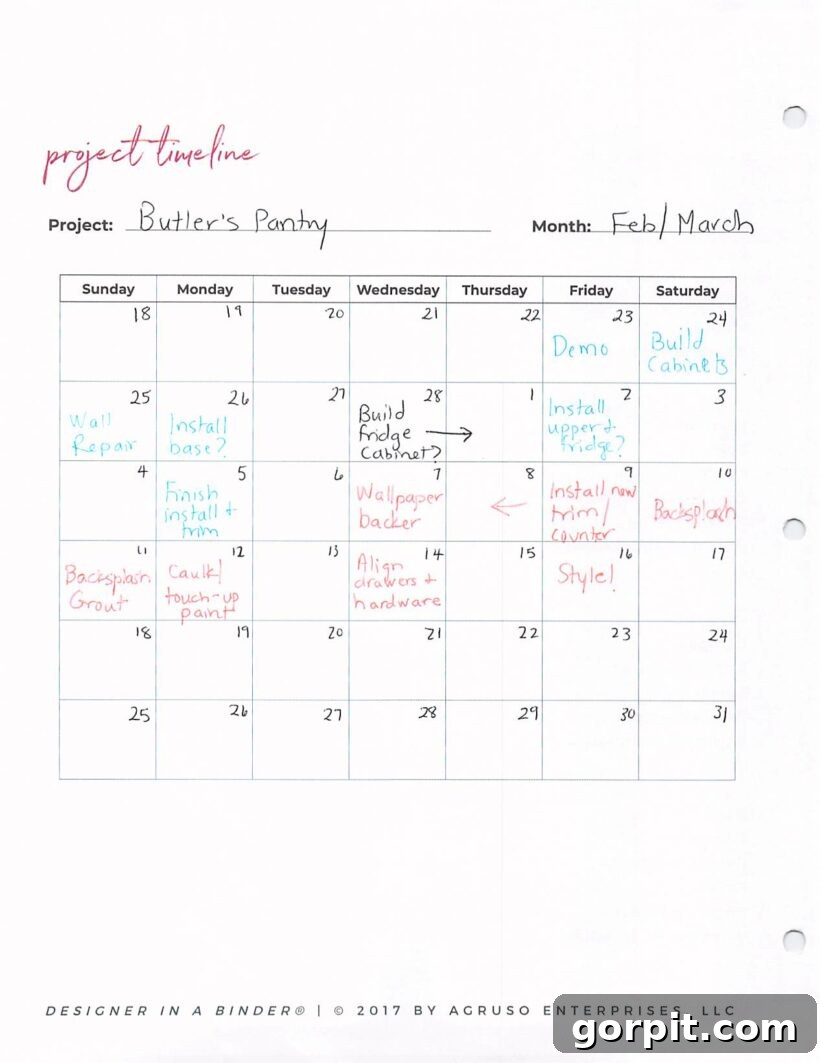
With the design finalized, I utilized the Designer in a Binder® to create a comprehensive budget, an actionable to-do list, and a realistic project schedule. This structured approach is vital for keeping any DIY renovation on track. This particular project, from start to finish, took us quite a while to complete, as we chipped away at it whenever we had free time. It’s important to remember that most significant home projects demand patience and a flexible timeline, especially when balancing them with daily life. The glamorous time-lapse reels often seen on social media can be deceiving; real-world DIY takes real time and effort.
Related DIY and Design Resources
- How to Install a Tile Backsplash
- 5 Tips for Decorating With Color Even When It Scares You
- Sherwin-Williams Pure White Color Review
- Interior Trim Ideas That Aren’t White
The Transformation: Demolition and DIY Butler’s Pantry Build
The first physical step in our renovation was the demolition of the old built-in desk area. This involved carefully dismantling the existing cabinetry and countertops to create a blank canvas for the new butler’s pantry. Building a custom space from scratch, especially one designed to blend seamlessly with existing kitchen elements, required precision and careful attention to detail. We documented every stage of this project, which, as mentioned, spanned approximately a month from demolition to the final touches. Remember, significant DIY transformations often require a considerable time investment – it’s a marathon, not a sprint!
While the video detailing every step of the demolition and build is not included here, rest assured that the process involved standard carpentry techniques for building custom cabinets, careful measurement for appliance integration, and meticulous installation of the backsplash and countertops. These steps, though time-consuming, are achievable for dedicated DIY enthusiasts and result in highly rewarding custom solutions.
Our Butler’s Pantry Reveal: A Colorful and Functional Space
Having journeyed through the initial problems, the strategic planning, and the detailed design phase, it’s finally time to unveil the stunning transformation. Get ready to see how our vision for a highly functional and aesthetically pleasing butler’s pantry came to life!
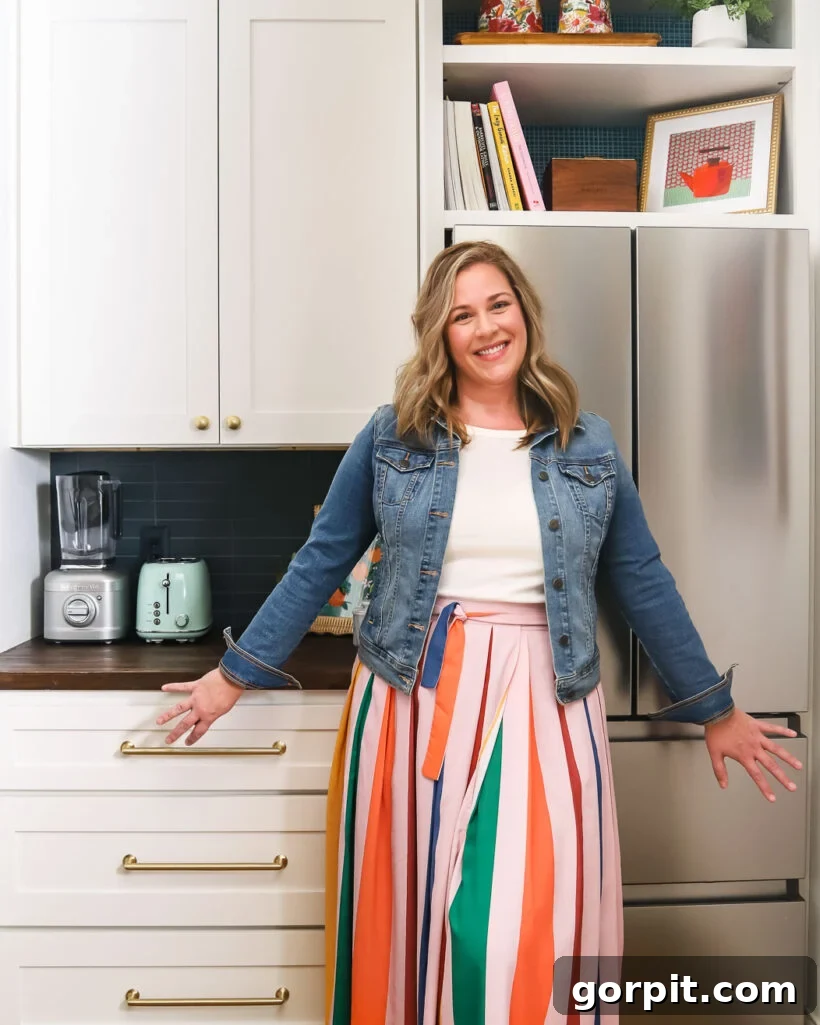
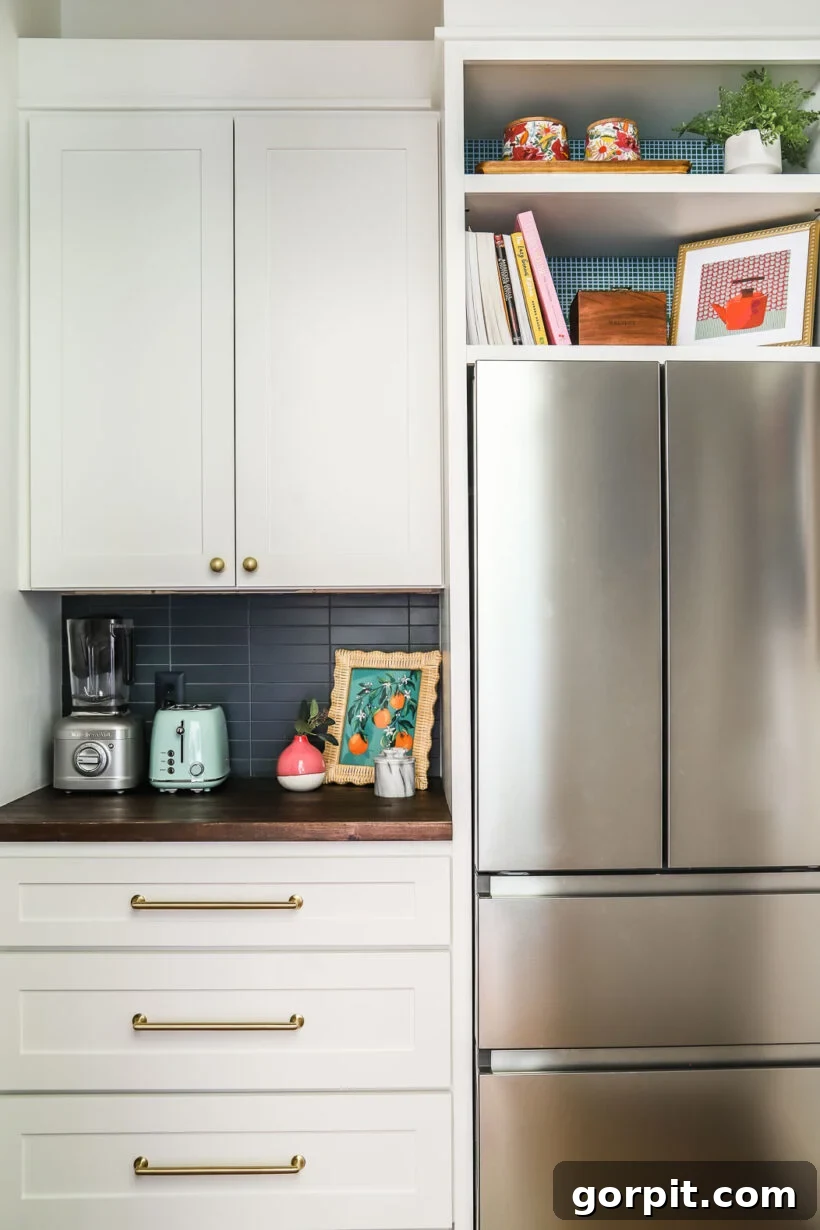
For those who followed the real-time transformation on Instagram, you’ll recall that we opted to purchase the upper and lower base cabinets to expedite the process and ensure a professional finish. However, a significant DIY component involved building a custom cabinet specifically designed to house our chosen refrigerator. This was a crucial step because this particular 27.7-inch refrigerator is not a standard size, requiring a tailored solution. I am incredibly proud of how seamlessly our custom-built cabinetry integrates with the factory-purchased units, creating a truly bespoke and cohesive look that enhances the entire space.
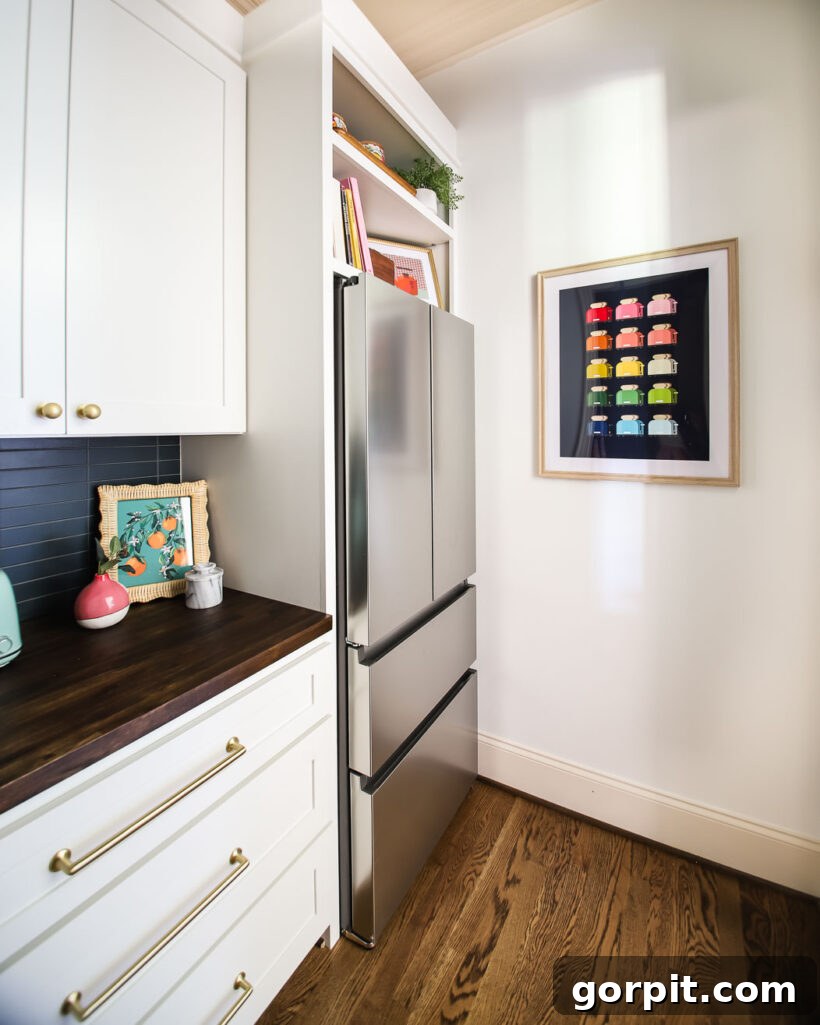
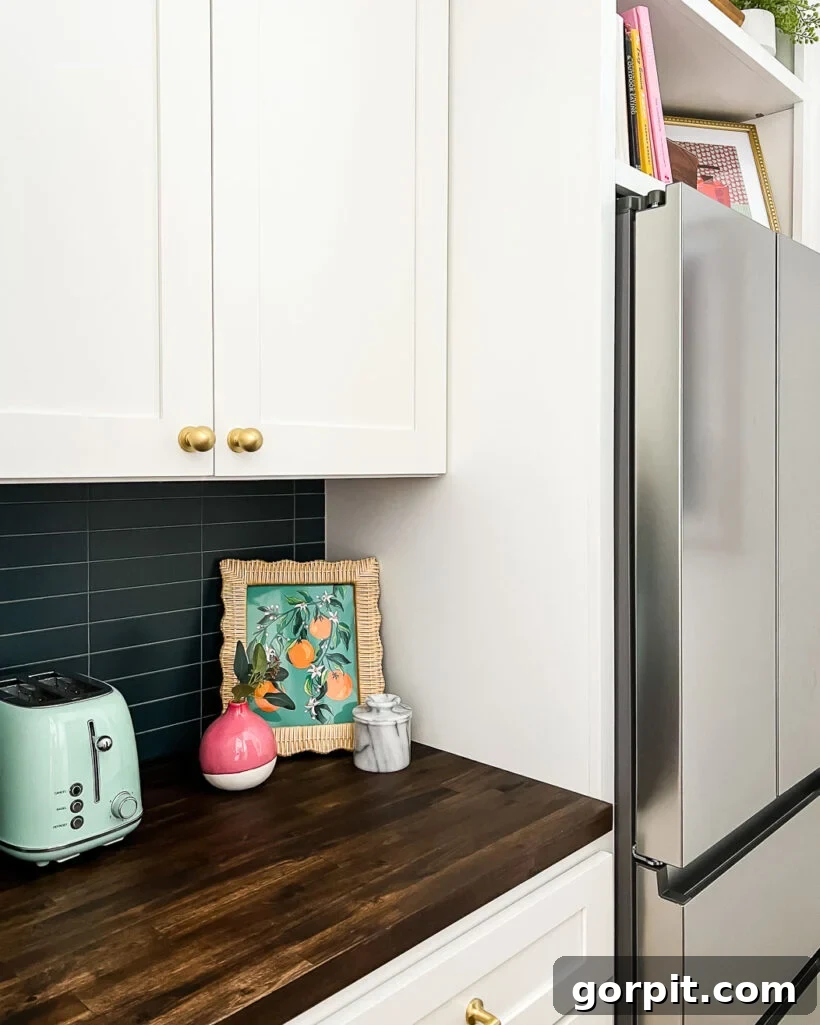
The backsplash, a key design feature, turned out precisely as envisioned. Its deep navy hue provides a striking contrast against the white cabinetry and warms the space with its rich color. For those interested in replicating this look, I recently shared a detailed tutorial on how to install a tile backsplash the easy way, complete with practical tips and tricks. You can also explore more budget-friendly DIY backsplash ideas here, proving that stunning results don’t always require a hefty investment.
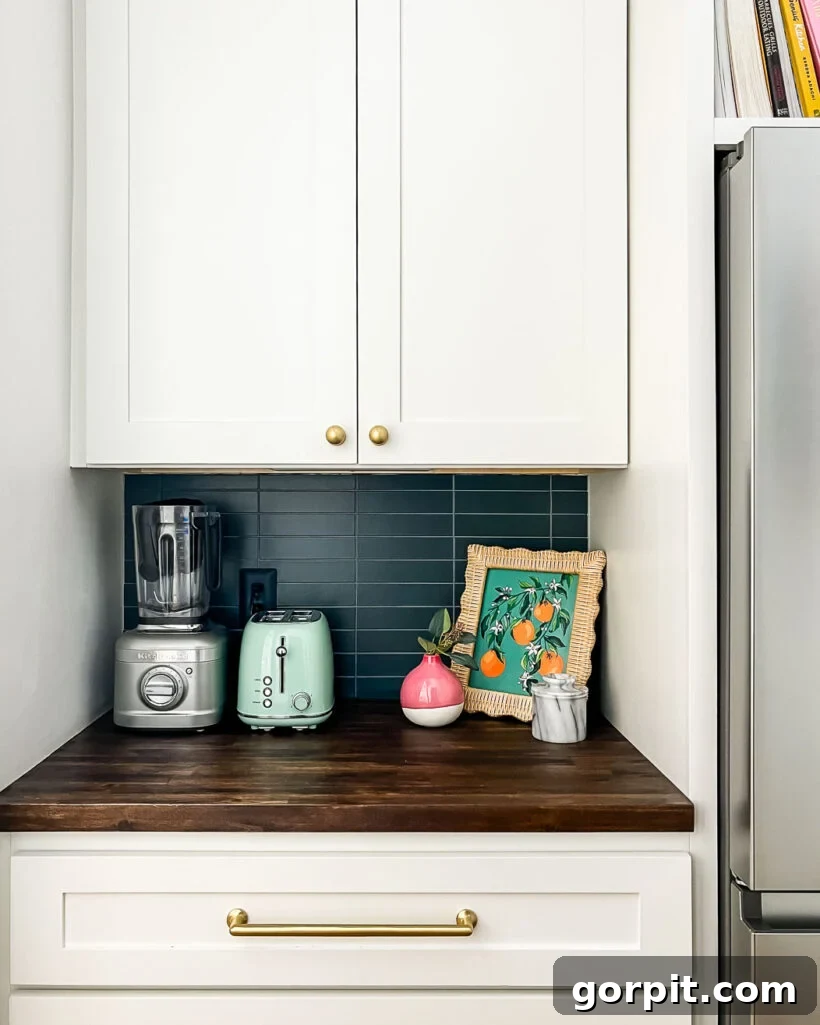
While the foundational elements of the butler’s pantry – the white cabinetry, warm wood countertop, and classic navy tile backsplash – create a sophisticated and fairly neutral base, I was eager to infuse the space with vibrant personality through creative pops of color. My passion for incorporating color into home decor is well-known, and this smaller space provided a perfect canvas. If the idea of decorating with color appeals to you but also makes you slightly nervous, I highly recommend checking out my post: 5 Tips for Decorating With Color Even When It Scares You. It offers practical advice for confidently adding splashes of hue to any room.
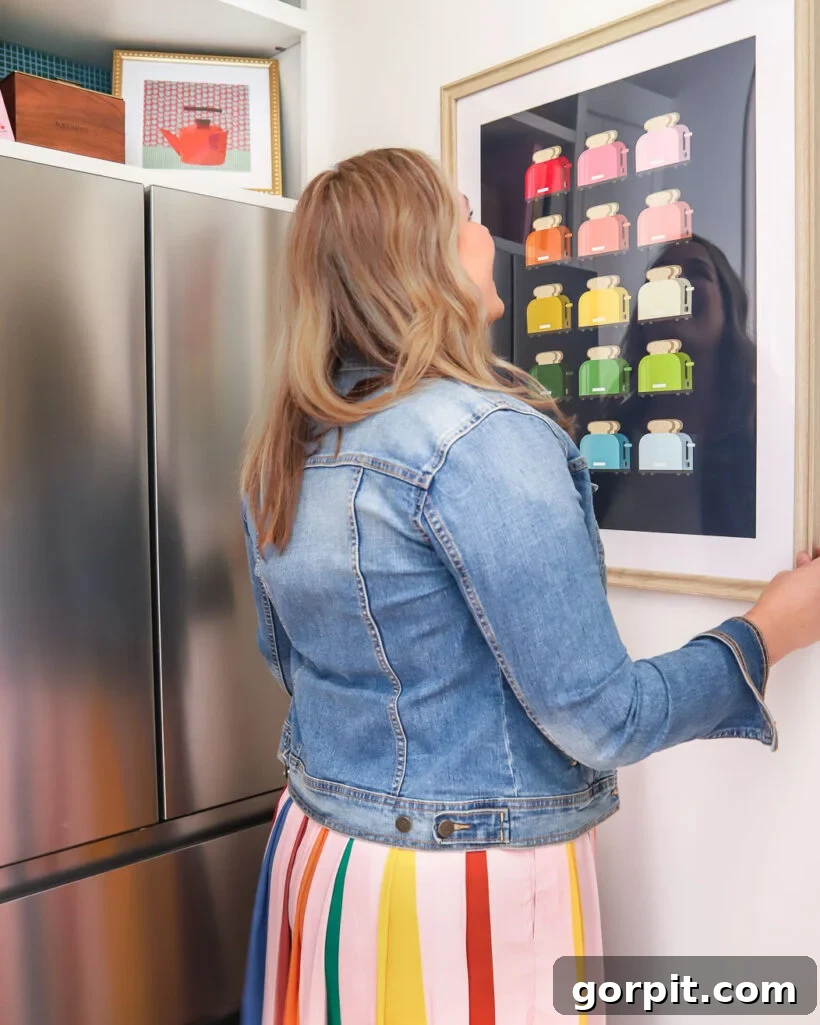
The first strategic splash of color came from the vibrant wallpaper I chose to cover the back panel of the refrigerator cabinet. It adds an unexpected layer of visual interest and depth, beautifully peeking out from behind the open shelving. To ensure flexibility and future design changes, I utilized my proven method for making any wallpaper removable and renter-friendly, giving us the freedom to update the look whenever inspiration strikes.
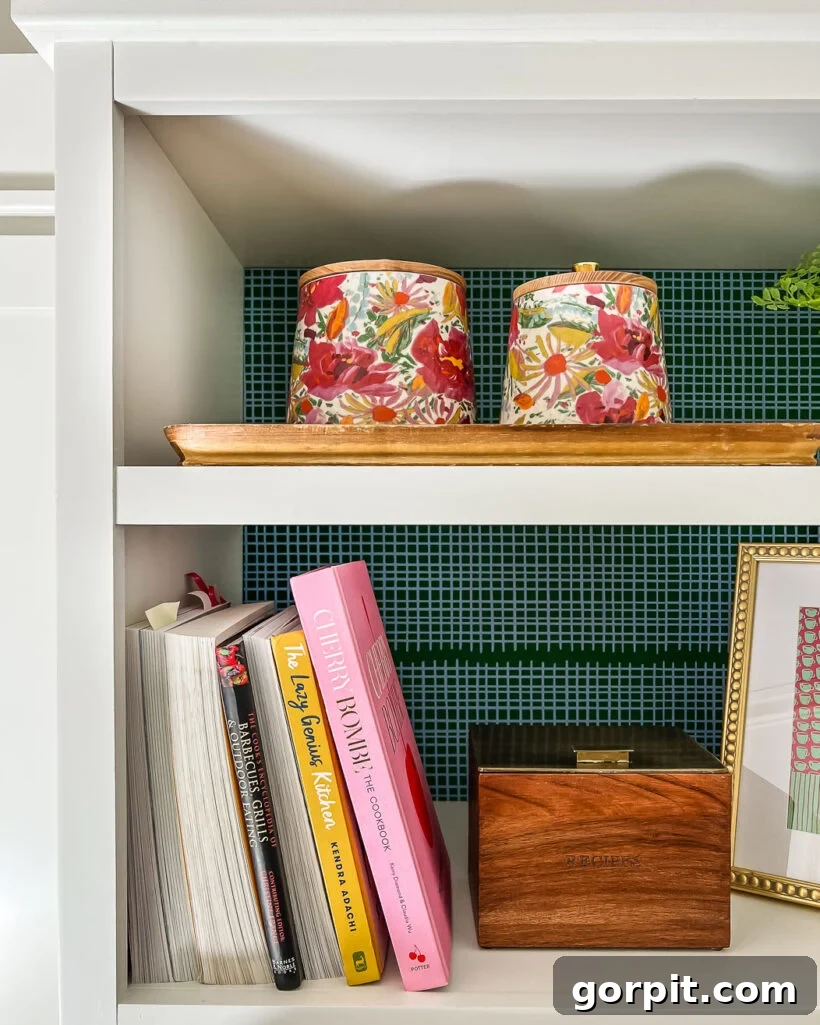
Further enhancing the colorful scheme, I incorporated a selection of vivid kitchen art, complemented by cookbooks we already owned, strategically placed on the open shelves. Even our charming toaster contributes a cheerful pop of color, proving that everyday appliances can be part of the aesthetic. These carefully curated elements work together to create a cohesive and inviting atmosphere, transforming a formerly drab corner into a lively and inspiring functional hub.
Adding a truly personal touch, I included some special paint-by-number postcards that my girls and I painted together about five years ago. These precious mementos are displayed on the small sliver of wall near the door opening, serving as a sweet reminder of shared creative time every time we pass through the pantry. It’s these small, meaningful details that transform a functional space into a beloved part of our home.
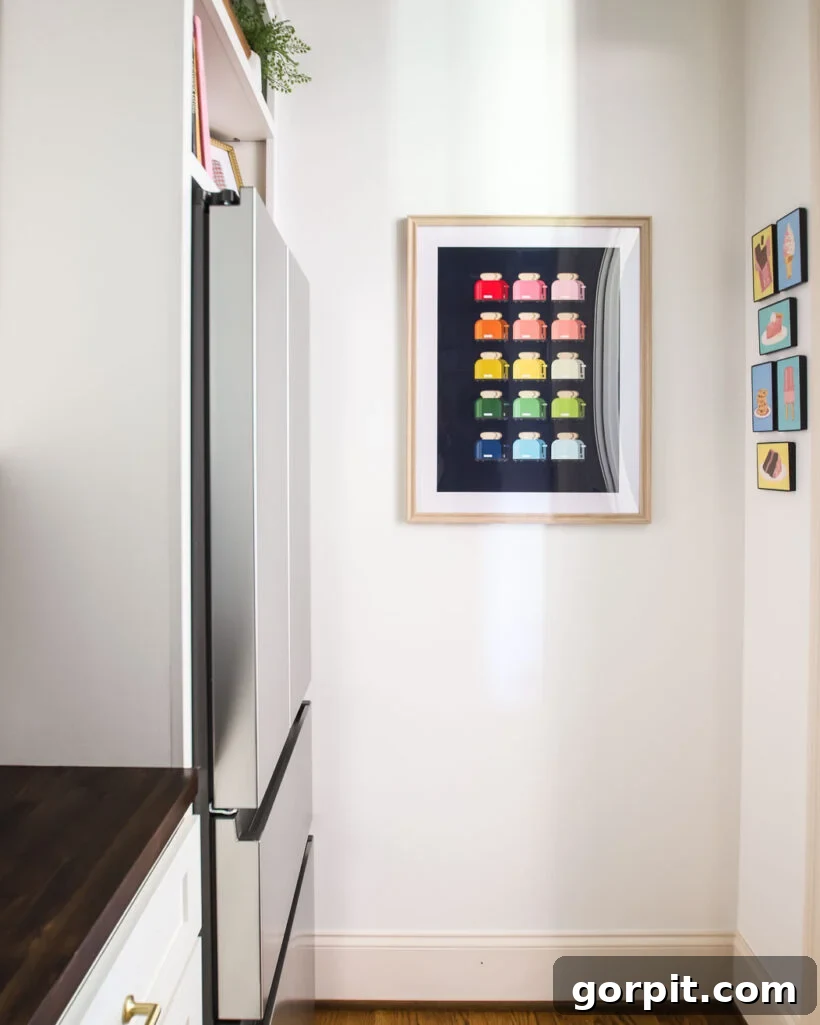
And there you have it – our complete DIY butler’s pantry transformation! We are absolutely enamored with this new space and are incredibly grateful that an area which once gathered only clutter now serves a practical and beautiful purpose every single day. Look out for future tutorials where I’ll share more about how we’ve organized and continue to utilize this efficient new addition to our home.
Before you go, take one last look at the dramatic before and after comparison:
Butler’s Pantry Source List
- Backsplash Tile
- Toaster
- Mable Butter Keeper
- Refrigerator
- Drawer Pulls (ours are 12 inches long)
- Cabinet Knobs
- Wood Countertop
- Cabinets
- Wallpaper
- Orange Blossom Art
- Scallop Rattan Frame
- Gold Bead Frame
- Tea Kettle Art
- Recipe Box
- Faux Fern
- Colorful Toaster Art
- Wood Poster Frame
Other posts you may enjoy for enhancing your home:
- Kitchen Pantry Organization Tips & Ideas
- Affordable DIY Countertops That Will Blow Your Mind
- How to Refinish Butcher Block Countertops
- Budget-Friendly Kitchen Makeover Reveal
- Creative Pantry Shelving Ideas to Optimize Storage Space
- How to Maximize Your Walk-In Pantry Space
More Design Inspiration
SEE MY DESIGNS
To see more of my own designs and inspiring transformations from Designer in a Binder® customers, explore these captivating projects:
-
Tips for a Budget Bathroom Makeover + Attley’s Bathroom Reveal
-
How to Decorate Bedroom Doors to Look Like Apartment Doors
-
Our Kitchen Renovation Reveal- It’s Neutral AND Colorful
-
Our Neutral But Still Colorful Kitchen Design
-
Why We Decided to Renovate Our Kitchen + The New Layout
-
Our Budget-Friendly Pantry Makeover
Curious about my comprehensive approach to transforming various rooms and spaces throughout our home? Discover the methodologies and insights I share in Designer in a Binder® – your ultimate guide to confident and cohesive home decorating.
For exclusive content, behind-the-scenes glimpses, and the latest updates on our design adventures, be sure to subscribe before you leave!