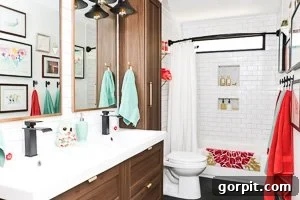
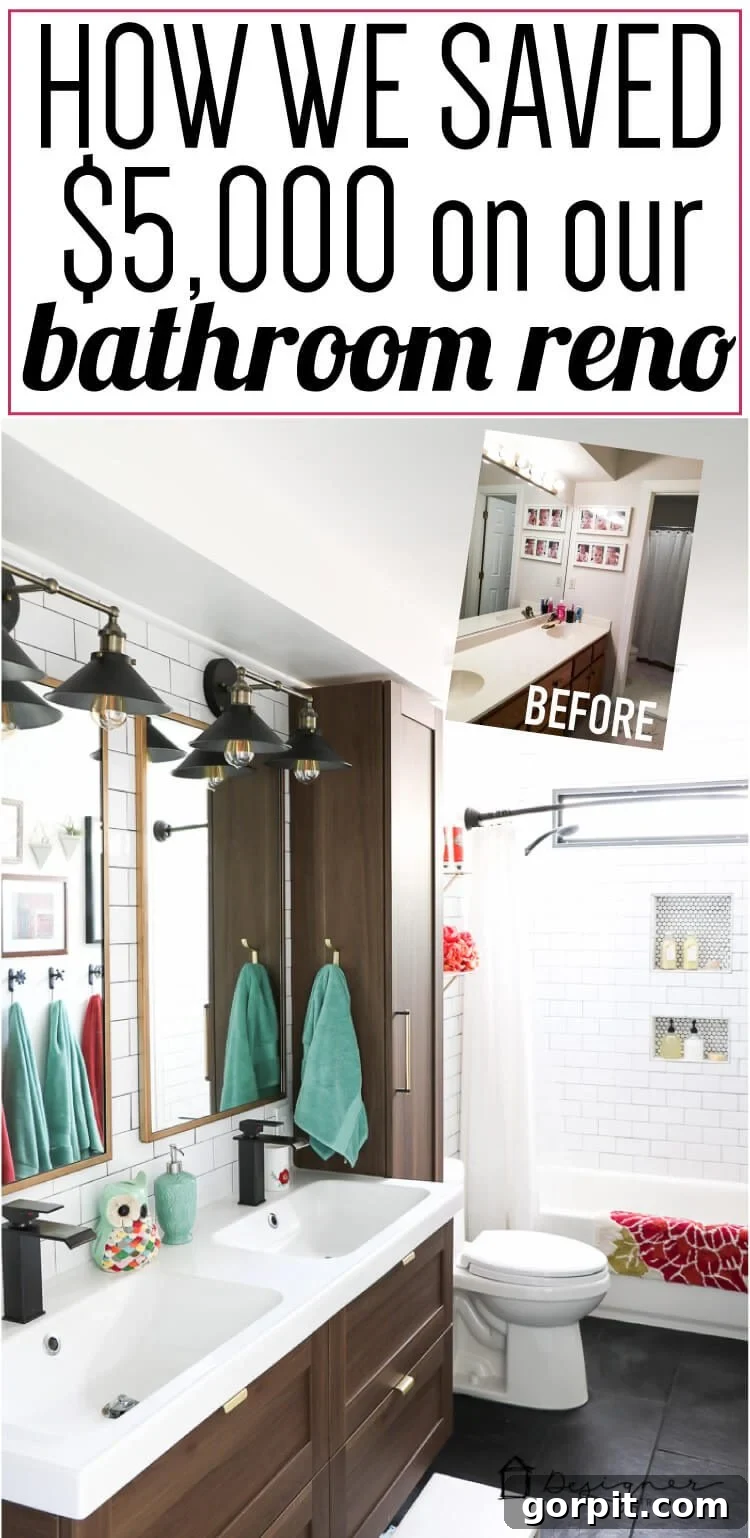
We did it, everyone! We survived our ambitious DIY bathroom remodel, and the results are absolutely breathtaking. For those who’ve been following our journey here on the blog, you know this project has been a labor of love, marked by countless hours, sweat, and a few tears. But as we stand at the finish line, though thoroughly exhausted, we can confidently say that every moment of hard work was undeniably worth it. This complete bathroom transformation has exceeded our expectations, proving that with dedication and a DIY spirit, a dream bathroom is within reach.
Bathroom renovations are often perceived as expensive undertakings, and for good reason. According to the National Kitchen and Bath Association, the average mid-range bathroom remodel in 2016 hovered around $10,499. BathroomRemodel.com echoed this, placing the figure closer to $14,975. These statistics highlight the significant investment typically required. However, our budget-friendly approach slashed these costs dramatically. By rolling up our sleeves and taking on almost every task ourselves, we completed our entire bathroom makeover for just over $5,000! This impressive saving of thousands of dollars underscores the incredible value of a DIY renovation. We’ll share a full cost breakdown later in this post, detailing exactly how we achieved this remarkable feat.
Before we dive into the stunning reveal photos, let’s recap the extensive list of projects we tackled to bring this vision to life. This comprehensive overhaul truly reimagined every inch of the space, from the underlying structure to the final decorative touches.
Our Comprehensive DIY Bathroom Remodel Projects (#DIYWarriors):
- Complete Demolition: We stripped the bathroom down to its studs and subfloor, providing a clean slate for our modern design.
- Structural Modifications: The wall separating the vanity from the shower/tub area was removed, opening up the space significantly.
- Plumbing and Electrical Rerouting: Essential plumbing and electrical lines were relocated to accommodate the new layout and updated fixtures.
- Window Installation: A major enhancement was the addition of a new window, introducing much-needed natural light into a previously dark space.
- Subfloor Repair & Installation: Damaged sections of the old subfloor were replaced, ensuring a solid foundation for the new flooring.
- New Bathtub Installation: A fresh, modern tub was carefully installed, becoming a central feature of the shower area.
- Wall and Floor Preparation: Hardie board was installed on three of the bathroom walls and the entire floor, providing a waterproof and stable base for tiling.
- Painting: The ceiling and the non-tiled wall were expertly painted, complementing the chosen tile scheme.
- Soffit Reframing: We reframed the soffit above the sinks, reducing its depth and height for a sleeker, more contemporary look.
- Extensive Tiling: Subway tile was meticulously installed in the shower area and on the wall behind the toilet and sinks, creating a cohesive and elegant backdrop.
- Black Slate Tile Flooring: The floor received a striking upgrade with black slate tiles, adding sophistication and durability.
- Grouting: All newly installed tiles were carefully grouted for a professional finish.
- Lighting Upgrades: New vanity lights and can lights were installed in the ceiling, dramatically improving illumination (the bathroom had no ceiling lights previously).
- Ventilation System: A new bathroom fan was installed, enhancing air circulation and moisture control.
- Custom Cabinetry: New cabinetry was installed, offering ample storage and a sleek aesthetic.
- Mirror and Shelf Installation: Mirrors and decorative shelves were carefully mounted, adding both functionality and style.
- Trim Work: Base trim, door trim, and quarter-round along the ceiling were installed and painted, providing refined finishing touches.
- Sink and Faucet Installation: The new sink and faucets were plumbed and installed, completing the vanity area.
- Toilet Installation: We successfully installed a new, efficient toilet ourselves.
While our commitment to DIY was strong, we recognized the value of professional expertise for specific tasks:
Projects We Entrusted to Professionals:
- Specialized Plumbing: A small amount of plumbing work was outsourced to reconfigure the tub drain area, which presented unique complexities.
- Drywall Finishing: Professional drywall installation and finishing were hired for the gallery wall and ceiling, ensuring a flawlessly smooth surface.
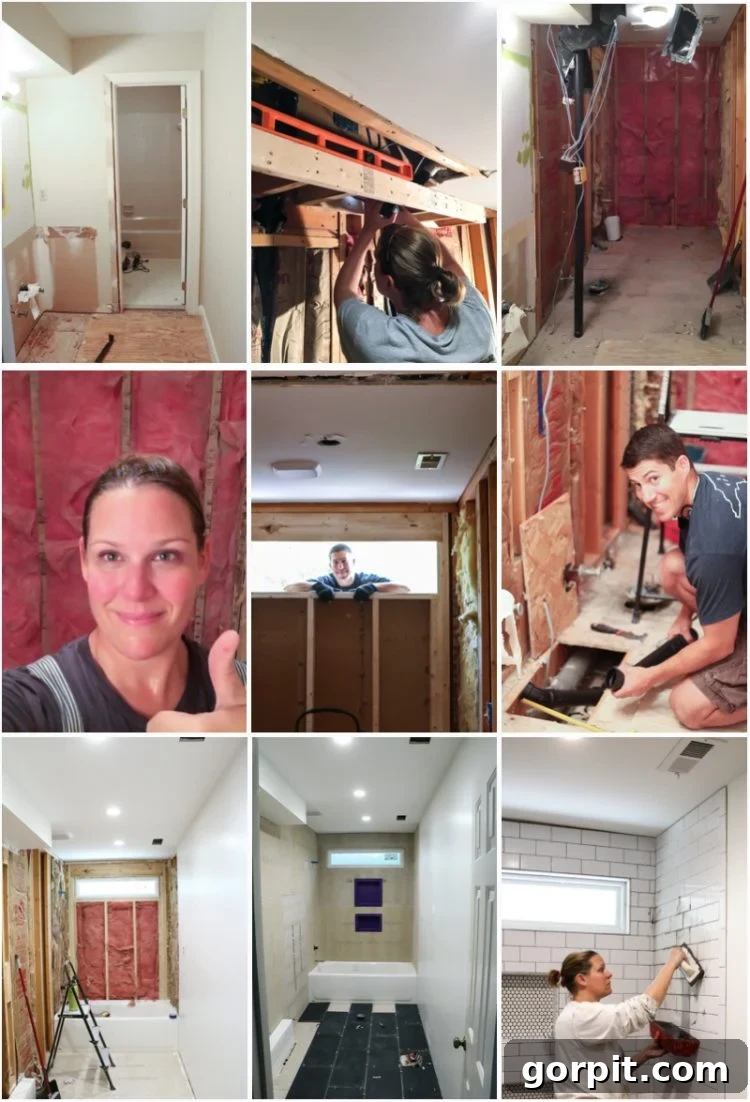
Phew! As you can see, it was an immense undertaking, but every step brought us closer to our vision. Here’s a photo collage showcasing snippets of our “in progress” journey, highlighting the sheer scale of the work involved.
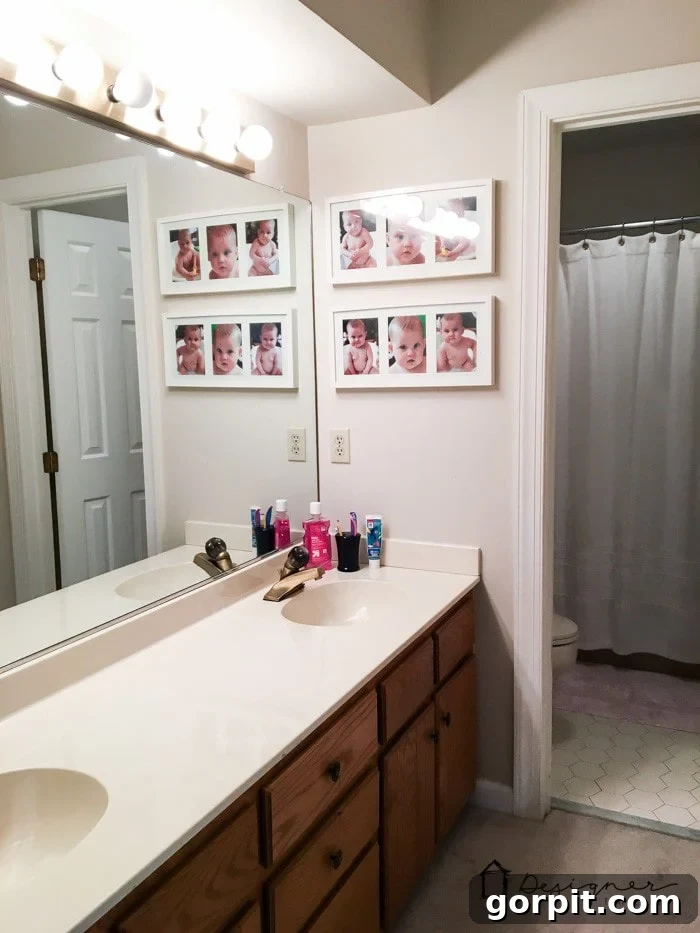
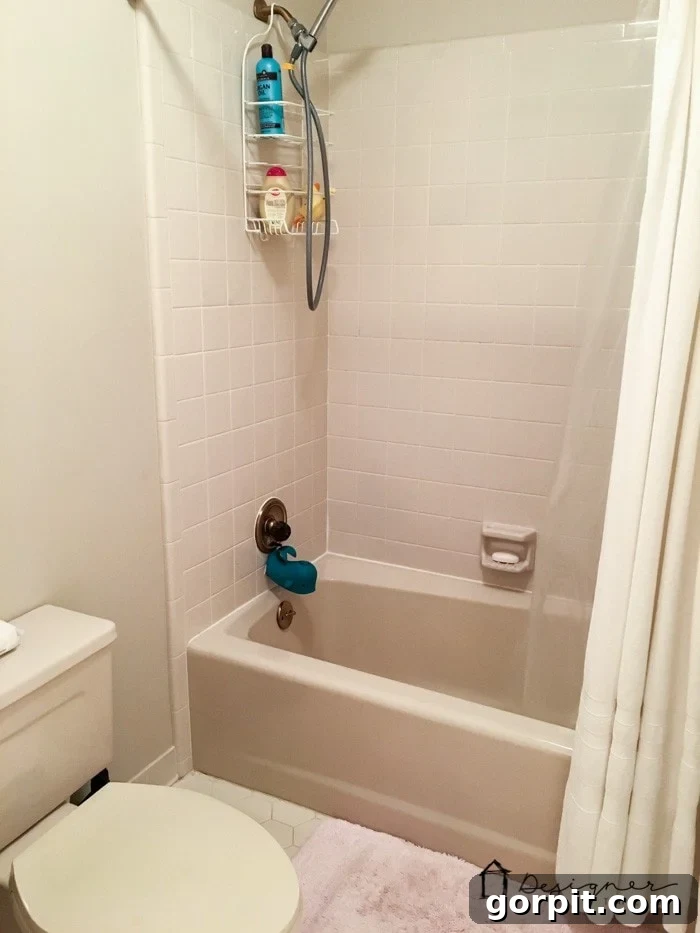
And now, prepare yourselves for the stark reality of the “before” photos. These images reveal the truly grisly state of the bathroom we inherited. Imagine: dirty carpet on the floor (yes, carpet in a bathroom!), absolutely no natural light, and a design aesthetic that was super, super outdated. It was a space begging for a modern intervention and a complete transformation.
|
|
DIY Bathroom Remodel REVEAL: A Stunning Transformation
Now, for the moment you’ve been waiting for! Let’s unveil the incredible “after” look of our transformed bathroom. The difference is truly night and day, showcasing how strategic design choices and sheer elbow grease can create an entirely new ambiance. You’ll find a full, detailed source list for all the elements at the very end of this post to inspire your own projects.
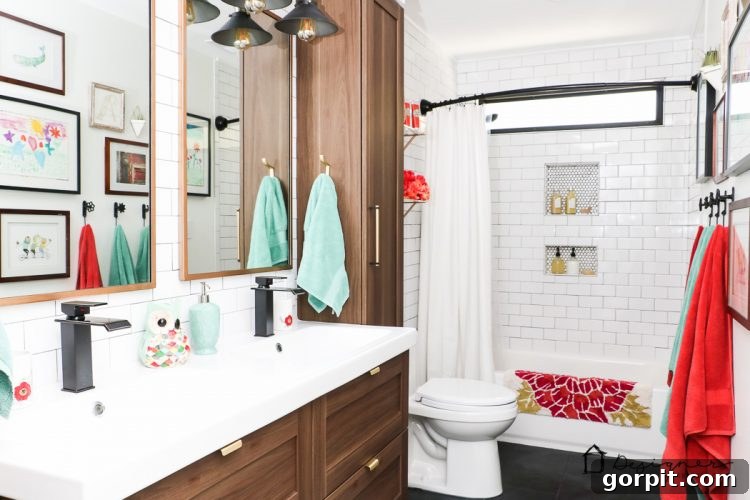
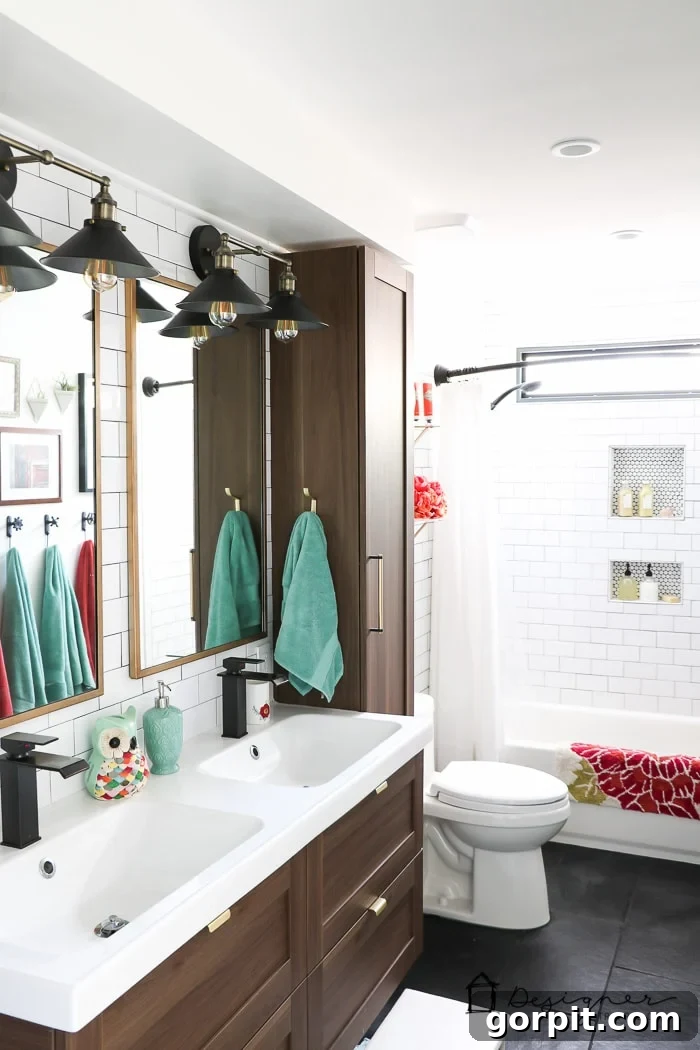
Though it demanded an immense amount of effort, carrying the classic subway tile from the floor all the way to the ceiling on the main wall was one of the most impactful decisions in this DIY bathroom remodel. This choice creates an incredible sense of height and sophistication, making the room feel larger and more luxurious. It serves as the perfect, elegant backdrop for the awesome lucite shelves we discovered at Homegoods. These shelves wouldn’t have the same visual “pop” if the wall had merely been painted. (Don’t worry, for those eager to replicate, I’ve already figured out how to DIY this project, and that tutorial will be hitting the blog in a couple of weeks!). This floor-to-ceiling tiling truly makes all the difference in the world, establishing a timeless and high-end aesthetic that defines the space.
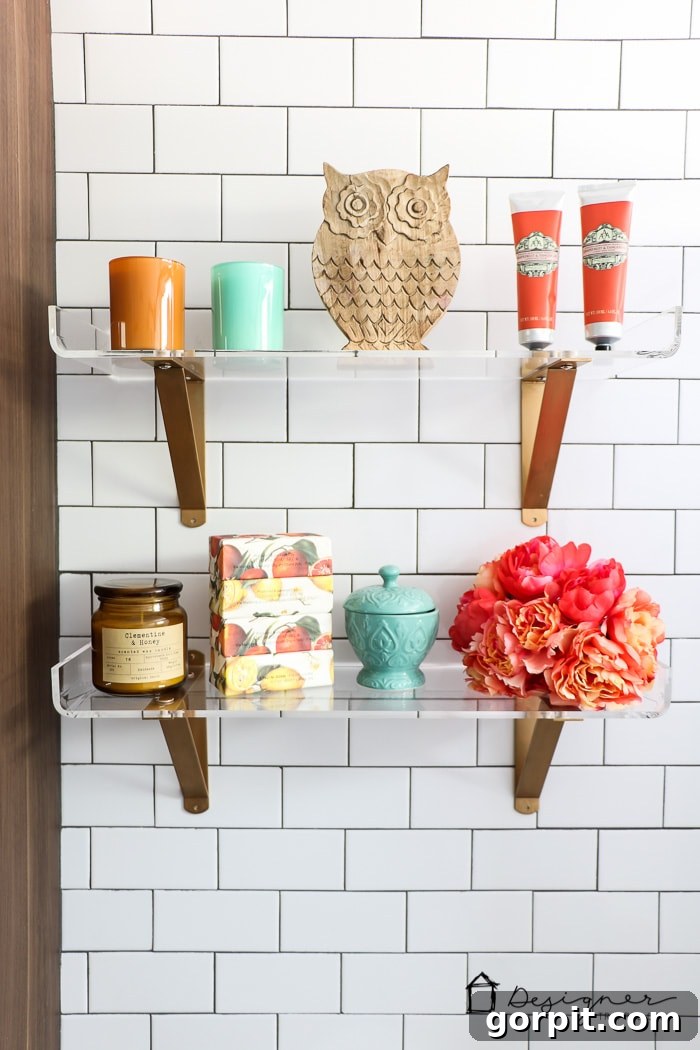
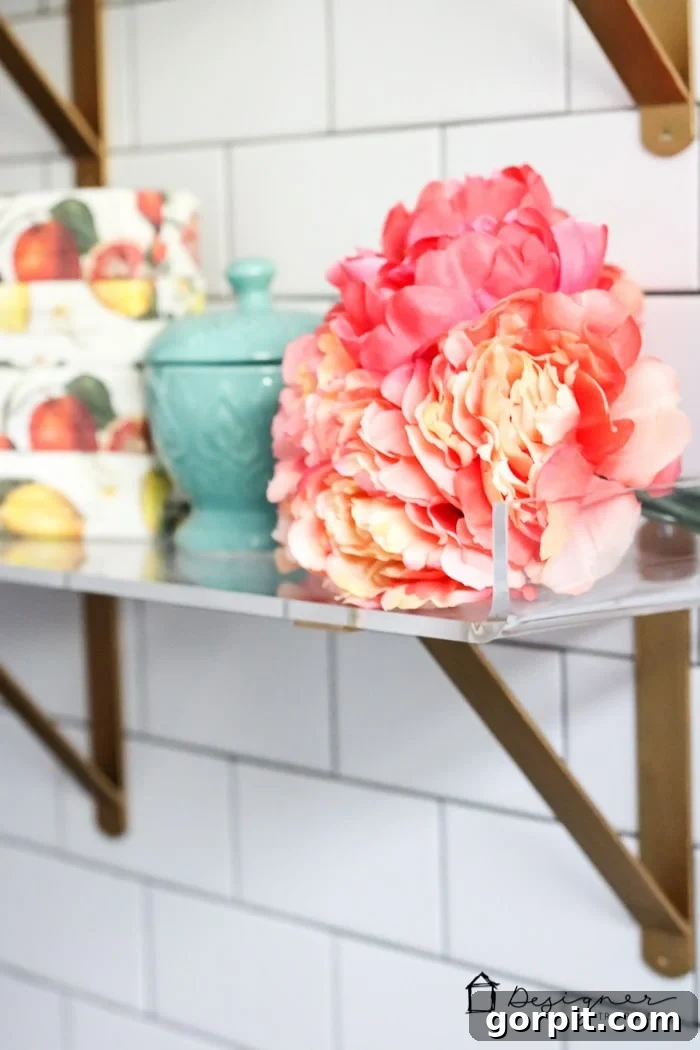
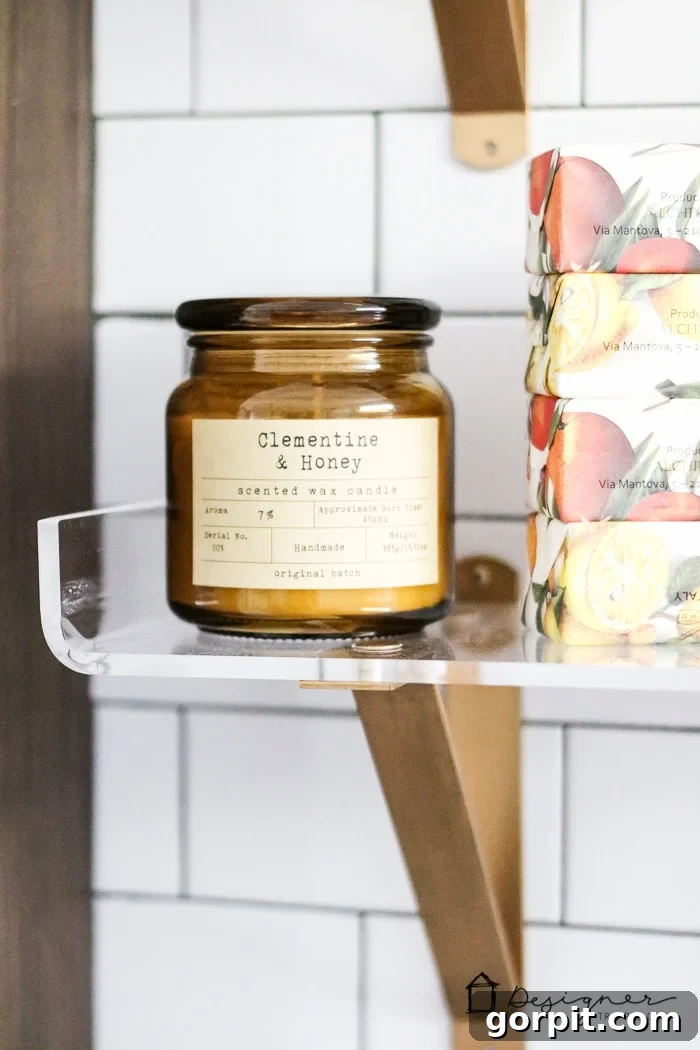
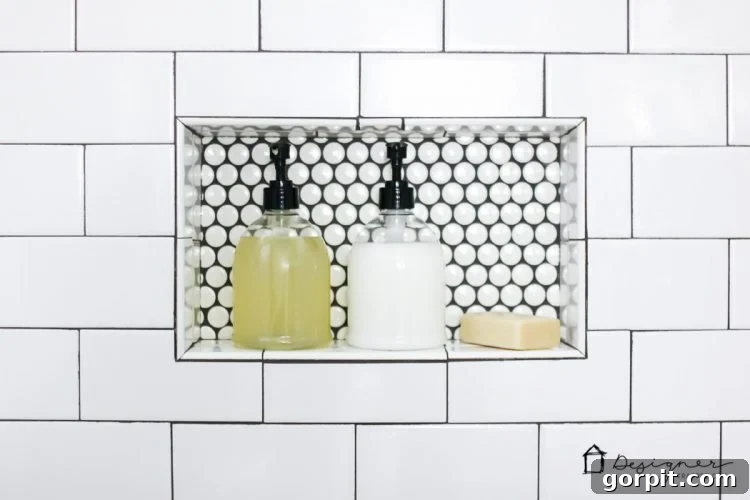
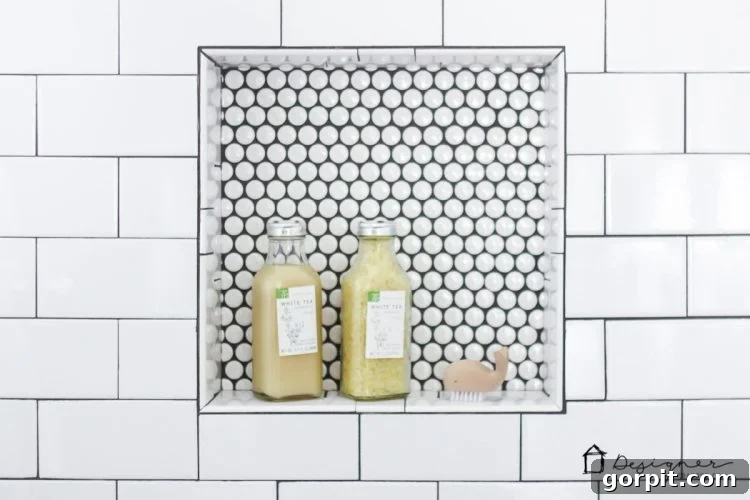
Another design choice that fills me with immense satisfaction is the incorporation of penny tile within the shower niches. This subtle yet impactful detail adds a wonderful contrast and a playful visual interest against the crisp subway tile. It’s a small element that makes a big statement. And let’s talk about the newly installed window – it absolutely POPS now that we’ve painted its frame black. This was arguably one of the best decisions we made! Not only does it introduce abundant natural light, transforming the entire atmosphere of the room, but the black frame creates a striking, modern focal point that beautifully complements the black slate floor and other dark accents throughout the space.
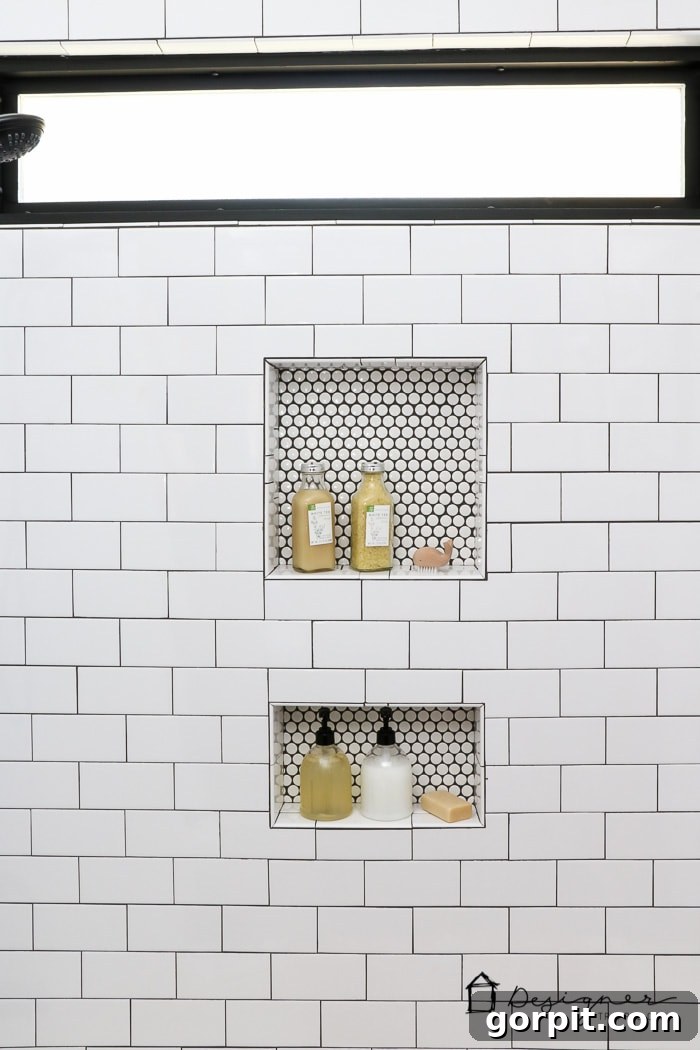
For practicality, especially with our girls now showering independently, we’ve transferred their shampoo and conditioner into these adorable and functional plastic pump dispensers. It’s a simple change, but it makes their routine so much easier than fumbling with traditional squeeze bottles, keeping the shower tidy and accessible.
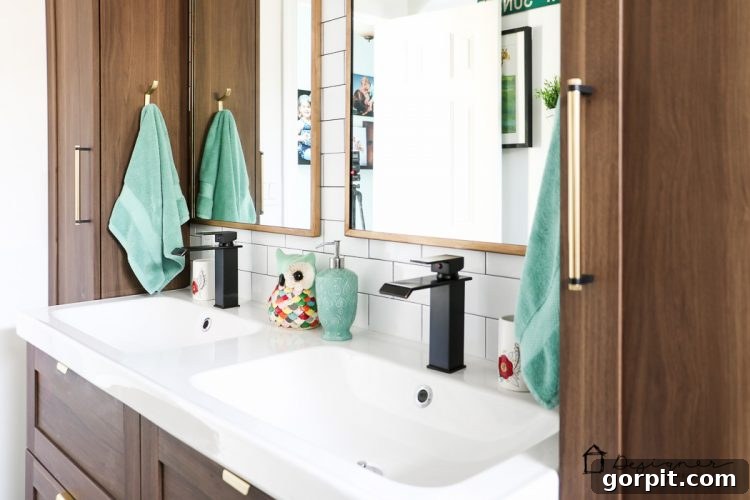
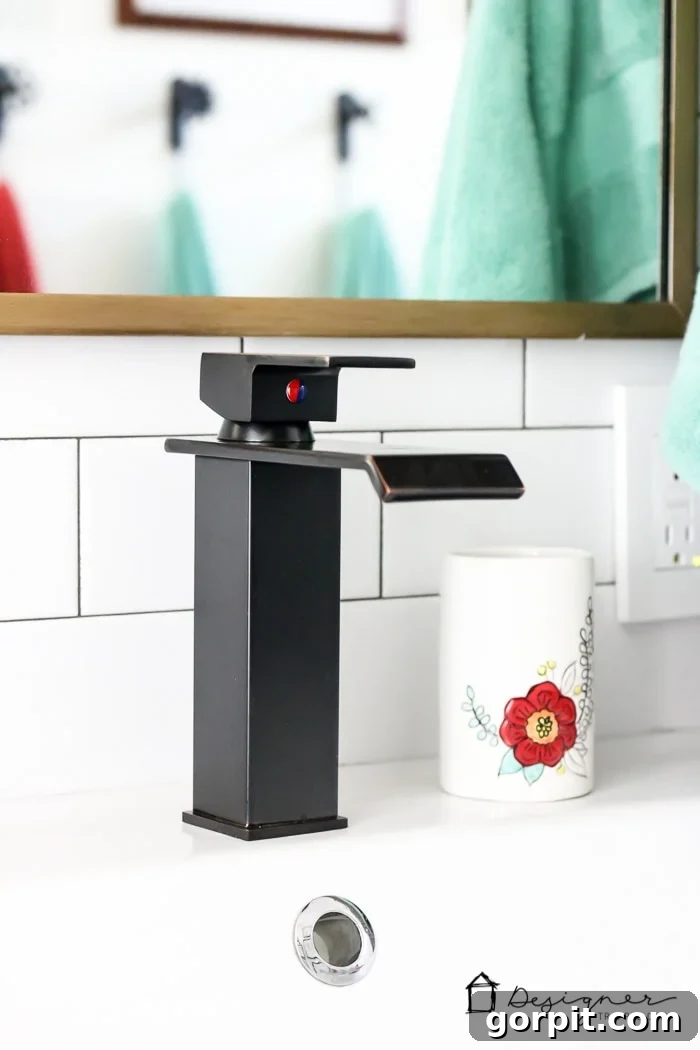
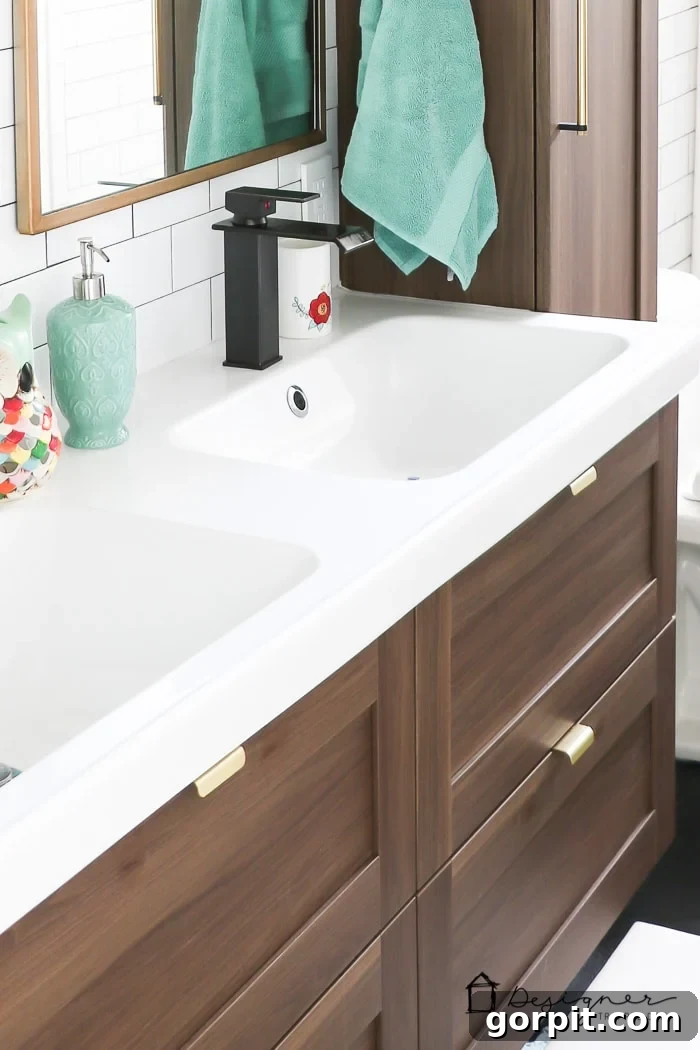
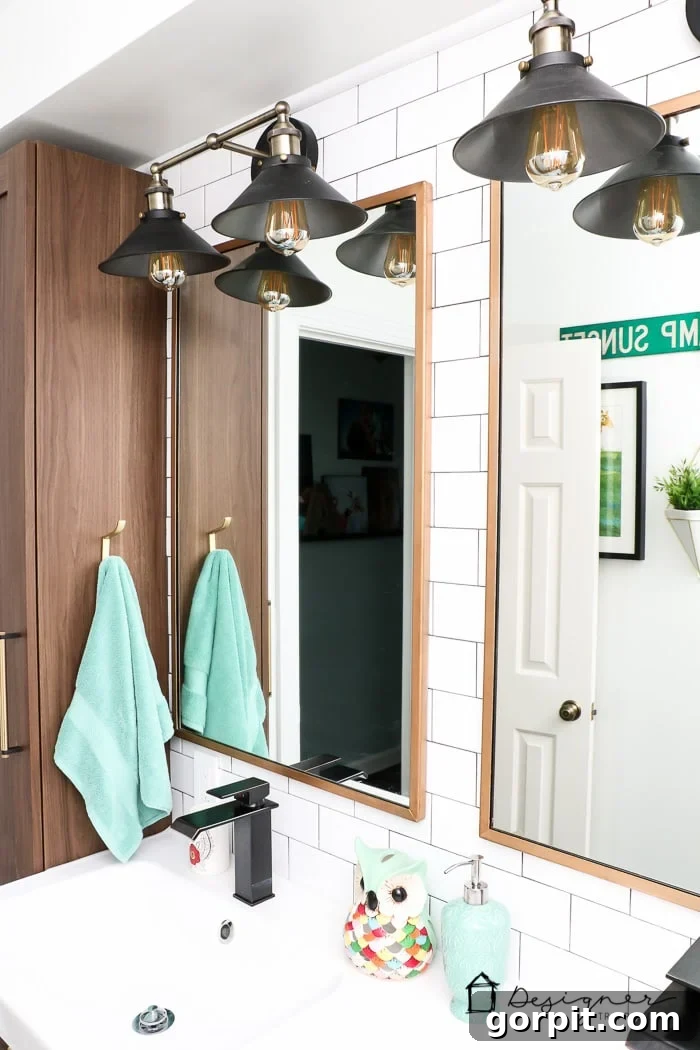
As is often the case, it’s the carefully chosen small details that truly elevate a room and make it feel special. In our DIY bathroom remodel, the super inexpensive faucets we selected perfectly embody this principle. They offer a sleek, modern aesthetic without breaking the bank. And those striking mirrors you see? We snagged those for a steal and then personally applied a custom gold finish to achieve the exact look we envisioned, adding a touch of bespoke luxury. (A tutorial on this mirror transformation will be coming soon, so you can achieve a similar effect!). These elements prove that thoughtful sourcing and a little DIY magic can yield stunning results, even on a budget.
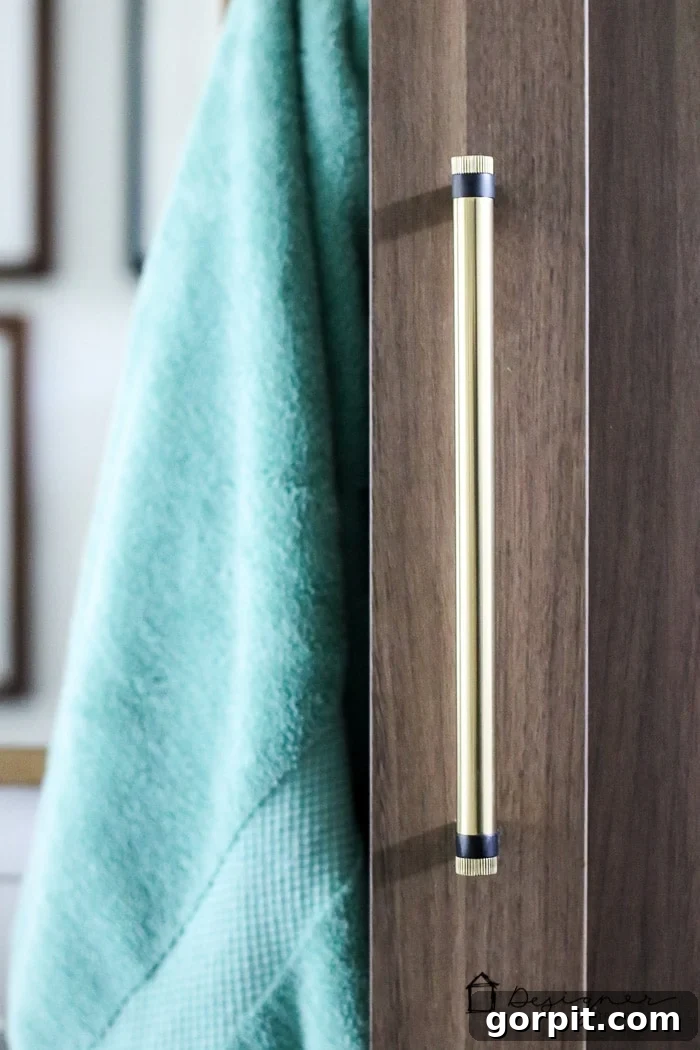
Speaking of those crucial details, allow me to draw your attention to the cabinet and drawer hardware we found. I am absolutely IN LOVE with these pieces. They provide the perfect blend of modern functionality and subtle elegance, serving as the jewelry for our new floating vanity. The choice of hardware might seem minor, but it plays a significant role in defining the overall style and feel of a custom bathroom, and these handles and pulls truly complete the look we were striving for in our DIY bathroom project.
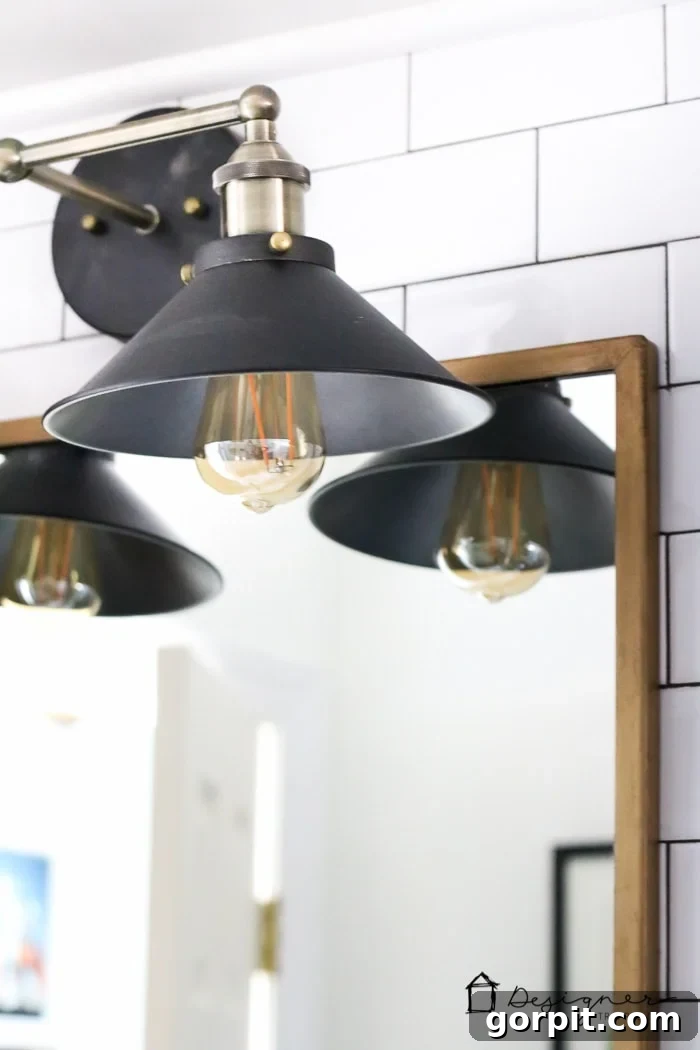
And let’s not overlook the vanity lights – ahhh, they are truly one of my favorite touches in this entire DIY bathroom remodel! These fixtures, both stylish and incredibly budget-friendly, cast a beautiful glow that enhances the warmth and modern appeal of the space. They perfectly complement the mirrors and hardware, tying together the various metallic accents and contributing significantly to the cohesive and inviting ambiance of our newly transformed bathroom. Finding such high-impact pieces at a great price is always a victory in any home renovation project.
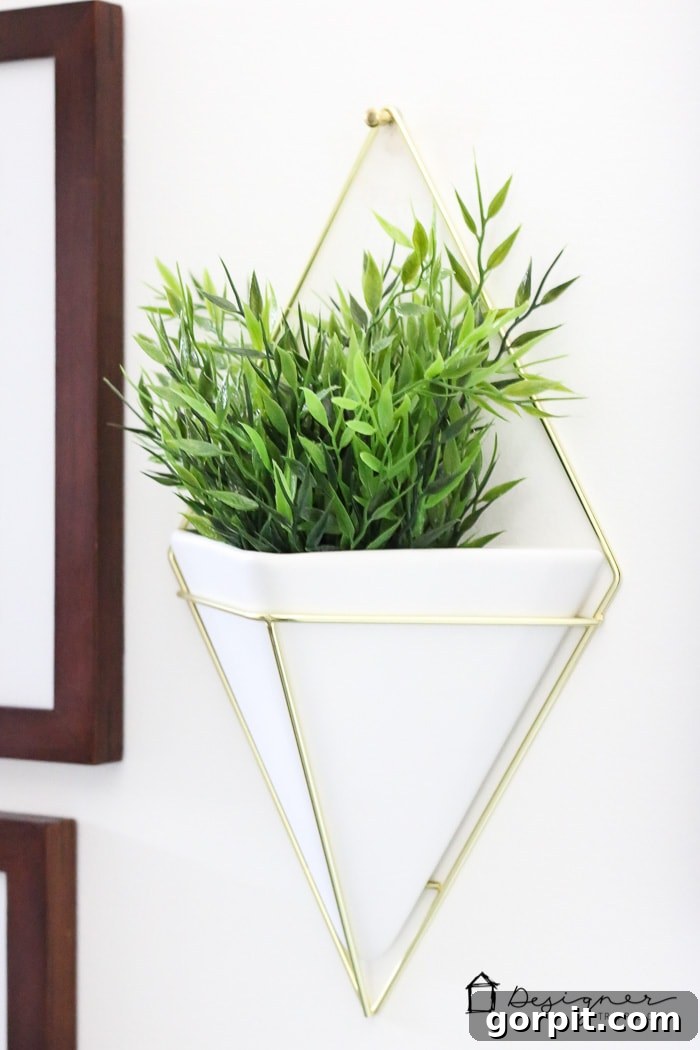
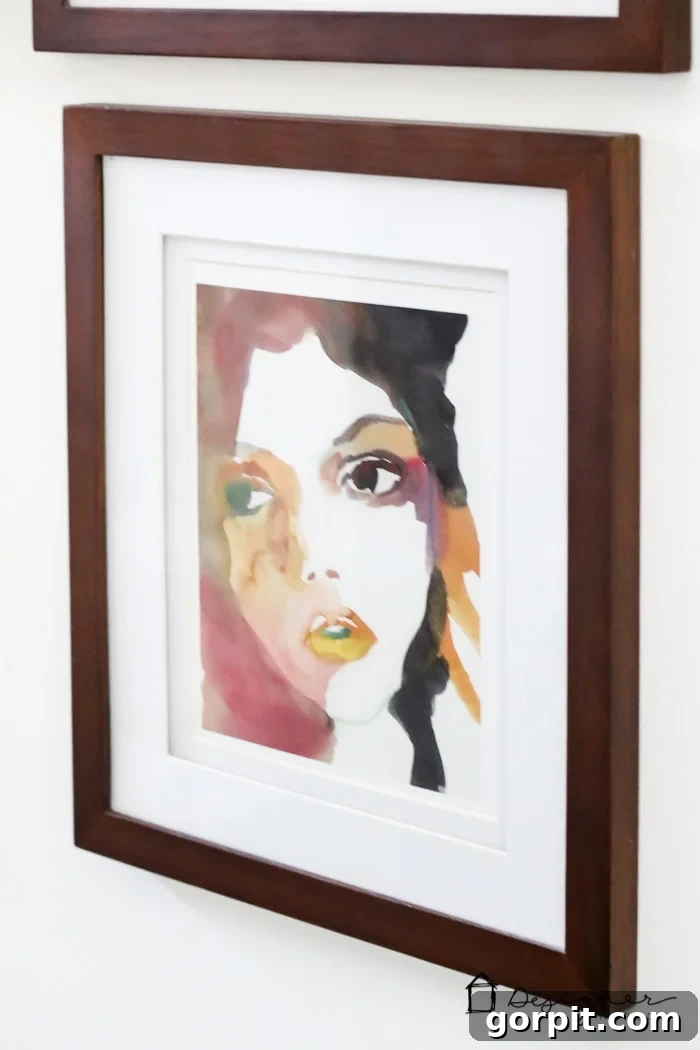
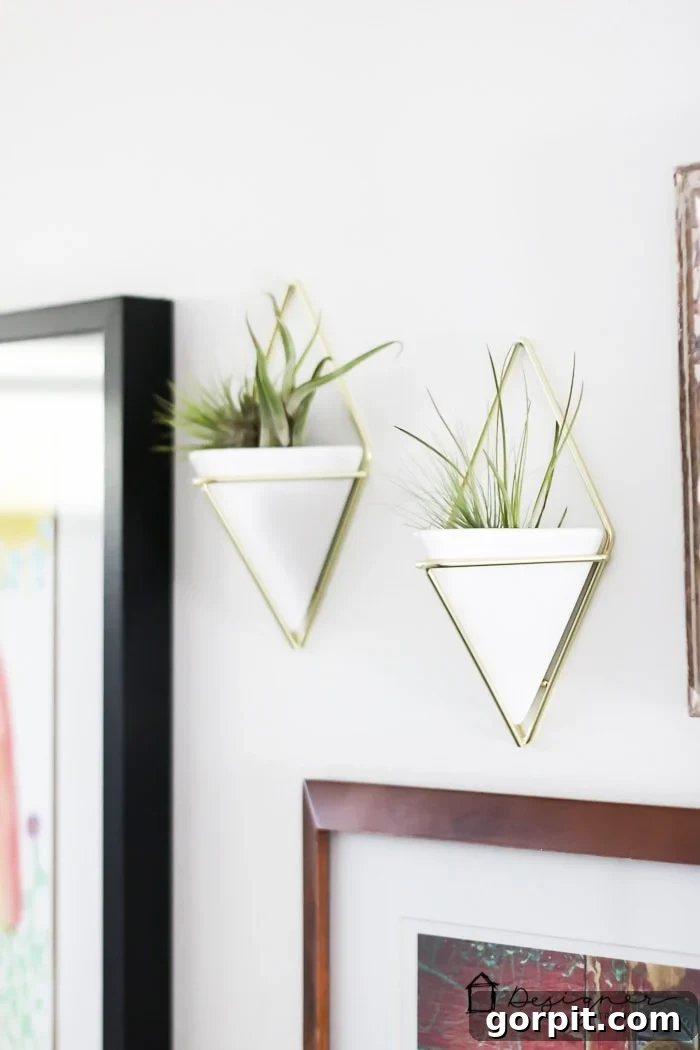
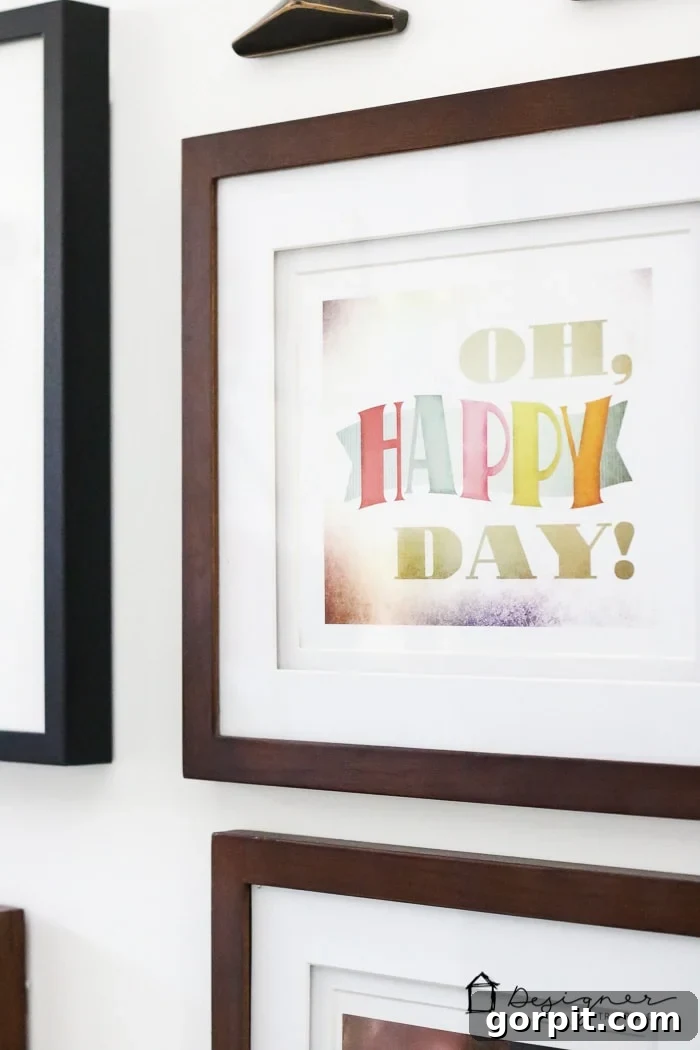
Now, let’s shift our focus to the opposite wall, where I had the absolute joy of creating a fun and personalized art gallery dedicated to my sweet girls. This vibrant display features some of their very own original artworks, proudly showcased alongside other pieces I either already owned or cleverly repurposed from incredibly inexpensive art print books. These budget-friendly prints were simply popped into frames we already had on hand, demonstrating how creative curation can produce stunning results without excessive spending. To complete the look, we added some playful geometric wall vases, housing low-maintenance air plants. The combination is a wrap – I absolutely adore how this gallery wall turned out, adding a unique, personal, and colorful touch to our modern bathroom remodel.
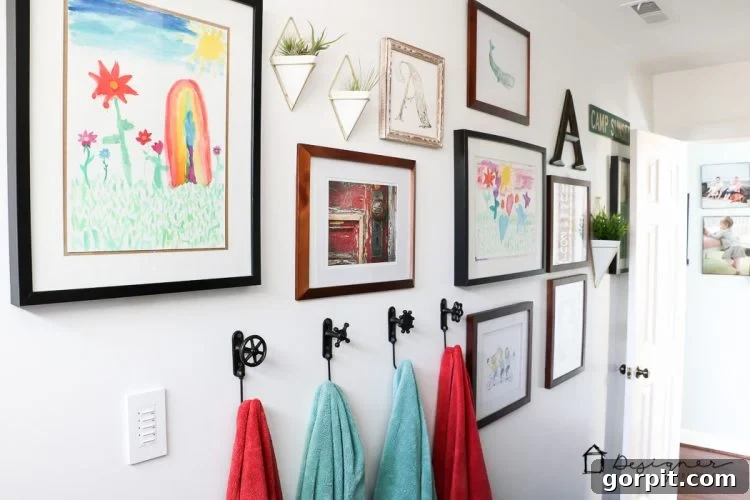
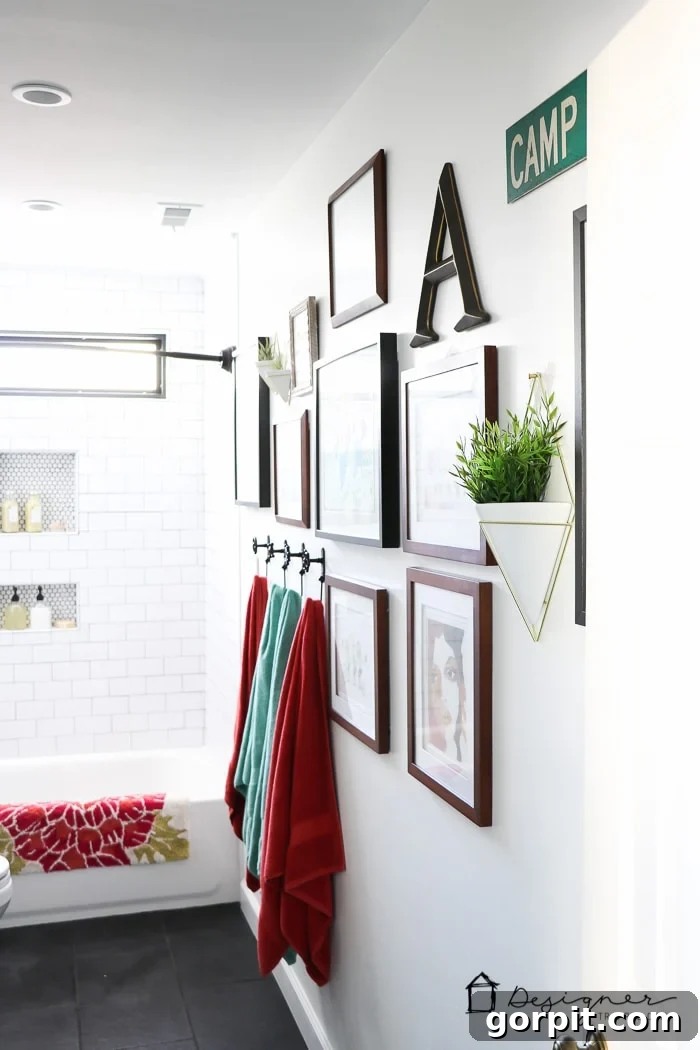
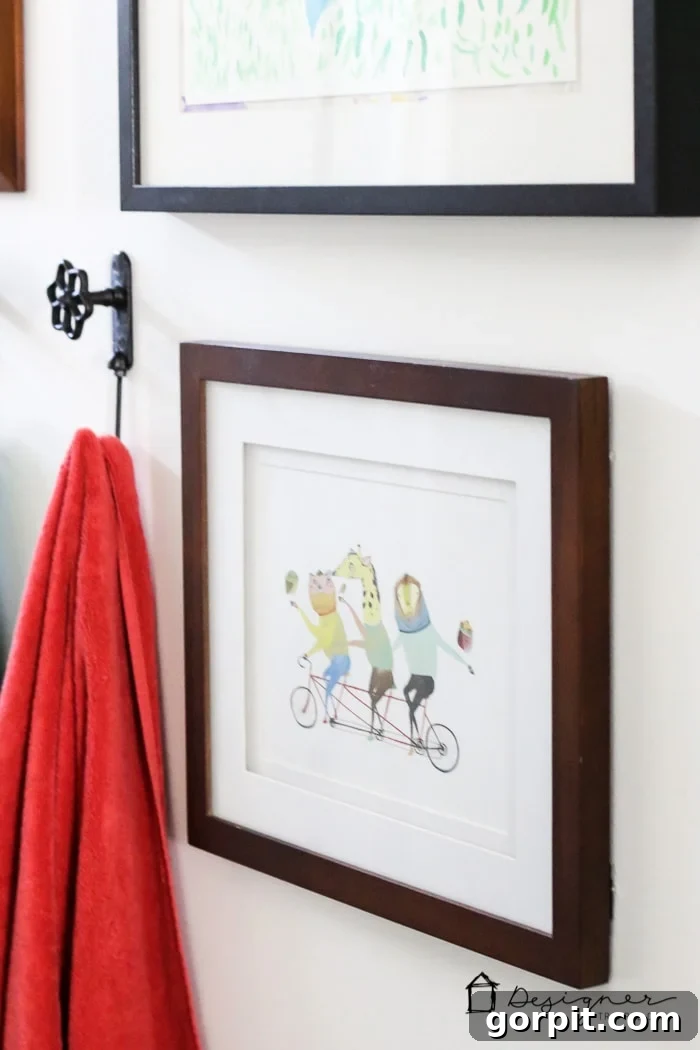
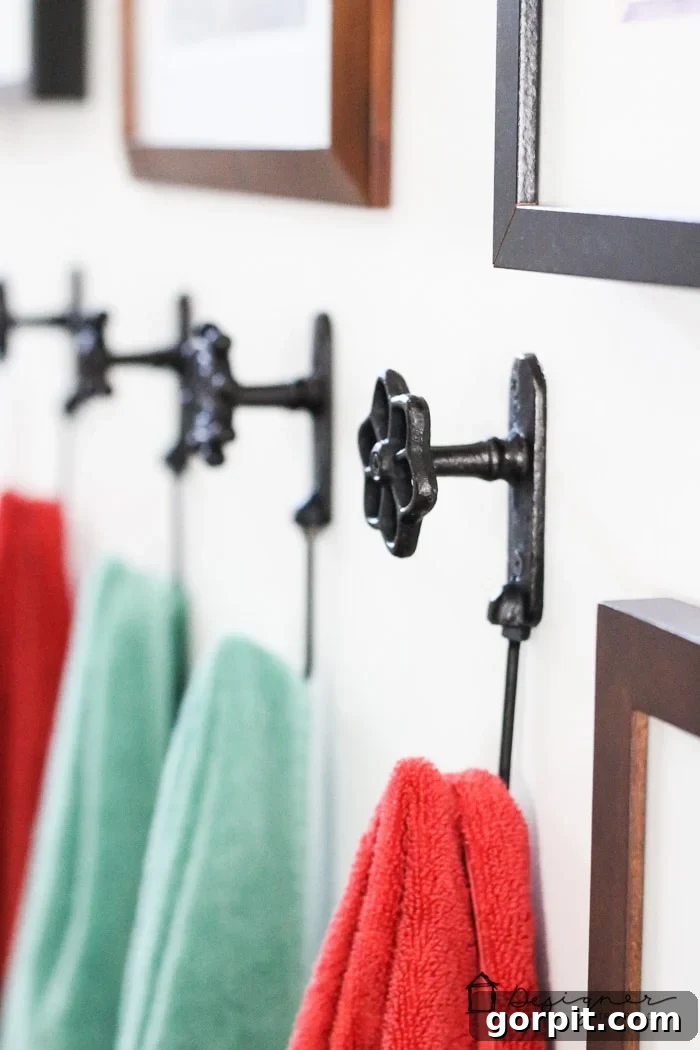
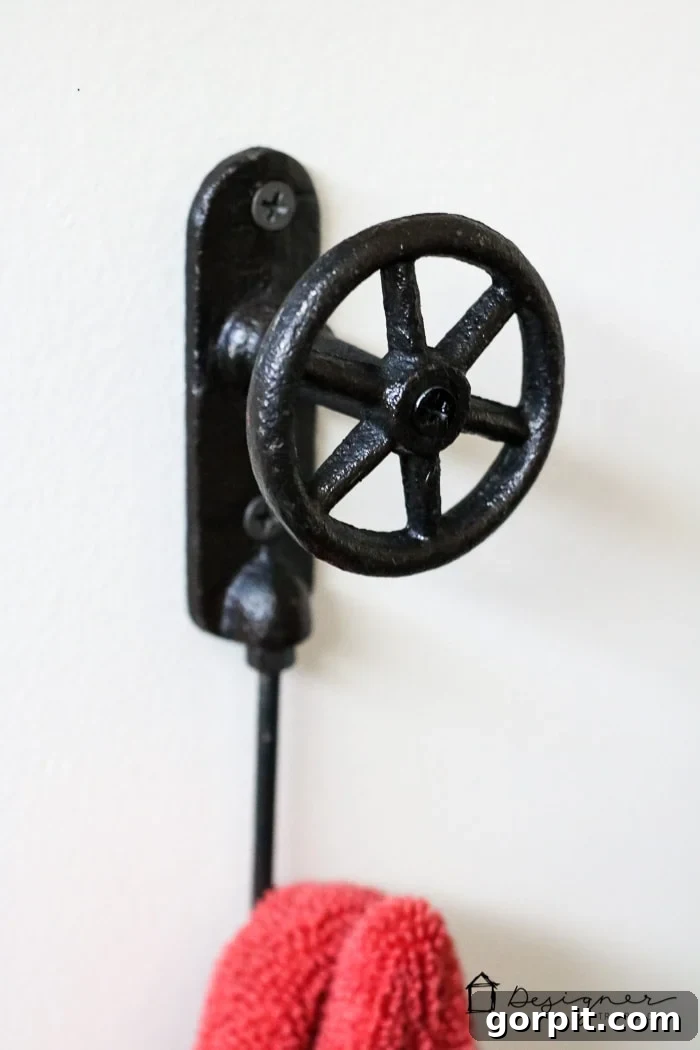
And those towel hooks – aren’t they just the BEST?! They strike the perfect balance between charm and practicality. Their design makes it incredibly easy for our girls to hang their towels neatly after showering, promoting tidiness and independence. Plus, they’re so utterly cute! I was lucky enough to order them from Decor Steals about eight months ago, and I’m still so thrilled with that purchase. They’re a small detail that makes a big difference in the daily functionality and aesthetic appeal of our DIY bathroom remodel.
So, there you have it, folks! Our complete DIY bathroom remodel reveal. What are your thoughts on this significant transformation? We genuinely believe it’s absolutely PERFECT. Our design philosophy centered around classic and neutral choices – a foundation of black and white tile, a warm walnut finish for the cabinetry, and elegant gold and black accents. This strategic approach ensures that as our girls grow older, it will be incredibly easy to update the decor with more “mature” styles, allowing us the flexibility to infuse as much color or maintain as much neutrality as we desire. Furthermore, should we ever decide to sell this house, the timeless and neutral “bones” of this bathroom are sure to appeal to a broad range of potential buyers, making it a smart and lasting investment in our home’s value and aesthetic.
Cost of Our DIY Bathroom Remodel: Smart Savings
One of the most compelling aspects of our DIY bathroom remodel is the significant cost savings we achieved. Below is a transparent breakdown of our expenses. As a reminder, the average bathroom remodel in 2016 ranged from $10,499 to $14,975, illustrating just how much can be saved by tackling projects yourself.
- Cabinets and Sink: $1,084
- New Tub: $185
- New Toilet: $149 (learn how to install a new toilet yourself)
- Tile and All Tiling Supplies from Floor & Decor (including Hardie Board and wet saw): $813
- Faucets: $78 ($39 each)
- Vanity Lights: $138 ($69 each)
- Drawer and Door Hardware: $170
- Mirrors: $198 ($99 each)
- Raw Materials (plumbing supplies, subfloor, can lights, paint, caulk, trim, etc.): $657
- Limited Professional Labor (plumbing and drywall work that we hired out): $1,535 (This clearly demonstrates how quickly labor costs accumulate when you don’t undertake tasks yourself!)
TOTAL COST OF OUR DIY BATHROOM REMODEL: $5,007
TOTAL SAVINGS BY TACKLING THIS OURSELVES: $5,492 to $9,968
And now, for that comprehensive source list for our DIY bathroom remodel that I promised you! This section contains some affiliate links for your convenience, meaning if you make a purchase through them, I may earn a small commission at no extra cost to you. Click here to read my full disclosure policy. Happy shopping and planning for your own home renovation adventure!
DIY Bathroom Remodel Source List: Your Guide to Our Style
Staple Items: These foundational pieces create the core of our bathroom’s design and functionality.
- Wall Color: Falling Snow by Behr
- Cabinets & Sink: We opted for the versatile Godmorgon series from IKEA, specifically selecting walnut effect cabinets paired with the Odensvik sink for a modern, warm touch.
- Tall Cabinets: Complementary tall storage cabinets from the same IKEA Godmorgon series, ensuring ample vertical storage.
- Tile Selections from Floor & Decor:
- White Subway Tile: A timeless choice, grouted with charcoal gray grout for definition.
- White Penny Tile: Used for accents, also grouted with charcoal gray grout to tie into the overall scheme.
- Black Slate Floor Tile: A dramatic and durable option, finished with black grout for a seamless look.
- Vanity Mirrors: Sleek and simple mirrors that we customized.
- Vanity Lights: Stylish fixtures that provide ample illumination.
- Faucets: Modern and cost-effective faucets that enhance the vanity area.
- Drawer Pulls: Elegant hardware to complete the cabinet aesthetic.
- Cabinet Door Handles: Matching handles for a cohesive look.
Decor Items: The accessories and accents that add personality and warmth to the space.
- Aqua Towels: A pop of refreshing color.
- Coral Towels: Adding a vibrant, warm accent.
- Floral Bath Mat: A soft and decorative touch underfoot.
- Round Aqua Bath Mats: Complementary mats for comfort and style.
- Italian Soaps: Luxurious and aromatic additions for a spa-like feel.
- Peony Bunch: A touch of natural beauty and freshness.
- Clementine & Honey Candle: Creating an inviting scent and ambiance.
- Opaque Glass Jar Candles: Subtle lighting and decor elements.
- Ceramic Cup/Toothbrush Holder: Functional and stylish organization for the vanity.
- Soap Dispenser: A sleek and coordinated accessory.
- Ceramic Canister with Lid: Perfect for discreet storage on the countertop.
- Iron Faucet Wall Hooks: (I purchased mine during a one-day deal on Decor Steals—similar ones can be found here OR here) These unique hooks add character and functionality.
- Wooden Owl: (Purchased at HomeGoods) A whimsical decorative accent.
- Lucite Shelves: (Purchased at HomeGoods) Transparent shelving that creates a floating effect.
- Colorful Owl on Sink: (Purchased years ago at Urban Outfitters) A fun, personal touch.
Shower Fixtures/Accessories: Everything needed for a comfortable and stylish shower experience.
- Shower Head: A modern and efficient shower head.
- Tension Curved Shower Curtain Rod: Maximizes space and comfort in the shower.
- Double Glide Shower Rings: Ensures smooth curtain operation.
- White Shower Curtain with Gold Thread Detail: Adds a touch of subtle elegance.
- Whale Fingernail Brush: A fun and practical item for the bath.
- Shampoo and Conditioner Pump Bottles: Convenient and tidy dispensers.
Gallery Wall Items: The elements that make up our personalized and artistic display.
- Art Prints: All prints (excluding those painted by our daughters) were sourced from these affordable framable print books:
- Art for the Eclectic Home
- Art for the Contemporary Home
- Set of 2 Geometric Small Wall Vases: Modern and sculptural elements for air plants.
- Large Geometric Wall Vase: A larger statement piece complementing the smaller vases.
- Botanical A Foil-Stamped Print: An elegant print adding a sophisticated touch.
For those who prefer a more visual shopping experience, simply click on any of the photos below for direct information on the items featured. This allows you to explore the details and find inspiration easily.
What do you think of our DIY bathroom remodel? Can you believe this incredible transformation from its former outdated state? It’s a testament to what can be achieved with vision, hard work, and a commitment to doing it yourself!
Other Inspiring Posts You May Enjoy for Your Home Improvement Journey:
- How to Install a Toilet: A Step-by-Step Guide for Beginners
- 25 Stunning Powder Room Makeovers for Small Spaces
- The Best Colorful Shower Curtains to Brighten Your Bathroom
- Attley’s Budget-Friendly Bathroom Renovation: Before & After
- Avery’s Budget-Friendly Bathroom Makeover: A Complete Guide
- Affordable Master Bathroom Remodel REVEAL: Luxury on a Budget
- The Easy Way to Update Bathroom Tile Without Replacing It!
Curious about how I tackle and transform rooms and spaces throughout our home, consistently achieving stunning results? Make sure to check out Designer in a Binder® – it’s my go-to resource and method for thoughtful, beautiful home design.
For exclusive content, behind-the-scenes sneak peeks, and more DIY and design inspiration, be sure to subscribe to my newsletter before you leave! Join our community and stay updated on all our latest projects and tips.