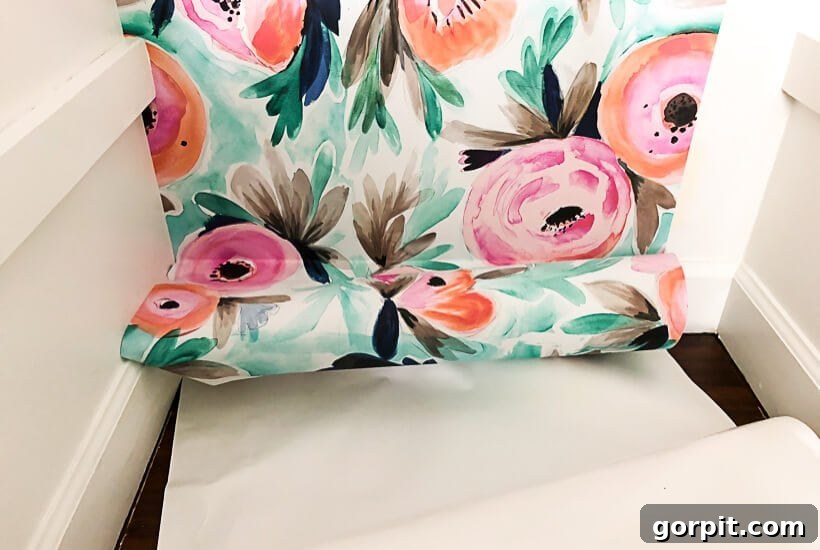
Transforming your home has never been easier or more accessible, especially with the rise of removable wallpaper. Forget the daunting, messy process of traditional wallpaper installation and removal. This comprehensive guide will walk you through every step of installing peel and stick wallpaper, demonstrating just how simple it is to refresh any space with your favorite patterns and textures. Whether you’re a renter looking for temporary decor solutions or a homeowner eager for a commitment-free design update, removable wallpaper is your perfect ally. Get ready to discover the ease of transforming your walls in no time.
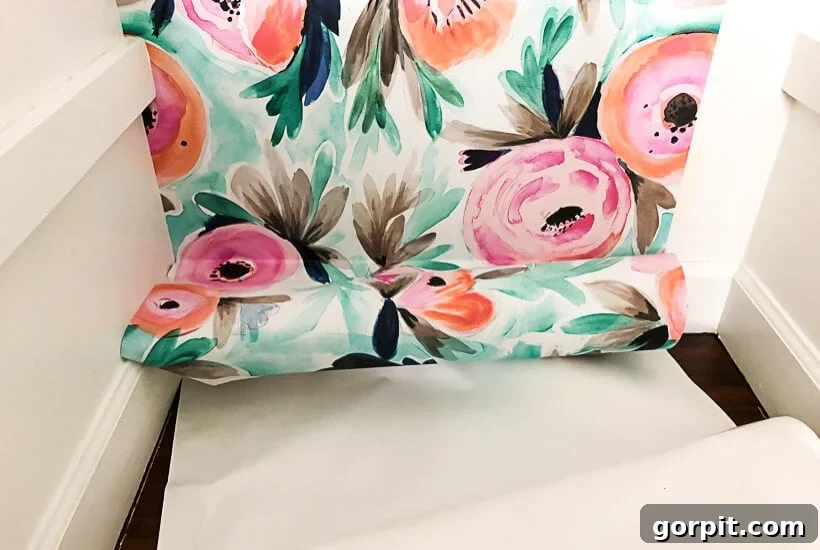
Table of Contents
This post contains affiliate links for your convenience. Click here for my full disclosure policy.
Many of us have experienced the frustration of seeing a breathtaking wallpaper design in a magazine or on Pinterest, only to dismiss the idea of installing it due to the dreaded thought of its eventual removal. Traditional wallpaper removal can be a nightmare, often involving steaming, scraping, and considerable mess. This past negative experience often deters homeowners and renters alike from embracing the transformative power of wallpaper. However, there’s fantastic news for design enthusiasts: modern innovations have made wallpaper not only stunning but also remarkably easy to install and remove. In fact, I recently discovered that you can even adapt almost any wallpaper to be renter-friendly and removable, but for ultimate ease, peel and stick options are truly a game-changer.
Finding the Perfect Removable Wallpaper for Your Home
My past encounters with removing traditional wallpaper left a lasting impression, making it one of my least favorite DIY tasks. This unpleasant history led me to actively avoid wallpaper in our homes for years. Yet, the allure of those vibrant patterns, rich textures, and captivating colors was too strong to ignore. They consistently caught my eye, inspiring me to seek out alternative solutions. This led me down a rabbit hole of research into temporary wallpaper options, and what I discovered completely changed my perspective.
Removable wallpaper, also widely known as peel and stick wallpaper or temporary wallpaper, has emerged as an indispensable tool for every DIY enthusiast, interior decorator, and homeowner. It offers unparalleled flexibility, allowing you to experiment with bold designs, subtle textures, or artistic murals without the long-term commitment or arduous removal process of its traditional counterpart. Moreover, remember that wallpaper isn’t confined to just walls; it offers a multitude of unique and creative applications, from jazzing up furniture to lining shelves or creating bespoke art pieces. The possibilities are truly endless when you embrace the versatility of peel and stick wallpaper.
The Removable Wallpaper I Chose: A Deep Dive into Quality and Performance
After extensive research, countless hours of browsing, and careful consideration of various wallpaper samples, I finally pinpointed a source for incredibly high-quality removable wallpaper. This particular shop, which coincidentally also happens to be my go-to for ordering fabrics, provided an impressive selection. I opted for their woven peel and stick wallpaper primarily because I had read numerous reviews suggesting that woven materials are significantly less prone to wrinkling or binding during the installation process. Although it came with a slightly higher price tag than some other options, the investment proved to be entirely worthwhile. To my delight, I encountered absolutely no issues with wrinkling, creasing, or binding during the entire installation. This particular brand’s claim of being “repositionable” is not an exaggeration; it truly lives up to its name. I can personally attest to this, having had to meticulously reposition several strips multiple times to ensure a perfect alignment and pattern match. This flexibility is a huge advantage, especially for first-time installers or those working in challenging spaces.
Beautiful Peel & Stick Wallpaper Options: Unleash Your Creativity
If you haven’t yet explored the vast and stunning world of removable wallpaper, you are in for a truly pleasant surprise. The market is brimming with an incredible array of designs, from sophisticated geometrics and lush botanicals to playful abstracts and timeless textures. There’s a peel and stick option to suit every aesthetic, budget, and project. Whether you’re aiming for a bold accent wall, a subtle textural backdrop, or a full room transformation, the choices are abundant. Below, I’ve curated a selection of some of my absolute favorite temporary wallpaper options, highlighting their diverse styles and exceptional quality. Take your time to browse and find the perfect pattern to inspire your next home decor project.
Click the arrow to scroll and click on any image for full product details.
MY TOP PICKS!
Now that you’re inspired by the possibilities, let’s delve into the practical steps. This detailed tutorial will show you exactly how effortless it can be to install peel and stick wallpaper, transforming your space with confidence and ease.
How to Install Removable Wallpaper: A Step-by-Step DIY Guide
While many home improvement projects, especially those involving wallpaper, often benefit from an extra pair of hands, installing peel and stick wallpaper is remarkably forgiving. If you’re tackling a smaller area, such as an accent wall, a closet, or a niche, you’ll likely find that you can confidently handle the task solo. For instance, I successfully installed my removable wallpaper in our linen closet entirely by myself, without encountering any major difficulties. The key is to take your time, prepare properly, and trust the repositionable nature of the material. This project is a fantastic opportunity for DIY beginners to gain confidence and achieve a professional-looking finish.
Essential Materials and Tools for Seamless Installation
Gathering all your supplies before you begin is crucial for a smooth and efficient installation process. Here’s a list of the basic materials and tools you’ll need to transform your walls with removable wallpaper:
- Removable Wallpaper of Your Choice: Naturally, the star of the show! Choose a high-quality peel and stick wallpaper that fits your aesthetic. (This is the specific wallpaper I used for this project, known for its woven texture and ease of application).
- Sharp Utility or Craft Knife: A fresh, sharp blade is indispensable for clean, precise cuts. Dull blades can tear or snag the wallpaper, leading to a ragged edge.
- A Squeegee (Wallpaper Smoothing Tool): This tool is essential for pressing the wallpaper firmly onto the wall, removing air bubbles, and ensuring a smooth, wrinkle-free finish. Many peel and stick wallpapers come with one, or you can purchase a dedicated wallpaper squeegee.
- Measuring Tape: For accurate measurements of your walls and wallpaper strips, ensuring proper placement and minimizing waste.
- Level (or Laser Level): Absolutely critical for establishing a perfectly plumb (vertical) starting line. Relying on ceilings or corners can lead to crooked wallpaper, so a level is non-negotiable for a professional look.
- Optional but Recommended: A straightedge or ruler (for guiding cuts), a pencil (for marking guide lines), and a clean damp cloth (for wiping down walls).
Time needed: 2 hours
I successfully installed my removable wallpaper in just under 2 hours. However, the exact time required to complete this project will vary depending on the size and complexity of the surface area you intend to cover, as well as your familiarity with wallpaper installation. Smaller spaces, like accent walls or closets, are typically quicker to complete than entire rooms.
- Prepare your walls for optimal adhesion.
Proper wall preparation is the cornerstone of a flawless wallpaper installation. Ensure the wall surface where you plan to apply your peel and stick wallpaper is completely smooth, meticulously clean, and thoroughly dry. If your walls have any holes, cracks, or imperfections, it’s vital to patch and sand them smooth the day before you intend to wallpaper. You can find detailed wall patching tips here to ensure a perfectly even base.
Furthermore, consider the color of your existing wall. If your wall is painted a very dark hue and your chosen wallpaper has a lighter background, I strongly recommend applying a coat of primer. This will prevent the dark color from potentially showing through the wallpaper, ensuring your chosen pattern appears true to its intended shade.
Pro Tip: If you’re looking to paint any adjacent areas or trim with a color that beautifully complements your new removable wallpaper, take advantage of my expert advice on how to accurately match paint colors. If you do prime or paint your walls first, it is absolutely crucial to allow the paint to fully cure according to the manufacturer’s instructions (often several days, not just dry to the touch) before applying your wallpaper. Rushing this step can lead to bubbling, peeling, or poor adhesion, ruining your efforts. Below, you can see what our linen closet looked like before I began this exciting transformation.
- Prepare your removable wallpaper roll.
Before you begin, carefully review the specific instructions provided by your wallpaper manufacturer, as preparation steps can vary by brand. For instance, if you’ve ordered your wallpaper from a company like Spoonflower, you will likely need to re-roll your wallpaper. This means unrolling it completely and then rolling it back up so that the patterned side, or the top edge you intend to apply first, is on the outside of the roll. This makes the initial application much easier as you can simply unroll downwards, rather than having to flip or awkwardly maneuver the heavy roll. This small step can significantly reduce frustration during installation.
- Establish a plumb vertical line on your wall.
This step is perhaps the most critical for achieving a professional and visually appealing result. Never assume that your existing molding, ceilings, or corners are perfectly straight or plumb. They very rarely are! You ABSOLUTELY MUST use a level (either a traditional spirit level or a laser level) to mark a perfectly vertical plumb line on your wall. This line will serve as your unwavering guide for aligning the very first strip of wallpaper. If your initial strip is even slightly crooked, every subsequent strip will follow suit, resulting in a noticeably wonky and unprofessional finish. Take your time with this step, as accuracy here will save you considerable effort and potential headaches later on.
- Begin hanging your first strip of wallpaper.
With your wall meticulously prepared and your plumb line established, you are now ready to commence hanging your wallpaper. Always start from the left upper corner of your wall, aligning the edge of your first strip precisely with the vertical line you marked. For my linen closet project, this meant starting at the top-left corner. Carefully peel away only the top few inches of the paper backing from your wallpaper. Gently press this exposed section to the wall, aligning its edge perfectly with your plumb line. The first piece is paramount; its accuracy dictates the entire installation, so be patient and meticulous.
The inherent beauty of peel and stick wallpaper lies in its forgiving nature: if you don’t get the alignment quite right on your first attempt (which is perfectly normal, even for experienced DIYers, and indeed, happened to me!), you can simply peel it off gently and reapply. There’s no major catastrophe. Once the top section is correctly positioned, use your squeegee to smooth the wallpaper into place, working from the center outwards. This technique helps to eliminate any trapped air bubbles. Guide any stubborn bubbles towards the nearest edge of the wallpaper until they completely disappear. (You might notice that the ceiling in our linen closet presented a slight slant, which added a minor challenge, but the repositionable nature of the wallpaper made it manageable).

- Work in controlled increments down the wall.
To maintain control and prevent the wallpaper from sticking prematurely or becoming misaligned, continue to support the roll of paper with one hand. With your other hand, peel the paper backing off your removable wallpaper only 5 to 10 inches at a time. As you expose each new section, carefully adhere it to the wall, smoothing it firmly with your squeegee. Always work from the center of the strip outwards towards the edges to ensure proper adhesion and to prevent any air from becoming trapped underneath. This incremental approach allows you to correct minor misalignments and smooth out bubbles more easily as you progress down the wall, ensuring a smooth, professional finish for each strip.
- Precisely cut wallpaper around trim and obstacles.
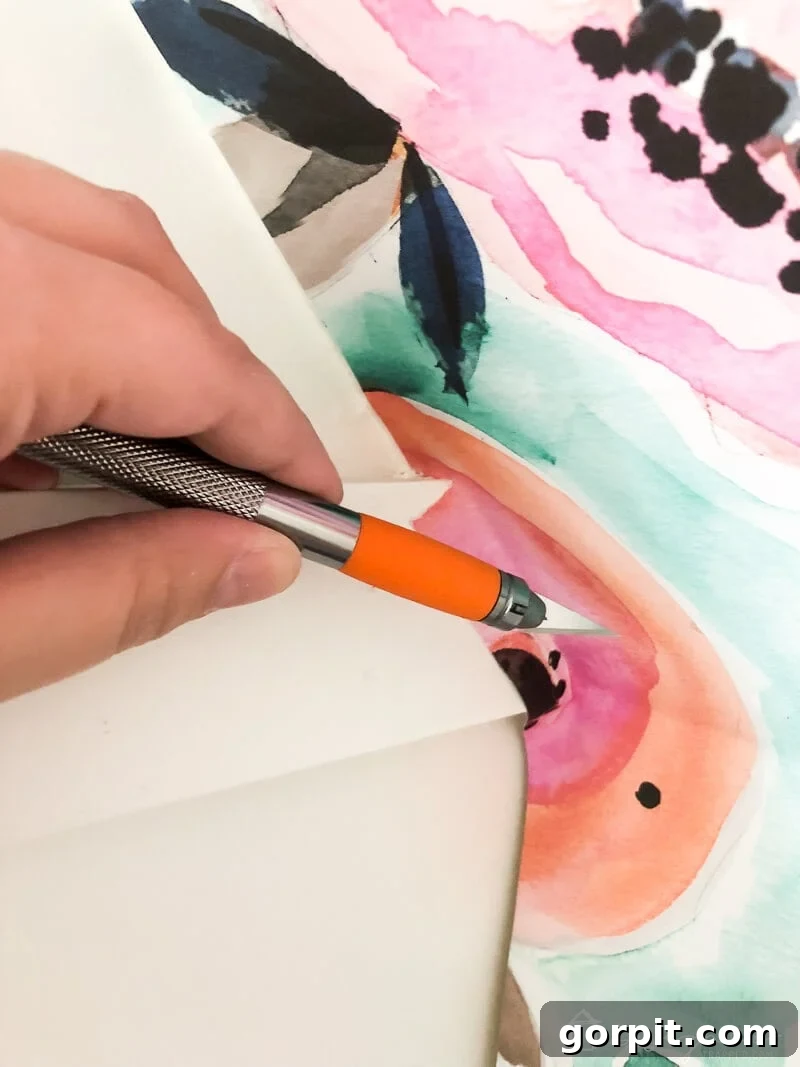
When you encounter obstacles such as window frames, door trim, electrical outlets, or built-in shelving, careful cutting is essential. Gently press the wallpaper up against the edge of the obstacle to crease it slightly. Then, using your sharp utility or craft knife, make a series of small, strategic relief cuts towards the molding or obstacle. This allows the wallpaper to lay flat around the contour. Once it’s smoothed into place, carefully trim off any excess paper with your knife, using a straightedge or the edge of the trim as a guide for a clean, crisp finish. For instance, I had to meticulously cut around the support brackets for the shelves in our linen closet. While I initially felt a little apprehensive about this step, I found it to be surprisingly straightforward with a sharp blade and a steady hand. Don’t rush; precise cuts ensure a professional, integrated look.
- Trim off all excess wallpaper.
Once your first vertical run of wallpaper is completely applied and smoothed onto the wall, it’s time to perfect its edges. Use your sharp utility knife and a straightedge to carefully trim any excess wallpaper from the bottom, top, and side edges where it meets the ceiling, baseboards, or corners. Press firmly but carefully along the edge with your straightedge (or the squeegee edge if it’s firm enough) and slice cleanly with your knife. This step ensures a crisp, seamless finish, making the installed wallpaper look like a permanent fixture rather than a temporary solution.
- Repeat the process until your wall is fully covered.
With the first strip perfectly in place, you will now repeat the entire process for all subsequent vertical runs until your desired wall or area is completely covered. Pay close attention to your particular brand’s instructions regarding pattern matching and whether or not a slight overlap between strips is required. Many peel and stick wallpapers are designed for a butt seam (where edges meet precisely), but some may require a small overlap to ensure the pattern aligns seamlessly. For my chosen wallpaper, a 3/4-inch overlap was necessary for the pattern repeat to match up flawlessly, creating a continuous and visually pleasing design.
When working with smaller or irregular sections, such as the final strip or areas around corners, you may find it easier to pre-cut a strip slightly larger than the area you need to cover. Then, follow the steps above: peel a few inches, align, smooth with your squeegee, and finally trim the excess wallpaper from both the edge and the bottom for a clean finish. Once again, what might seem intimidating at first, like fitting those last tricky pieces, proves to be incredibly easy with the repositionable nature of the material and a sharp knife. This iterative process allows you to achieve a professional, wallpapered look across your entire space with confidence.
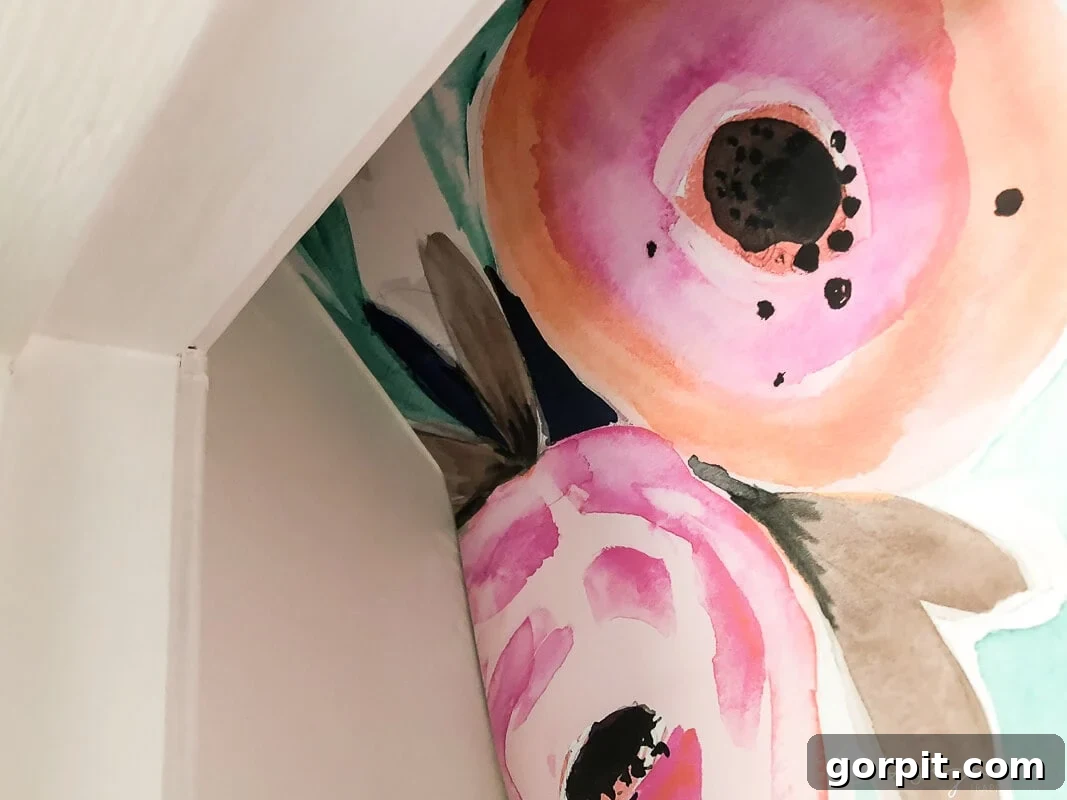
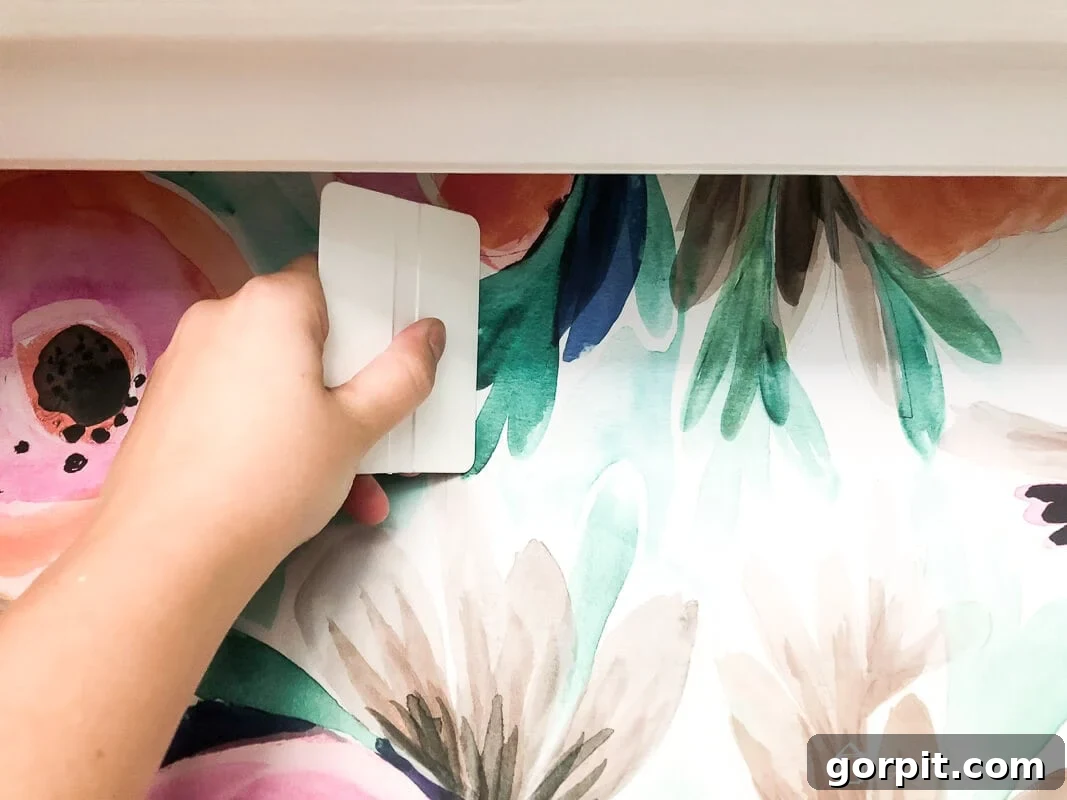
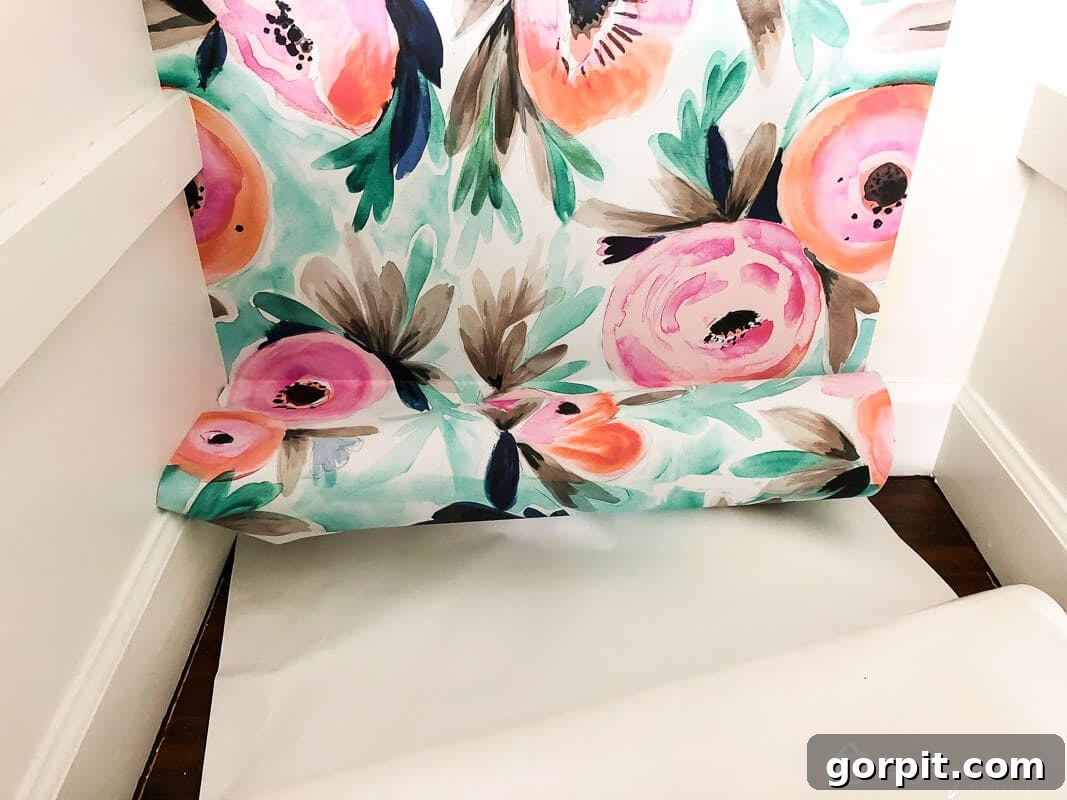
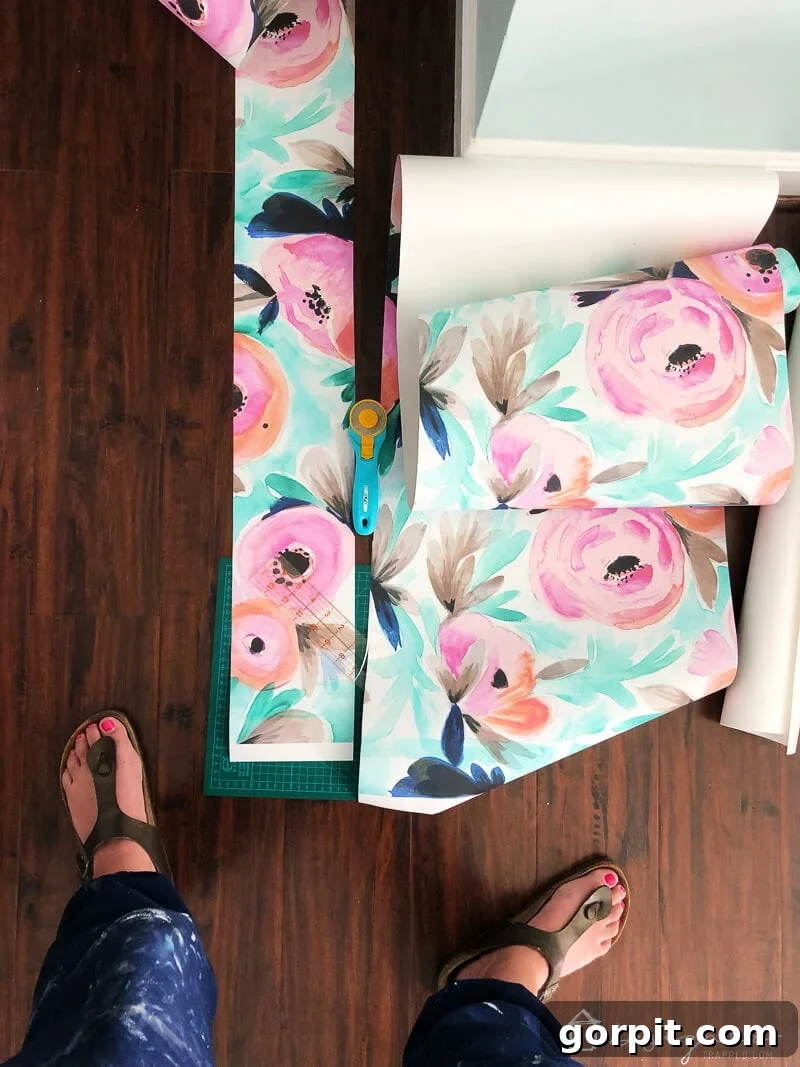
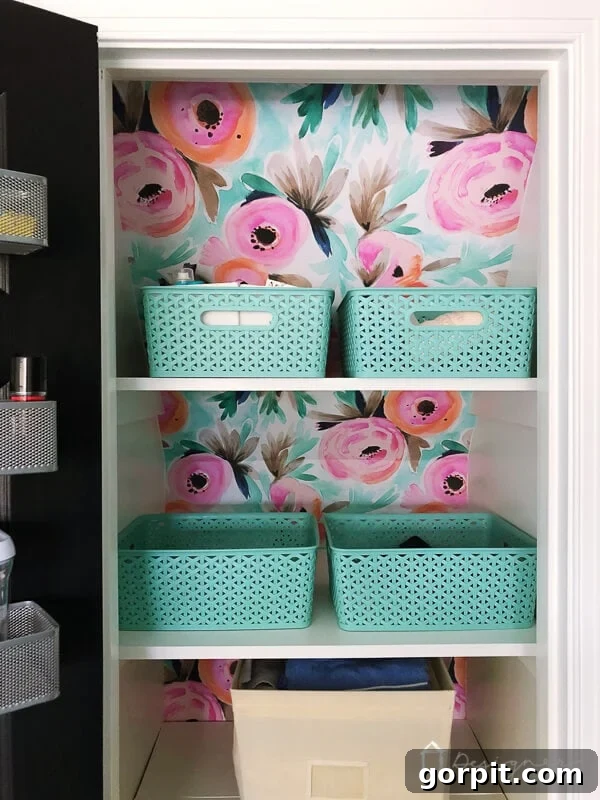
And there you have it! Installing removable wallpaper truly is a manageable and rewarding DIY project. Observe how wonderfully everything came together once the wallpaper was installed and paired with some smart linen closet organization. I am absolutely thrilled with the vibrant color and unique pattern that this wallpaper adds to the space, completely transforming what was once a plain closet into a delightful design feature. What are your thoughts on this simple yet impactful update?!
Explore more inspiring decor ideas:
- 18 Unique Wallpaper Ideas I Love
- Stunning Accent Wall Ideas to Transform Any Room
- Creating a Unique Family Photo Gallery Wall
- 23 Clever & Inspiring Hallway Decor Ideas
Curious about my personal approach to transforming rooms and spaces within our home? Discover my proven strategies and design philosophy in Designer in a Binder®, an invaluable resource for making decorating simple and affordable.
For exclusive content, behind-the-scenes sneak peeks, and fresh design inspiration delivered straight to your inbox, be sure to subscribe to my newsletter before you go!