Craft a Memorable Christmas: Easy DIY Personalized Advent Calendars for Kids
Christmas is a magical time of year, and nothing builds anticipation quite like an Advent calendar. But what if you could create an Advent calendar that perfectly captures the unique spirit and preferences of each child in your home? Imagine the delight on their faces as they count down to Christmas with a calendar designed specifically for them!
For years, I’ve dreamed of crafting personalized Advent calendars for my daughters. As a mom of twins, I’m constantly aware of their distinct personalities and tastes. While they share a bond like no other, their individuality shines through in every aspect of their lives, from their separate bedroom decor choices to their favorite colors and activities. This desire to celebrate their unique selves sparked the idea for these custom Christmas countdowns.
I finally carved out the time to bring this vision to life yesterday, and I couldn’t be happier with the result! What I discovered was that these DIY personalized Advent calendars are far easier to make than I ever anticipated. Like many DIY projects, I found myself wishing I had tackled this creative endeavor years ago. But, as the saying goes, better late than never! The joy these personalized pieces will bring to my girls as they eagerly await Christmas, combined with their charm as beautiful, reusable holiday decor, is truly priceless.
If you’re looking for a heartfelt and engaging craft project that will add a touch of custom magic to your holiday season, you’ve come to the right place. These adorable DIY Advent calendars are not just a craft; they’re a way to create lasting memories and cherished decor. Let’s dive into the simple steps to create your own!
This is a sponsored conversation written by me on behalf of Cricut. The opinions and text are all mine. This post contains some affiliate links for your convenience. Click here to read my full disclosure policy.
DIY Advent Calendar Tutorial: Step-by-Step Guide
Creating a personalized Advent calendar doesn’t have to be complicated. With a few key materials and a little creativity, you can craft a unique piece that reflects your child’s personality. This tutorial outlines everything you need to know, from gathering supplies to adding the final festive touches.
Gather Your Materials for Your Personalized Advent Calendar
Before you begin your crafting journey, ensure you have all the necessary supplies within reach. Having everything prepped will make the process smooth and enjoyable. Here’s what you’ll need to create your custom Advent calendar:
- A Cutting Machine: My absolute favorite tool for this project is my Cricut Explore Air 2. A cutting machine is a DIY enthusiast’s best friend, offering unparalleled precision for intricate designs.
- If you’re considering investing in a cutting machine, which I wholeheartedly recommend for any serious crafter, you can read my detailed review of Silhouette vs. Cricut cutting machines here to help you choose the best fit for your needs.
- Curious about the possibilities? Explore some of the diverse projects I’ve created with my cutting machine by clicking here.
- Colored Cardstock: For Attley’s vibrant Advent calendar, I used seven different colors of high-quality cardstock to create a playful, eclectic look.
- Glitter Vinyl: For Avery’s calendar, which required a touch of sparkle, I opted for stunning silver glitter vinyl. This material adds a durable, shimmering finish.
- Glue Stick: Essential for adhering cardstock numbers smoothly and securely without warping the paper.
- Paint: Choose colors that match your child’s personality or room decor. I used a metallic blue/green for Avery’s and a soft, dull white for Attley’s.
- Paintbrush: A good quality paintbrush will ensure even application and a professional finish.
- Paper Mache Advent Calendar: The exact model I used is currently sold out, but this one is a very similar alternative and works perfectly as a base for personalization.
- Hot Glue Gun: A hot glue gun is indispensable for quickly and securely attaching structural elements like the rooftop and decorative embellishments.
- Bottlebrush Trees: These miniature trees add a charming, festive touch to the top of your Advent calendar, enhancing its “house” aesthetic.
- Chipboard: You’ll need a piece measuring approximately 11″ x 17″. This sturdy material is perfect for creating the calendar’s rooftop.
With your materials assembled, let’s embark on the fun part: crafting!
Simple Steps to Your Custom Advent Calendar
Step 1: Prepare and Paint Your Advent Calendar Base
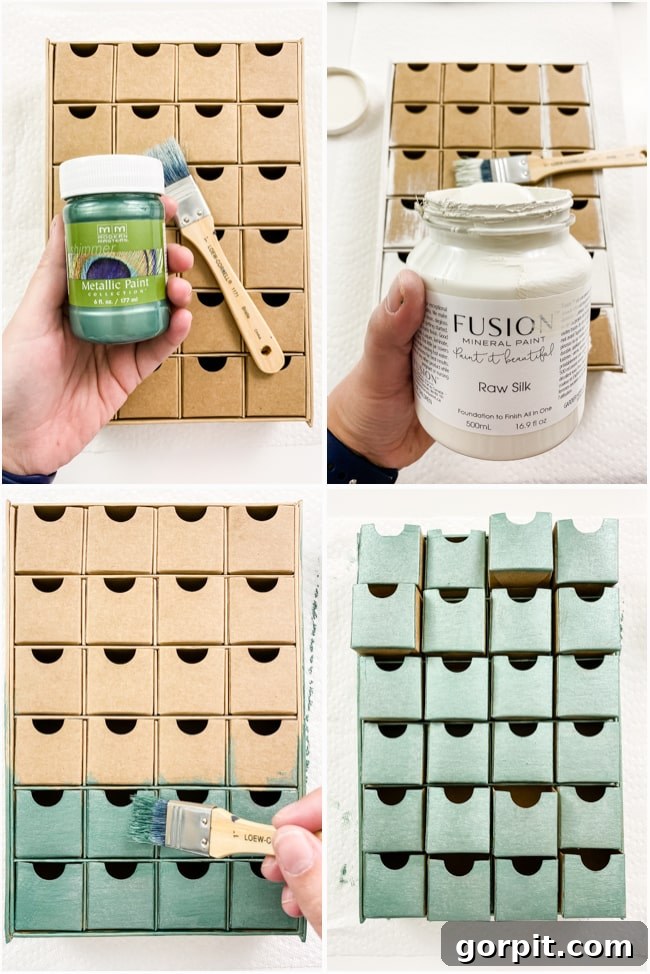
The first step is to prepare the foundation of your Advent calendar. Take your paper mache Advent calendar and select the paint color that best suits your vision. For Avery’s calendar, I chose a beautiful metallic blue-green, giving it a sophisticated and almost magical sheen. For Attley’s, I opted for a soft, dull white, which serves as a serene backdrop for her colorful numbers. Apply two to three thin coats of paint, allowing each coat to dry thoroughly in between. This layered approach ensures vibrant, even coverage and a durable finish, transforming the plain paper mache into a personalized canvas.
Step 2: Crafting the Charming Rooftop Accent
To give your Advent calendar the adorable appearance of a miniature house, you’ll need to create a rooftop. Using your chipboard, cut two pieces, each measuring 1 1/2 inches wide by 5 inches long. These dimensions are ideal for creating a proportionate roof for most standard paper mache Advent calendars. Once cut, paint these chipboard pieces the same color you used for your Advent calendar base. This continuity in color creates a cohesive and polished look, making the rooftop seamlessly integrate with the rest of the structure. Set them aside to dry completely while you work on the next steps.
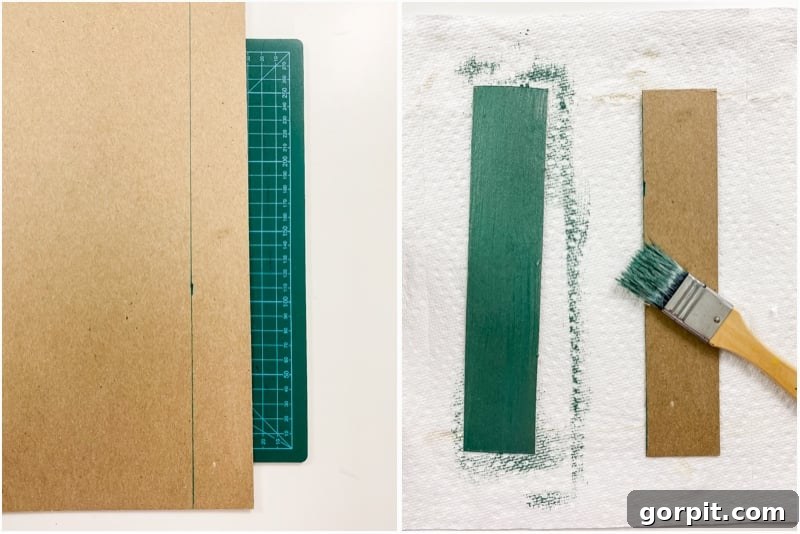
Step 3: Personalize with Custom Numbers Using Your Cricut Machine
This is where the magic of personalization truly comes alive, especially with the help of a Cricut Explore Air 2! While your painted pieces are drying, use your Cricut machine to cut out the numbers 1 through 24 for each drawer. I designed my custom cut files directly in Cricut Design Space, carefully measuring each Advent calendar drawer to ensure the numbers were perfectly sized for visibility and aesthetic appeal. The beauty of a Cricut machine lies in its versatility. For Avery’s calendar, I chose elegant silver glitter vinyl, which adheres easily and adds a touch of glamour. For Attley’s calendar, I used an assortment of different colors of cardstock, creating a playful and vibrant look that perfectly matches her personality.
One of the greatest advantages of Cricut Explore machines is their ability to cut a vast array of materials—literally hundreds! From popular craft essentials like cardstock, vinyl, and iron-on, to more specialized options such as glittery paper, polished foils, and even bonded fabric, a Cricut allows for endless creative possibilities. This makes personalizing your Advent calendar, or any DIY project, incredibly simple and highly professional-looking.
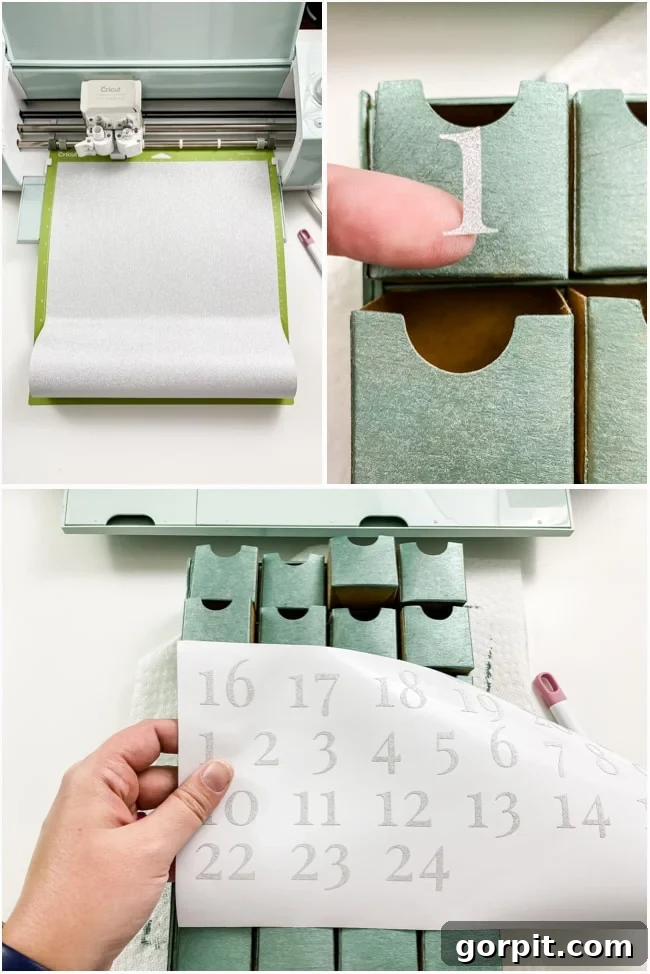
Step 4: Affixing Your Custom Advent Calendar Numbers
Once your paint is completely dry on both the Advent calendar base and the rooftop pieces, it’s time to add your beautifully cut numbers. The application method will vary slightly depending on the material you chose for your numbers. For Avery’s calendar, where I used adhesive glitter vinyl, the process was straightforward: I simply peeled and stuck each number directly onto its corresponding drawer. Because these numbers were relatively small, I found it easy to control their placement and didn’t need to use transfer tape, though for larger vinyl decals, transfer tape is highly recommended for perfect alignment. For Attley’s cardstock numbers, a reliable glue stick worked wonders. Apply a thin, even layer of glue to the back of each number and press it firmly onto the center of its drawer. This step is incredibly satisfying as you watch your calendar truly come to life with its personalized countdown elements.
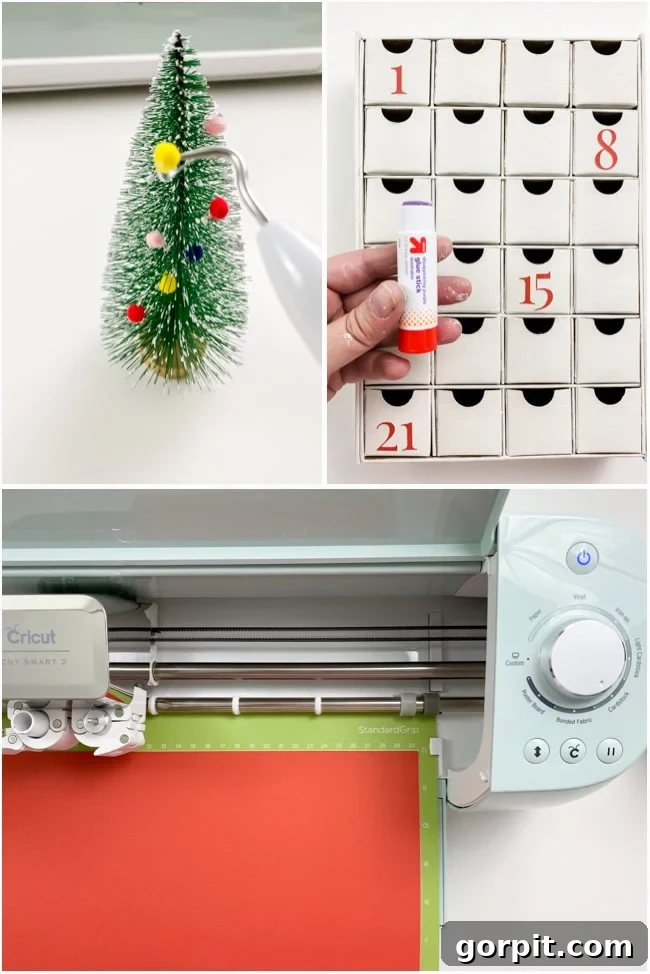
Step 5: Assemble the Festive Rooftop Element
Now that your base and numbers are complete, it’s time to add the charming rooftop that transforms your Advent calendar into a festive little house. Using a hot glue gun, carefully attach the two painted chipboard pieces to the top edges of your Advent calendar. Begin by adhering each side of the chipboard to the flat top surface of the calendar base. Ensure they are flush and stable. Once both sides are securely glued to the base, bring the upper edges of the chipboard pieces together at the peak to form a V-shape. Apply a tiny bead of hot glue along the seam where they meet. Hold them in place for a few moments until the glue sets, creating a strong and symmetrical rooftop. This step adds a significant amount of character and a delightful architectural detail to your DIY Advent calendar.
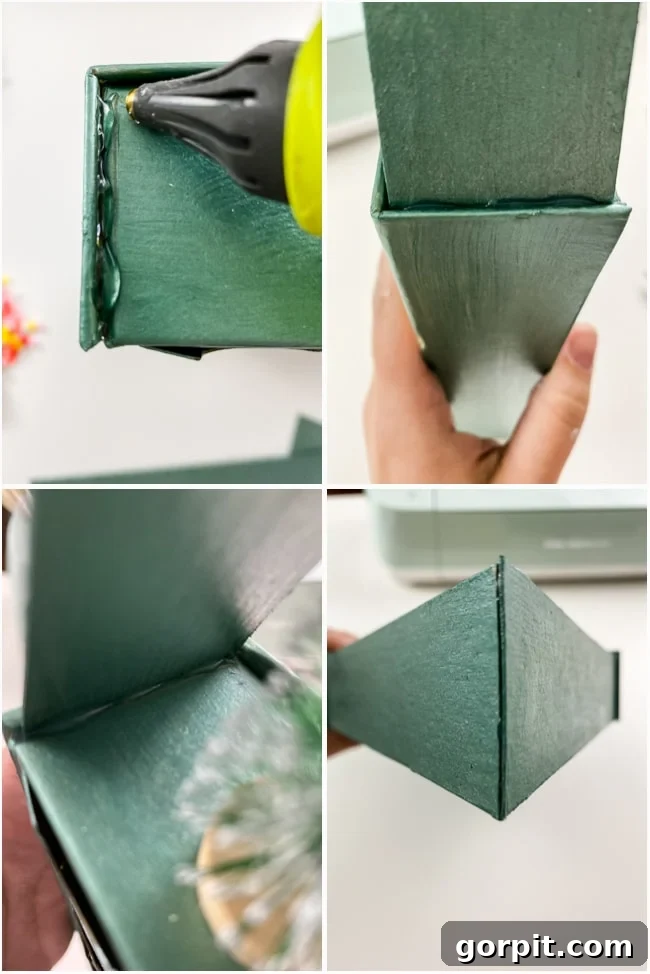
Step 6: Add Final Touches with Decorative Bottlebrush Trees
The final step is to adorn your Advent calendar with whimsical bottlebrush trees, adding a touch of festive flair. If you wish, you can further customize your bottlebrush trees by adding glitter, faux snow, or tiny ornaments using a hot glue gun. Once decorated (or left plain, which is equally charming), carefully position your trees on the rooftop of your Advent calendar. Use small dabs of hot glue to secure them in place. Arrange them creatively to create a miniature winter wonderland scene atop your “house.” This last detail completes the transformation, making your personalized Advent calendar truly unique and ready to become a cherished piece of holiday decor. The entire process, from start to finish, took me approximately an hour for each calendar – a small investment of time for such a rewarding and beautiful result!
When my girls arrived home from school and saw their custom Advent calendars, their excitement was palpable. There’s something incredibly special about receiving something made just for you, and their joy affirmed that the effort was truly worth it. These calendars aren’t just for counting down days; they’re a testament to individuality and a beautiful addition to their personal spaces. Take a look at how wonderfully they turned out!
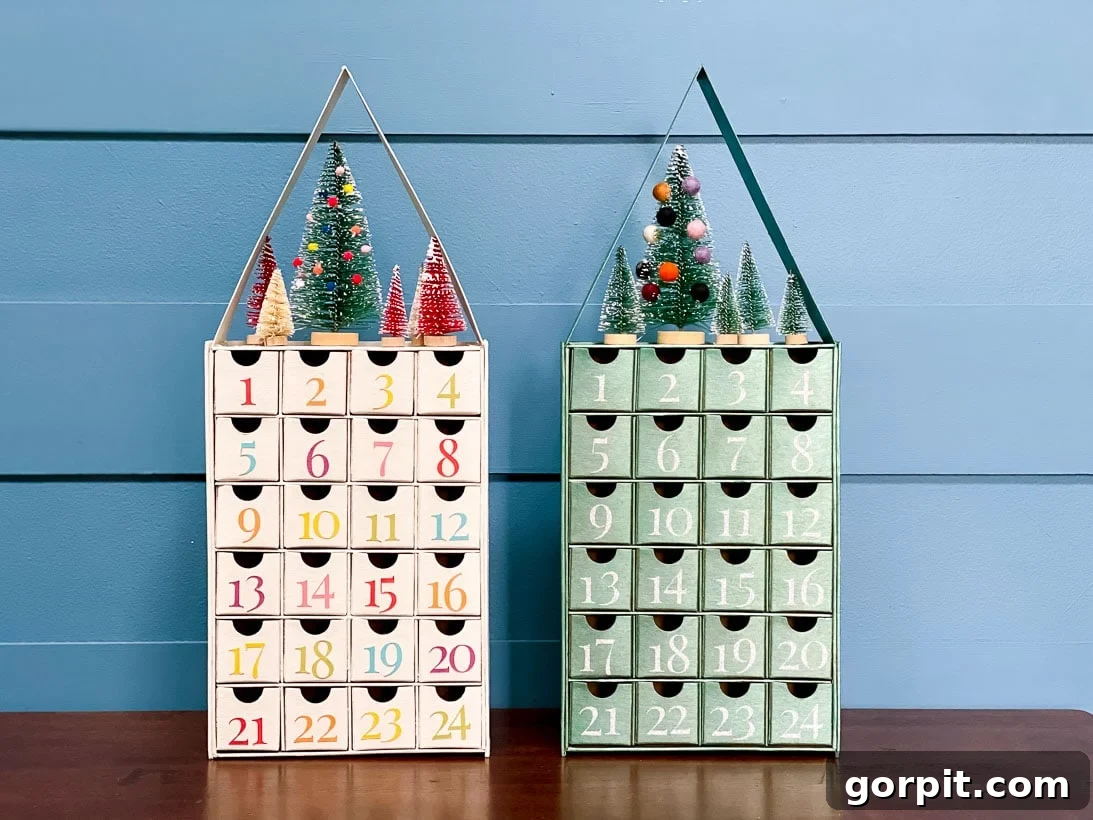
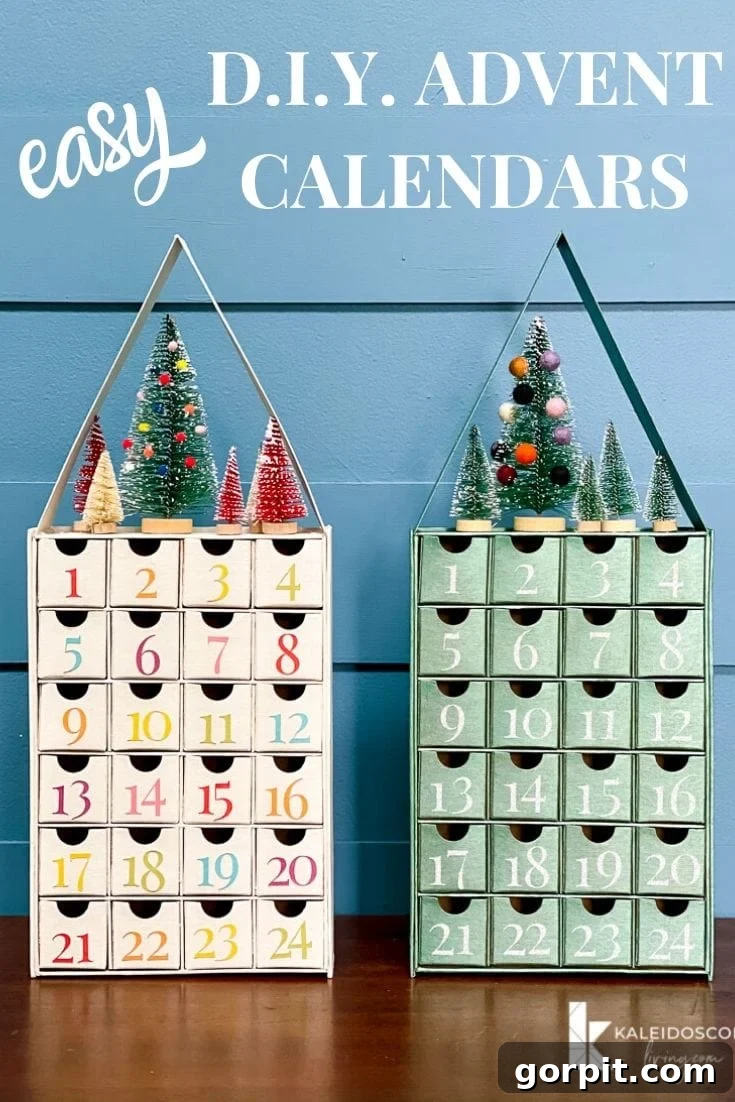
Here’s Attley’s personalized Advent calendar. Its vibrant colors and playful design fit seamlessly into her bright and colorful bedroom, reflecting her lively personality.
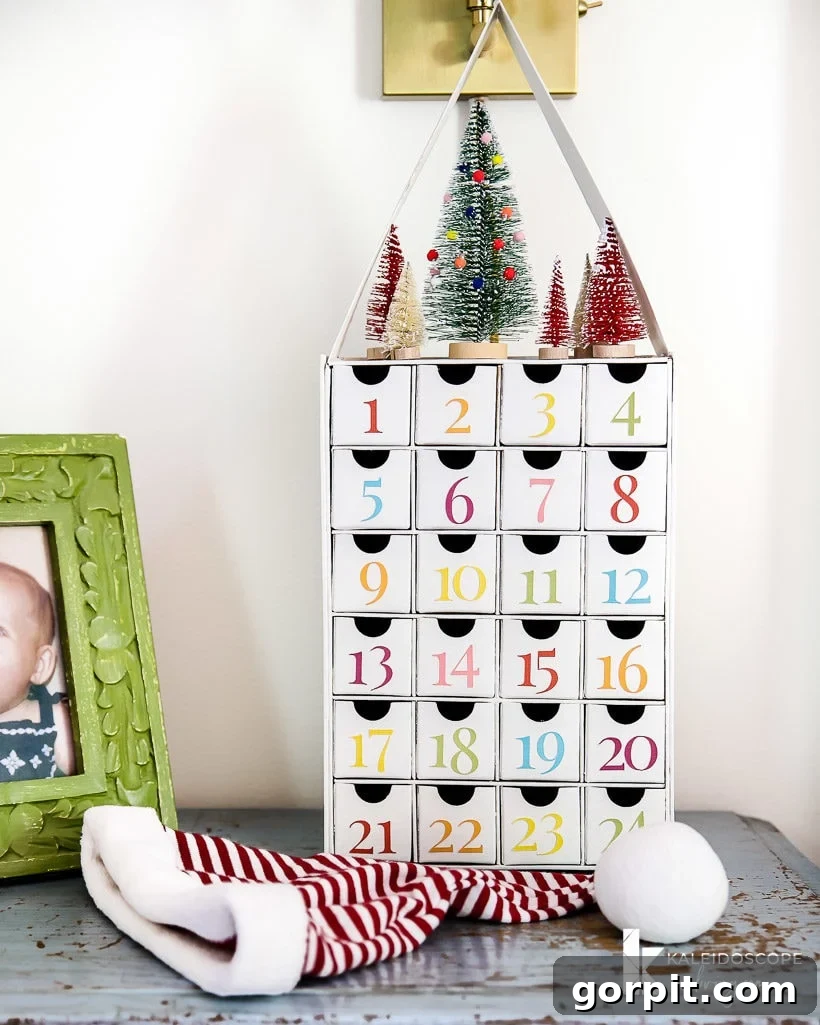
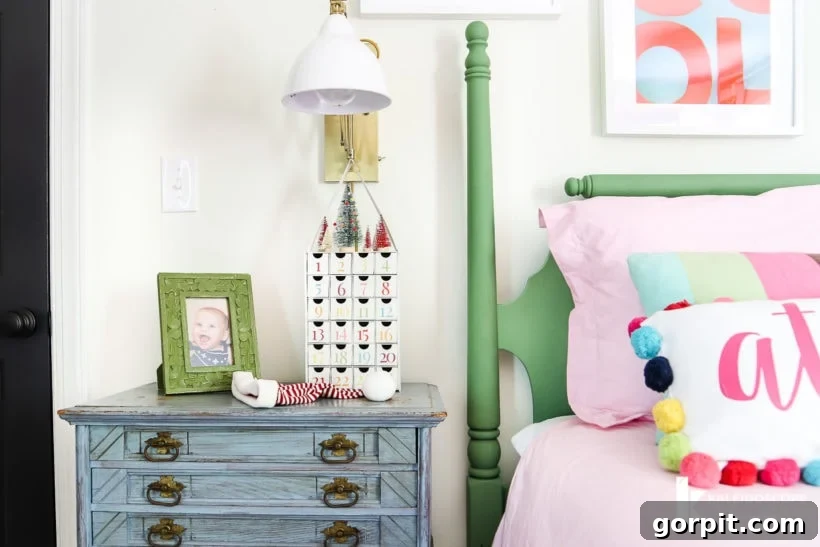
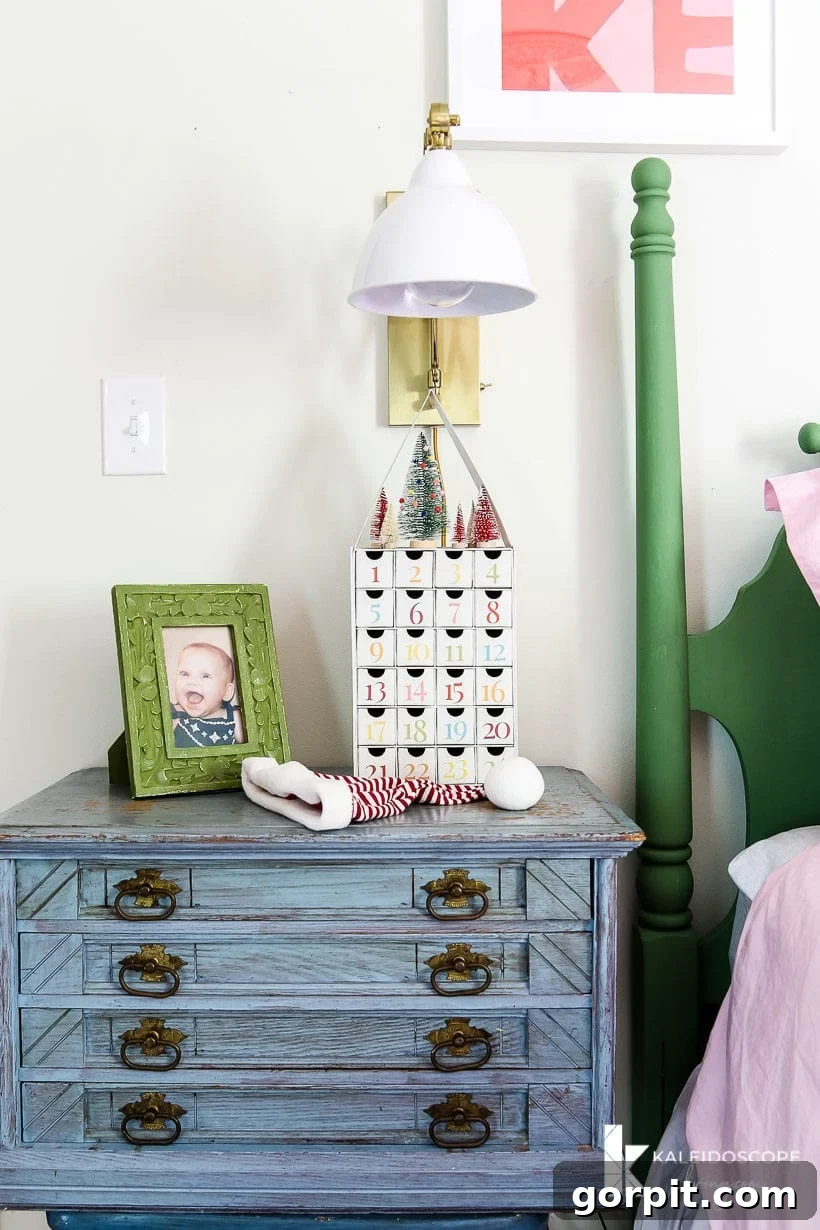
And here’s Avery’s calendar. Its sophisticated metallic blue-green and elegant glitter numbers beautifully complement her preference for darker, chic aesthetics, making it a stunning addition to her room, perfectly placed atop her elegantly restored dresser.
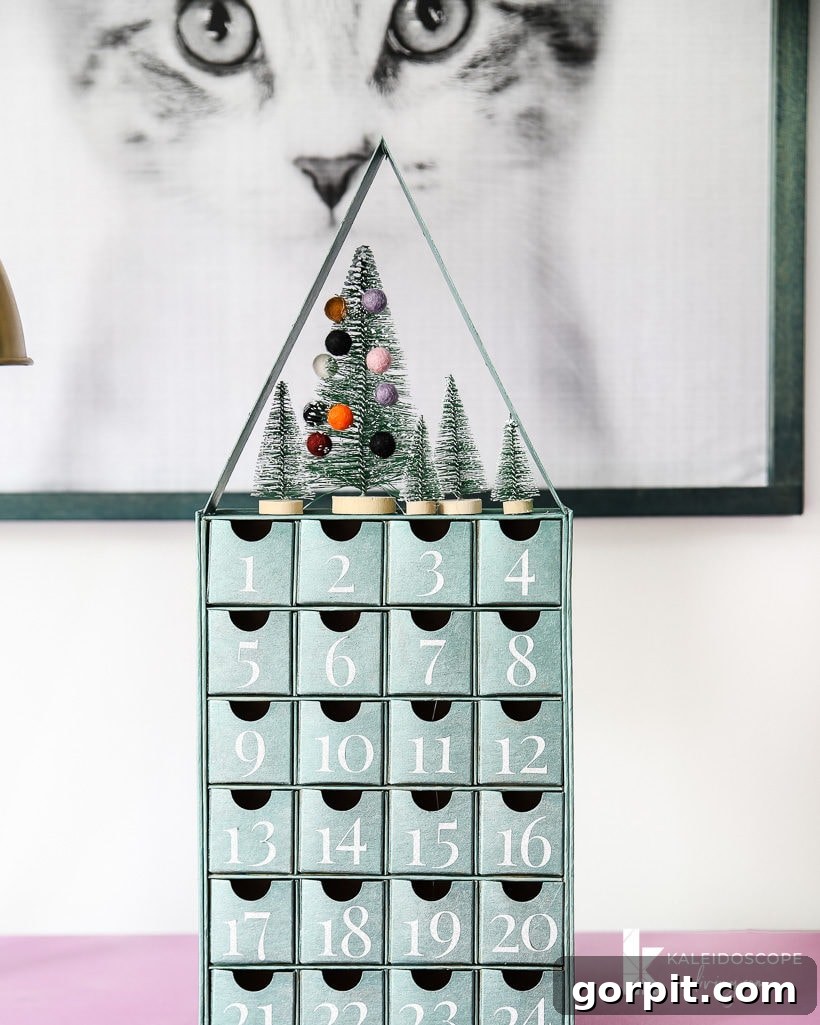
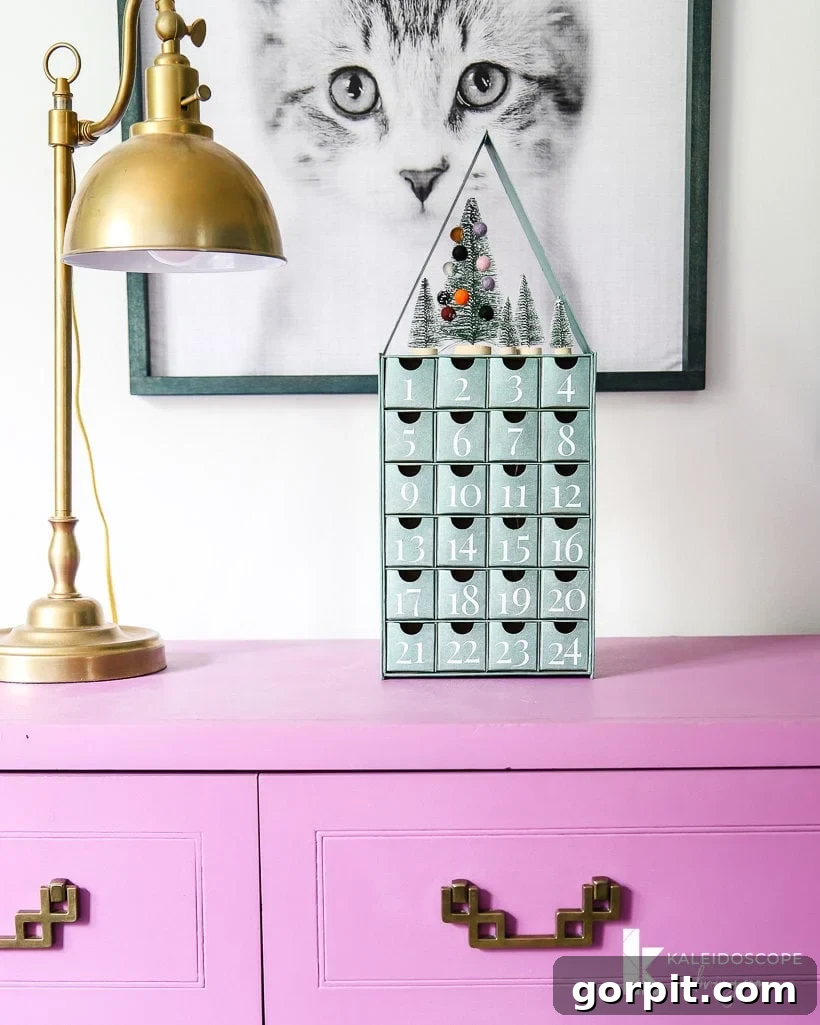
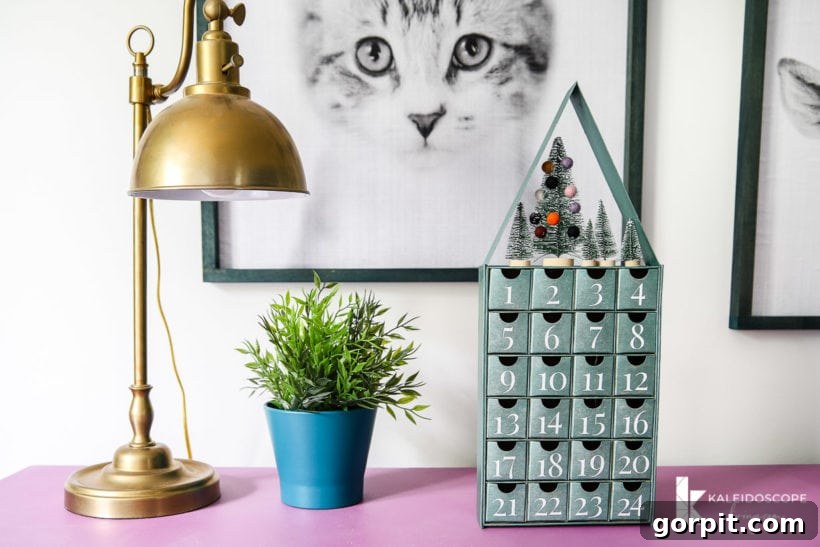
Seeing them side-by-side, it’s clear how wonderfully different and uniquely beautiful each calendar is, just like my two sweet girls. These personalized Advent calendars are more than just a countdown; they are a celebration of individuality and a heartwarming addition to our Christmas traditions for years to come.
Explore More DIY & Cricut Projects
If you loved this project and are eager to dive deeper into the world of DIY and crafting with your Cricut machine, you’re in luck! I have a wealth of resources and ideas to inspire your next creative endeavor. From choosing the perfect cutting machine to mastering various crafting techniques, there’s always something new to learn and create. Check out some of these popular posts for more inspiration:
- Which Cricut Machine Is Right for You? – A comprehensive guide to help you choose the ideal Cricut model for your crafting needs.
- How to Use Cricut Iron On Vinyl on Stretchy Fabrics – Learn the techniques for applying iron-on vinyl to trickier materials.
- Personalized Gifts With Cricut Infusible Ink – Discover how to create vibrant, seamless designs that last a lifetime with Infusible Ink.
- Silhouette & Cricut Projects for Your Home and Life – A collection of inspiring projects for every aspect of your home and personal life.
- Silhouette vs. Cricut – My Unbiased Review – A detailed comparison to help you decide between two of the most popular cutting machines.
And if you’re curious about how I approach transforming rooms and spaces in our home, I invite you to explore Designer in a Binder®. It’s my ultimate guide to decorating your home with confidence and ease, providing a simple yet effective framework for achieving your design dreams.
Don’t miss out on exclusive content, behind-the-scenes sneak peeks, and more fantastic DIY ideas! Be sure to subscribe to my newsletter before you go. Join our community of creative enthusiasts and bring more personalized joy into your home!