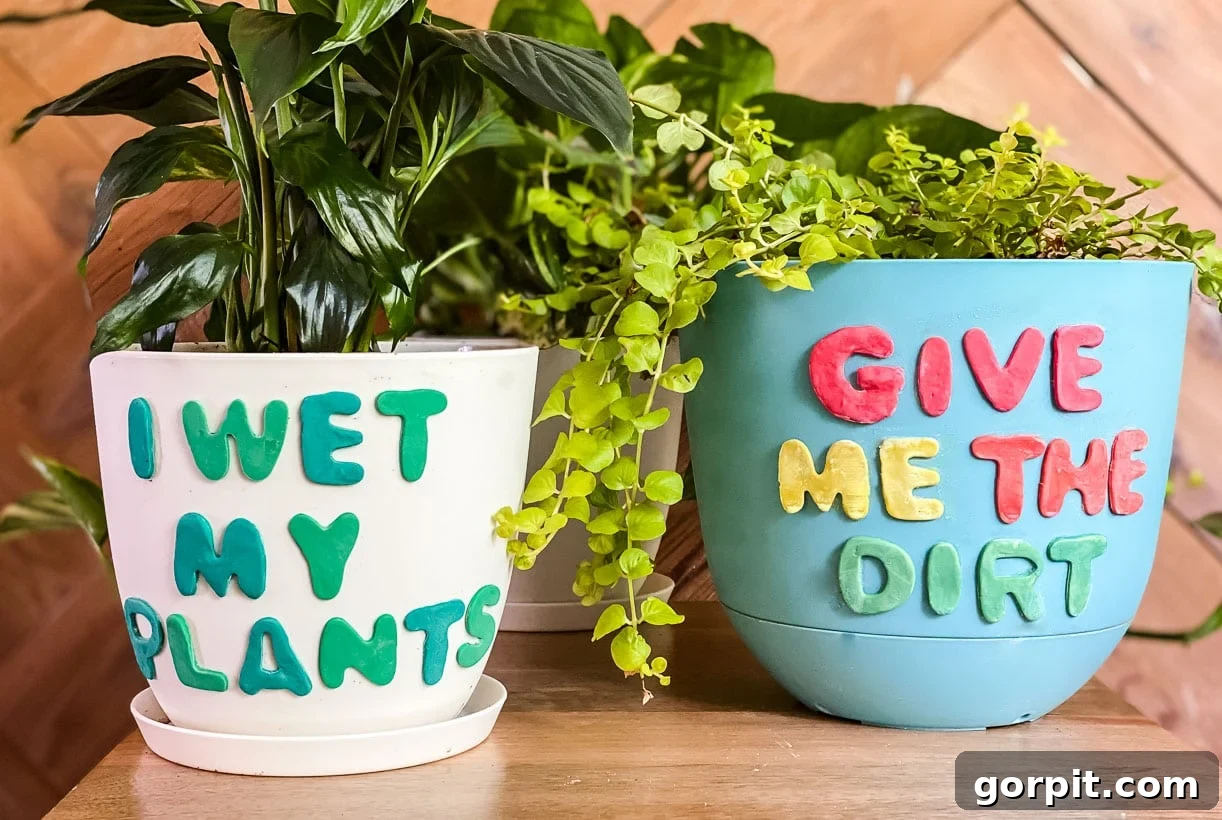
Elevate Your Indoor Garden: Easy DIY Polymer Clay Plant Pot Decorations
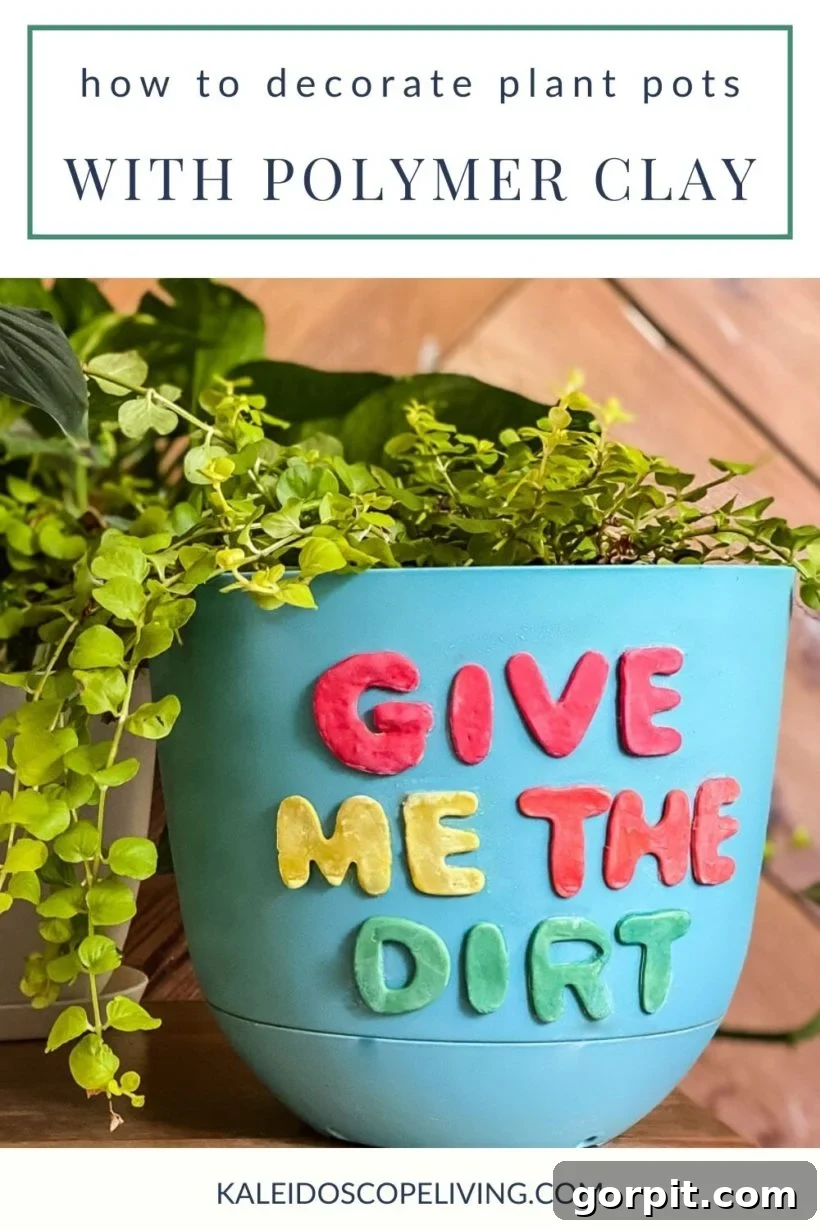
Hello, fellow plant enthusiasts! If you’ve been following my journey on Instagram, you know I’ve recently embraced the wonderful world of plant parenthood. My home has transformed into a vibrant sanctuary, thanks to my ever-growing collection of green companions. I truly believe every room benefits from the life and freshness a plant brings (a topic we explore in depth in this podcast episode). From our serene master bedroom to our bustling kitchen, plants are everywhere, adding character and charm.
There’s a unique joy in nurturing plants, watching them grow, and even propagating your own – a rewarding activity I’ve started in Avery’s room. While plants themselves can be surprisingly affordable, especially when you learn to propagate, the cost of stylish planters and plant pots can quickly add up. Beautiful, unique pots often come with a hefty price tag, making it challenging to adorn your entire collection without breaking the bank.
But fear not, creative souls! I’ve discovered an incredibly fun, easy, and budget-friendly method to transform plain, inexpensive plastic pots into stunning decorative pieces. All you need are some basic plastic pots and a selection of colorful polymer clay. This DIY project allows you to infuse your personality into your plant decor, creating custom pieces that are truly one-of-a-kind. Say goodbye to generic planters and hello to personalized botanical artistry! Let’s dive into this simple tutorial and learn how to easily decorate plant pots with polymer clay, adding a touch of handmade charm to your home.
A special thank you to DAP for sponsoring this post. Please note that this post contains some affiliate links for your convenience. Click here to read my full disclosure policy.
Unleash Your Creativity: A Step-by-Step Guide to Decorating Plant Pots with Polymer Clay
Transforming ordinary plastic pots into eye-catching masterpieces is simpler than you think. Polymer clay is a fantastic medium for this project due to its versatility, vibrant color options, and durability once baked. It’s essentially a type of modeling clay that hardens permanently when cured in a conventional oven, making it ideal for creating long-lasting decorations. This project is perfect for beginners and experienced crafters alike, offering endless possibilities for customization. Whether you prefer minimalist designs, intricate patterns, or playful shapes, polymer clay can bring your vision to life.
Essential Materials for Your Polymer Clay Plant Pot Project:
Gathering your supplies is the first exciting step in any DIY endeavor. For this project, we focus on affordability and accessibility, ensuring you can embark on your creative journey without a significant investment. Here’s what you’ll need:
- Inexpensive Plastic Pots: The foundation of our project. Look for plain, smooth plastic pots. White ones (like these I love) or colorful options (I found a lovely blue one here) work perfectly. Their smooth surface provides an excellent canvas for the clay.
- Polymer Clay: The star of the show! A variety pack (this is the set I ordered) is fantastic for exploring different colors and creating diverse designs. Polymer clay comes in countless hues, allowing you to match your home decor or create bold, contrasting statements.
- DAP Rapid Fuse With Plastic Primer: This specialized adhesive is crucial for ensuring your clay decorations adhere securely to the plastic pots. Its primer component prepares the plastic surface for a strong, lasting bond, preventing your beautiful creations from peeling off.
- Corn Starch: A simple household item that plays a vital role in preventing the polymer clay from sticking to your work surface and tools, ensuring a smoother crafting experience.
- Cookie Cutters: These aren’t just for baking! They are excellent for creating precise shapes and letters for your decorations. The more variety in your cookie cutters, the more unique your designs can be.
- Parchment Paper, a Cookie Sheet, and an Oven: For baking and curing your polymer clay shapes. Ensure your oven is clean and has a consistent temperature for best results.
- Sandpaper and Wax (Optional but Recommended): For refining your finished clay pieces. Fine-grit sandpaper can smooth out any rough edges, while wax adds a protective layer and enhances the clay’s color, giving it a polished look.
Having all your materials ready before you begin will streamline the crafting process and allow you to focus on the creative aspects of decorating your plant pots.
Detailed Instructions: Crafting Your Polymer Clay Plant Pot Decorations
Follow these steps carefully to achieve beautifully decorated plant pots that will be the envy of your fellow plant parents:
Step 1: Prepare Your Work Surface
Begin by lightly dusting your clean, flat work surface with a small amount of corn starch. This simple step is vital as it creates a non-stick barrier, preventing the polymer clay from adhering to your table or mat. A clean, smooth surface ensures your clay remains pristine and easy to manipulate.
Step 2: Condition Your Polymer Clay
Select your first desired color of polymer clay. Before you can roll or shape it, polymer clay needs to be “conditioned.” This involves kneading and working the clay with your fingers and hands until it becomes warm, soft, and pliable. Conditioning makes the clay easier to roll, prevents cracking, and ensures a smooth, even texture. It’s a quick process, usually taking only a few minutes, but it’s crucial for achieving the best results.
Step 3: Roll Out the Clay to Even Thickness
Once your clay is conditioned, place it on your corn-starched surface. Use a round object, such as a dedicated acrylic roller (many polymer clay sets like the one I ordered come with one) or a clean rolling pin, to roll out the clay. The key here is to achieve an even thickness across the entire sheet. While there are no strict rules, rolling it too thick can make it heavy and less flexible, and too thin might make it fragile. I prefer mine relatively thin, which allows for greater flexibility when adhering to the curved pots. Aim for consistency for a professional finish.
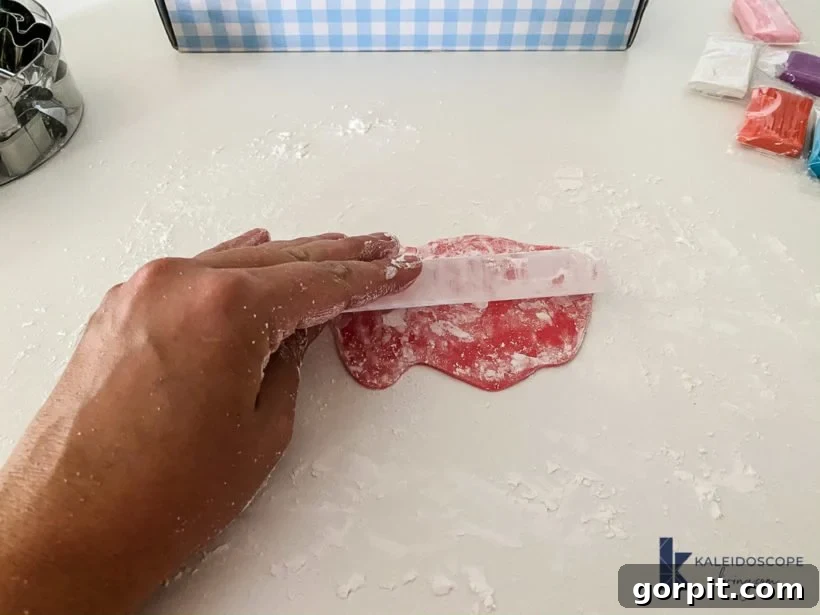
Step 4: Cut Out Your Desired Shapes
Now for the fun part! Use your cookie cutters to cut out whatever words, shapes, or designs you envision for your plant pots. Press firmly and evenly to get clean edges. If you encounter any difficulty in removing the cut clay from the cookie cutters, a gentle poke with a pencil or a small craft tool can help dislodge them without distorting their shape. Experiment with different sizes and arrangements to create unique patterns.
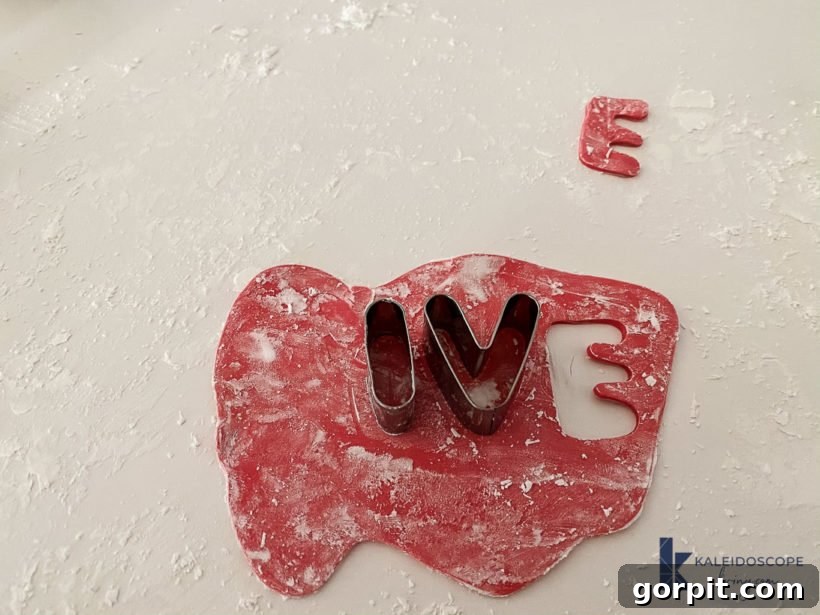
Step 5: Prepare Shapes for Baking
Once all your shapes are cut, carefully transfer them onto a cookie sheet lined with folded parchment paper. The parchment paper prevents sticking and makes it easy to handle the pieces. Before baking, dip your finger in a little water and gently smooth out any imperfections or visible corn starch residue on your clay shapes. This step enhances the final appearance, giving your decorations a refined, professional look.
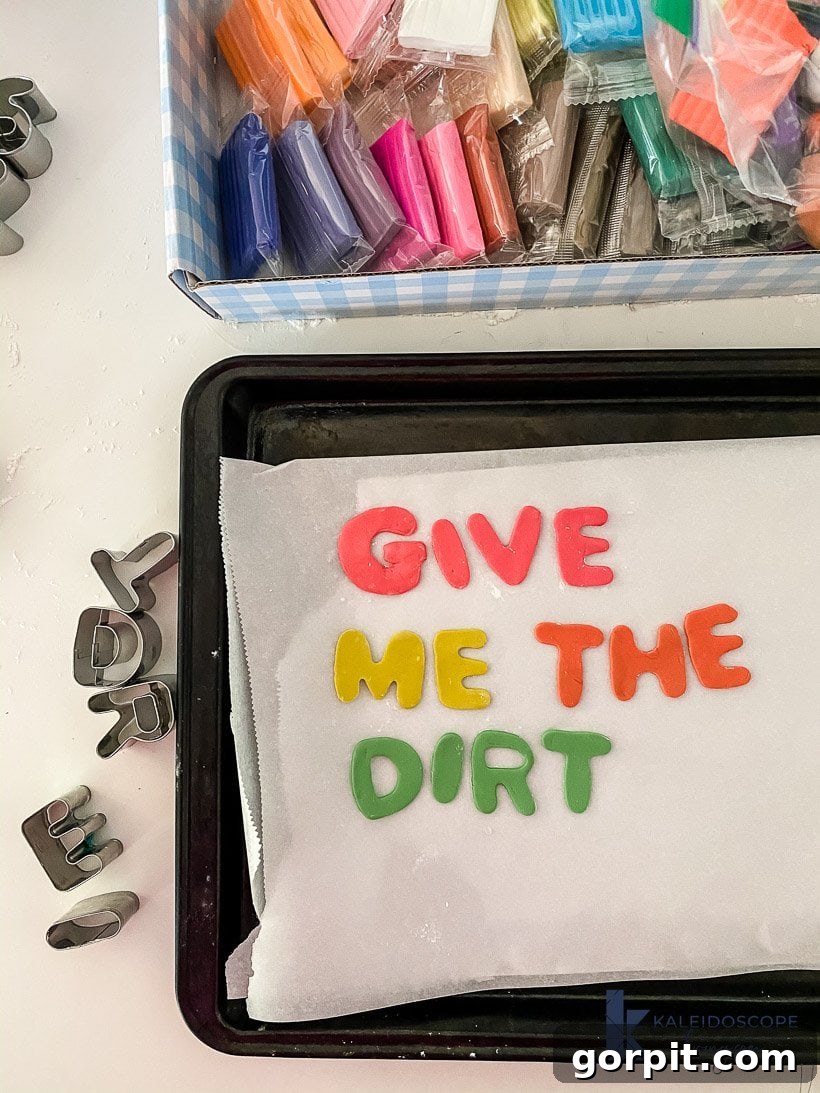
Step 6: Bake According to Manufacturer’s Instructions
Polymer clay curing times and temperatures can vary slightly between brands and varieties. It is absolutely essential to follow the specific baking directions provided on your polymer clay package. For my particular brand, I baked the shapes at 275 degrees Fahrenheit (135 degrees Celsius) for 10 minutes. Ensure your oven temperature is accurate to prevent under-baking (which leaves the clay brittle) or over-baking (which can cause burning or discoloration).
Step 7: Prime Surfaces for Adhesion
After baking and allowing your clay shapes to cool completely, they should retain a slight flexibility – a desirable characteristic since plant pots are typically curved. This flexibility allows the shapes to conform beautifully to the pot’s surface. Now, retrieve your DAP plastic primer. Apply the primer generously to the entire backside of each polymer clay shape. Critically, also apply the primer to the corresponding areas on your plastic pot(s) where you intend to glue the shapes. Let the primer sit and activate for about 1 minute. This crucial step prepares both surfaces for an incredibly strong and lasting bond.
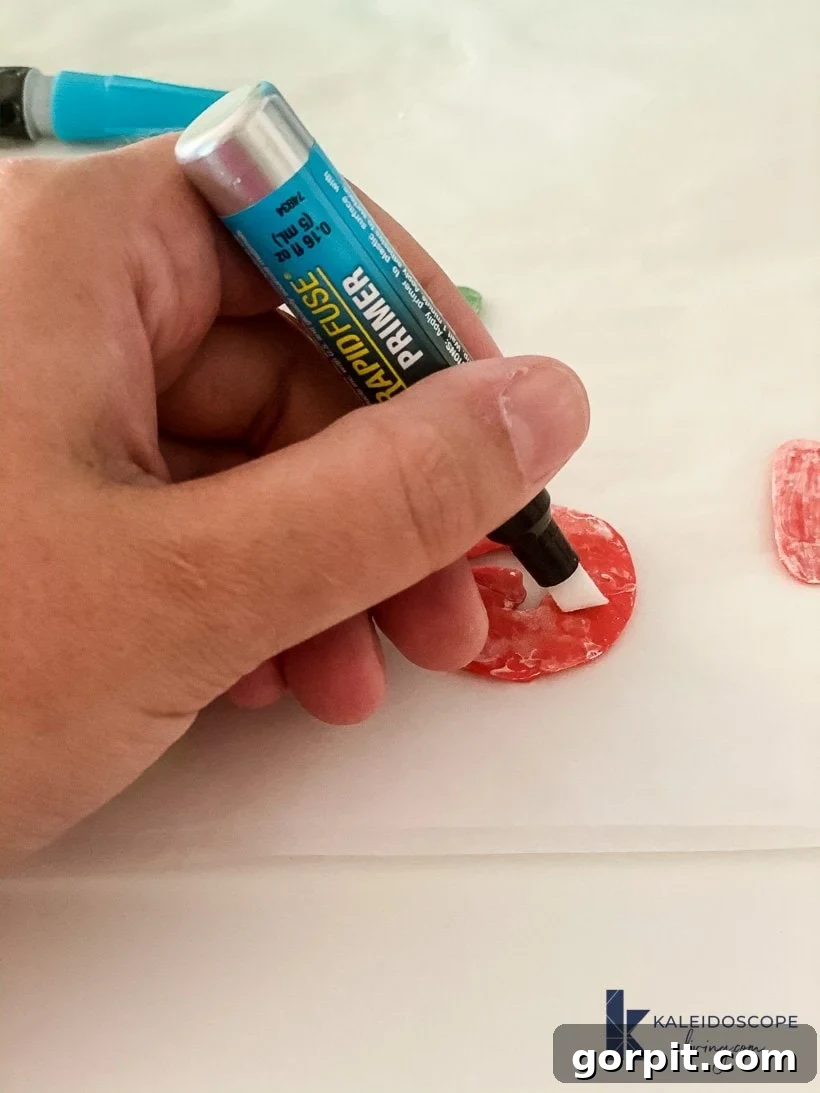
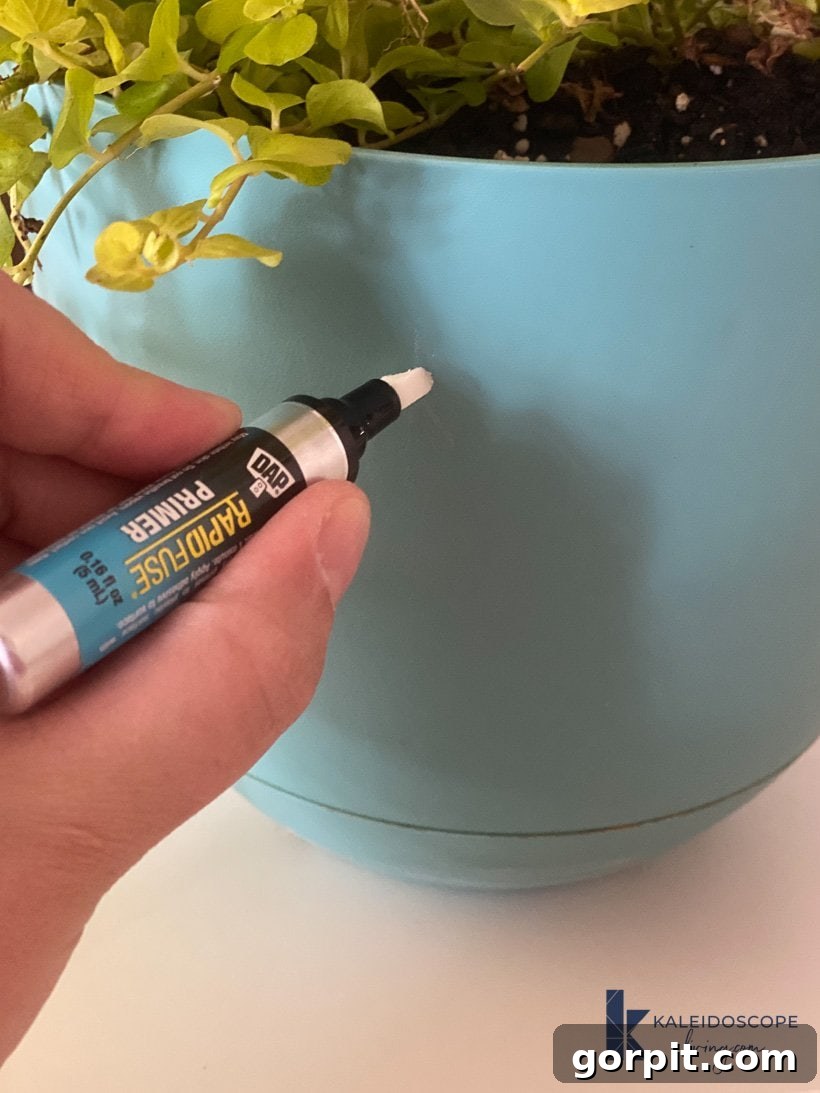
Step 8: Adhere the Polymer Clay Shapes
With both surfaces primed, it’s time to bond your creations. Squeeze a small, even amount of your DAP Rapid Fuse adhesive across the entire backside of each clay shape. Position the shape precisely on your plastic pot and hold it firmly in place. The beauty of Rapid Fuse is its quick-setting nature; for lightweight items like these, it typically sets in under 30 seconds. Repeat this process for all your shapes until your pot is fully decorated. Take your time with placement to ensure a symmetrical and pleasing arrangement.
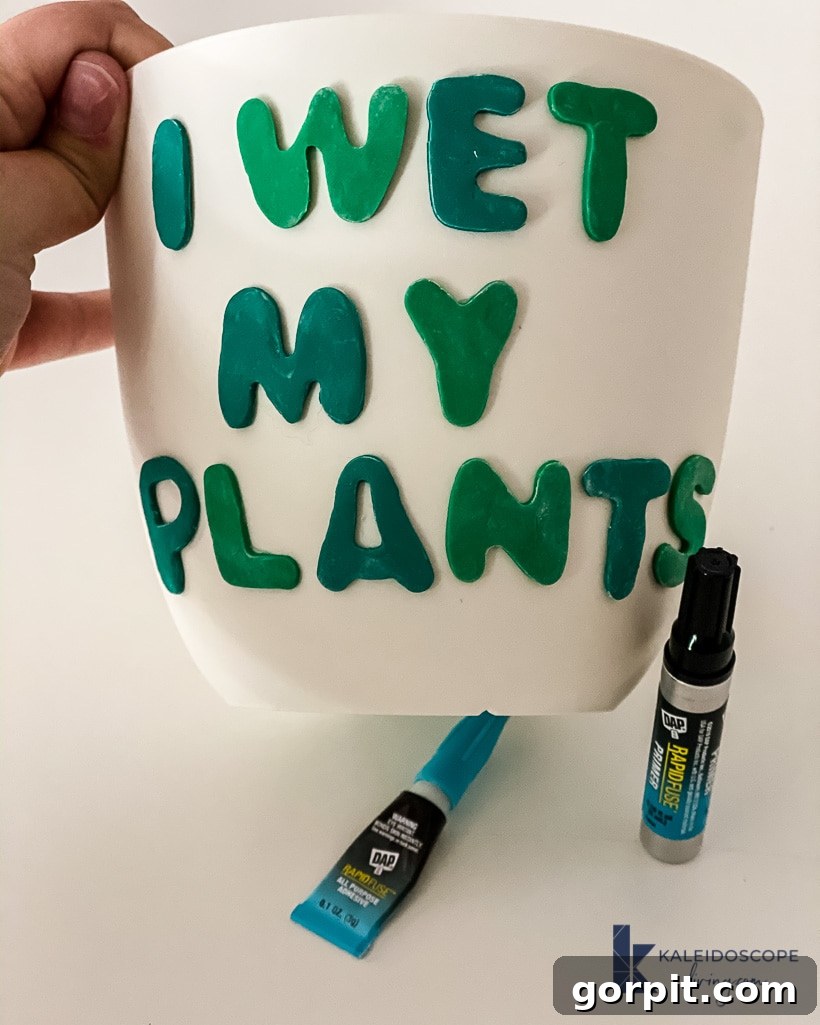
Step 9 (Optional but Recommended): Sand and Wax for a Polished Finish
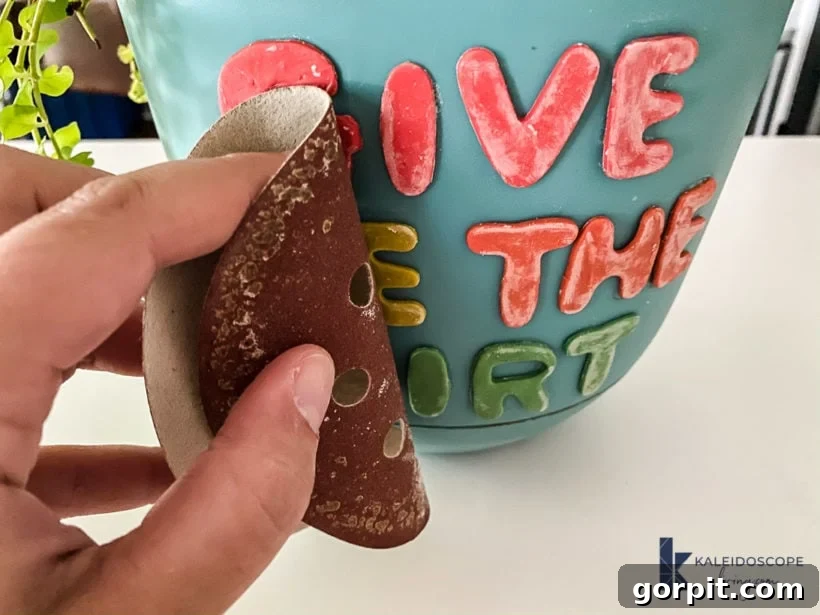
For an even more refined and durable finish, consider this optional step. Lightly sand the polymer clay shapes with fine-grit sandpaper. This will smooth out any minor imperfections, subtle rough edges, or fingerprints. After sanding, apply a thin layer of wax (like a clear polymer clay glaze or furniture wax) to each shape. Waxing not only adds a beautiful sheen but also intensifies the color of the clay and provides an extra layer of protection against dust and moisture, making your DIY plant pots truly stand out.
And there you have it! How incredibly charming are these personalized plant pots? I’m absolutely thrilled with the results and can hardly wait to create more. These are just the first two I’ve completed, but I already have plans for several more. Not only do they add a unique touch to my own plant collection, but I also envision them making fantastic, heartfelt gifts for my plant-loving friends and family. A handmade gift carries so much more meaning!
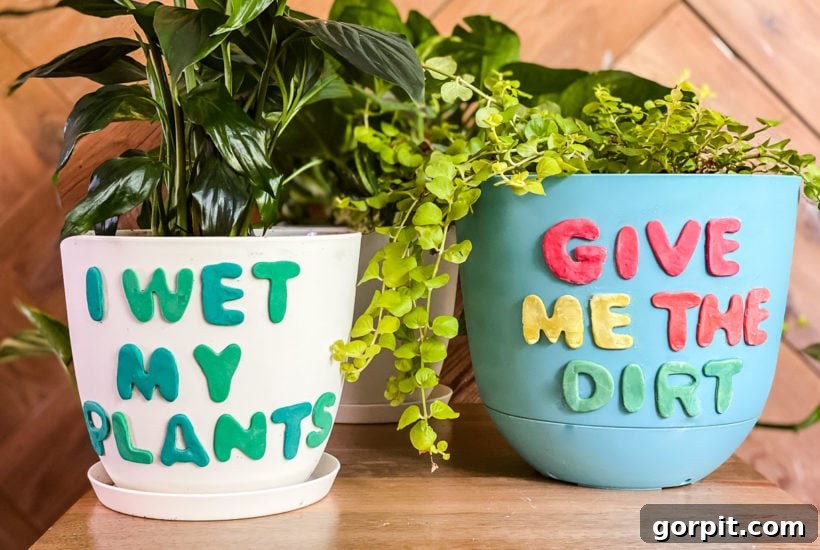
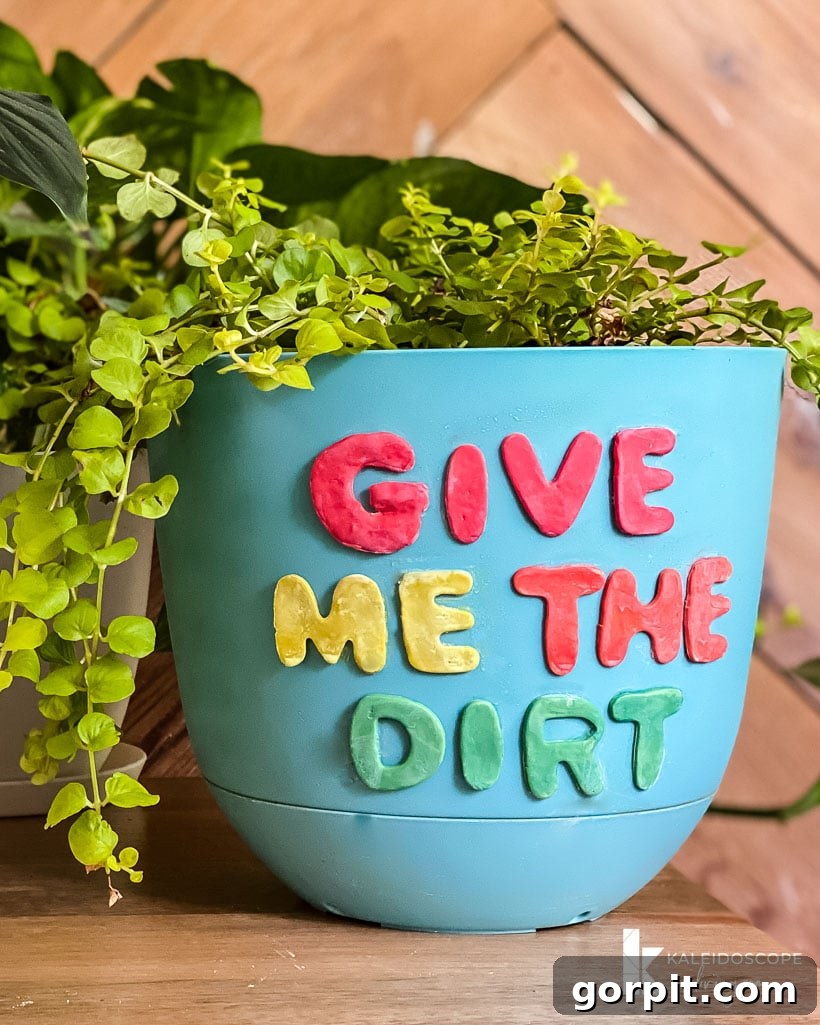
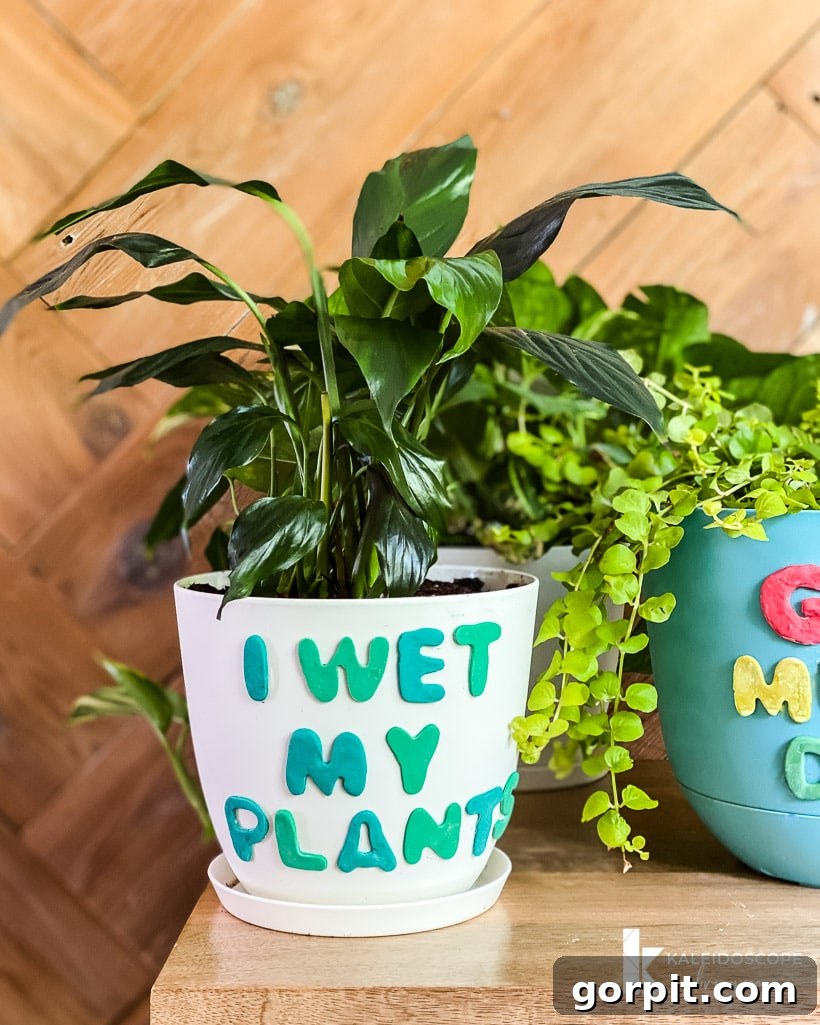
Now that I’ve mastered the art of decorating plant pots with polymer clay, I foresee a future filled with vibrant, custom planters. Each pot will be a small canvas, expressing creativity and love for nature. So, if you’re a friend or a cherished loved one, please do your best to act surprised when one of these uniquely crafted pots makes its way into your home. It’s a gift that combines passion, practicality, and personalized flair!
Are you curious about my comprehensive approach to transforming rooms and spaces throughout our home? Discover the secrets and strategies in Designer in a Binder®. It’s my go-to resource for creating stylish, cohesive, and personalized interiors, making interior design accessible and enjoyable for everyone.
And if you’re eager for exclusive content, behind-the-scenes sneak peeks, and a deeper dive into all things DIY and home decor, be sure to subscribe to my newsletter before you leave. Join our creative community and never miss out on new projects, tips, and inspiration!