
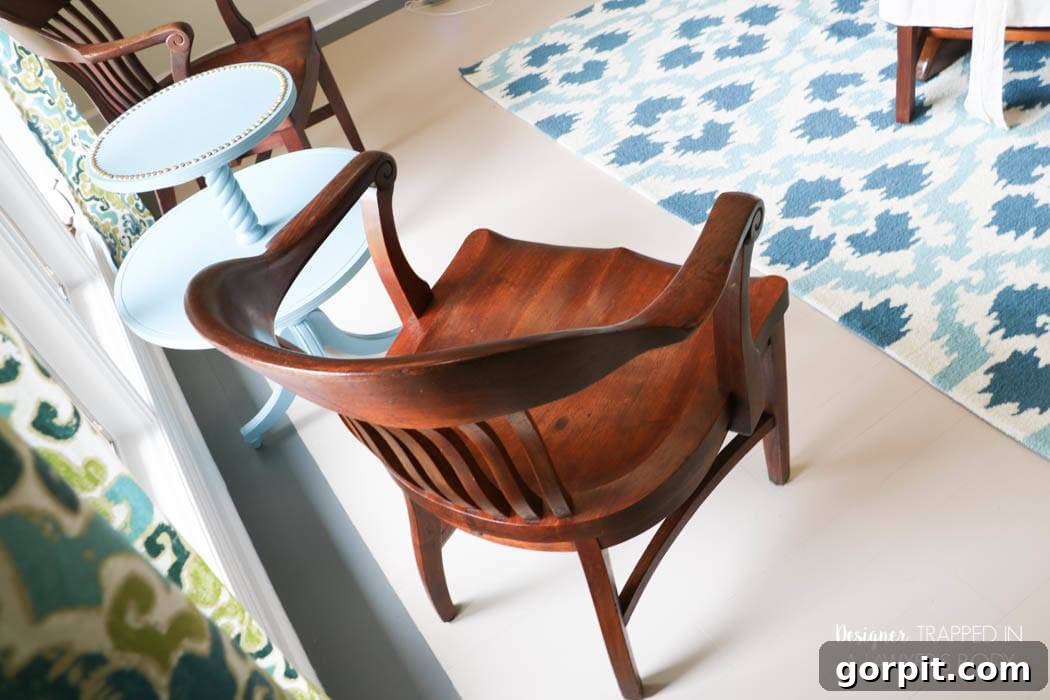
Effortless Wood Chair Refinishing: No Sanding or Stripping Required!
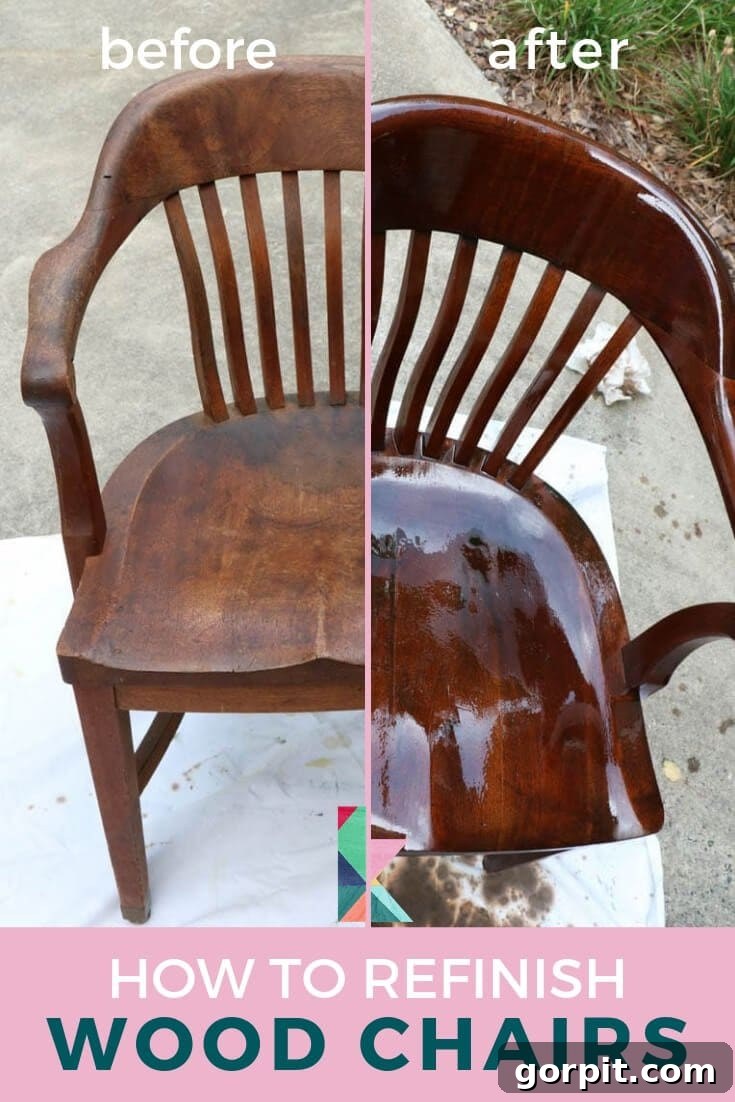
This post is proudly sponsored by Mohawk. All opinions expressed are 100% my own, based on my personal and highly positive experience using these exceptional products.
Transforming Antique Wood Chairs the Easy Way
Hello, fellow DIY enthusiasts! Get ready to be absolutely thrilled, because I’m about to share a project that truly changed the game for me. Have you ever dreamed of giving your beloved wooden chairs a fresh new look, but dreaded the thought of hours of sanding and messy chemical strippers? What if I told you there’s an incredibly simple method to refinish wood chairs without any sanding or stripping? Yes, it’s true, and I’m ecstatic to show you exactly how to do it!
This revolutionary technique makes furniture restoration accessible to everyone, regardless of their DIY experience. It saves immense amounts of time, reduces cleanup, and allows you to breathe new life into your furniture with minimal effort. This isn’t just a quick fix; it’s a legitimate method that yields professional-looking results, preserving the character and charm of your pieces while enhancing their beauty and durability.
Why Choose No-Sanding Chair Refinishing?
The traditional method of refinishing wood furniture often involves extensive sanding to remove the old finish, followed by stripping chemicals that can be harsh and difficult to work with. This process is not only labor-intensive and time-consuming but also creates a significant amount of dust and mess. For many DIYers, these challenges are enough to deter them from attempting furniture restoration projects.
However, the no-sanding, no-stripping approach bypasses these hurdles entirely. It’s perfect for pieces with intricate details that are difficult to sand, or for those who simply want a faster, cleaner, and less strenuous restoration experience. This method is particularly kind to antique furniture, as it minimizes disturbance to the original wood, allowing its unique patina and history to shine through. You can achieve a revitalized look that honors the age and character of your furniture, rather than erasing it. It’s a game-changer for anyone looking for an efficient and enjoyable way to upgrade their home decor.
Our Project: Restoring Beloved Banker’s Chairs
Several years ago, my mom gifted us these magnificent antique banker’s chairs. These aren’t just any chairs; they’ve been cherished family heirlooms for decades. However, for the past 15 years or so, they’ve spent most of their time tucked away in attics {cue a slight blush of shame}. Despite their long hibernation, these chairs are truly exceptional—crafted from high-quality, solid wood with a timeless style that is increasingly rare to find today. They possessed a certain grandeur, even in their neglected state, and I knew they deserved to be brought back into the light.
We finally embarked on this refinishing journey because we discovered an amazing line of Mohawk products that promised to simplify the entire process. The best part? These products allowed us to completely transform the chairs without the need for sanding or stripping the original finish. This was a monumental discovery, enabling us to achieve a beautiful makeover in a fraction of the time typically required. I’m thrilled to report that refinishing both of these antique chairs took me approximately three hours from start to finish. Yes, you read that right—easy peasy, and incredibly satisfying!
The Chairs Before: A Glimpse at Their Imperfections
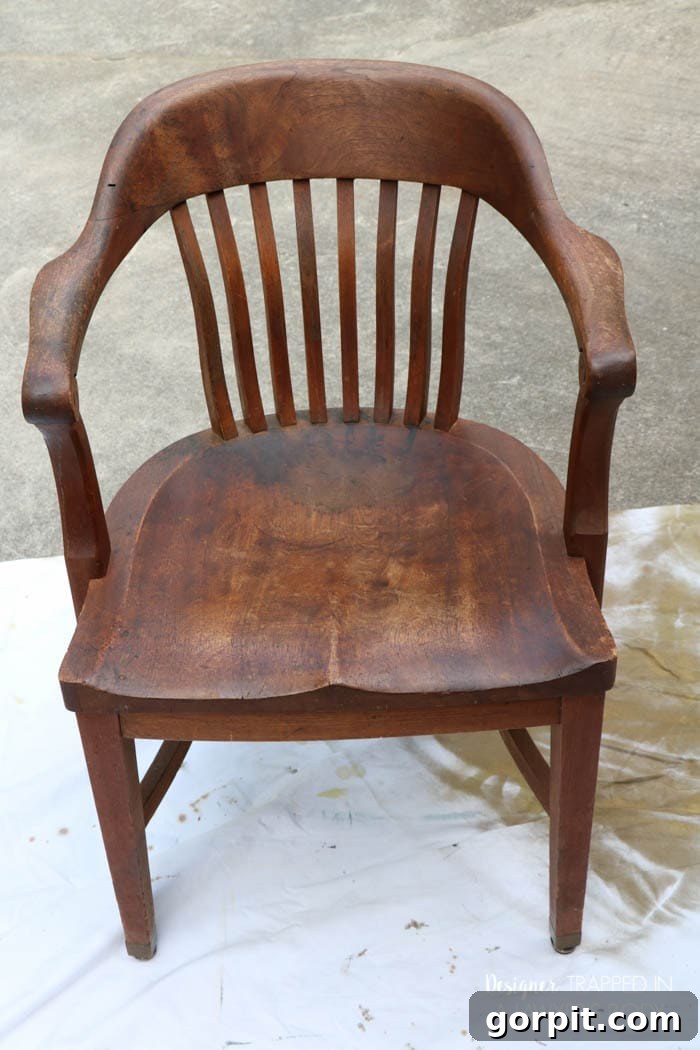
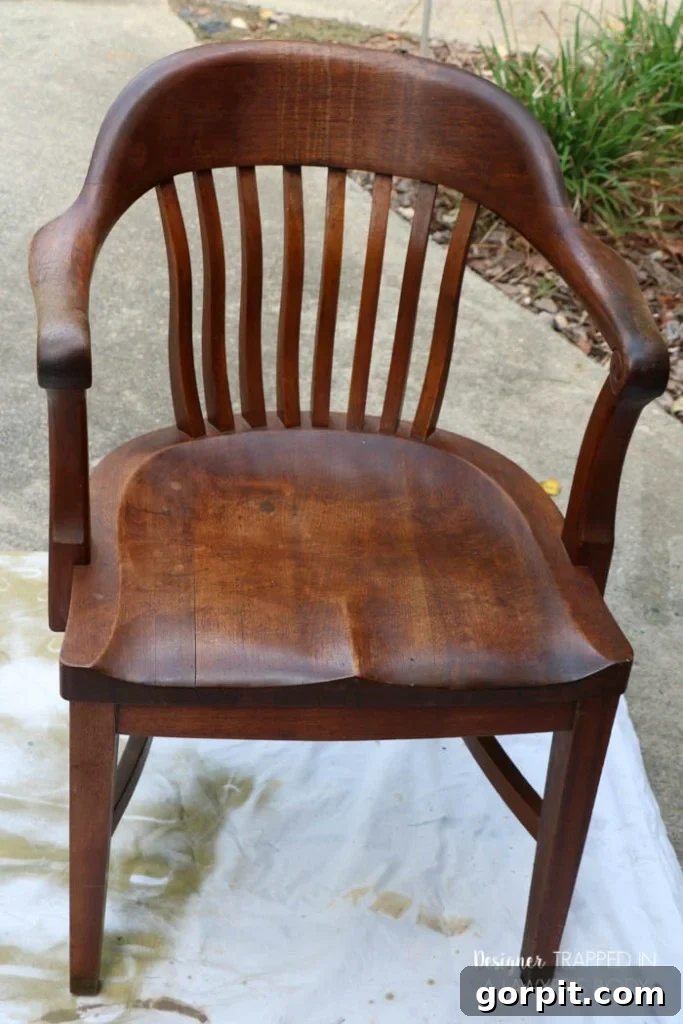
Before diving into the restoration process, let me show you the condition of these chairs. Their appearance clearly indicated they had endured years of use and neglect, making them perfect candidates for a much-needed refresh.
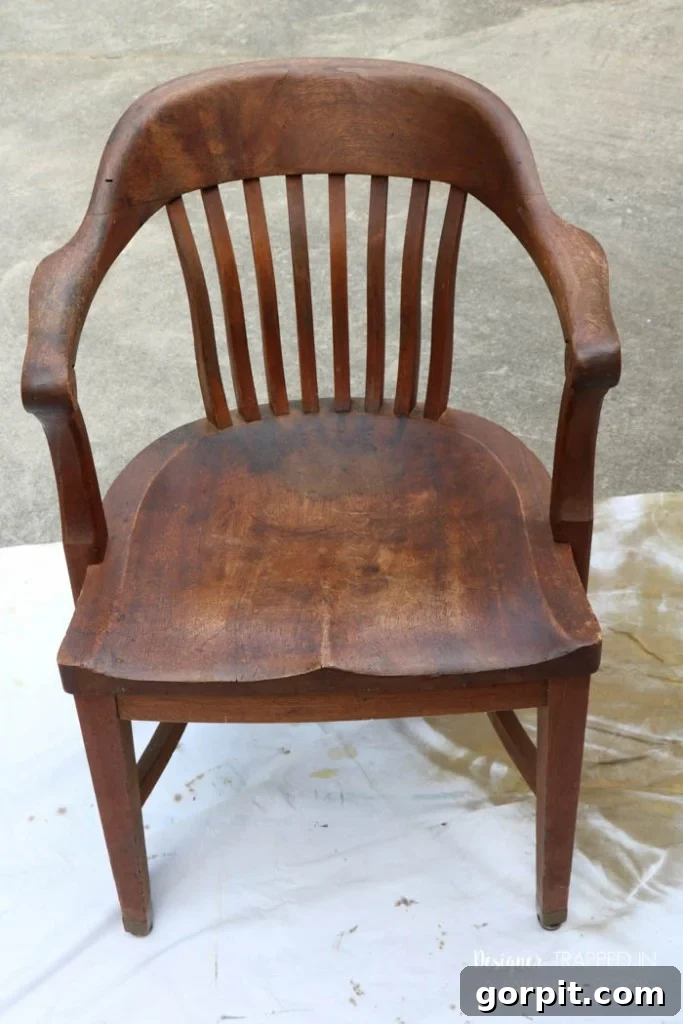
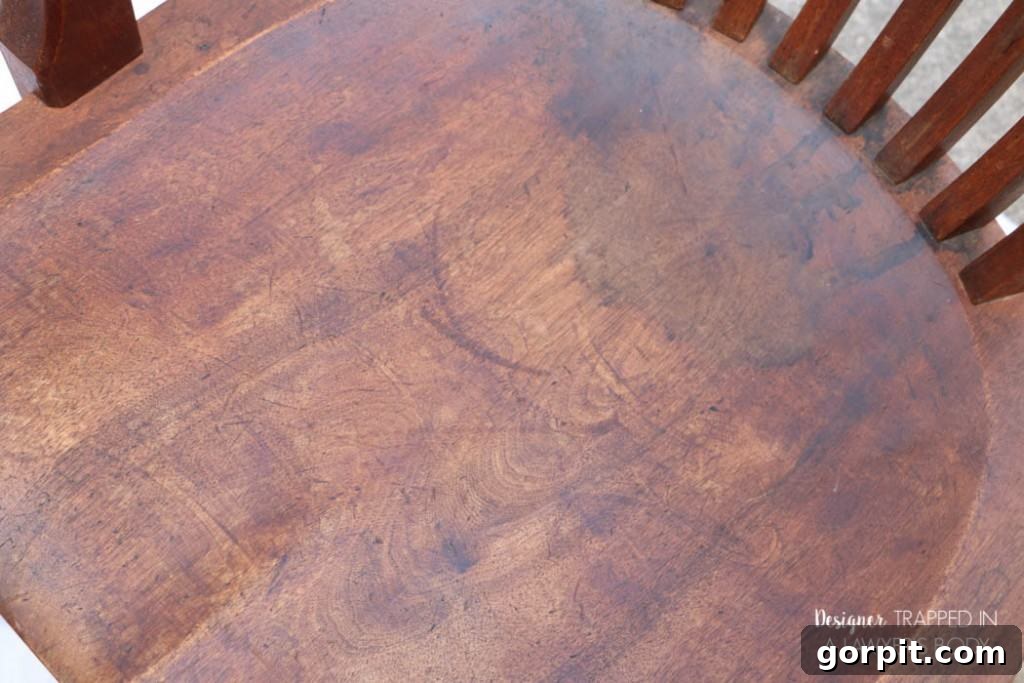
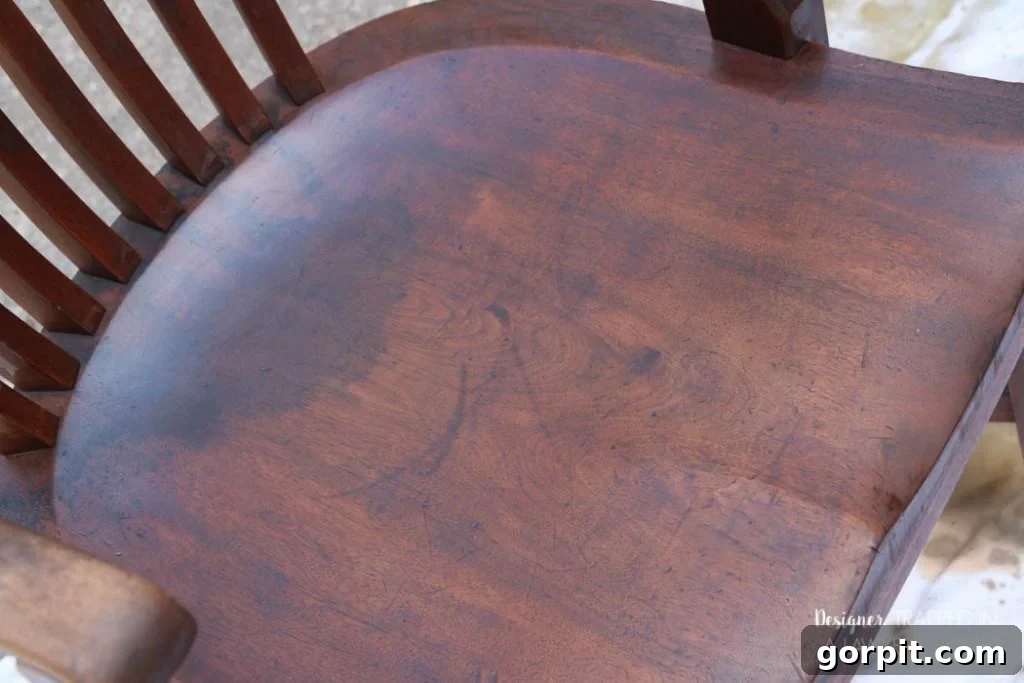
The first chair, in particular, displayed significant staining and noticeable color variations across its seat. These blemishes were uneven and detracted from the chair’s inherent beauty, making it evident that it was crying out for some tender loving care.
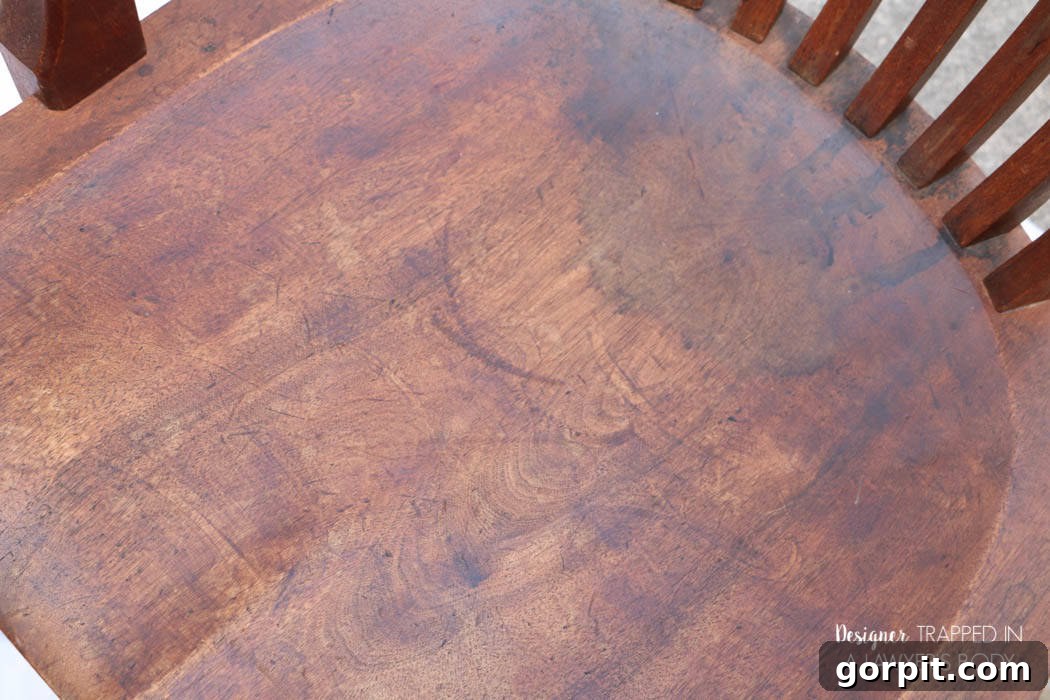
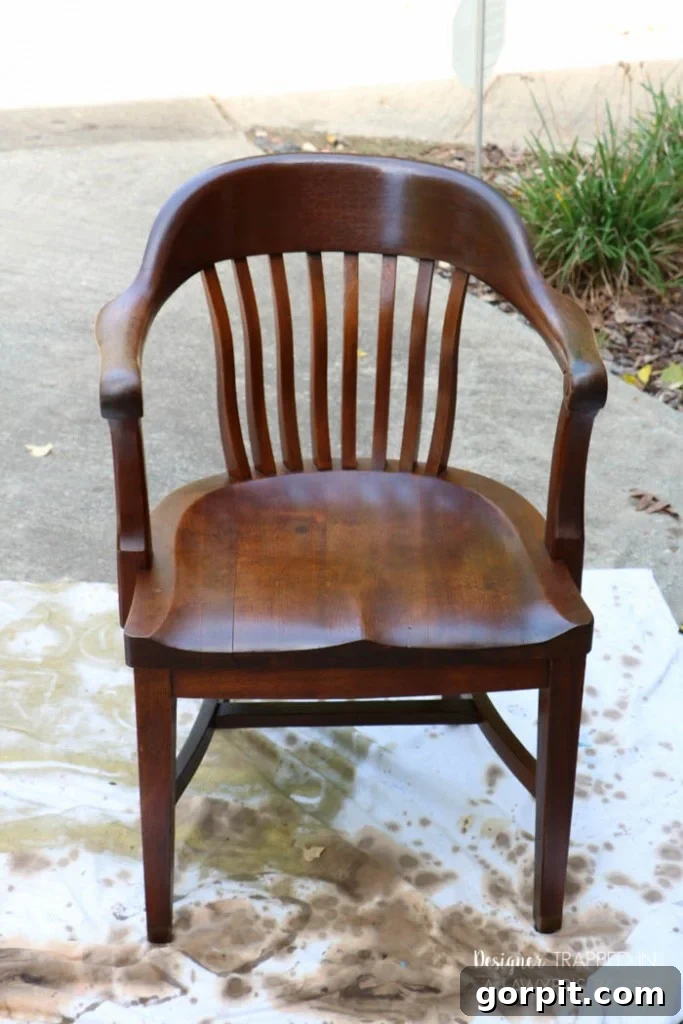
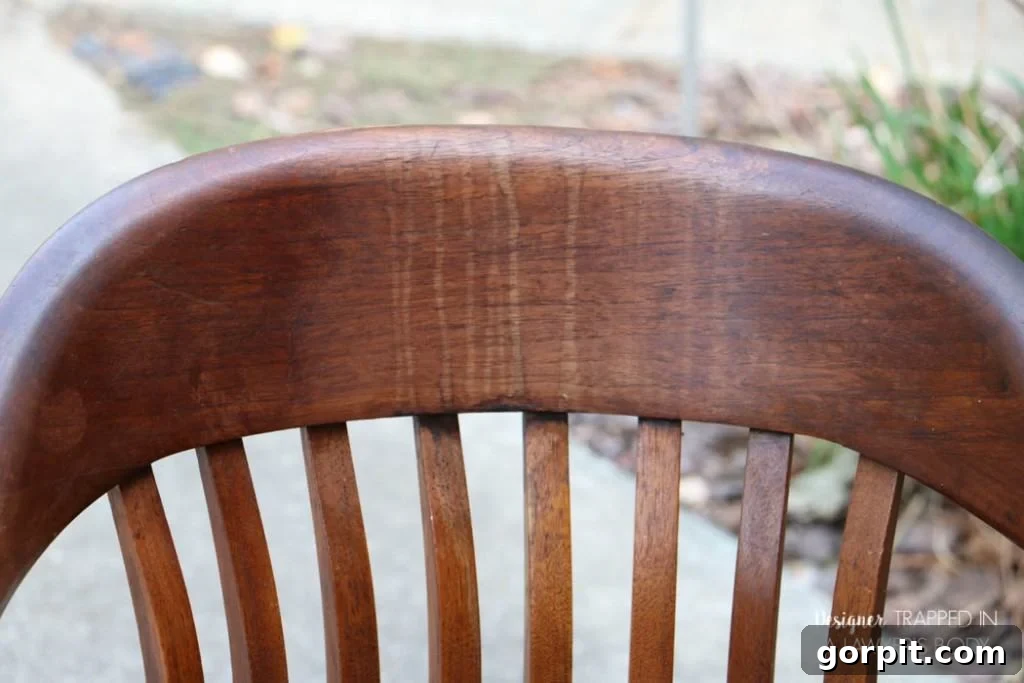
The second chair, while generally having better overall color consistency, presented its own unique challenge: prominent drip marks on the back support piece. These marks were unsightly and marred the smooth finish of the wood, requiring targeted attention during the refinishing process.
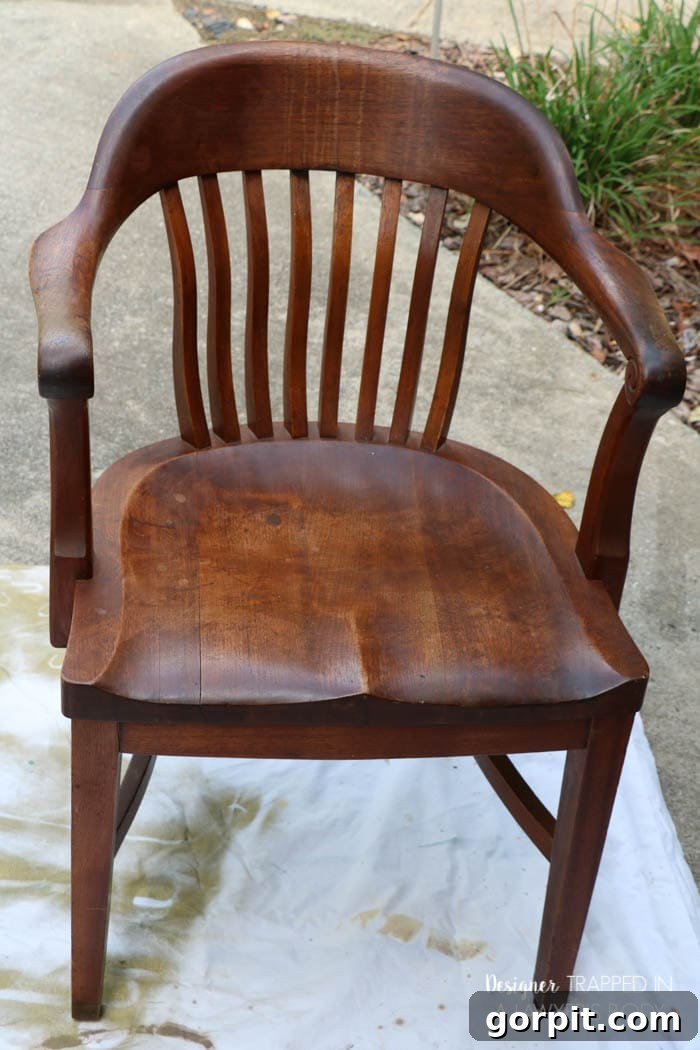
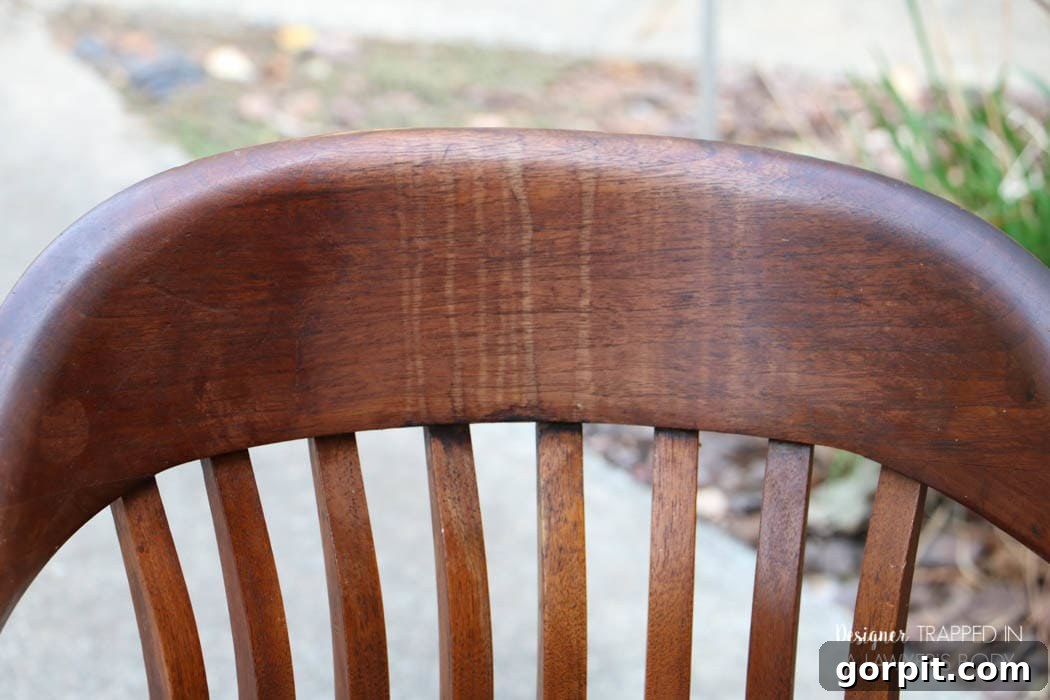
Now that you’ve seen the starting point, prepare to be amazed as I guide you through the transformation of these chairs in just about three hours! This post contains some affiliate links for your convenience. Click here to read my full disclosure policy.
Essential Materials for Your No-Sanding Chair Makeover
I was incredibly fortunate to receive and test these professional-grade Mohawk products as a perk of being a blogger. The fantastic news for all of you is that Mohawk is actively launching a consumer line of all the products I utilized in this project. Many of these incredible items are already available for purchase, and the remainder will be hitting the shelves very soon, making this easy refinishing method accessible to everyone! You can find many of them on Amazon right now!
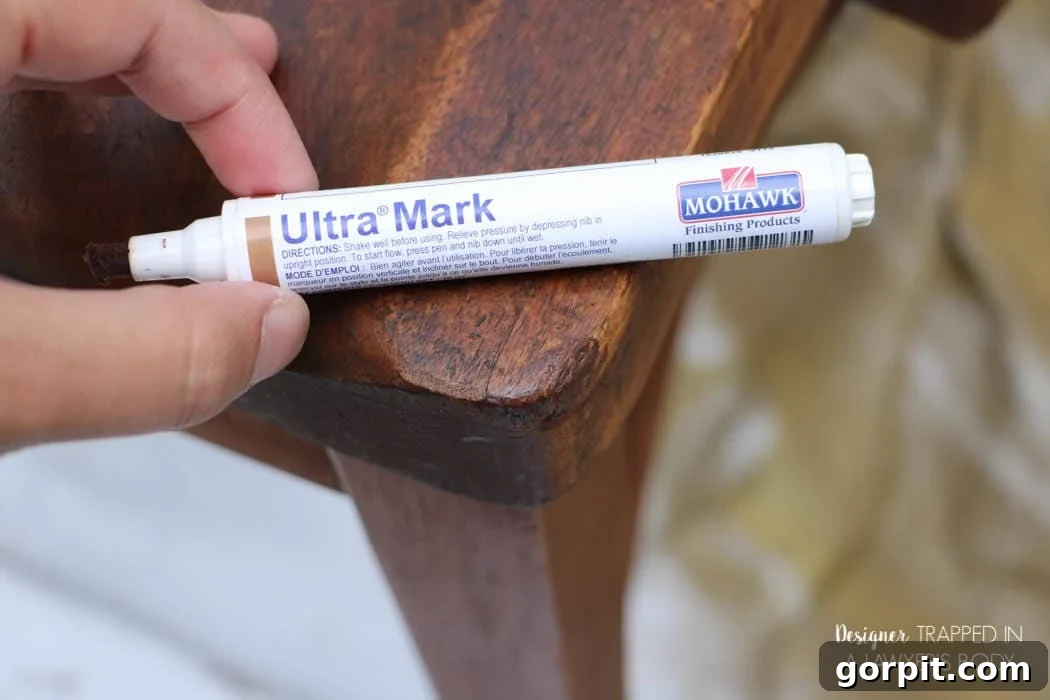
- Mohawk Ultra Touch-Up Marker: Essential for seamlessly blending scratches and worn edges, these markers allow for precise color application.
- Mohawk Wax Wash Remover: A crucial step for ensuring a clean surface by dissolving any old wax buildup, which is vital for stain adhesion.
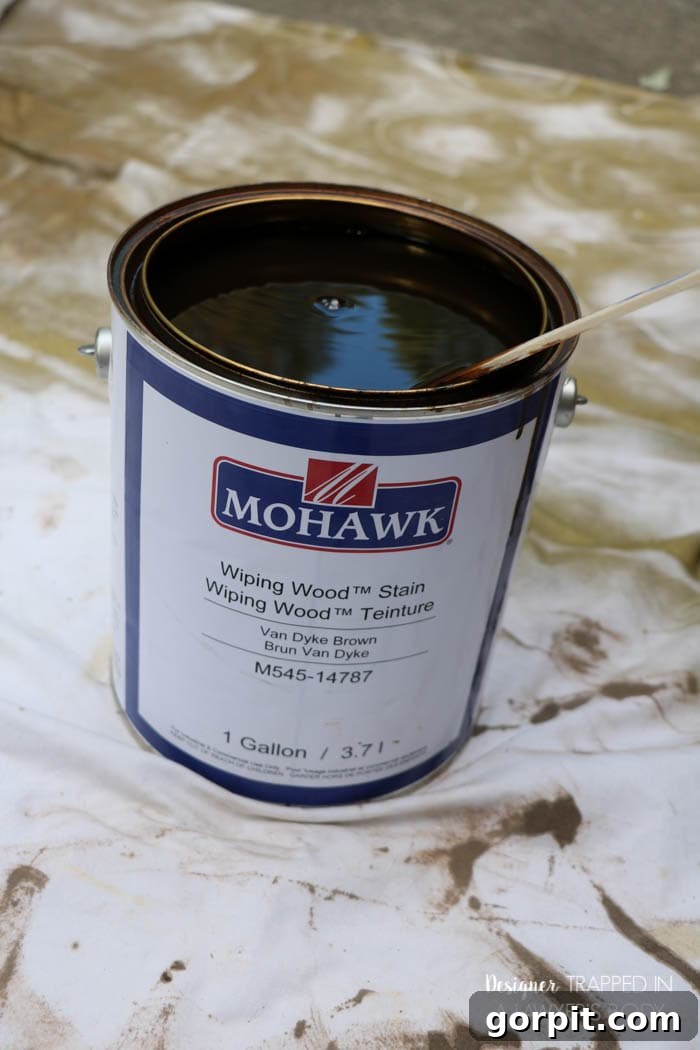
- Mohawk Wiping Wood Stain: This thin, easy-to-apply stain revitalizes wood color and evens out existing finishes, offering impressive depth and richness.
- Mohawk Brush Tip Graining Markers: Perfect for mimicking natural wood grain, these markers are excellent for camouflaging stubborn imperfections or adding decorative details.
- Satin Polyurethane (Oil-Based Recommended): Provides a durable, protective topcoat with a subtle sheen, enhancing the wood’s beauty and extending its life.
- Water and Vinegar Cleaning Solution: A simple, natural cleaner (1:1 ratio) for initial surface preparation, removing general dirt and grime.
- Paper Towels or Lint-Free Rags: For wiping away excess cleaner, stain, and wax remover, ensuring a smooth, even finish.
- Latex or Nitrile Gloves: Absolutely essential for protecting your hands from chemicals and stains throughout the process.
- Foam Brush: Ideal for applying wiping stain evenly and controlling product distribution.
Step-by-Step Guide: How to Refinish Wood Chairs Without Sanding
Let’s get started on this incredibly rewarding project! Follow these simple steps to achieve a beautifully refinished chair without the traditional hassle.
Step 1: Deep Cleaning and Wax Removal
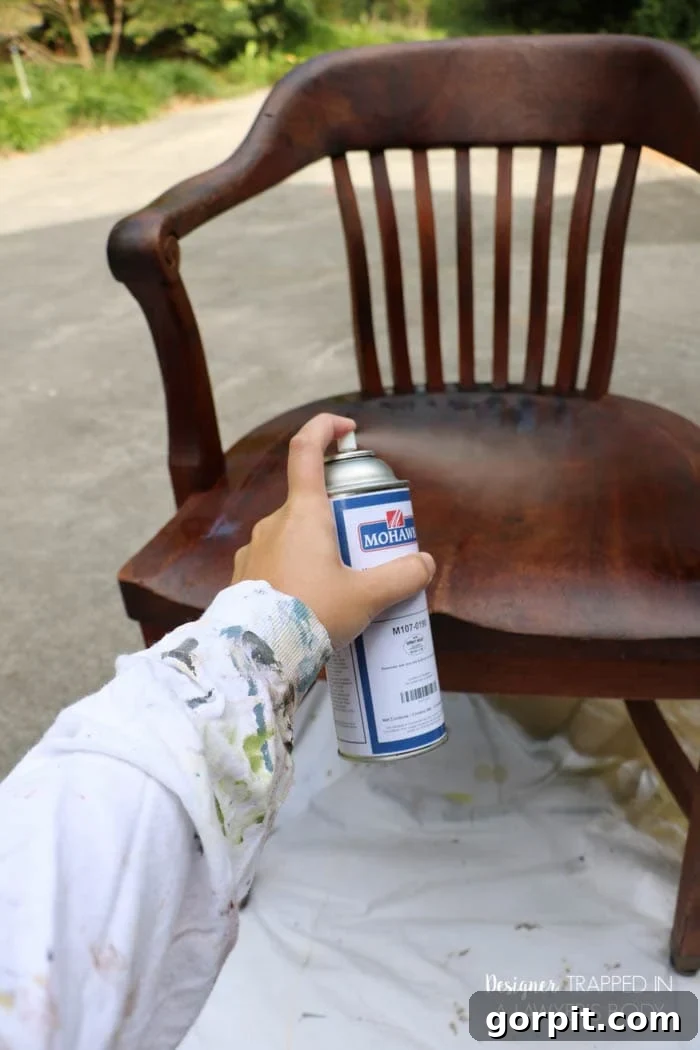
The first and arguably most critical step in this no-sanding refinishing process is thorough cleaning. I began by meticulously cleaning the chairs with a simple yet effective homemade solution of water and vinegar (a 1:1 ratio works perfectly). This initial cleaning helps remove surface dirt, grease, and grime. After this, I performed a second, more specialized cleaning using Mohawk’s Wax Wash Remover. This product is specifically formulated to ensure that any lingering wax buildup or old polish on the chairs is completely dissolved and removed. Simply spray it on, let it sit for a moment as per product instructions, and then wipe it off with clean paper towels. It’s imperative that the surface is completely free of any old waxes or polishes for the new stain to adhere properly. Be aware that this spray does emit some fumes, so I highly recommend working outdoors or in a very well-ventilated area to ensure your safety and comfort.
Step 2: Repairing Worn Edges with Touch-Up Markers
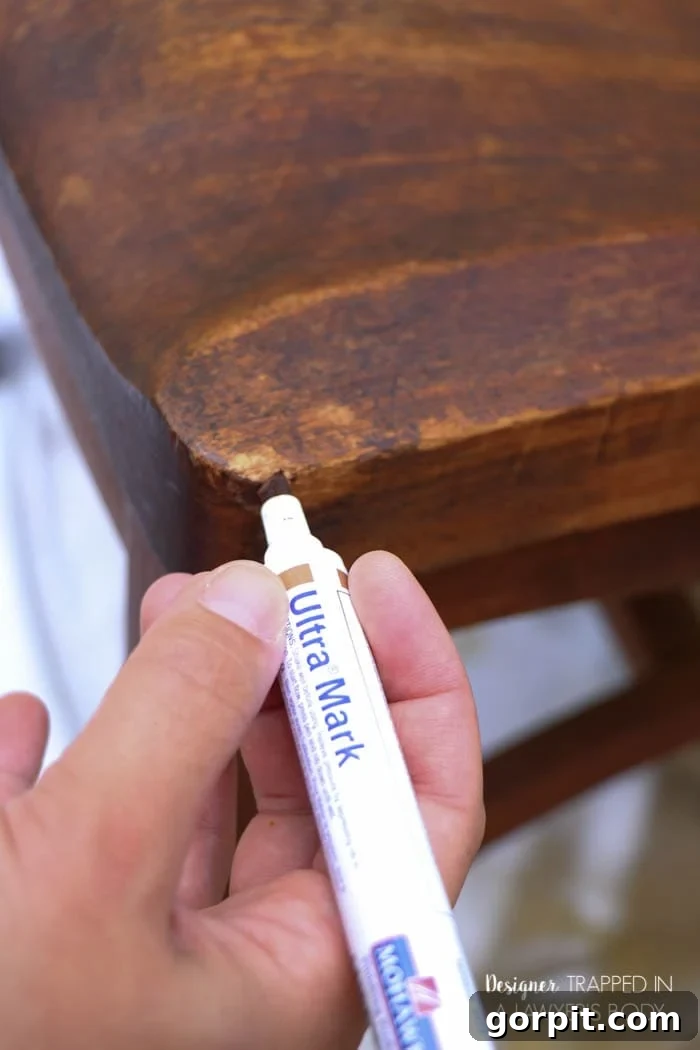
Once the chairs were thoroughly clean and dry, I moved on to addressing the visibly worn edges and minor scratches. This is where the Mohawk Ultra Touch-Up Marker comes into play. This part is incredibly straightforward and surprisingly satisfying! If you can color with a marker, you can master this step. Select a marker shade that closely matches your chair’s existing wood tone. Gently apply the marker directly to any areas where the finish has worn away, or where small scratches are present. The goal is to blend these imperfections seamlessly into the surrounding wood, making them much less noticeable. Work with light strokes and build up the color gradually. The precision tip of these markers allows for excellent control, making it easy to achieve a natural, revitalized look without overdoing it.
Step 3: Applying Wiping Wood Stain for Color Revival
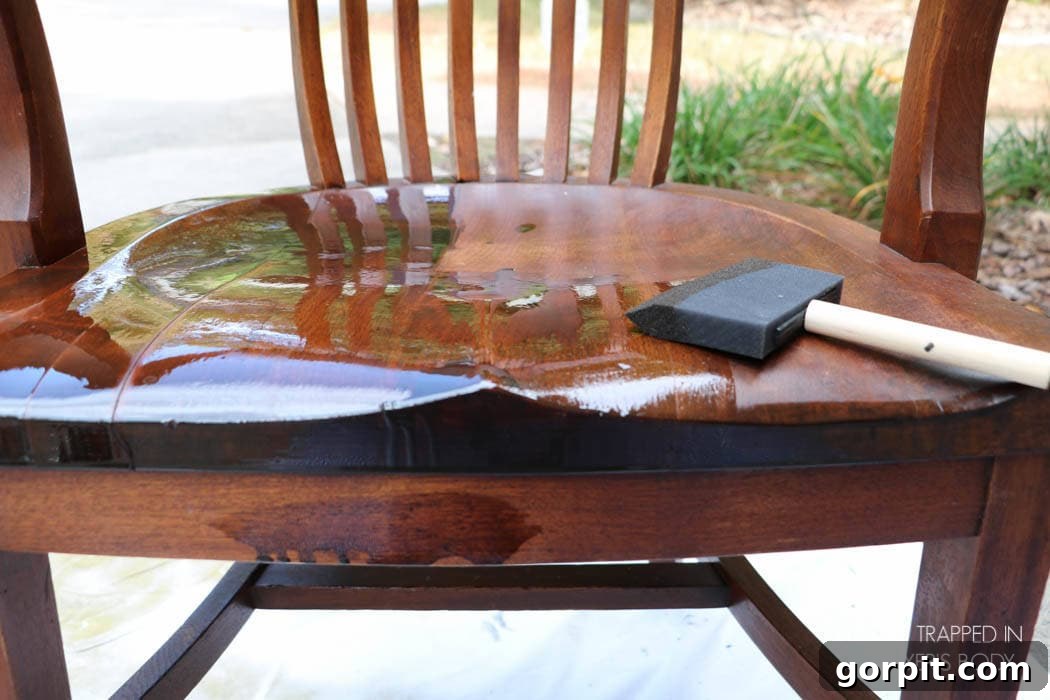
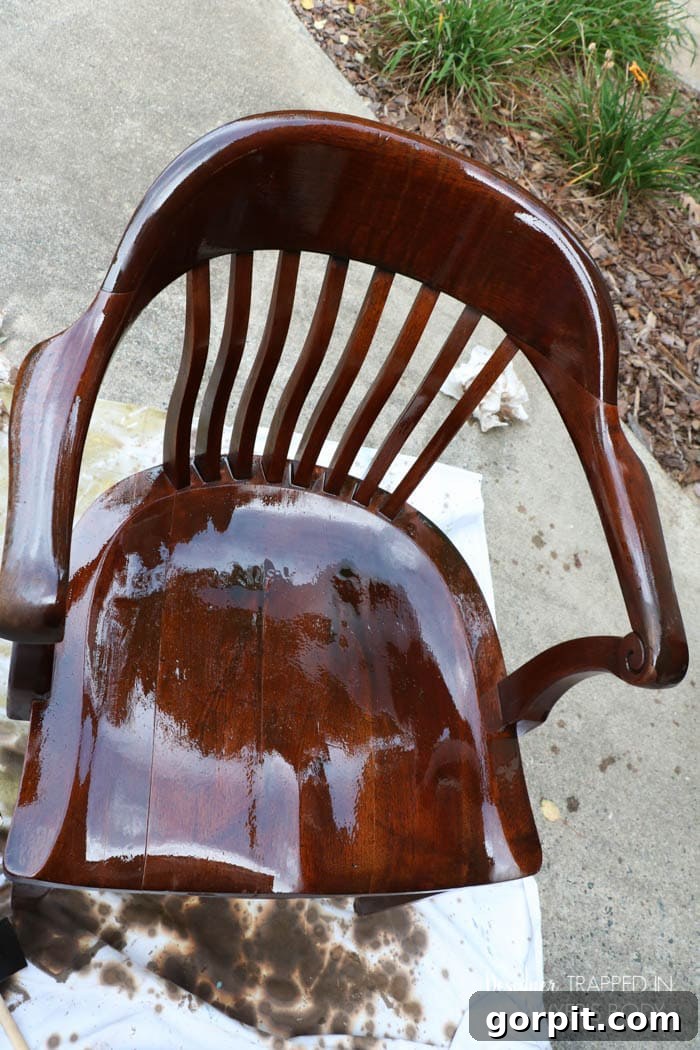
Next up: staining! Y’all, this Mohawk Wiping Wood Stain is truly AH-MAZING. It’s designed to refresh and even out the existing finish, adding depth and a uniform color without the need for stripping. This stain is quite thin, so exercise caution when working with it, as it can splatter easily. I found that applying it with a foam brush worked exceptionally well, allowing for smooth, controlled strokes. The trick is to apply a thin coat and then immediately wipe off the excess with clean paper towels or lint-free rags. This “wiping” technique prevents the stain from building up too heavily and ensures an even, natural look. I applied two coats to each chair, allowing adequate drying time between applications as per the product’s instructions. Just like the wax remover, this stain does emit fumes, so it’s absolutely crucial to work in a very well-ventilated area, preferably outdoors.
Step 4: Camouflaging Imperfections with Graining Markers
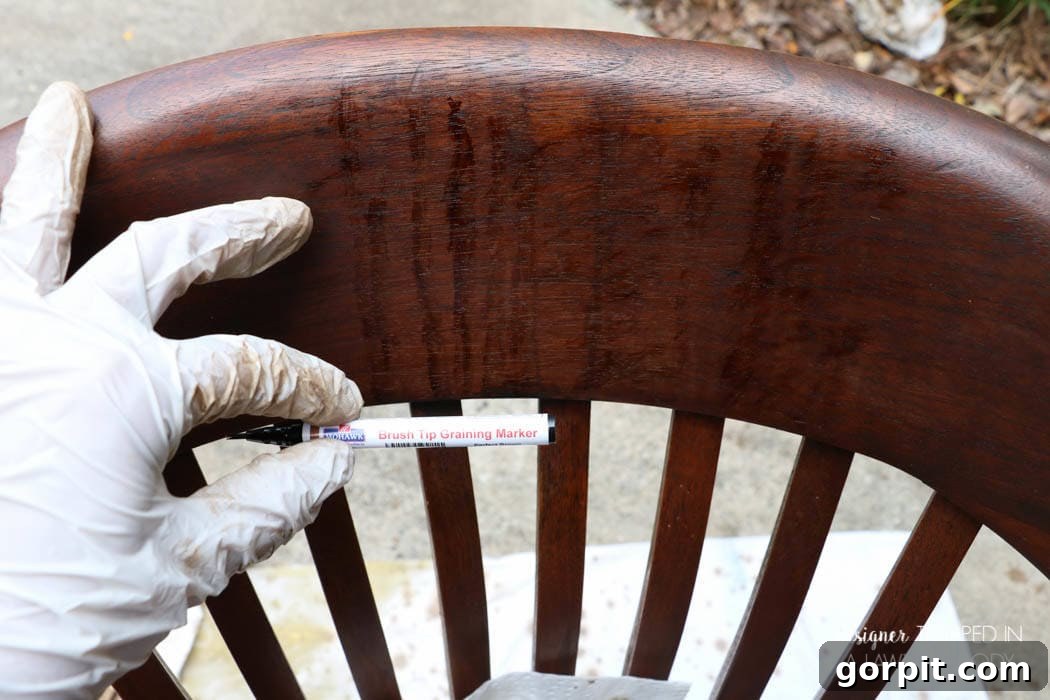
Even after applying two coats of stain, the stubborn drip marks on the back support piece of the second chair were still faintly noticeable. While significantly improved, they weren’t entirely gone. This called for a targeted approach using my Mohawk Brush Tip Graining Markers. These markers are fantastic for mimicking the natural wood grain, allowing you to effectively camouflage persistent imperfections. I carefully feathered on the wood grain marker stain over the drip marks, using light, short strokes that followed the direction of the existing wood grain. Immediately after application, I quickly wiped the excess off with a paper towel to blend it seamlessly. This technique helps to “break up” the appearance of the drip marks, integrating them into the natural texture of the wood. After this step, I applied a little more stain to the back support piece to further ensure a uniform and blended finish.
Step 5: Protecting Your Refinished Chairs with Polyurethane
The final step in our no-sanding chair refinishing process is applying a protective topcoat. I opted for a coat of oil-based satin polyurethane on each chair. Polyurethane is crucial for sealing and protecting the newly enhanced wood finish, making it more durable against daily wear and tear, moisture, and scratches. A satin finish provides a beautiful, subtle sheen that enhances the wood’s natural warmth without being overly glossy, preserving the antique aesthetic. Apply the polyurethane with a clean brush, ensuring an even, thin coat. Avoid drips and bubbles by applying it smoothly and not overworking the brush. Allow sufficient drying time as recommended by the product manufacturer before handling or using the chairs. If you choose to apply a second coat for extra durability, a very light sanding with fine-grit sandpaper (around 220-grit) between coats can help with adhesion and a smoother finish, but ensure you clean off all dust before the next coat.
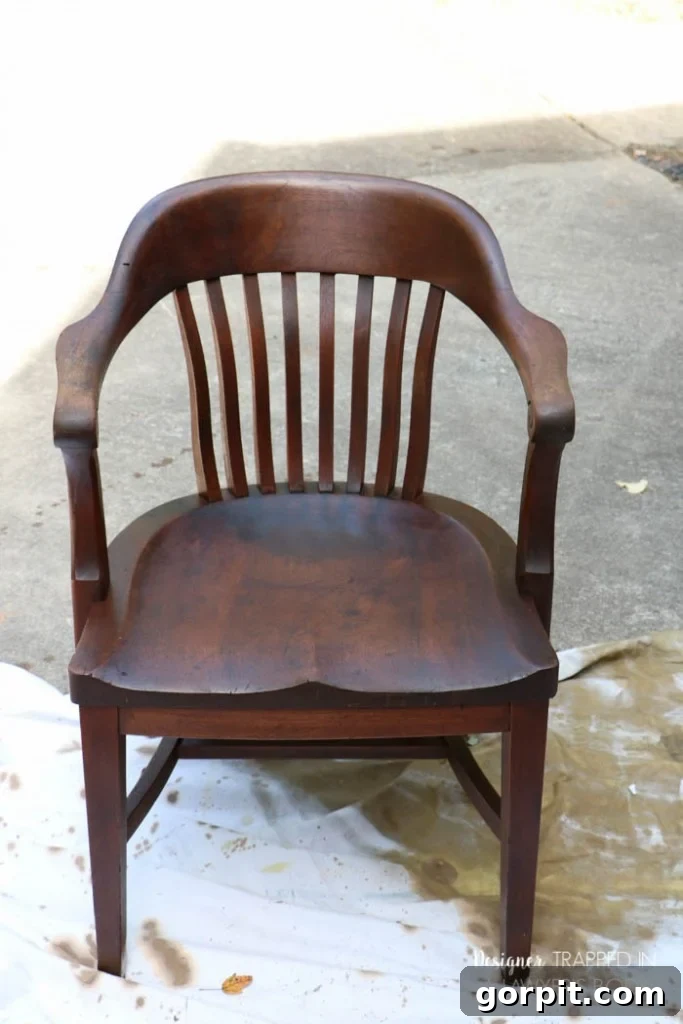
Voila! The chairs are now transformed. They aren’t “perfect” in the sense of being brand new, factory-finished pieces, but perfection was never my goal. These are ANTIQUE chairs, and I intentionally did not want to erase all their imperfections or the beautiful signs of age that tell their story. If I desired brand new chairs, I would have simply purchased them. Instead, my aim was to enhance their inherent antique beauty, allowing their character to shine through, and these amazing products allowed me to do just that. They look refined, cared for, and absolutely stunning in their revived state. Now, let’s marvel at the final results!
The Stunning Transformation: Before & After Reveal
Chair #1: From Stained to Sophisticated
|
|
|
|
|
|
Chair #2: Drip Marks Vanish, Beauty Restored
|
|
|
|
|
|
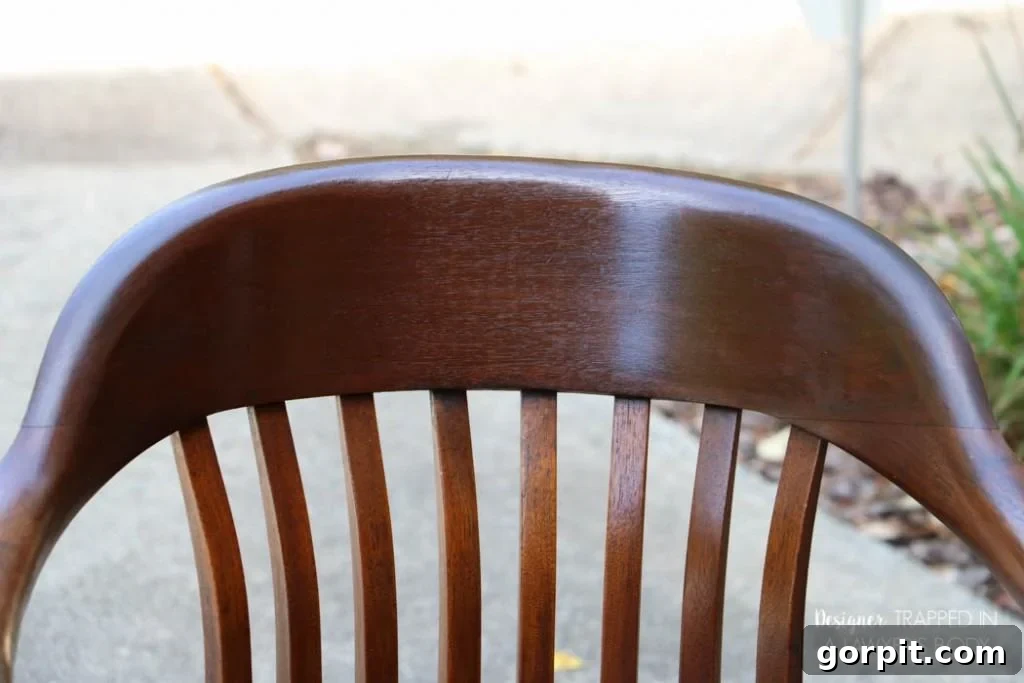
More Than Just Furniture: Our Refinished Chairs in Their New Home
These gorgeous chairs now hold a place of honor in our home. Initially, they graced our dining room, which recently underwent a stunning makeover (please note: the photos in our dining room makeover post were taken BEFORE I refinished these chairs). With just about three hours of dedicated work, these antique chairs have been granted a vibrant new lease on life. Don’t they look absolutely beautiful and commanding in front of our large dining room window, perfectly complementing the refreshed space?
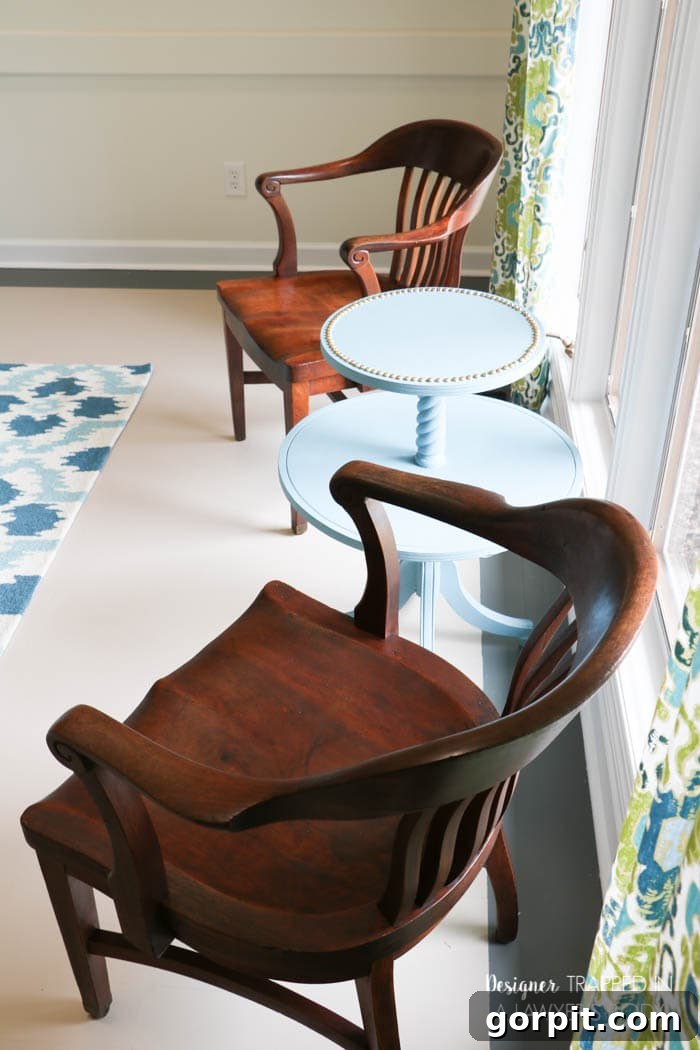
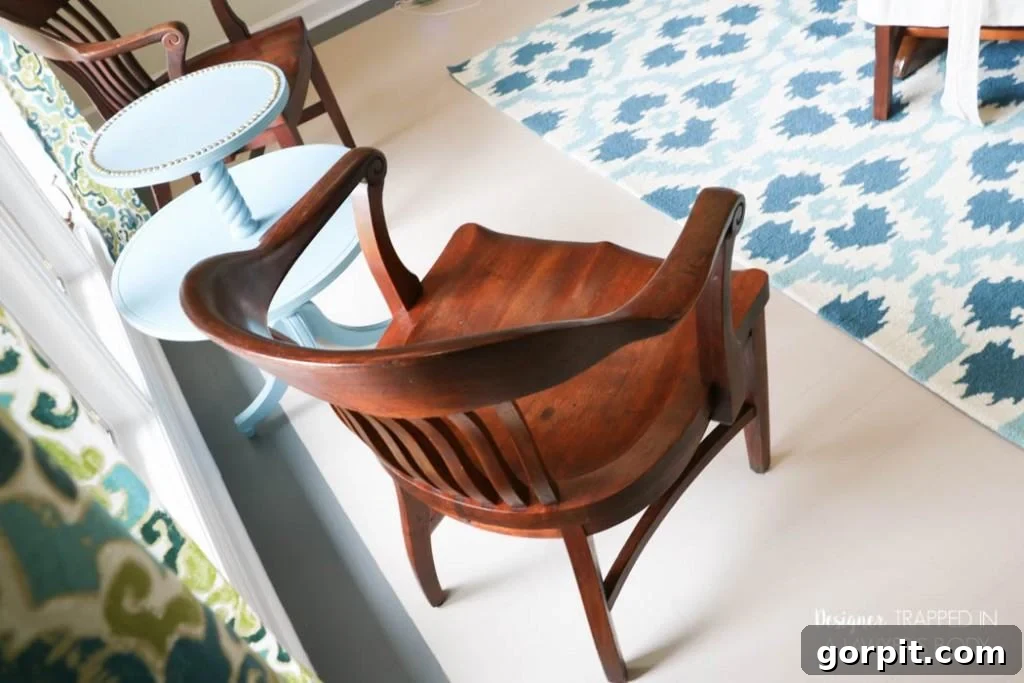
After our dining room transformation, we decided to give our beautiful chairs even more opportunities to shine by relocating them to different spots around the house. One now sits gracefully in our foyer, where it pairs perfectly with our antique desk, adding a touch of classic elegance to the entryway. This versatility showcases not only the chairs’ timeless design but also the effectiveness of this easy refinishing method in preparing them for any setting.
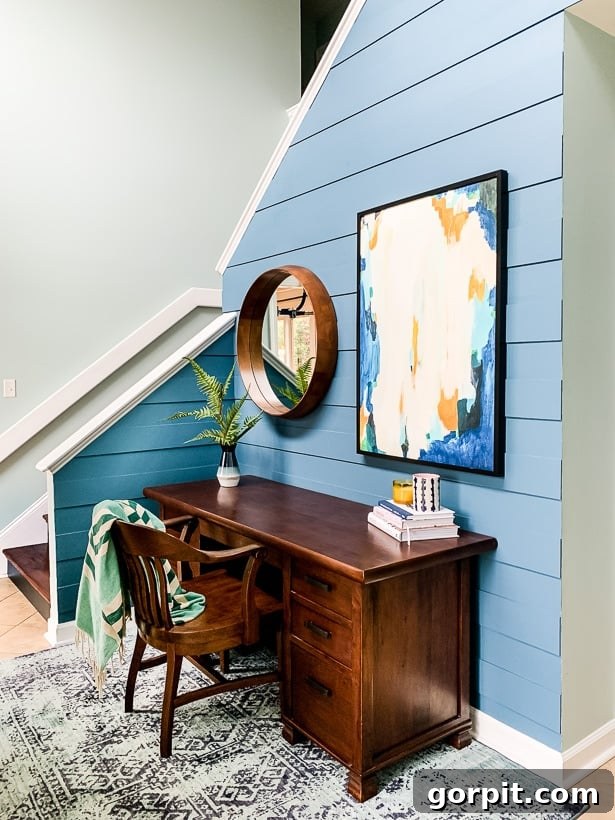
Expand Your DIY Skills: More No-Sanding Wood Refinishing Projects
If you found this guide inspiring and are eager to tackle more furniture makeovers, you’re in luck! This no-sanding, no-stripping technique can be applied to a variety of wood furniture pieces, offering a simpler path to stunning results. To further hone your skills and transform other items in your home, be sure to check out how we refinished our dining room table using very similar methods in this detailed post. It’s another fantastic example of how you can achieve professional-looking results without the typical mess and effort.
Frequently Asked Questions About No-Sanding Wood Refinishing
Here are some common questions you might have about this innovative refinishing method:
- Q: Can I use this method on any type of wood furniture?
A: Generally, yes! This method works wonderfully on most finished wood furniture pieces, especially those with minor imperfections, scratches, or faded finishes. It’s less suited for deeply gouged or severely damaged wood that requires structural repair or heavy material removal. - Q: How long does the refinished look last?
A: When properly applied and sealed with polyurethane, your refinished chairs can last for many years. The durability largely depends on the quality of the topcoat and how often the furniture is used and maintained. - Q: Are Mohawk products necessary for this method?
A: While Mohawk products are highly recommended for their professional-grade quality and effectiveness in this specific method, similar no-sanding/no-stripping restoration products from other brands might offer comparable results. Always test any new product in an inconspicuous area first. - Q: Is it absolutely necessary to remove all wax and polish?
A: Yes, this step is crucial! Any residual wax, polish, or silicone can prevent the new stain and polyurethane from adhering properly, leading to uneven finishes, peeling, or a tacky surface. Mohawk’s Wax Wash Remover is excellent for this purpose. - Q: How do I choose the right stain color?
A: It’s best to choose a stain color that is close to or slightly darker than your original wood tone. Always test a small amount of stain on an inconspicuous area (like the underside of the chair) to ensure you are happy with the color before applying it to the entire piece.
Ready to Transform Your Furniture?
Empower yourself with this simple yet effective approach to furniture restoration. Say goodbye to the daunting tasks of sanding and stripping, and hello to beautiful, revived wood furniture that tells a story. With a few hours and the right products, you can bring out the hidden beauty in your cherished pieces, just like we did with our antique banker’s chairs. Happy refinishing!
