
Are you tired of staring into a cluttered closet, feeling like you have nothing to wear despite owning a mountain of clothes? Do you dream of a wardrobe that’s not only functional but also a source of calm and inspiration? Get ready to transform your closet and your daily routine! I’m going to guide you through a simple, step-by-step process to organize your closet efficiently, promising a remarkable transformation in less than two hours. Yes, you read that right – just a couple of hours for a significant, lasting change!
A well-organized closet isn’t just about aesthetics; it’s a game-changer for your sanity, time, and even your wallet. Imagine this: no more frantic searches for that one specific top, no more wasting precious minutes every morning trying to piece together an outfit. When everything has its place and is easily visible, you save invaluable time in your busy schedule. Furthermore, an organized wardrobe prevents impulse purchases born from the mistaken belief that you “have nothing to wear.” By clearly seeing and utilizing every item you own, you’ll curb unnecessary spending on new clothes. Plus, when your garments are neatly hung and folded, they endure longer, translating into even greater financial savings over time. It’s an investment that pays dividends in convenience, style, and peace of mind.
Organizing your closet doesn’t require a professional organizer or a costly closet system. It simply demands a dedicated block of time and a willingness to make intentional choices about your belongings. This comprehensive guide will walk you through the entire process, making what might seem like a daunting task feel surprisingly manageable. Trust me, the initial investment of a few hours will yield immense time savings and daily satisfaction for months, if not years, to come. It’s a promise!
This post contains some affiliate links for your convenience. Click here to read my full disclosure policy.
Before we dive into the organizational magic, I highly recommend a crucial preparatory step: investing in matching wood hangers for your closet. While not strictly mandatory, uniform hangers dramatically elevate the visual appeal of your closet, making it feel more cohesive and boutique-like. Beyond aesthetics, they often create more space due to their slim profile compared to bulky plastic hangers. We sourced all of ours from Ikea years ago, where they offer excellent quality at an unbeatable price point (believe me, I extensively researched for the best value!). If an Ikea store isn’t conveniently located near you, don’t fret; Amazon also provides a wide selection of affordable wood hangers that will serve your organizational goals perfectly. Consider natural wood hangers for a classic, durable look, or opt for flocked velvet hangers which are excellent for preventing clothes from slipping off.
Okay, before I reveal the simple steps to organize your closet, let’s take a candid look at what our closet resembled BEFORE we embarked on this transformation. Prepare yourself!
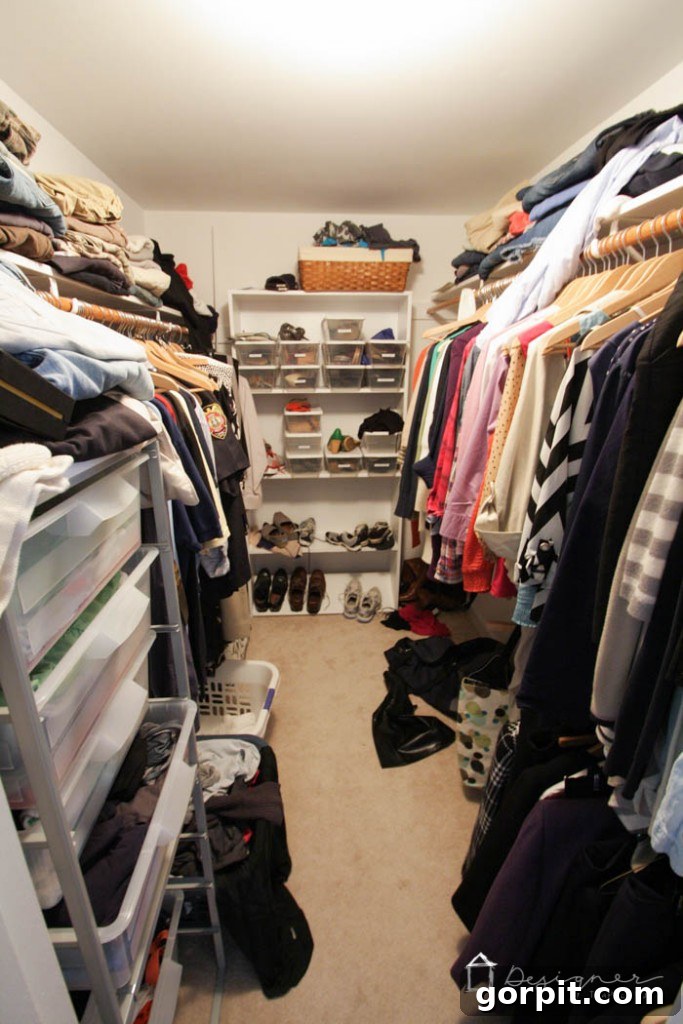
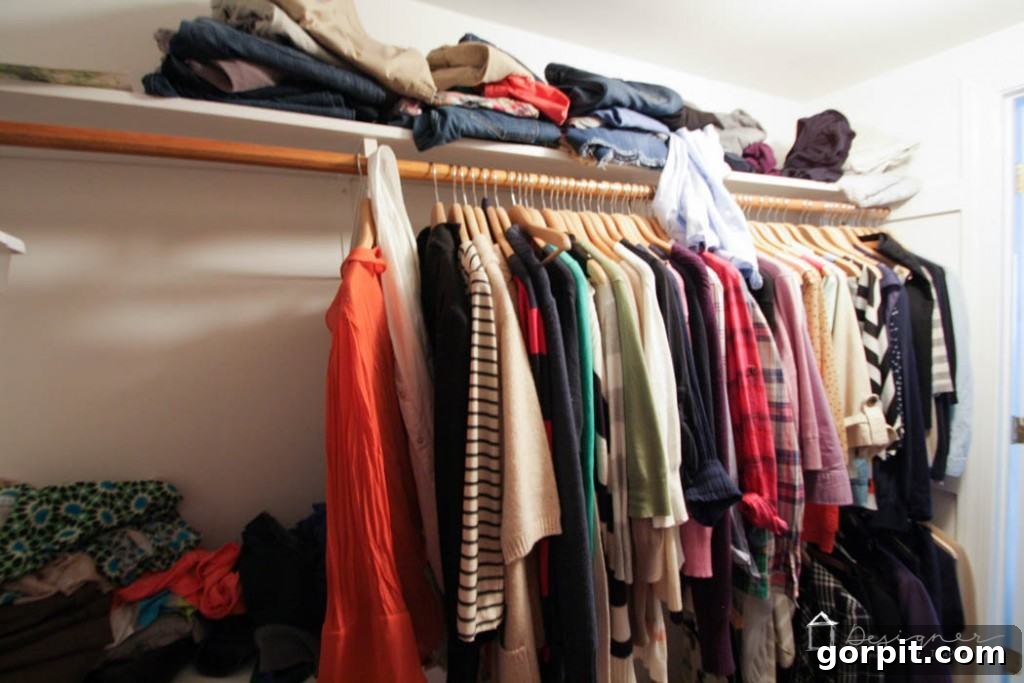
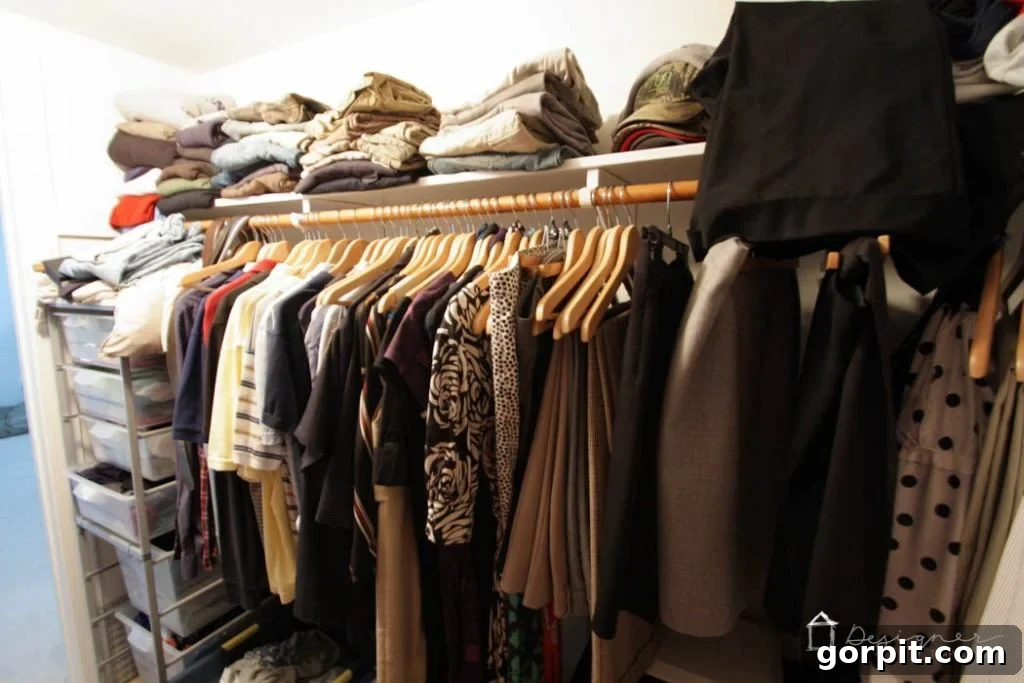
Unlock Your Best Wardrobe: A Step-by-Step Guide to Organizing Your Closet in Under 2 Hours
Step 1: The Great Closet Empty-Out
This is arguably the most critical and often overlooked step. To truly organize, you need to start with a blank slate. Remove every single item from your closet – and I mean *everything*. This includes all clothes, shoes, hangers, accessories, storage boxes, and anything else that might have found its way into that space. Don’t leave a single sock behind! Choose a large, clear area to temporarily place all these contents. Your bed, the floor of your bedroom, or even a combination of both can work perfectly. In our case, we utilized our entire bed and a good portion of our bedroom floor – it creates an impressive (and slightly intimidating!) visual, but it’s essential for a comprehensive overhaul. This step allows you to objectively see the sheer volume of your belongings and ensures no hidden gems or forgotten clutter remain.
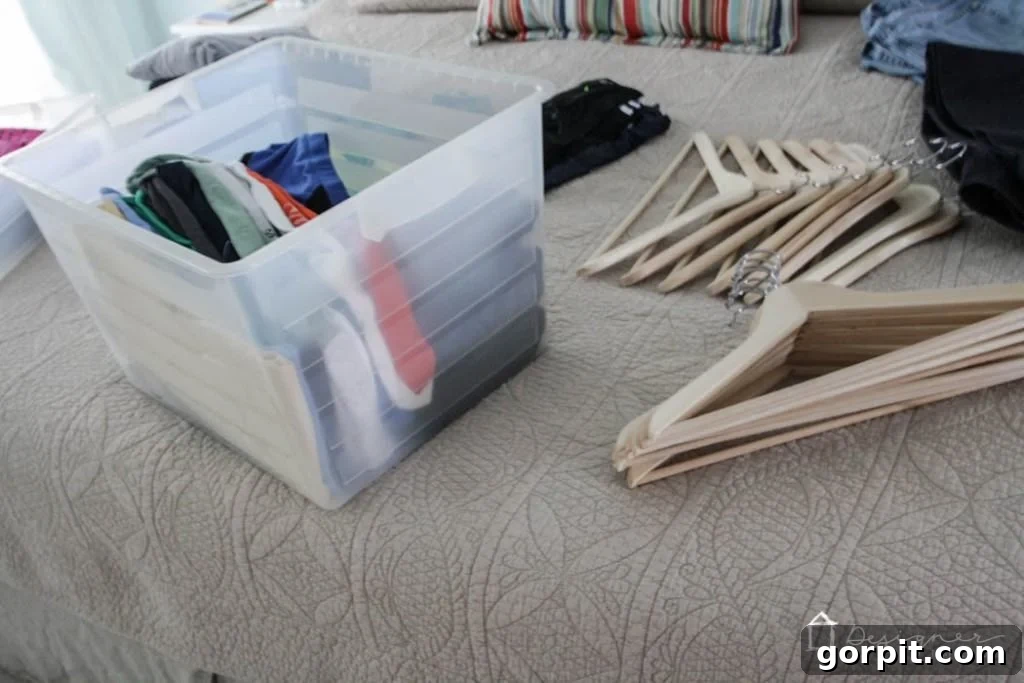
Step 2: Rehome the Strays
With everything now outside your closet, take a moment to identify items that don’t actually belong there. Clutter often accumulates when things lack a proper home, and closets frequently become a dumping ground for miscellaneous objects. Are there old electronics boxes, forgotten books, unused sports equipment, or even random paperwork lurking amongst your sweaters? Now is the time to return these non-clothing items to their rightful places in your home. This immediate decluttering of non-essentials prepares your mind and space solely for wardrobe organization.
Step 3: The Purge – Deciding What Stays and What Goes
This is where the real transformation begins. Your primary objective here is to significantly reduce the number of items in your closet, aiming for a curated collection that brings you joy and serves your current lifestyle. Before diving into individual decisions, take a quick overall glance at everything. This “first pass” can help you quickly identify obvious discards or definite keepers. For this step, simple piles on the floor or bed labeled “Keep,” “Donate/Sell,” and “Trash/Recycle” will suffice. Be prepared, as letting go of clothes can be challenging, especially those expensive pieces or items with sentimental value. However, holding onto excess, unused items only creates stress and visual clutter. Remember, you should genuinely love and use everything in your closet, even if it means having a smaller, more minimalist wardrobe of perhaps only 30-50 cherished pieces. Follow these purging guidelines to make the process smoother:
- Assess for Damage: Carefully examine each item for holes, missing buttons, broken zippers, stains, or other damage. Make a quick, honest decision: is this item truly worth repairing? If yes, commit to repairing it (or taking it to a professional) within the next week. If the answer is no, or if you know you won’t get around to it, it’s time to let it go. Don’t keep damaged items taking up valuable space.
- The “One-Year Rule”: Be ruthless with this one. If you haven’t worn an item in the past year, it’s highly unlikely you will wear it again. Fashion trends evolve, your personal style changes, and if it hasn’t called to you in 12 months, it’s probably not serving a purpose in your wardrobe. Donate or sell it. Period.
- Fit and Future Plans: If an item doesn’t fit you now and hasn’t fit you for the past year, it’s time to part ways. While many of us have aspirations to fit into smaller sizes, keeping “goal clothes” can be demotivating and take up space. Only hold onto items for weight loss goals if you are genuinely within a month or so of achieving that target. If you have a significant journey ahead, accept that your style might change, and you’ll want to celebrate your success with new, well-fitting clothes that reflect your current self. Holding onto “skinny clothes” can create unnecessary pressure.
- Identify Duplicates: Do you own six identical gray sweaters, three similar pairs of black pants, or multiple white t-shirts that serve the same function? Choose your absolute favorite one or two, the ones that make you feel best, and donate or sell the rest. Reducing redundancy frees up space and simplifies your daily decision-making.
- Does it Spark Joy? (The KonMari Method Influence): While not explicitly in the original text, a useful mental filter is to ask yourself, “Does this item make me feel good when I wear it?” or “Does it align with my current style and confidence?” If the answer is a resounding “no,” it’s likely contributing to clutter and should be let go.
Once you’ve made your decisions, immediately put items into their designated piles. For items you’re discarding, consider sustainable options: donate gently used clothes to local charities, sell higher-value pieces on consignment or online platforms, and research textile recycling programs for unwearable garments.
Step 4: The Strategic Return – Organizing Your Keepers
Now that you have a refined collection of clothing, it’s time to return them to your closet in a thoughtfully organized manner. The key here is logical grouping. Start by grouping like items together: all shirts, all pants, all skirts, all dresses, all sweaters, all outerwear, and so on. This makes it incredibly easy to locate exactly what you’re looking for. If you’re feeling particularly ambitious and want to take your organization to the next level, consider organizing by color within each category. This creates a visually pleasing and harmonious closet, simplifying outfit creation.
For those with a tiny closet (a challenge many of us, including ourselves in previous homes, have faced!), maximizing space is crucial. Consider investing in a portable closet or garment rack for storing out-of-season clothing in another room. Alternatively, utilize under-the-bed rolling bins for seasonal garments, linens, or rarely used items. Embrace vertical space with hanging shelves or tiered hangers. The goal is to make every inch count while keeping frequently accessed items easily reachable.
Step 5: Boost Your Storage with Smart Accessories
To truly optimize your closet’s potential, consider integrating some clever storage accessories. These additions can dramatically enhance both functionality and capacity:
- Baskets and Bins: Perfect for containing smaller items like scarves, belts, socks, underwear, or even workout gear. Use clear bins for easy visibility or opaque ones for a streamlined look.
- Extra Rods: If your closet has high ceilings, adding a second tension rod or a permanent lower rod can effectively double your hanging space for shorter items like shirts and skirts.
- Drawer Dividers: Keep folded items in drawers neat and prevent them from becoming a jumbled mess. Ideal for t-shirts, intimates, and socks.
- Shelf Dividers: These are fantastic for keeping piles of folded sweaters or jeans from toppling over, maintaining crisp, defined sections on shelves.
- Over-the-Door Organizers: A brilliant solution for shoes, accessories, or even toiletries if your closet is in a bathroom.
- Hooks: Install hooks on unused wall space or the back of your closet door for hanging robes, bags, belts, or even next-day outfits.
These strategic additions can transform an ordinary closet into a highly efficient storage powerhouse without requiring a major renovation.
Step 6: Cultivate Habits for Lasting Organization
The final, and perhaps most important, step is to establish a sustainable system for keeping your closet clean and organized. The initial declutter and tidy-up is a fantastic start, but consistency is key to long-term success. Commit to a few simple daily habits:
- Daily Tidy: Take just a few minutes each day to fold and re-hang any clothes you’ve tried on or worn. Don’t let items accumulate on chairs or the floor.
- The One-In, One-Out Rule: This is a powerful principle. Whenever you purchase a new item of clothing, make a conscious decision to get rid of an existing item. This prevents clutter from creeping back in and forces you to continually curate your wardrobe.
- Regular Mini-Purges: Schedule quick 15-minute checks every few months to identify any items that are no longer serving you.
By integrating these habits, your perfectly organized closet will remain a source of joy and efficiency for years to come.
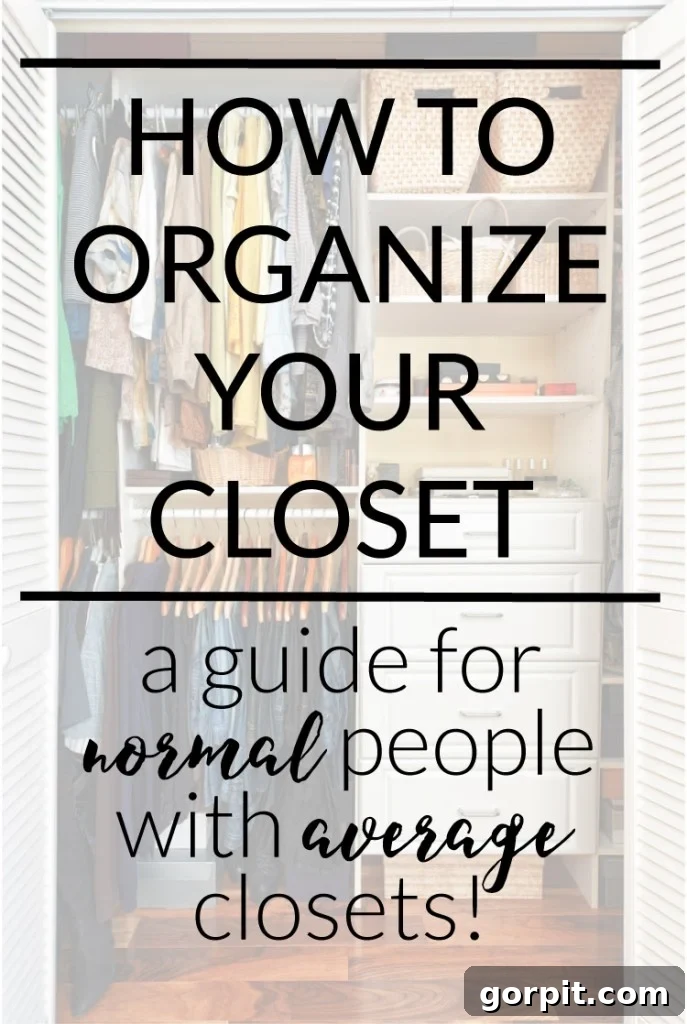
The results speak for themselves! This is how our closet looked after less than two hours of focused effort. It truly was one of the best investments of time ever! We ended up donating several large bags of clothes, which always feels incredibly rewarding. And there’s an immense sense of satisfaction and calm that comes with walking into a perfectly organized closet every single morning. It sets a positive tone for the entire day.
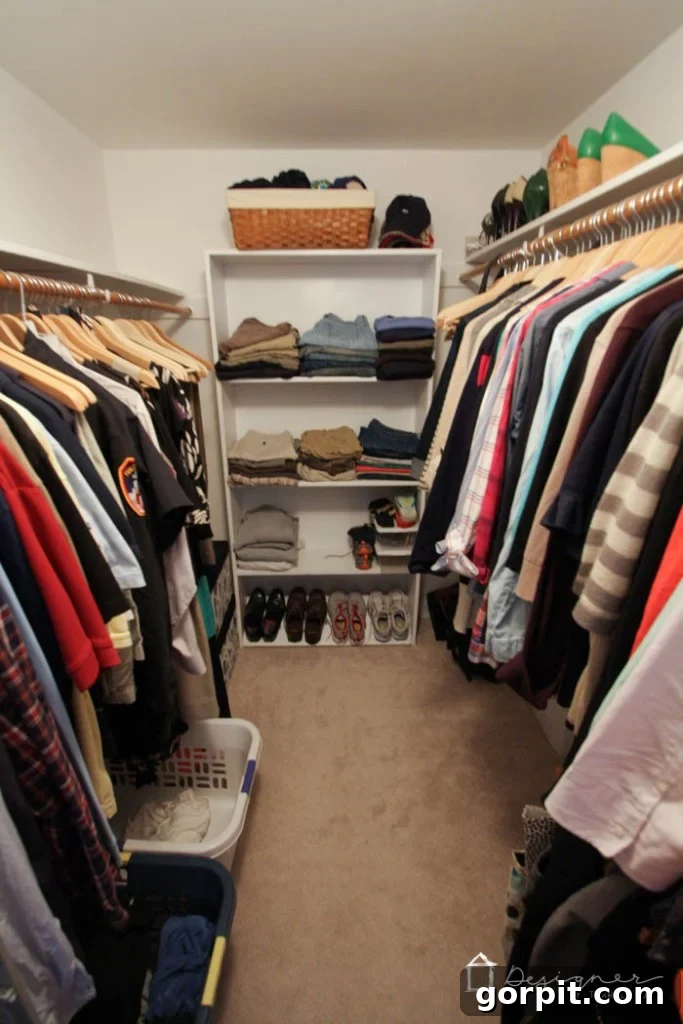

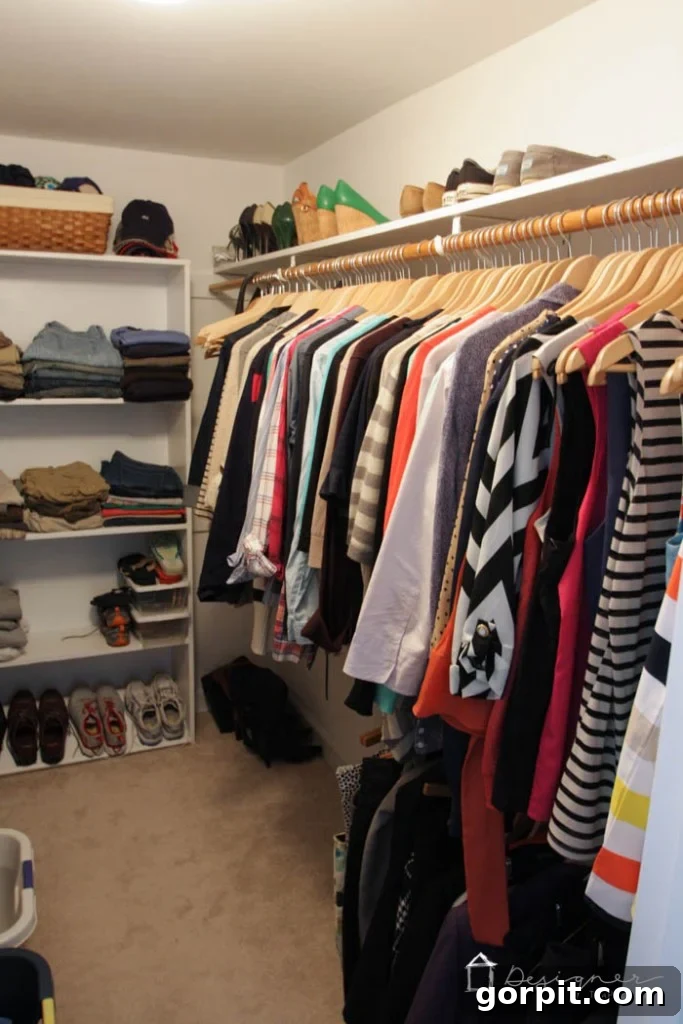
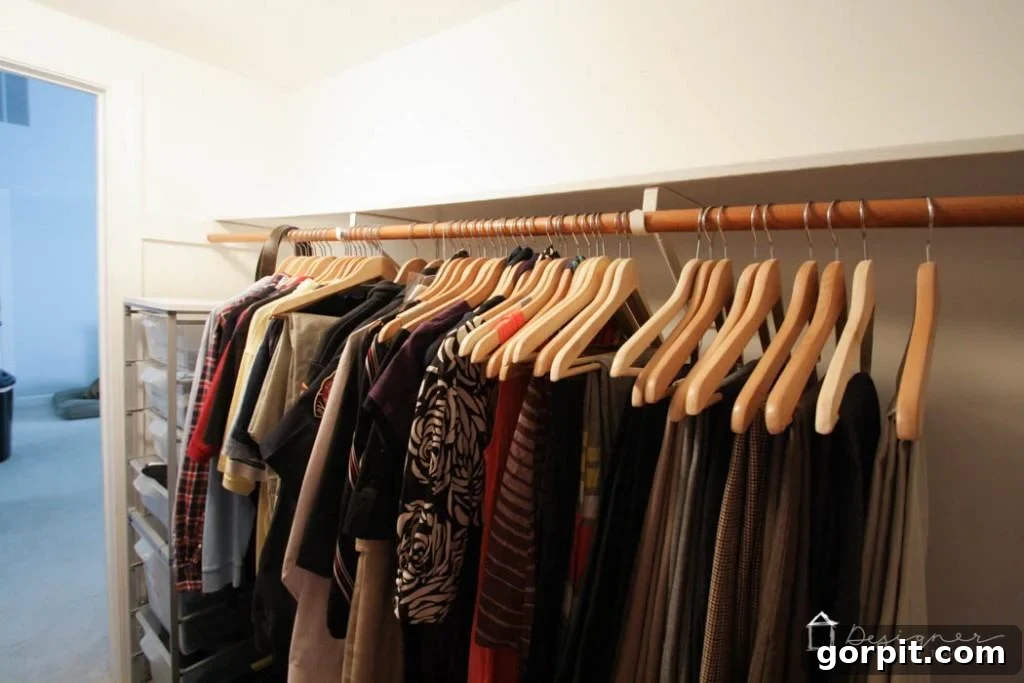
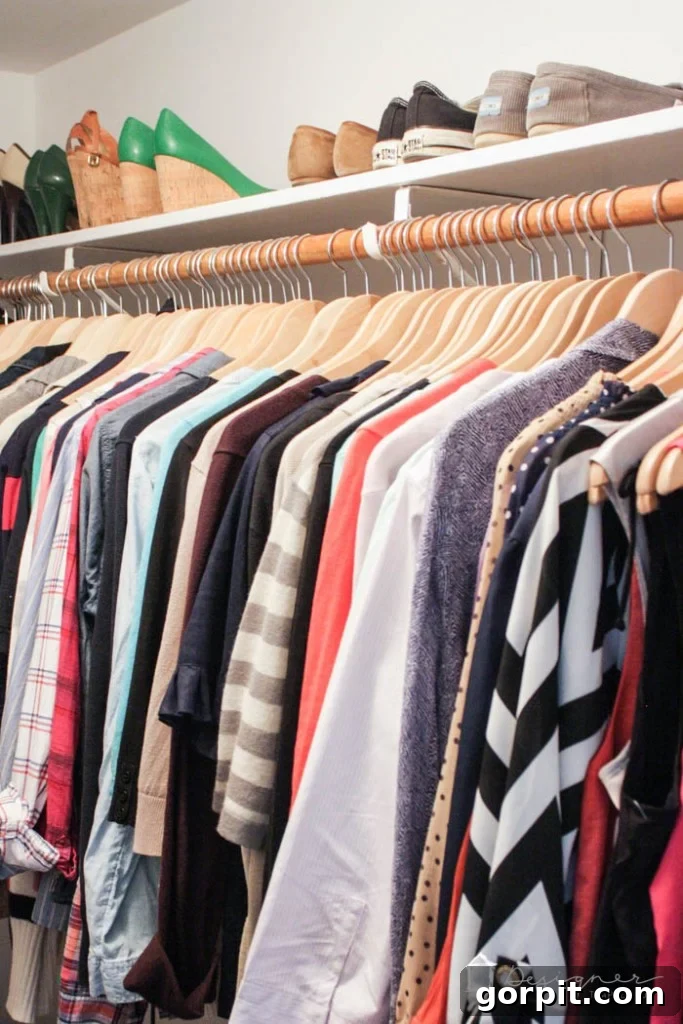
So, what are you waiting for? Carve out those two hours and embark on your own closet organization journey! You’ll be amazed at the impact it has on your daily life. And if you have a clever closet organizing tip that you swear by, please share it in the comments below – I’m always eager to learn new strategies!
Other posts you may enjoy for further home organization inspiration:
- Discover All Our Closet Organization Posts
- Explore Our 7 Closet Makeovers & the DIY Closet Systems We’ve Successfully Used
- 7 Simple Tips for a Pretty and Functional Linen Closet + Inspiring Linen Closet Ideas
- Smart Coat Closet Organization for Under $100
- Learn How to Add a Closet to Any Room (Even if it Doesn’t Have One!)
Loved these tips? Be sure to pin this post so you can easily refer back to it later or share it with friends who need a closet refresh!
Curious about my unique approach to transforming rooms and spaces within our home? Dive into the details with Designer in a Binder® – your comprehensive guide to interior design made simple.
For exclusive content, behind-the-scenes sneak peeks, and even more home inspiration, be sure to subscribe to our newsletter before you go!