Transforming your living spaces with personalized touches is incredibly rewarding, and one of the simplest yet most impactful ways to inject style, color, and texture is through custom throw pillows. Imagine a vibrant pattern or a subtle hue that perfectly complements your decor – and the best part? Creating your own professional-looking pillow covers with a durable zipper is much easier than you might think! This comprehensive, step-by-step tutorial will guide you through the process, ensuring you master the art of making a zippered pillow cover with confidence, even if you’re a beginner. Get ready to add bespoke flair to your home decor!
This guest post was contributed by Jen from Fresh Crush.
Hello everyone! I’m Jen from Fresh Crush, and I’m delighted to share this easy-to-follow tutorial with the Kaleidoscope Living community today! Custom pillows are fantastic for adding character, comfort, and a pop of color to any room. I recently crafted several zippered pillow covers for my daughter’s bedroom, and the results were absolutely charming. While making a pillow cover with a zipper might sound like an advanced sewing project, I assure you it’s incredibly straightforward. You absolutely do not need expert sewing skills to achieve professional-looking results. With a few basic supplies and this guide, you’ll be creating beautiful, washable, and interchangeable pillow covers in no time!
This post contains affiliate links for your convenience. Click here for my full disclosure policy.
Supplies Needed for Your Custom Zippered Pillow Cover
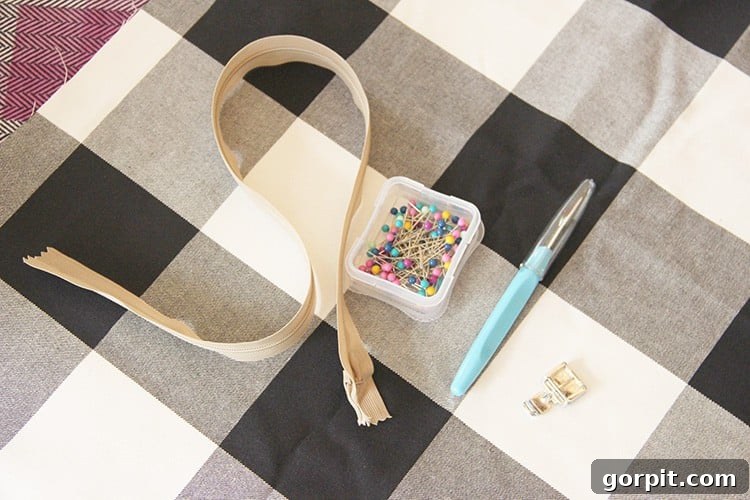
Gathering your materials beforehand makes the entire process smoother and more enjoyable. Here’s everything you’ll need to create one beautiful zippered pillow cover:
- Two Coordinating Fabrics: Opt for materials that complement each other and suit your existing decor.
- Pro Tip: Spoonflower offers an incredible selection for unique patterns and designs. Consider heavier fabrics like cotton or canvas for a sturdy, structured pillow, or lighter options like linen or silk for a softer feel. Don’t forget to pre-wash your fabric to prevent shrinking after your pillow is made!
- A Down-Filled Pillow Form: These forms are fantastic for achieving that coveted “karate chop” look that professional designers love.
- Budget-Friendly Tip: IKEA often has the best prices for down-filled inserts. If an IKEA isn’t nearby, Amazon also offers excellent deals.
- Zipper: Choose a zipper that matches or harmonizes with your chosen fabrics. A standard coil zipper is generally easiest for beginners. Ensure the zipper length is appropriate for your pillow form – ideally, a couple of inches shorter than the side you’ll attach it to.
- Straight Pins: Essential for holding fabric securely.
- Seam Ripper: A must-have for correcting mistakes, no matter your skill level.
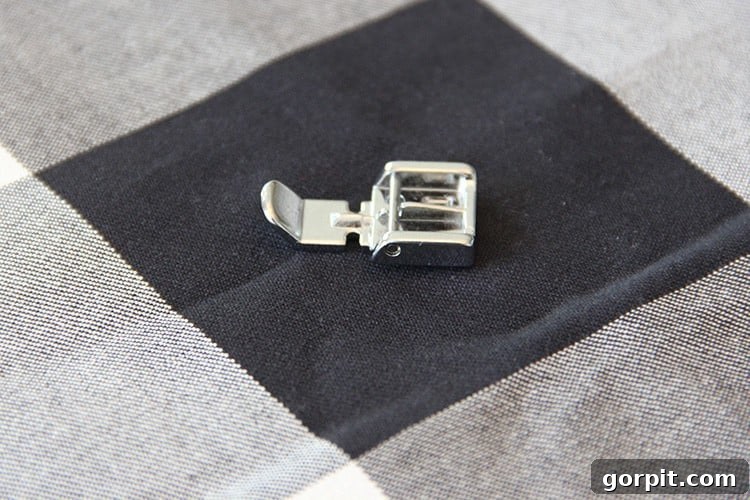
- Zipper Foot: This specialized presser foot is crucial for sewing zippers neatly and easily.
- Sewing Machine: Any basic sewing machine will do!
- This is the current version of Tasha’s sewing machine that she absolutely loves.
- Fabric Scissors: Sharp scissors are key for clean cuts.
- Ruler or Measuring Tape: For accurate measurements.
Step-by-Step Tutorial for Making a Pillow Cover With a Zipper
Time Needed: Approximately 1 hour
Follow these detailed steps to create your custom zippered pillow cover:
- 1. Select Your Fabrics with Intention.
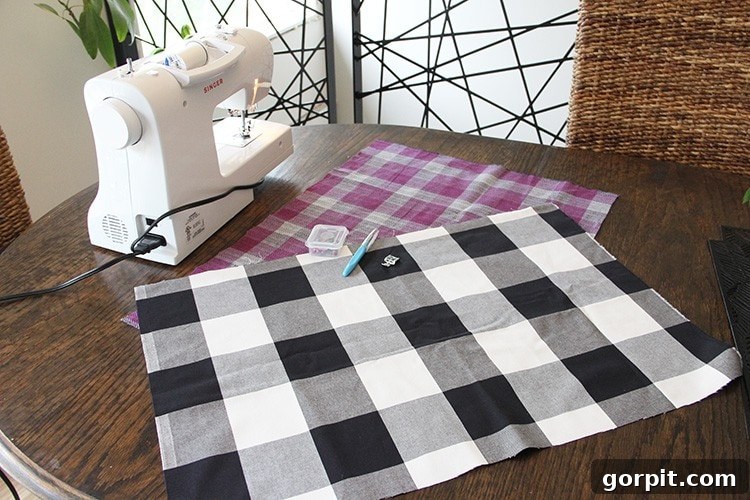
Before you even thread your needle, thoughtfully choose two fabrics that not only coordinate with each other but also harmonize with the overall decor of the room where the pillow will reside. Consider the texture, pattern, and durability. For instance, a heavier fabric like cotton duck or canvas offers a sturdier, more structured pillow, while a lighter, more breathable fabric like linen or silk provides a softer, more luxurious feel. Don’t be afraid to mix patterns! If you’re new to mixing patterns, a great tip is to choose one bold pattern and pair it with a more subtle print or a solid texture. This allows for versatility – you can flip the pillow to change the look of your space. (For expert advice on mixing patterns, Tasha provides a wonderful guide in her Designer in a Binder program).
- 2. Measure Your Pillow Form Accurately.
The foundation of a perfectly fitted pillow cover lies in precise measurement. My personal preference leans towards down-filled pillow forms because they offer a luxurious feel and hold that desirable “karate chop” shape beautifully. Carefully measure the length and width of your pillow form. For the pillow cover fabric, I recommend cutting it to the exact size of your pillow form, then adding a 1-inch seam allowance to ALL four sides. So, if your pillow form is 18×18 inches, you’ll cut your fabric pieces to 19×19 inches. This ensures a snug fit and a professional finish.
- 3. Precisely Cut Your Fabric Pieces.
Using a ruler or measuring tape and sharp fabric scissors, carefully measure and cut both of your chosen fabric pieces. Remember to account for the 1-inch seam allowance on all sides. Accuracy here is key for a crisp, well-fitting pillow cover. Lay your fabric flat on a cutting mat or a large table, smooth out any wrinkles, and cut slowly to ensure straight lines.

- 4. Prepare Your Fabric Edges for the Zipper.
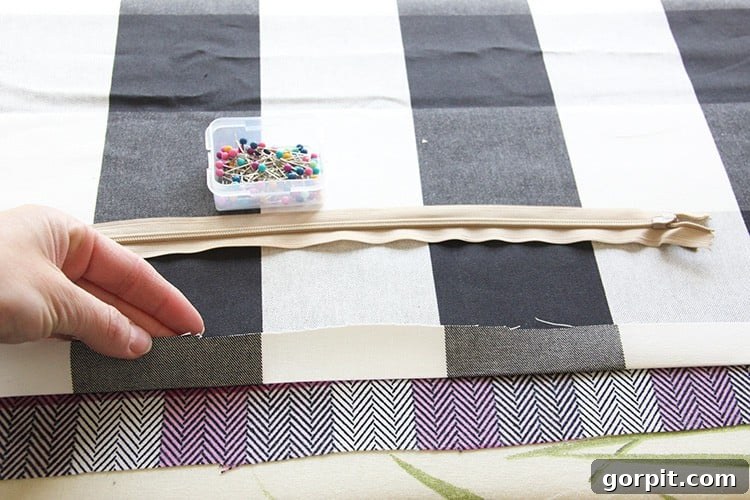
Take one of your cut fabric pieces. Along the edge where you intend to attach your zipper, press a 1-inch seam allowance towards the wrong side of the fabric (this will be the inside of your pillow cover). Use a hot iron to create a sharp, flat crease. This pressed edge will be where your zipper is attached, so a clean fold is important.
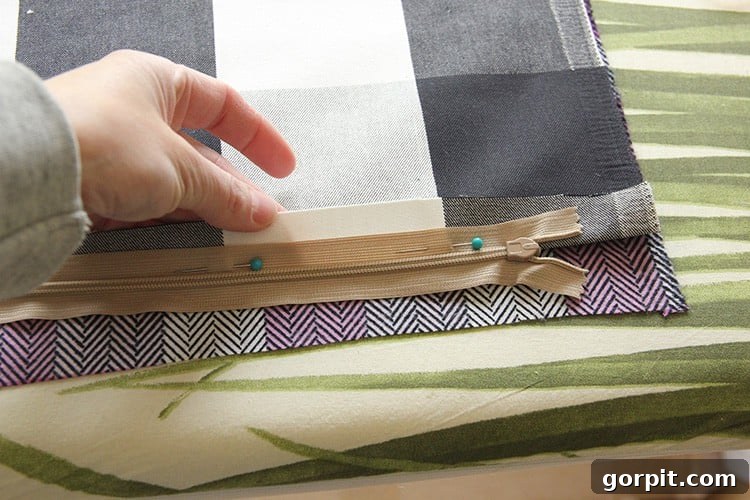
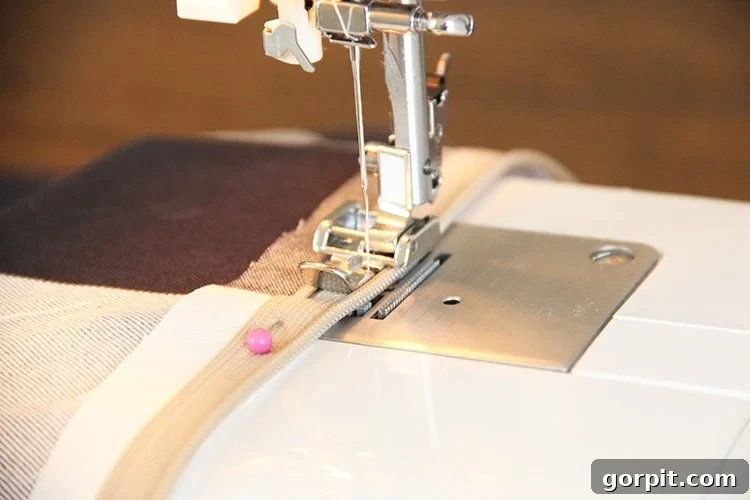
Now, position your zipper. Center the zipper along this pressed edge. The fold of your fabric should just “kiss” the teeth of the zipper, allowing it to open and close freely without catching. Pin the zipper in place on the wrong side of the fabric, with the zipper teeth facing down. This means the right side of the zipper tape will align with the right side of your fabric when you flip it later.
- 5. Attach the Zipper Foot to Your Sewing Machine.
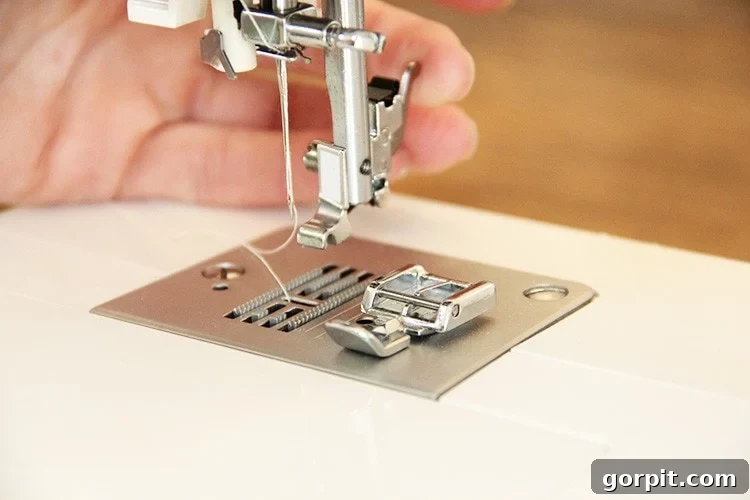
If you’re new to sewing zippers, the zipper foot will quickly become your best friend. This specialized presser foot allows you to sew incredibly close to the zipper teeth, resulting in a neat, professional finish without accidentally stitching over the zipper itself. Many sewing machines, including my Singer, come with one. Don’t be intimidated if you haven’t used it before; it’s designed to simplify this very task!
To attach it, locate the small arm at the back of your machine that releases the existing presser foot. Hook the zipper foot’s bar into this mechanism. You can typically adjust the zipper foot to either the right or left side, depending on which direction you’re sewing and which side of the zipper you’re working on. This flexibility is what makes it so indispensable!
- 6. Stitch the First Side of Your Zipper in Place.
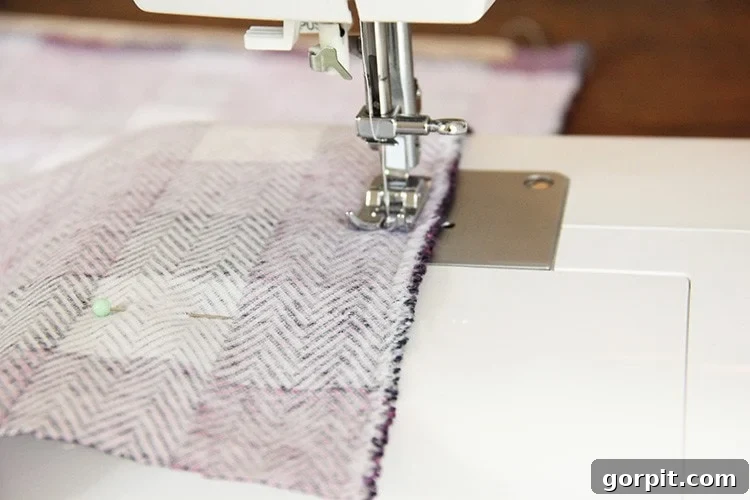
With your zipper foot attached and your fabric securely pinned, it’s time to sew! Critically, make sure your zipper is OPEN before you start stitching. This allows the zipper slider to pass underneath the foot without obstruction, enabling you to sew a continuous, straight line directly alongside the zipper teeth. Position your fabric under the needle, aligning the edge closely with the zipper teeth. Stitch carefully down the entire length of this first pillow edge. Begin and end with a backstitch to secure the seam. This initial seam firmly attaches one side of the zipper to your first fabric piece.
- 7. Prepare the Second Fabric Piece.
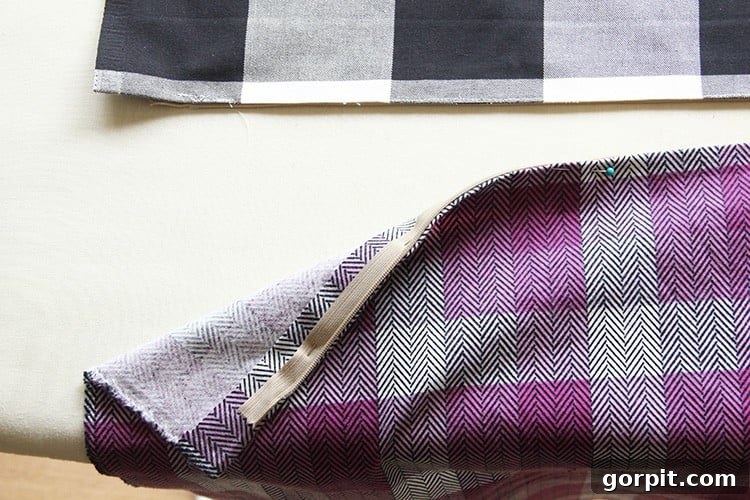
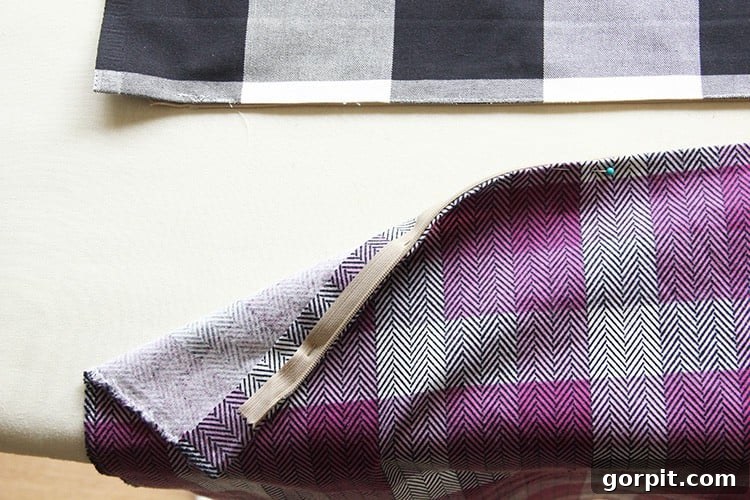
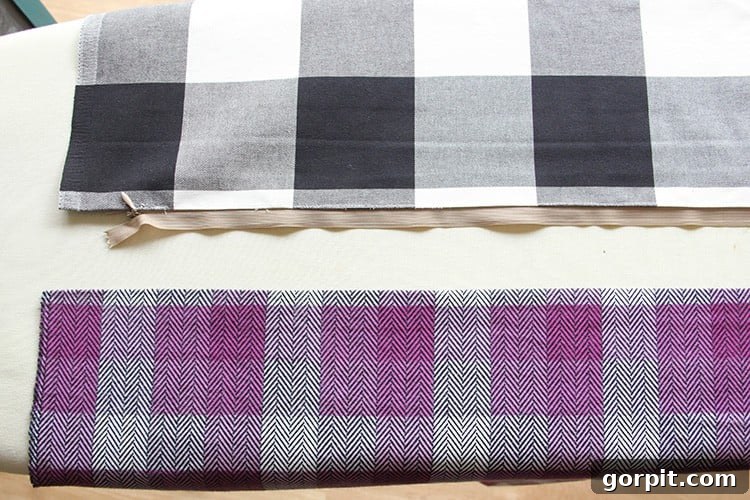
Now, take your second piece of fabric. Just as you did with the first piece, press a 1-inch seam allowance up onto the wrong side of the fabric along the edge that will connect to the zipper. Once pressed, you should have a clean, crisp fold. At this point, if you lay out your pieces, you’ll see something resembling the photo below: the two “right sides” of your fabric should be visible, with the zipper attached to the first side, right side facing up.
- 8. Pin the Second Half of the Zipper.
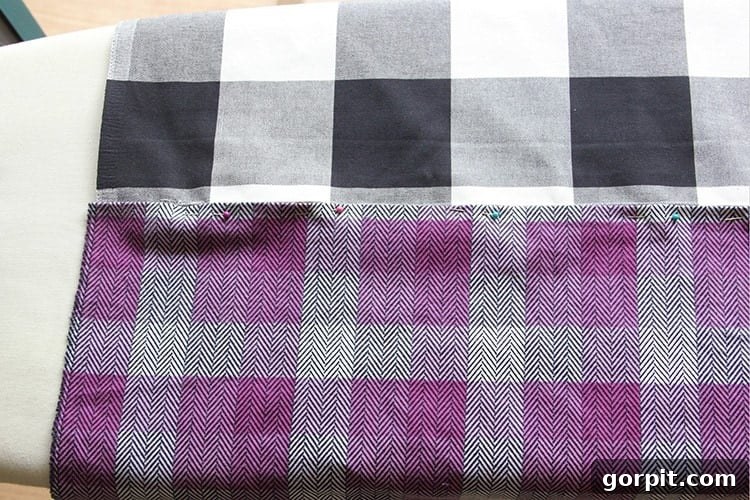
Bring your second fabric piece to the zipper. Carefully butt the pressed seam of this second fabric piece up against the remaining free side of the zipper. Ensure that the fabric fold aligns perfectly with the zipper teeth, mimicking the first side you sewed. Pin this second fabric piece securely in place along the zipper tape. Take your time with the pinning to ensure a straight and even attachment.
- 9. Sew the Second Half of Your Zipper.
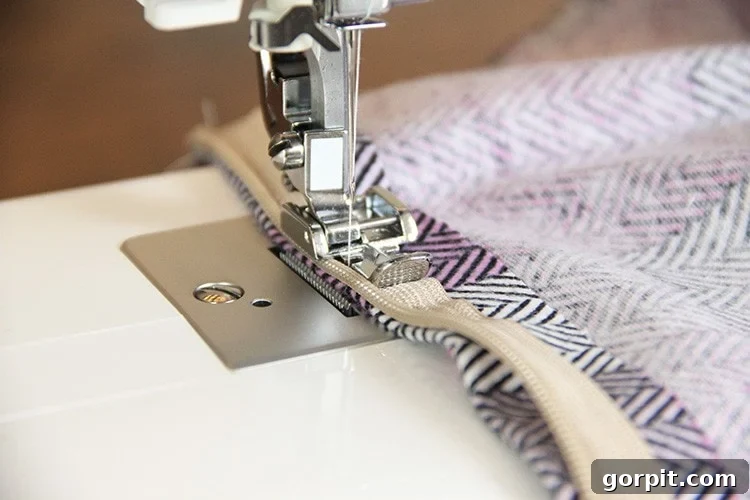
Before sewing, unzip the zipper again. This is a crucial step to avoid sewing over the zipper pull. If needed, switch your zipper foot to the opposite side of the needle to get the best access to the zipper teeth. Carefully stitch this second side of the zipper in place, just as you did the first. Ensure your stitches are close to the zipper teeth for a clean, professional finish. Again, remember to backstitch at the beginning and end of your seam for durability.
- 10. Prepare Remaining Pillow Sides for Sewing.
With both sides of your zipper attached, open the zipper halfway (this makes turning the pillow right-side out much easier later!). Now, lay your two fabric pieces right-side to right-side, ensuring the raw edges align perfectly. You should be looking at the wrong side of both fabrics and the wrong side of your now-attached zipper. Double-check your pillow form measurements one last time. Since one edge is already completed with the zipper, you only need to pin and sew the remaining three sides. Pin along your desired sewing line (your 1-inch seam allowance) on these three raw edges.
- 11. Sew the Three Remaining Edges of Your Pillow Cover.
Using a regular presser foot (you can switch back from the zipper foot if you prefer, or continue with the zipper foot if it works well for you), sew along the three pinned edges. Maintain a consistent 1-inch seam allowance. Remember to backstitch at the beginning and end of each seam to reinforce the corners. Ensure your zipper is still slightly open – this is vital for turning the pillow cover right side out later! After sewing, trim the corners of your pillow cover close to the seam line, but be careful not to cut through your stitches. This will help the corners lie flat when the pillow is turned right side out.
- 12. Insert Pillow and Secure Finishes.
You’re almost there! Once all your sewing is complete, carefully trim any excess fabric from your seams if desired, paying special attention to clipping the corners. Now, reach inside your slightly unzipped pillow cover and gently push out the corners, then turn the entire cover right side out. Use a point turner or a dull pencil to ensure your corners are sharp and well-defined. Insert your pillow form. Finally, you might want to add a tiny bit of hand-stitching across the two sides, just beyond the top and bottom ends of your zipper tape. This step adds durability, prevents any potential gaps, and ensures the zipper closure looks perfectly finished.
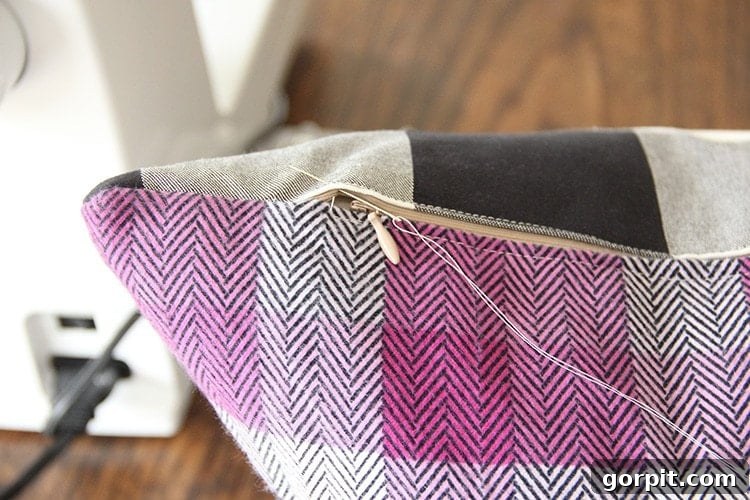
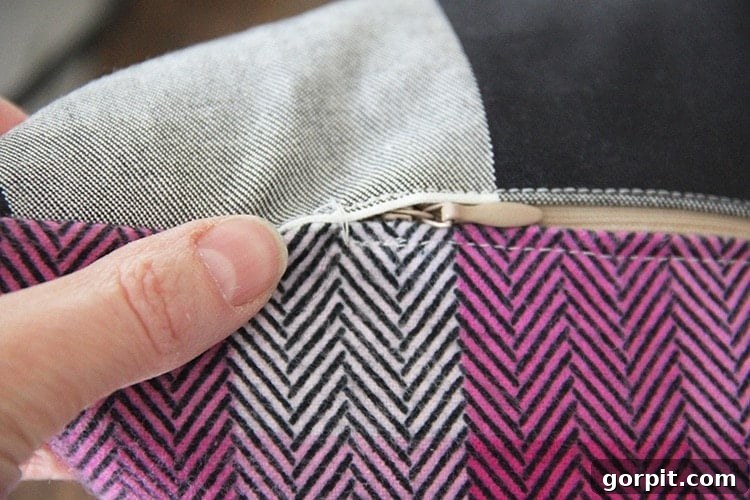
And just like that, you’ve done it! You now possess the skills to make a beautiful and functional zippered pillow cover! When you break it down into these manageable steps, it truly isn’t as daunting as it initially sounds. As someone who started as a total beginner with zippered pillow covers, I can confidently say that if I can do it, so can you!
Take a look at how my custom pillow covers turned out!
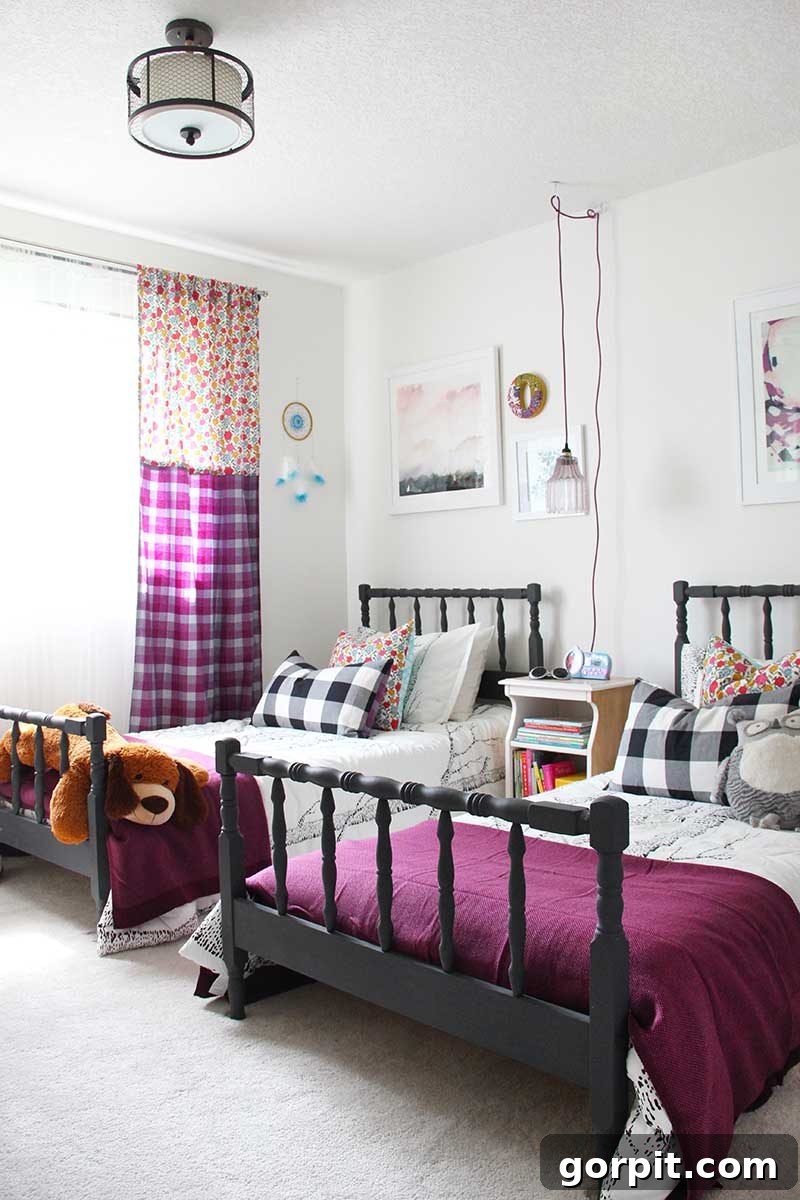
I crafted a total of four zippered pillows for my daughter’s room using this exact method, and every single one was a success! They’ve proven incredibly durable and are holding up beautifully against the energetic antics of a five-year-old – from elaborate blanket forts to imaginative lily pad hopping and even the occasional pillow fight. They’re definitely kid-approved!
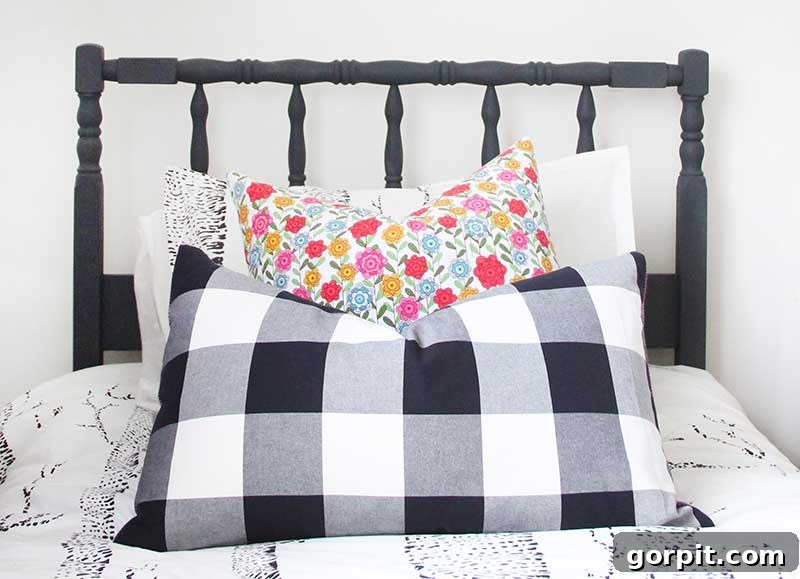
Making all these pillows two-sided offers incredible versatility. You can effortlessly switch up the look and feel of your decor with a simple flip of the pillow. It’s such a clever way to maximize your effort and investment when you’re putting in the work to create a beautiful custom piece, right? Plus, the zippered closure means easy removal for washing, ensuring your custom pillows stay fresh and vibrant.
I hope this tutorial has empowered you to see that creating your own beautiful, interchangeable, and washable throw pillows is well within your reach. Once you’ve completed your first zippered pillow cover, you’ll be inspired to experiment with an array of different fabrics, textures, and designs to craft unique statement pieces for every room in your home!
If you enjoyed this project and are looking for more creative DIY inspiration, be sure to check out my other projects over at Fresh Crush!
Thank you so much to Jen for this wonderful and inspiring tutorial!
More DIY CURTAINS & PILLOW Posts
SEE ALL TEXTILE POSTS
Dive deeper into textile DIYs with these inspiring projects:
-
How to Make DIY Curtains With Tassels
-
Cheap & Easy Oversized Lumbar Pillow (No Sewing Skills Needed)
-
How to Make a Pillow Cover With a Zipper
-
22 Amazing DIY Curtains That Look Expensive
-
How to Make Curtains The No-Sew, Lazy Way
-
DIY Bed Canopy from Flat Sheets
Decorate Your Home with Confidence
Curious about how to approach transforming entire rooms and spaces in your home with a cohesive vision? Don’t miss out on Designer in a Binder®. It’s a fantastic resource that simplifies the decorating process, making high-end design achievable for everyone.
For exclusive content, behind-the-scenes glimpses, and to stay updated on all the latest DIY and design tips, be sure to subscribe to our newsletter before you leave!