
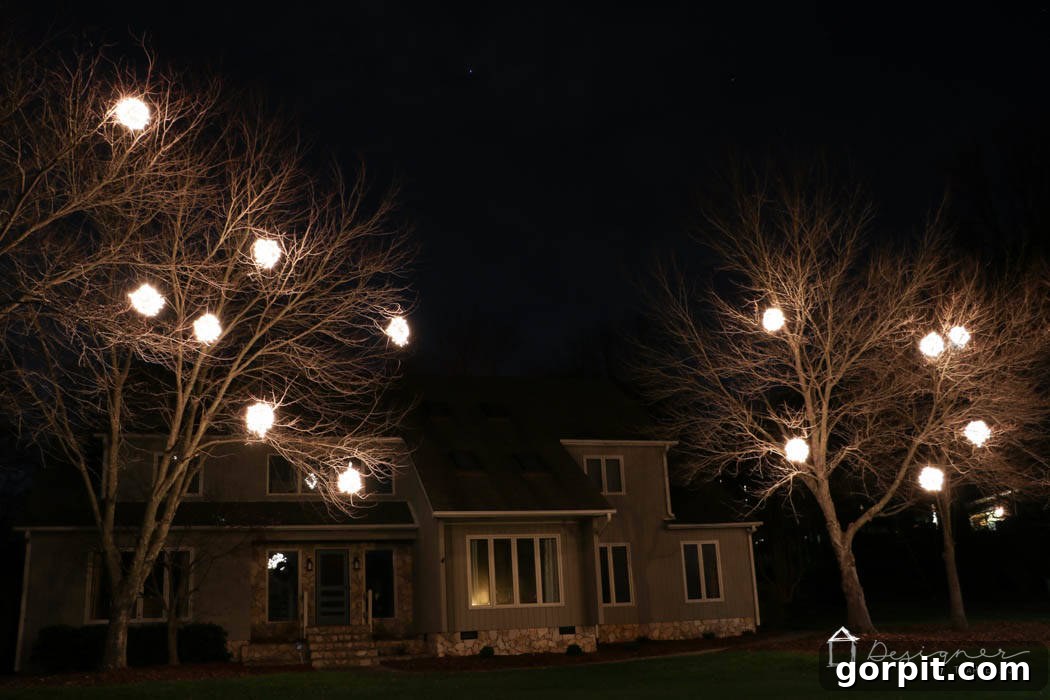
Welcome, fellow holiday enthusiasts! Today, I’m absolutely thrilled to share a tradition that brings unparalleled magic to our community and can do the same for yours. If you’ve been a long-time reader of my blog, you’ll know that I’m based in Greensboro, NC. One of the many reasons I cherish living here is its truly unique Christmas custom: the enchanting **lighted Christmas balls**! These aren’t just decorations; they are beacons of holiday spirit, transforming ordinary streets into breathtaking winter wonderlands. Their glow is utterly magical, creating an atmosphere that has to be seen to be believed.
Imagine your neighborhood illuminated by hundreds, even thousands, of glowing orbs hanging gracefully from trees. That’s the spectacle these lighted Christmas balls create. They turn evenings into a dreamlike experience, fostering a profound sense of community and festive cheer. To truly grasp the scale and impact of this magnificent tradition, take a moment to watch this short video. It brilliantly captures how a multitude of these magical lighted Christmas balls, when embraced by an entire neighborhood, creates an unforgettable display. Every twinkling dot you see in the video is one of these incredible, handmade lighted Christmas balls!
This cherished tradition originally blossomed in Greensboro’s Sunset Hills neighborhood, drawing visitors from all over to witness its splendor. We’re incredibly excited to see it “creep” into our own neighborhood, spreading its joyous glow further each year. But why wait for it to arrive on your doorstep? This is a tradition that’s easy to adopt, wonderfully rewarding, and perfect for bringing a unique sparkle to your own community. Why not be the pioneer and ignite this dazzling trend in your neck of the woods?
Inspired by the spreading magic, my family and I knew we had to create our own lighted Christmas balls this year. Right after Thanksgiving, we eagerly gathered our supplies. The best part? This DIY project requires only a few basic materials and is surprisingly simple to make! It’s an ideal family activity, perfect for creating lasting holiday memories. Before we dive into the step-by-step tutorial, I want to briefly mention that I’ve curated a stunning collection of Christmas printables in my super affordable printable art shop. They’re designed to complement any holiday decor and I think you’ll absolutely adore them!
Creating your own lighted Christmas balls is more than just a craft; it’s an opportunity to contribute to the festive spirit of your home and neighborhood. Imagine the delight on children’s faces, the admiring glances from passersby, and the warm, inviting glow that welcomes you home each evening. These handmade ornaments embody the true spirit of the holidays, offering a unique blend of creativity, community, and sheer visual beauty. Let’s embark on this fun and fulfilling project together!
Embracing the Greensboro Lighted Ball Tradition: A Community Phenomenon
The lighted Christmas ball tradition in Greensboro is more than just a local novelty; it’s a testament to community spirit and creative ingenuity. Originating in the historic Sunset Hills neighborhood, it began decades ago with a few residents experimenting with chicken wire and Christmas lights. Over the years, it grew organically, with more and more homes adopting the practice until it became a hallmark of the holiday season. What makes it truly special is the collective effort; when an entire street or neighborhood participates, the cumulative effect is breathtaking. The synchronized glow transforms the urban landscape into an immersive art installation, attracting thousands of visitors who drive or stroll through, marveling at the dazzling display.
This tradition isn’t just about aesthetics; it’s about connection. Families often gather to make the balls together, neighbors help each other hang them, and the annual display becomes a focal point for community interaction and celebration. It’s a wonderful example of how a simple DIY project can evolve into a cherished cultural event, building bonds and spreading joy. By bringing this tradition to your home, you’re not just decorating; you’re participating in a larger narrative of festive wonder and communal cheer.
How to Craft Your Own Magical Lighted Christmas Balls
Ready to bring this enchanting tradition to your own home? This guide will walk you through each step of creating your very own lighted Christmas balls. It’s a project that combines simple materials with a touch of creativity, resulting in truly spectacular outdoor decorations. Gather your family, put on some holiday music, and let’s get started!
Essential Materials for DIY Lighted Christmas Balls:
- Chicken Wire: This forms the structural base of your ball. We recommend a roll that allows you to cut pieces around 2 feet by 4 feet for a good-sized ball. Look for a sturdy gauge that’s still pliable enough to shape.
- 100-Count Mini-Light Strands: You’ll need at least two strands per ball to achieve that dazzling, full glow. Consider using LED lights for energy efficiency and durability, especially for outdoor use. Choose your preferred color—classic white for a traditional look, or vibrant colors for a playful twist!
- Outdoor Extension Cords: Essential for powering your illuminated creations, especially when hanging them from trees. Ensure they are rated for outdoor use and are long enough to reach your power source safely.
- Heavy-Duty Duct Tape: Crucial for securing electrical connections and adding extra stability to your chicken wire form. Opt for a weather-resistant variety.
- Strong String or Rope: For hanging your finished balls. Fishing line can also be used for a more discreet look. Ensure it’s durable enough to withstand outdoor elements.
- Work Gloves: Absolutely vital! Chicken wire edges are sharp and can cause cuts. Protect your hands throughout the entire shaping process.
- Optional but Recommended Tools: Wire cutters, pliers (for twisting wire securely), and a measuring tape.
Step-by-Step Guide to Making Your Lighted Christmas Balls:
Follow these instructions carefully to create beautiful and durable lighted Christmas balls that will brighten your holidays for years to come.
Step 1: Prepare Your Chicken Wire for Shaping
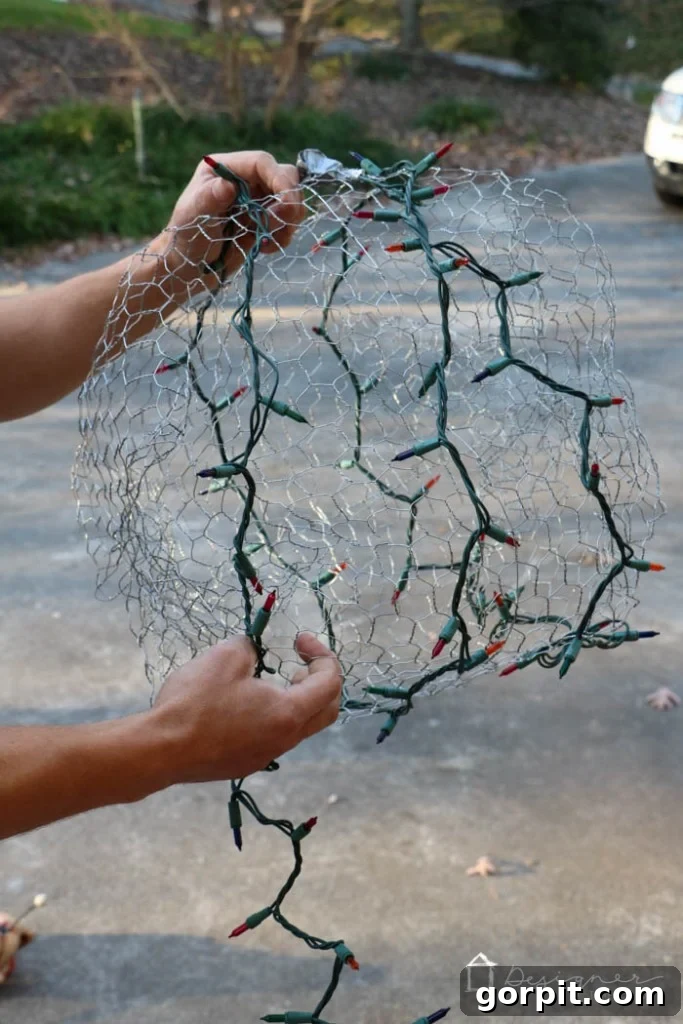
Safety first! Before you handle the chicken wire, make sure you put on a sturdy pair of work gloves. Chicken wire, while flexible, has sharp edges that can easily cut unprotected hands. (While Joe might have skipped them in the photo, learn from his oversight—gloves are non-negotiable!). Once gloved, carefully unroll and cut your chicken wire into rectangular sections. For a well-proportioned, round ball, your chicken wire piece should be approximately twice as long as it is wide. We found that working with sections around 2 feet by 4 feet produced excellent results, creating a ball roughly 18-20 inches in diameter. Feel free to adjust these dimensions based on the desired size of your final Christmas ball.
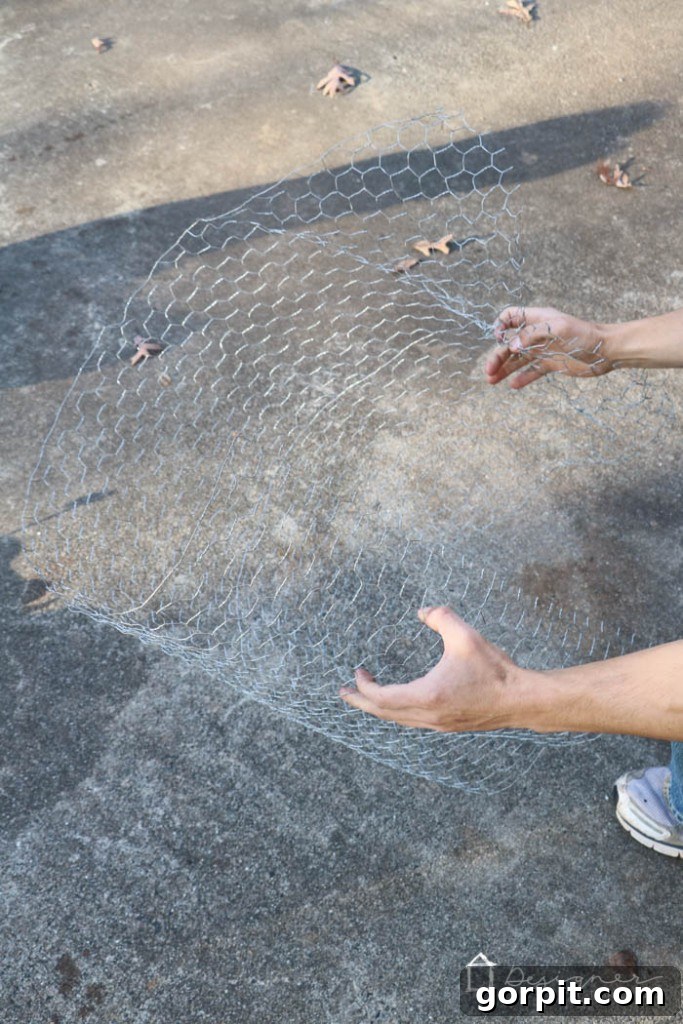
Step 2: Form the Cylindrical Base
Take the two shorter cut sides of your rectangular chicken wire piece and bring them together. Carefully align the edges and begin connecting them by twisting the individual wires around each other. This process requires a bit of patience to ensure a secure seam. Use your gloved hands, and if available, a pair of pliers can make this step easier and ensure a tighter connection. Once connected, you will have formed a cylindrical or “tube” shape from your chicken wire. This tube will serve as the initial structure for your spherical ball.
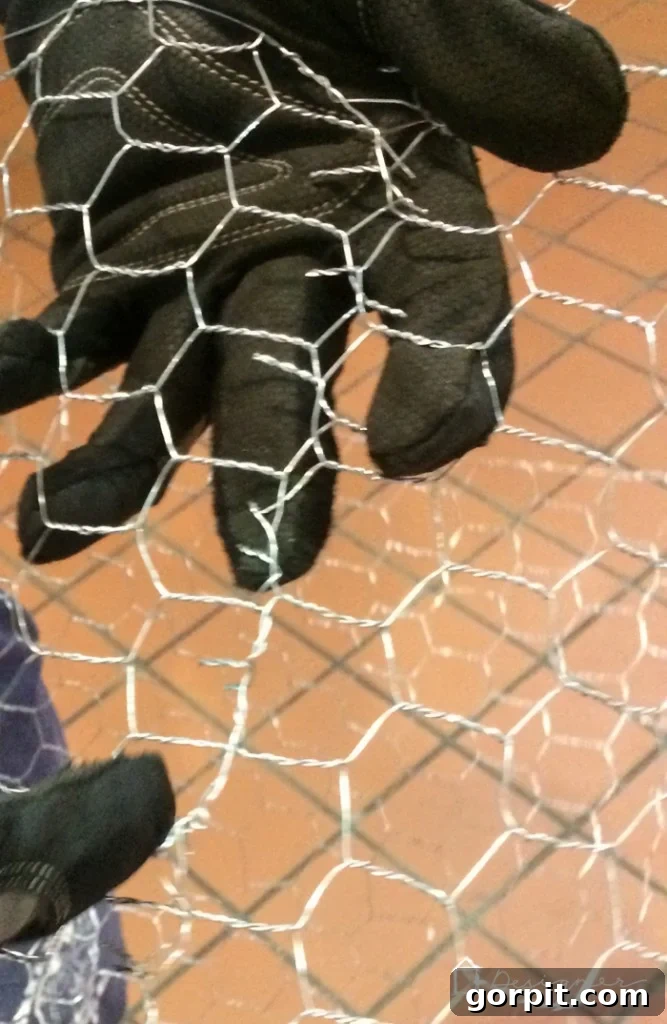
Step 3: Begin Sculpting the Sphere
Now comes the creative part! Starting with one end of your chicken wire tube, gently begin pushing the edges inward towards the center. As you push, the wire will naturally start to “pleat” or fold. Continue this motion, twisting the wires together as you go, to close off the end of the tube and begin forming a rounded shape. Imagine you’re trying to create a dome. This initial shaping is crucial for the overall form of your Christmas ball.
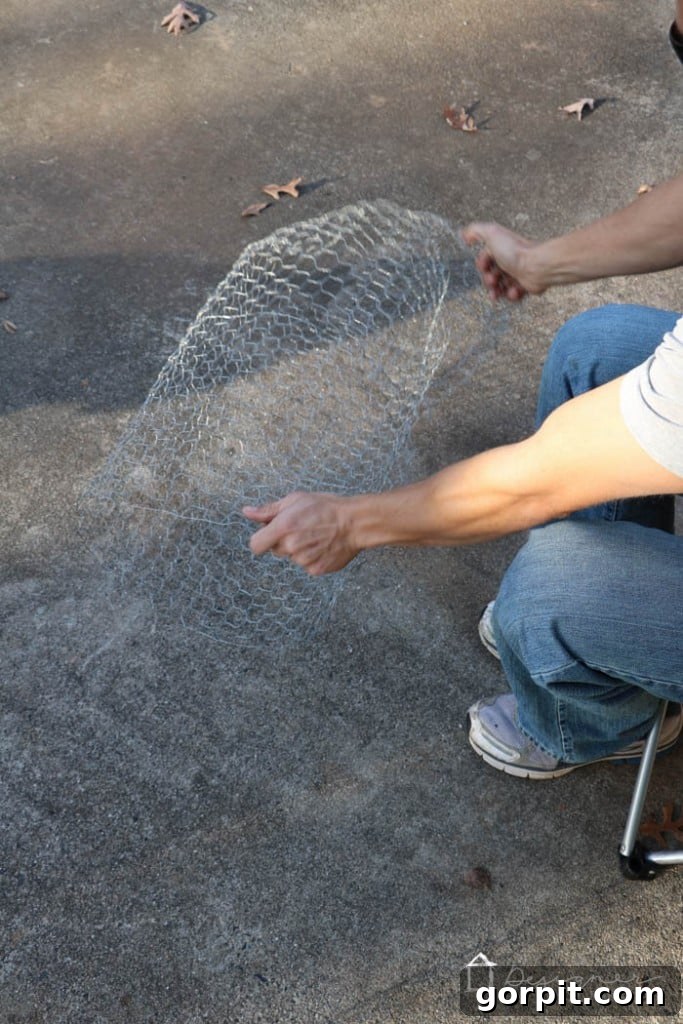
Step 4: Refine the Spherical Shape
Once one end is partially closed, move to the other end of the tube and repeat the pushing and twisting process. Work back and forth between both ends, gradually sculpting and compacting the chicken wire until you achieve a roughly spherical shape. Don’t worry about achieving absolute perfection at this stage. Trust me, once these glowing orbs are suspended from tree branches at night, any minor imperfections in shape become charming characteristics. The ambient light and the height at which they hang make them appear much more uniformly round than they might look up close on the ground.
Step 5: Integrate the Lights
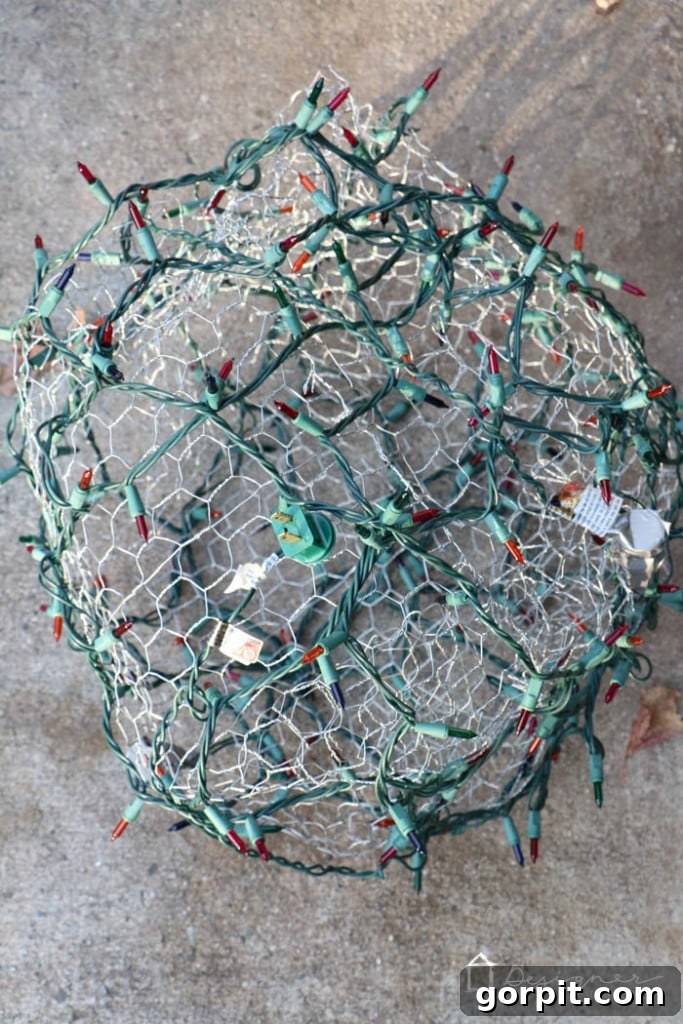
With your ball shape formed, it’s time to add the magic! Take two strands of 100 mini-lights. Begin wrapping the first strand around your chicken wire ball, weaving the lights in and out of the wire mesh. This weaving action is important as it securely attaches the lights to the ball, preventing them from unraveling or shifting due to wind. Ensure an even distribution of lights across the entire surface of the ball for a consistent glow. Once the first strand is woven in, connect the second strand and continue weaving. Crucially, leave the male end of the plug from the *second* light strand exposed and accessible. This is the end you’ll use to plug your lighted ball into an extension cord, allowing it to light up.
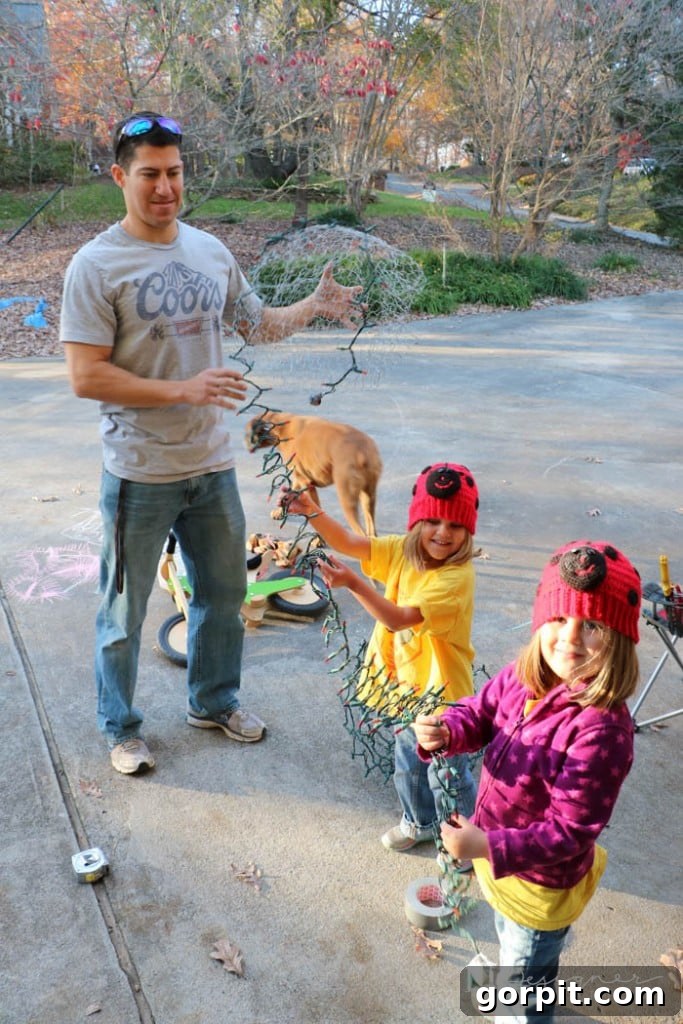
This whole project was a delightful family affair at our house! As you can see from the photos, we embraced the “relaxed holiday attire” theme. Joe, my wonderful husband, truly outdid himself dressing our girls (#wow #dadfashion), and he himself was sporting a classic Coors Light t-shirt. While our fashion choices might not have been “runway ready,” the laughter and joy we shared while creating these balls were absolutely priceless. It’s moments like these that truly make the holidays special.
Step 6: Safely Hang Your Lighted Balls
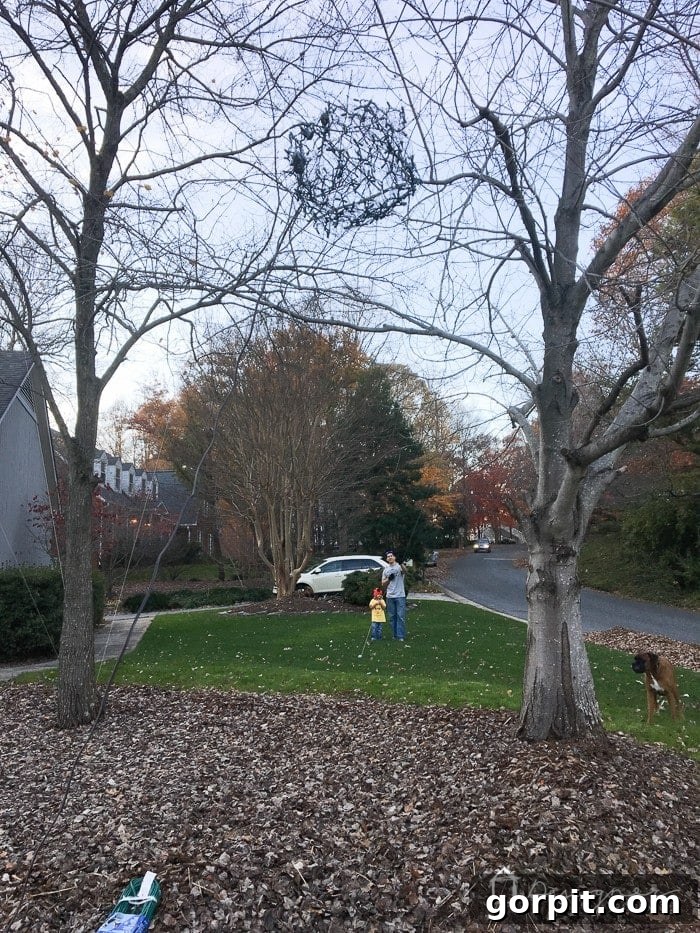
Now for the exciting part: hanging your newly crafted lighted Christmas balls! There are many inventive ways people tackle this, from potato guns to fishing poles. Our preferred method involved a lacrosse ball tied to a sturdy string, launched over the desired tree branch with a lacrosse stick. Once the lacrosse ball and string cleared the branch, we would carefully lower the string, detach the lacrosse ball, and then securely attach our lighted Christmas ball to the string. Before you begin hoisting your balls into position, it is absolutely CRITICAL to plug each lighted ball into an outdoor-rated extension cord. To ensure that all connections remain secure and weatherproof, wrap them generously with heavy-duty duct tape. This prevents accidental disconnections and protects against moisture, which is vital for outdoor electrical safety.
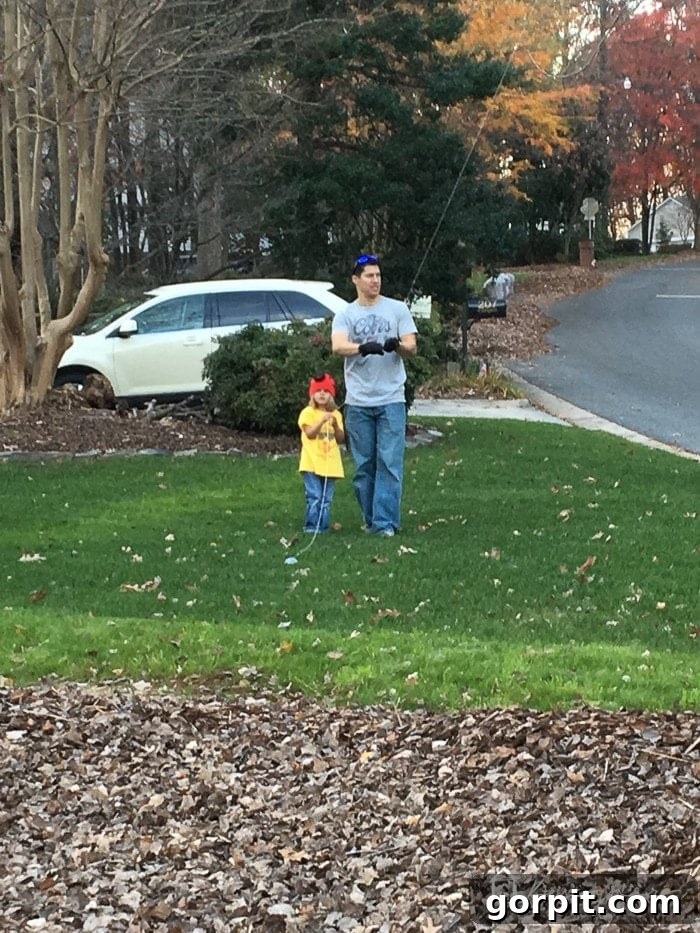
Step 7: Secure the Hanging String and Plan for Removal
Once your lighted Christmas ball is at its desired height and position, tie the excess hanging string securely to a ground stake. Drive the stake firmly into the ground to ensure the ball remains stable, especially during windy weather. For removal at the end of the season, the process is wonderfully simple: just snip the strings at the base, and the balls will gently fall to the ground, ready to be stored for next year. Always remember to unplug them before cutting the strings!
Troubleshooting & Expert Tips for Your Lighted Christmas Balls:
- Achieving a Rounder Shape: Don’t obsess over perfection! As mentioned, they look much rounder when suspended and lit at night. However, if you want to refine the shape, gently press and mold the chicken wire after forming, focusing on any flat spots. Pliers can help with stubborn wires.
- Even Light Distribution: When weaving, try to spiral the lights evenly around the ball. If you notice a dark spot after plugging in, simply adjust the light strand by pulling or tucking it until the desired brightness is achieved.
- Weatherproofing: Beyond duct-taping connections, consider spraying your completed balls with a clear, outdoor-rated sealant to prevent rust on the chicken wire over time, though this is usually not necessary for a single season.
- Storage: At the end of the season, store your lighted balls in large plastic bins or bags to protect them from dust and damage. They hold their shape surprisingly well, making next year’s setup a breeze!
- Alternative Hanging Methods: For lower branches, a sturdy step ladder or extension pole with a hook can work wonders. For higher branches, professionals sometimes use specialized tree-trimming poles with attachments.
- Power Management: If you’re hanging multiple balls, ensure your extension cords and outdoor outlets can handle the total wattage. Consider using a timer for your lights to conserve energy and enjoy an effortless evening display.
Witness the Magic: The Finished Project Aglow!
Are you ready to see the breathtaking results of your efforts? Believe me when I say these lighted Christmas balls are notoriously difficult to capture accurately in photographs or video. Their brilliance and beauty are far more striking and immersive in person! However, I’ve done my absolute best to photograph our completed balls at night, and I truly hope these images will inspire you to create your own magnificent display.
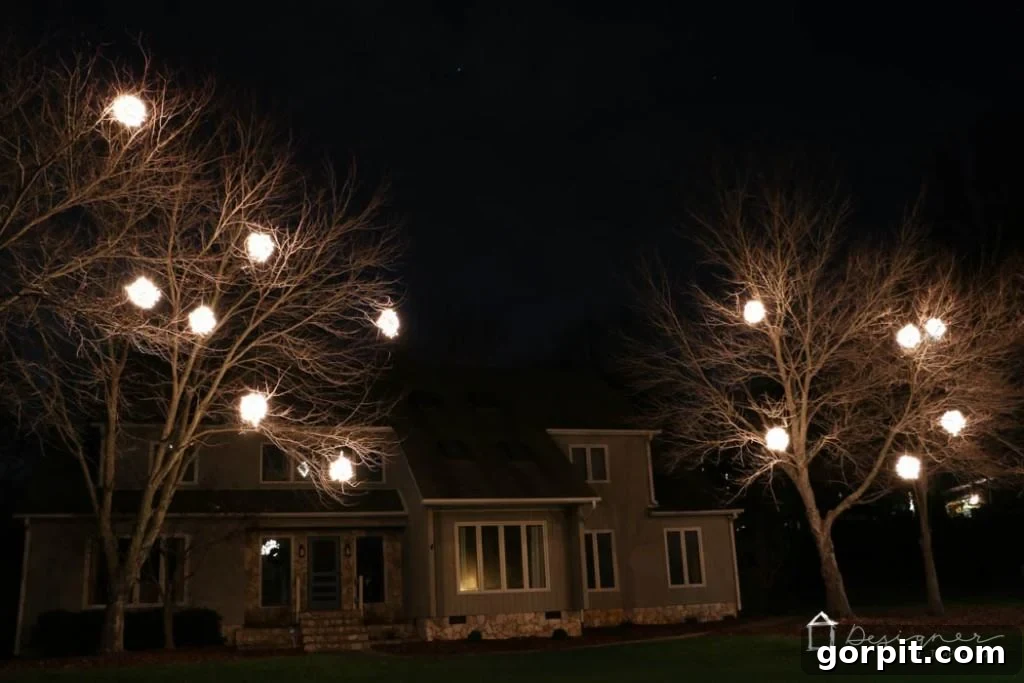
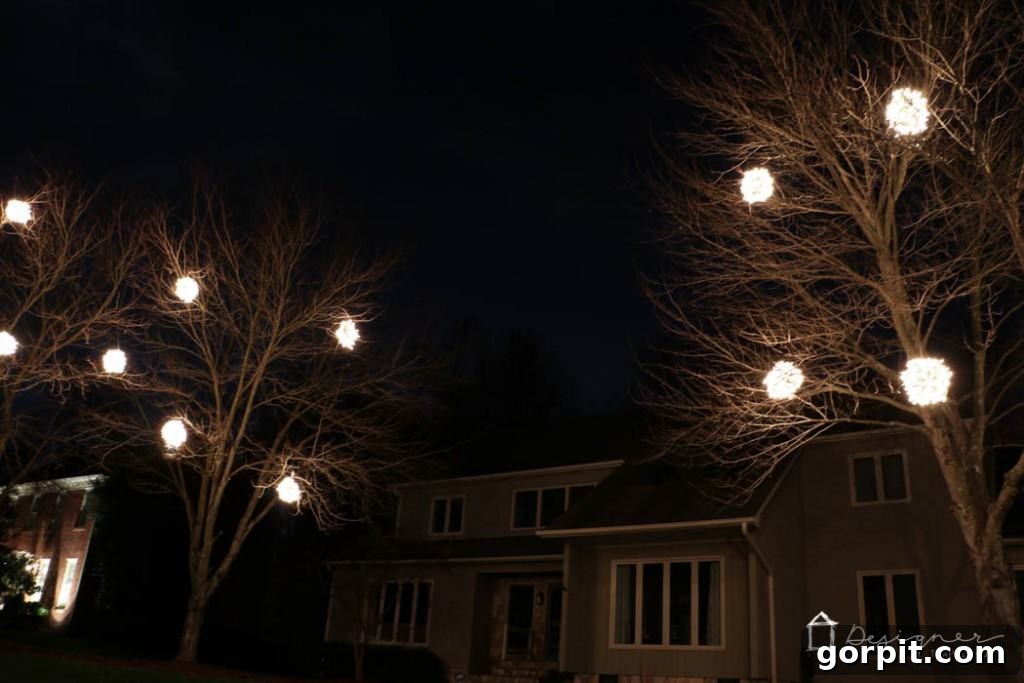
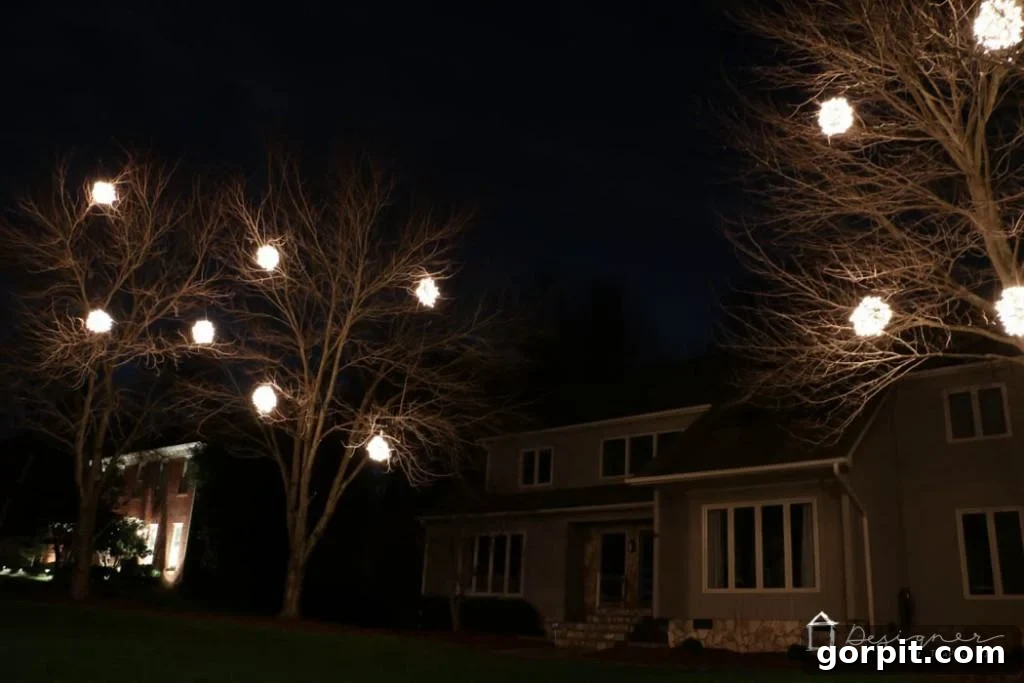
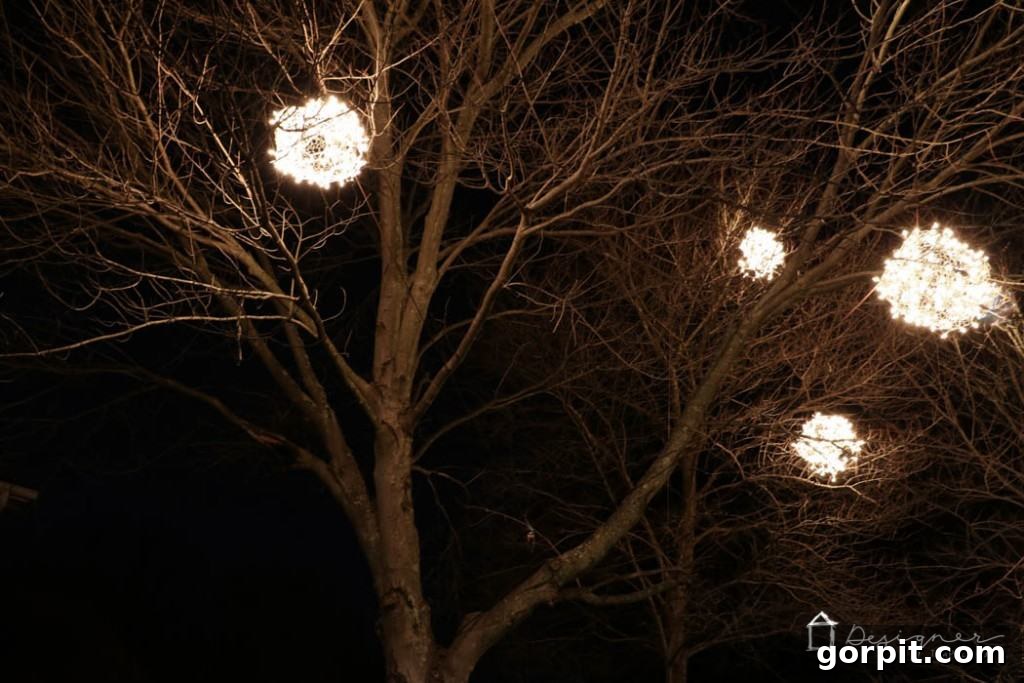
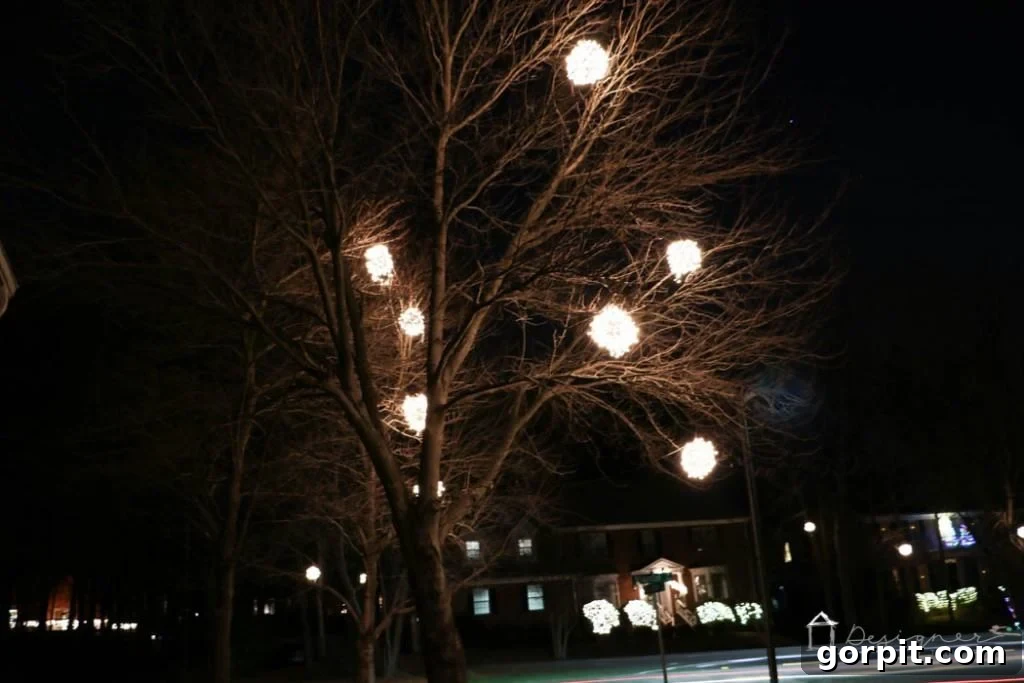
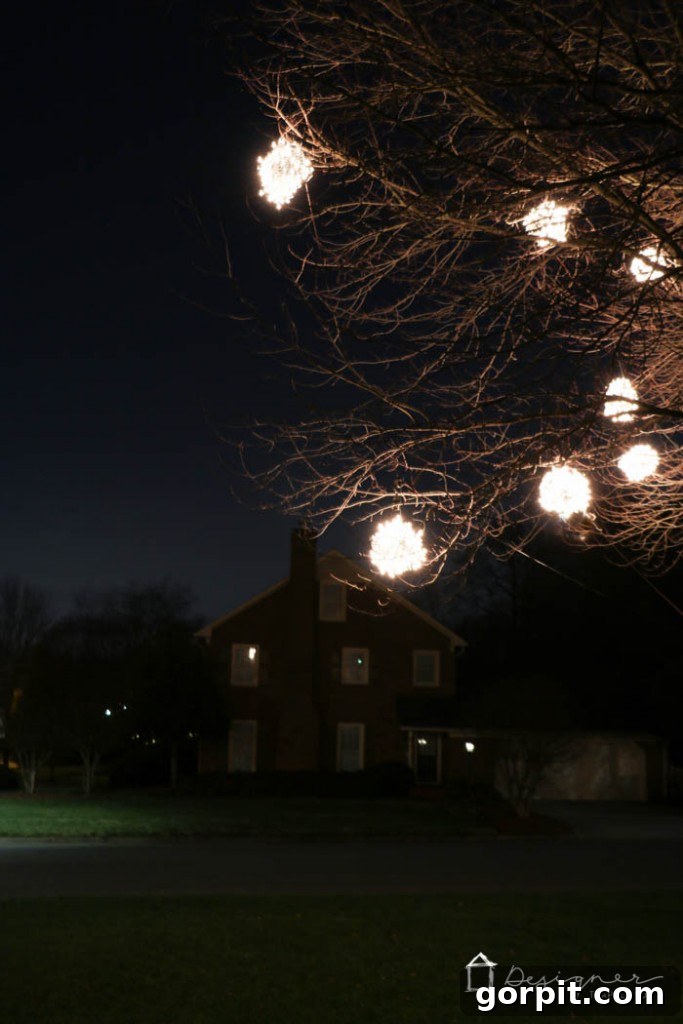
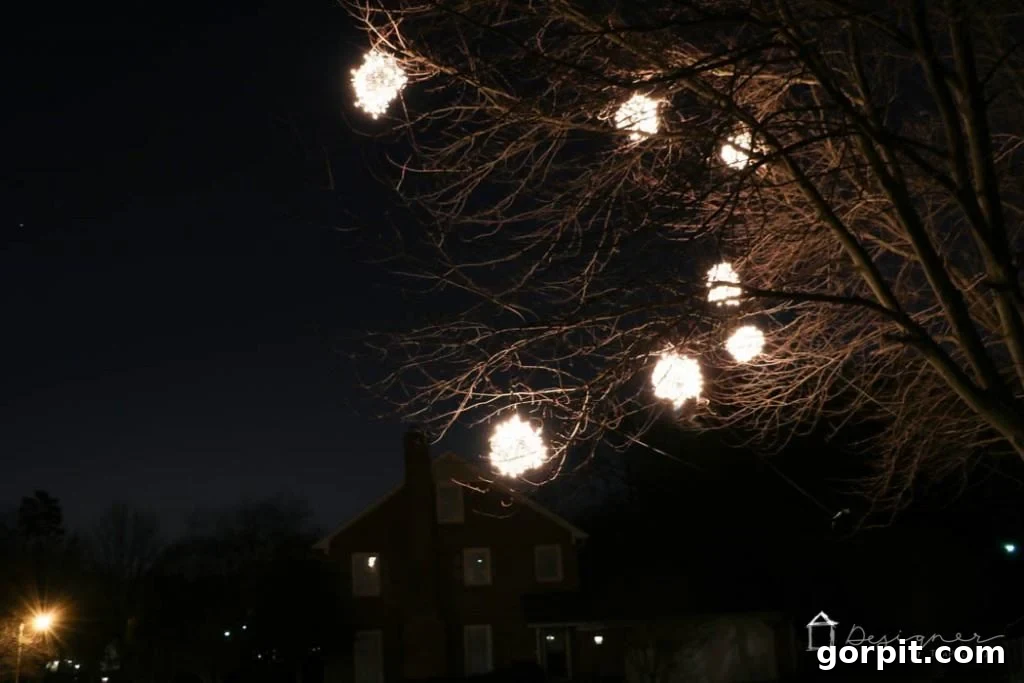
The beauty of these decorations extends beyond the immediate view. We’re even able to catch glimpses of their cheerful glow from the hallway upstairs in our home, which adds another layer of warmth and joy to our holiday season. It’s a constant reminder of the festive atmosphere we’ve created.
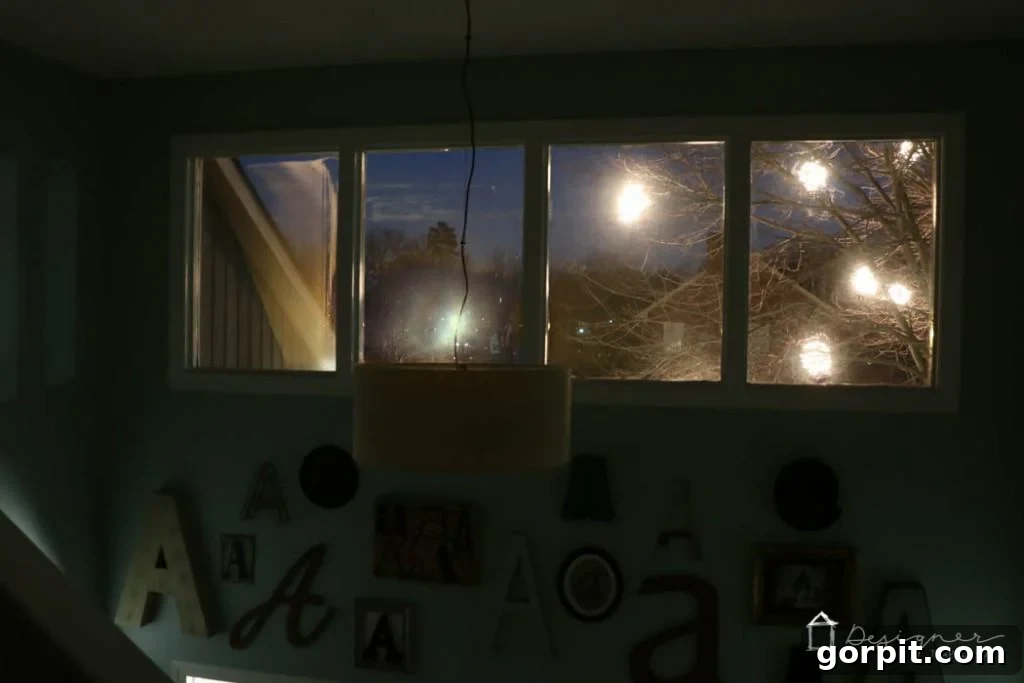
For a bit of extra fun, our girls were absolutely “BEGGING” for some colorful lights, so we hung a few “rainbow” balls in our backyard. While I didn’t get a chance to photograph those, they add a playful touch. Personally, I have a strong preference for the classic elegance of all-white lights, which is why our front yard is adorned exclusively with the serene glow of white light balls. The choice of color is entirely yours, allowing for endless customization to match your personal holiday style!
Aren’t these lighted Christmas balls absolutely wonderful? I sincerely hope that this tutorial has ignited your creative spark and left you feeling thoroughly inspired to make some for your own home and neighborhood! It’s a project that delivers immense satisfaction and transforms your outdoor space into a beacon of holiday cheer. If you’re planning to tackle this delightful DIY, be sure to pin this post to your favorite Christmas decor board so you can easily refer back to it later. And before you go, don’t forget to explore my other Christmas posts for more festive ideas and inspiration!
Discover more creative ideas and transform your home with our most popular DIY projects and decor tips: