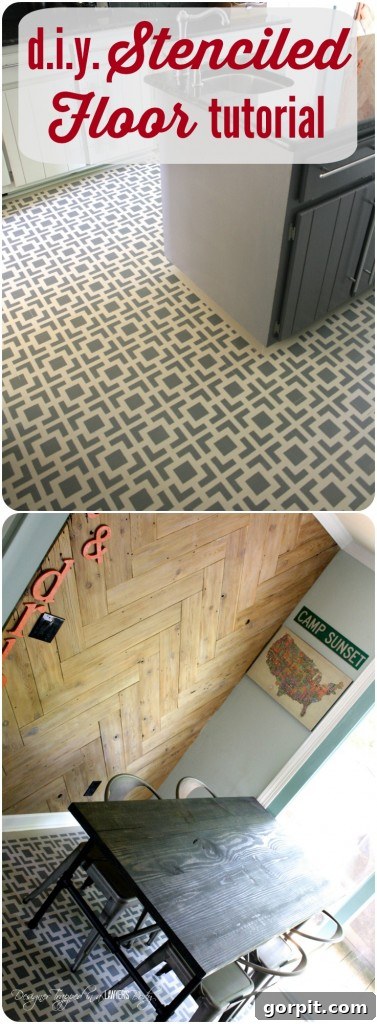
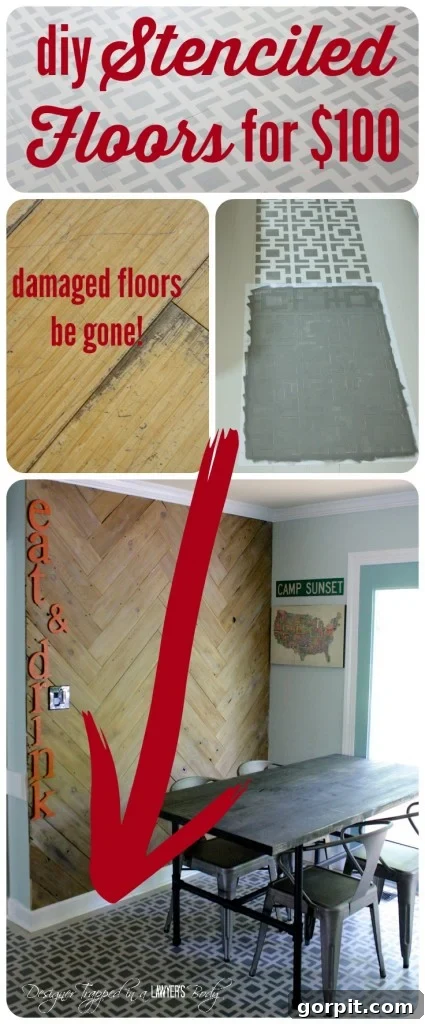
Hello friends! Have you ever looked at your badly damaged wood or bamboo floors and wished for a magical transformation without the hefty price tag of professional refinishing? If so, you’re in the right place! Today, I am thrilled to finally share a detailed, step-by-step tutorial for creating stunning DIY stenciled floors. This project isn’t just a simple update; it’s a complete floor revolution that breathes new life into tired spaces.
For those who have followed my blog, you’ll know that I tackled the severely damaged bamboo floors in my own kitchen using this very method. And I can confidently say, it stands as one of my all-time favorite home improvement projects. It was incredibly rewarding, surprisingly accessible for DIY enthusiasts, and delivered results far beyond our expectations. While it does require a commitment of time, the process itself is straightforward and the outcome is absolutely worth every minute. We harbored a long-standing desire for painted wood floors, primarily because a full refinish of our bamboo floors simply wasn’t in our budget, and truth be told, bamboo flooring wasn’t our favorite aesthetic anyway. This creative solution allowed us to achieve a custom, high-end look without breaking the bank.
This post contains some affiliate links. Click here to read my full disclosure policy.
The Allure of Stenciled Floors: A Budget-Friendly Transformation
In the realm of home decor, stenciled floors have emerged as a powerful trend, offering homeowners an incredible opportunity to infuse personality and charm into their living spaces. Beyond just aesthetics, this technique provides a brilliant solution for covering up imperfections, scratches, or wear and tear on existing hard floors that are too costly or inconvenient to replace or professionally refinish. Imagine transforming drab, worn-out flooring into a vibrant canvas of design, adding a bespoke element that feels both luxurious and uniquely yours.
Unlike expensive hardwood installations or intricate tile work, DIY stenciled floors leverage the magic of paint and a simple pattern to create a dramatic impact. It’s a method that champions affordability, allowing you to achieve a high-impact, custom look for a fraction of the cost. Whether you’re dealing with aged wood, laminate, or even concrete, the principles of stenciling offer a versatile pathway to a completely refreshed interior. This guide will walk you through transforming your floors into a durable, beautiful statement piece that will garner compliments for years to come.
Essential Tools and Materials for Your Stenciled Floor Project
Before embarking on your floor transformation journey, gathering the right materials is paramount. Each item plays a crucial role in ensuring a smooth process and a durable, beautiful finish. Here’s what you’ll need:
- Trisodium Phosphate (TSP): A heavy-duty cleaner essential for degreasing and thoroughly preparing your floor surface. Proper cleaning is the non-negotiable first step for paint adhesion.
- Paint Brushes: A good quality brush will be needed for ‘cutting in’ along baseboards and in tight corners where a roller can’t reach.
- Porch and Floor Paint in Two Different Colors: This is critical. You MUST use paint specifically formulated for floors, as it’s designed for heavy foot traffic and durability. We used Valspar Porch and Floor Latex Paint, tinted to our chosen shades (Ocean Storm and Weathered Oak, satin finish) at Lowe’s Home Improvement. Choose colors that complement your existing decor and personal style.
- Latex Primer: A high-quality primer ensures maximum adhesion of your paint to the floor and provides a uniform base.
- Large Paint Roller Frame, Roller, and Extension Rod: For efficiently applying primer and base coats across large floor areas. The extension rod saves your back!
- Small Paint Roller Frame and Dense Foam Roller: The dense foam roller is crucial for stenciling, as it minimizes paint bleed under the stencil.
- Paint Trays: One large tray for your base coat and primer, and a smaller one for your stenciling color.
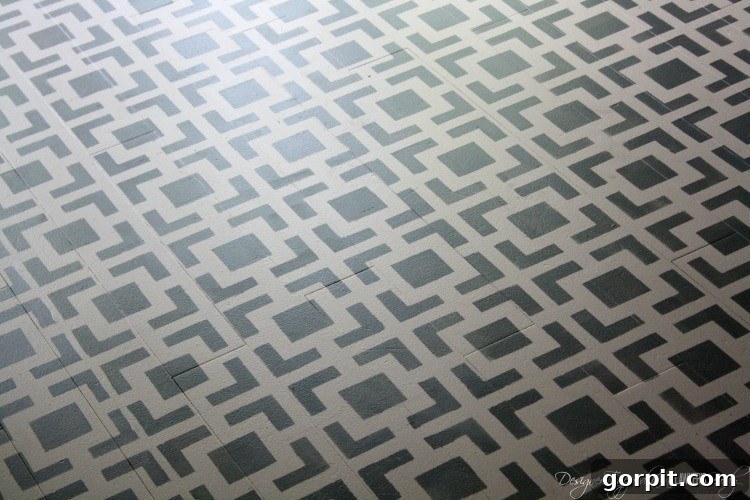
- Stencil of Your Choosing: This is where your personal style shines! We opted for the Hollywood Squares stencil by Royal Design Studio for a modern look, but countless designs are available to suit any aesthetic.
- Paper Towels: Indispensable for offloading excess paint from your stencil roller, ensuring crisp lines.
- Cardboard: Used as a surface to roll off excess paint from your stencil roller. An old box works perfectly!
- A Whole Lot of Patience: This is perhaps the most important “material.” While not difficult, stenciling is a meticulous, time-consuming process that rewards patience with stunning results.
Step-by-Step Guide to Achieving Stunning Stenciled Floors
Transforming your floors might seem like a daunting task, but by following these detailed steps, you’ll be well on your way to a spectacular custom finish. Each stage is crucial for ensuring durability and a professional-looking result.
Step 1: Meticulous Floor Preparation – The Foundation of Success
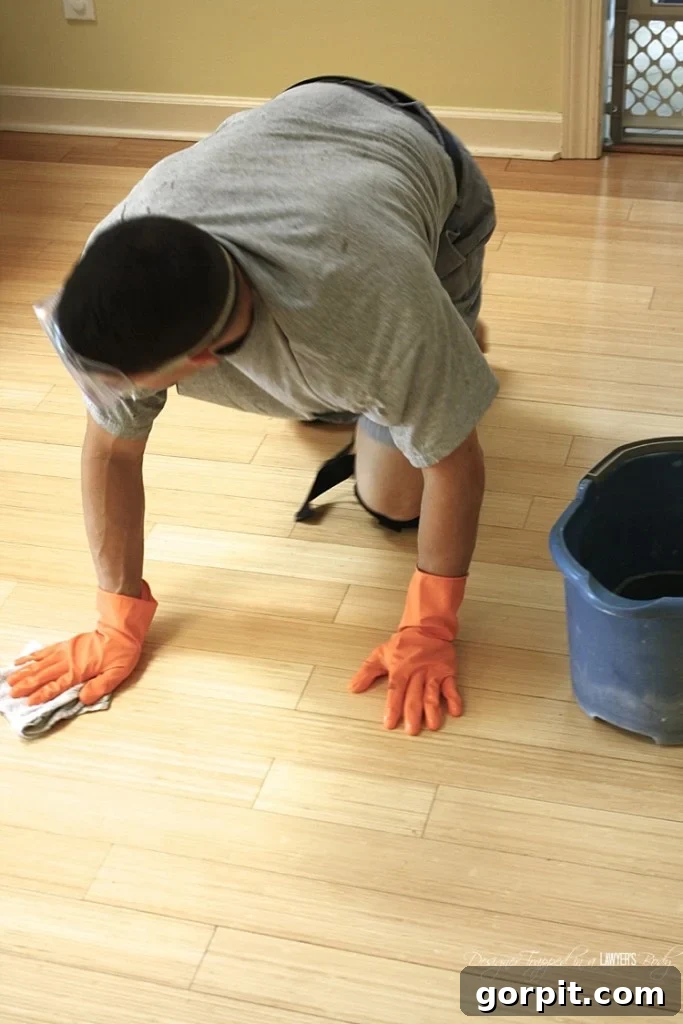
I cannot stress enough the critical importance of this initial step. A properly prepared surface is the bedrock of a long-lasting, beautiful painted floor. Any dirt, grease, or grime left behind will compromise paint adhesion, leading to peeling or chipping down the line. We used Trisodium Phosphate (TSP), mixed precisely according to the manufacturer’s instructions. Wearing gloves, we literally scrubbed every inch of our floors on our hands and knees. This ensures deep cleaning and creates an optimal surface for paint to bond. After scrubbing, rinse the floor thoroughly to remove all TSP residue, and then hand-dry it completely. Allowing the floor to air dry might leave behind residue or water spots, so manual drying is recommended for a pristine surface. Rushing this step is the quickest way to jeopardize the entire project, so take your time and do it right.
Step 2: Priming for Adhesion and Longevity
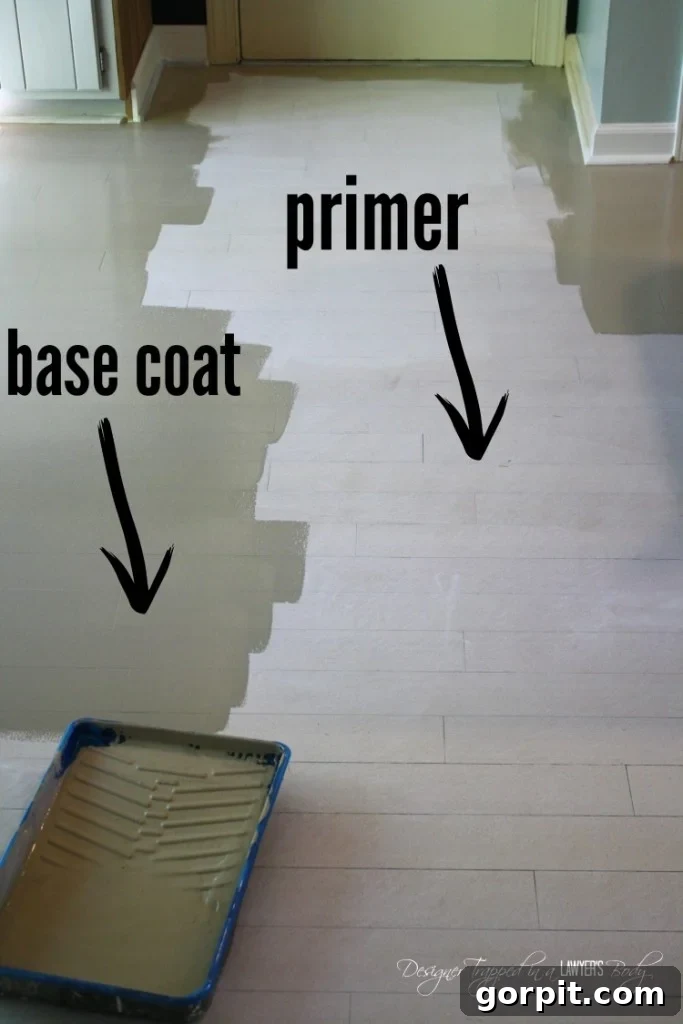
Once your floor is immaculately clean and dry, it’s time for priming. Primer serves several vital functions: it seals the surface, prevents stains from bleeding through, and most importantly, provides an ideal surface for your paint to adhere to. Using your large paint roller with an extension rod, apply a uniform coat of latex primer across the entire floor. For edges and corners, use a good quality paint brush to ‘cut in’ neatly along the baseboards. Ensure an even application to avoid thick spots or drips. After applying the primer, allow it to dry thoroughly, ideally overnight, to ensure complete curing and maximum adhesion.
Step 3: Laying Down Your Base Coat – Color and Coverage
With the primer fully dry, you’re ready to apply your chosen base color. This color will be the background for your stencil design, so choose wisely! Again, utilizing your large paint roller, paint the entire floor with an even, consistent coat of your base color porch and floor paint. Depending on your paint color and the condition of your floor, you may need to apply a second coat to achieve full, opaque coverage. Always allow the first coat to dry completely before applying the second. For optimal durability and finish, we allowed our base coat to dry overnight as well. This patience prevents tackiness and ensures a robust foundation for the stenciling.
Step 4: Defining Your Stenciling Zone (Optional but Recommended)
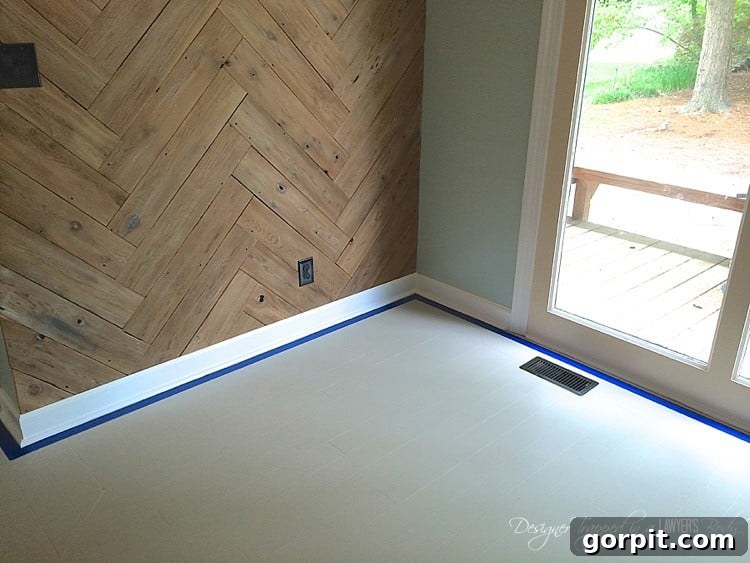
This step is a matter of personal preference but can significantly enhance the finished look. We chose to tape off the perimeter of our room with 1-inch painter’s tape, creating a clean, un-stenciled border around the edges. This provides a framed effect, adding a touch of sophistication and making any minor alignment imperfections near the walls less noticeable. If you prefer your stencil pattern to extend right up to your baseboards, you can skip this step. If you do opt for a border, ensure your tape lines are perfectly straight and firmly pressed down to prevent any paint from seeping underneath.
Step 5: The Art of Stenciling – Bringing Your Design to Life
Now for the most exciting part – bringing your chosen pattern to life! I won’t sugarcoat it; this step is time-consuming, but it is incredibly rewarding and far from difficult. I highly recommend putting on your favorite audiobook or podcast to pass the time. I used the Hollywood Squares stencil by Royal Design Studio for its clean, modern aesthetic, but feel free to select a design that best reflects your personal style.
Begin by gathering your stenciling supplies: your small, dense foam roller, paper towels, a piece of cardboard (an old beer box works perfectly!), and your secondary paint color in a small paint tray. The key to crisp stencil lines is to work with an **almost totally dry roller**. This technique is crucial for preventing paint from bleeding underneath the stencil, which is a common pitfall. Every time you load your roller with paint, make sure to roll off most of the excess onto your paper towels or cardboard. You want very little paint on the roller – just enough to transfer the color, not enough to saturate the stencil.
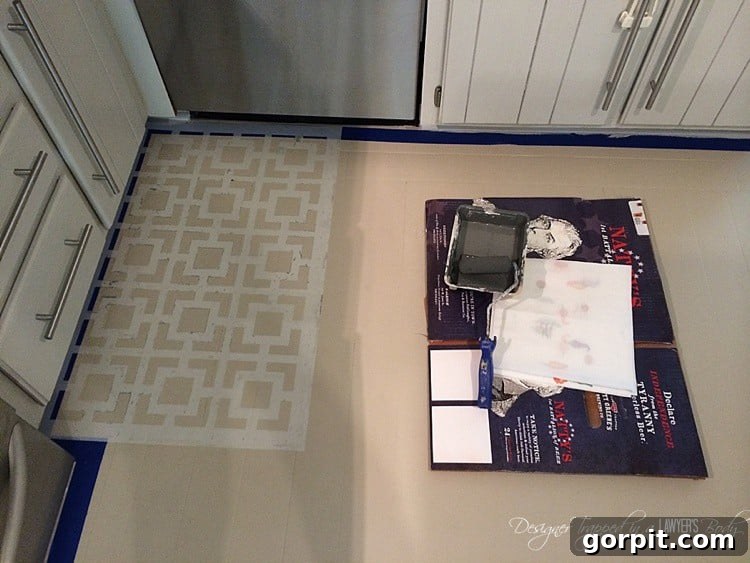
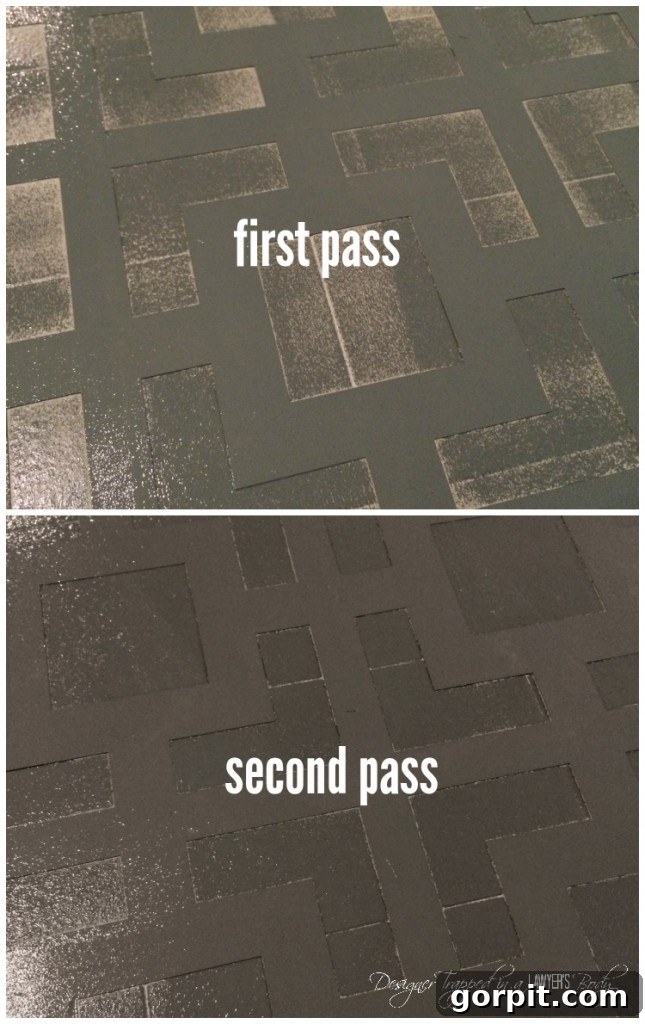
Because you are working with a mostly dry roller, you will need to make two passes over the stencil each time you position it. After the first pass, the coverage will appear light and somewhat patchy. This is normal! The second pass will build up the color, giving you good, solid coverage without bleeding. Once you have achieved satisfactory coverage, carefully lift the stencil straight up to avoid smudging, and move it to the next section.
Ensure precise alignment of your stencil each time you reposition it. Many stencils come with registration marks to help with this. However, if, like me, you find those marks getting obscured by paint, you can also align the stencil by carefully matching the pattern itself. Take your time to get this right, as consistent alignment is key to a cohesive pattern. Repeat this process methodically until your entire floor is covered. I found it easiest to stencil the main, open areas first, then tackle the perimeter edges last, as this often requires more careful maneuvering and cutting the stencil pattern. For tricky spots around cabinets or appliances, you may need to bend your stencil or even carefully cut a portion of it to fit into tight spaces, as demonstrated in the image below.
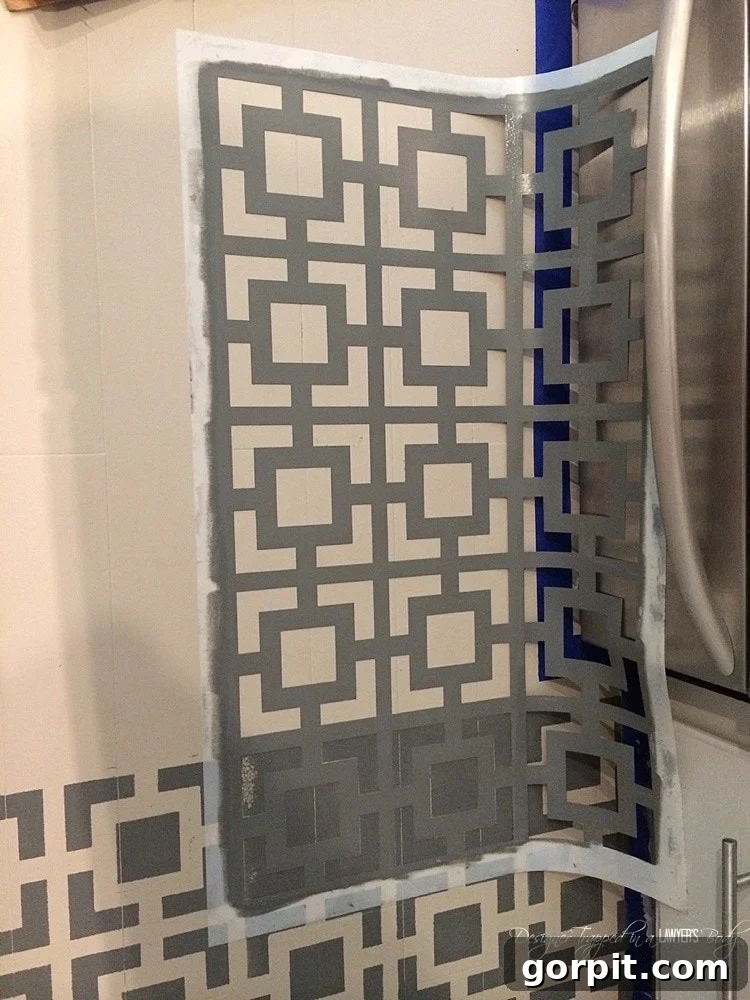
Once all the stenciling is complete and the paint has dried, step back and admire your stunning work! The transformation is truly incredible.
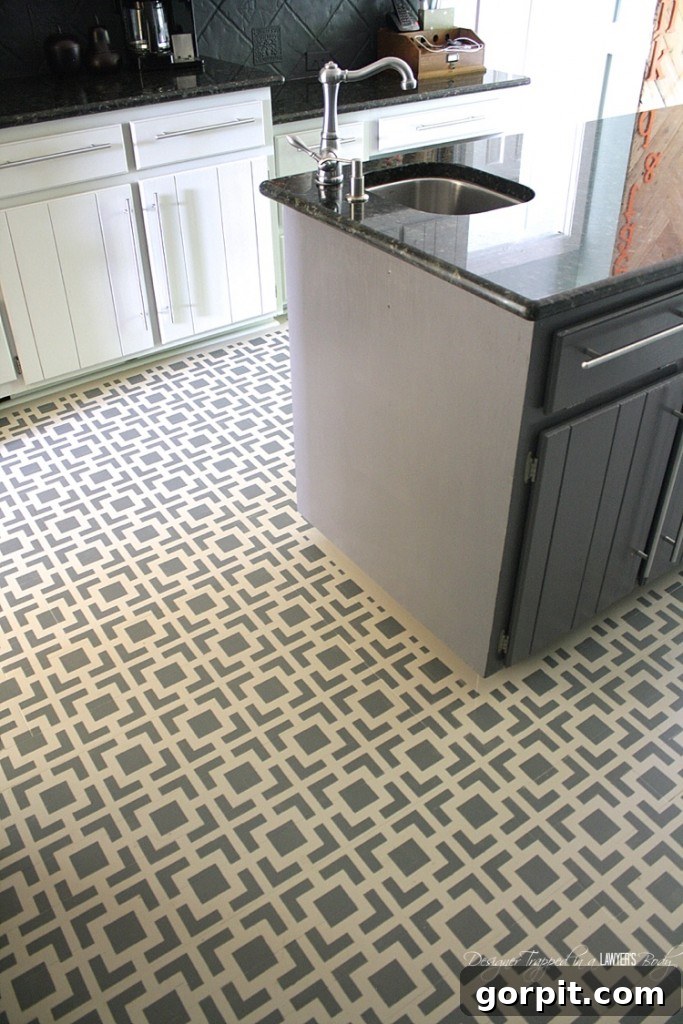
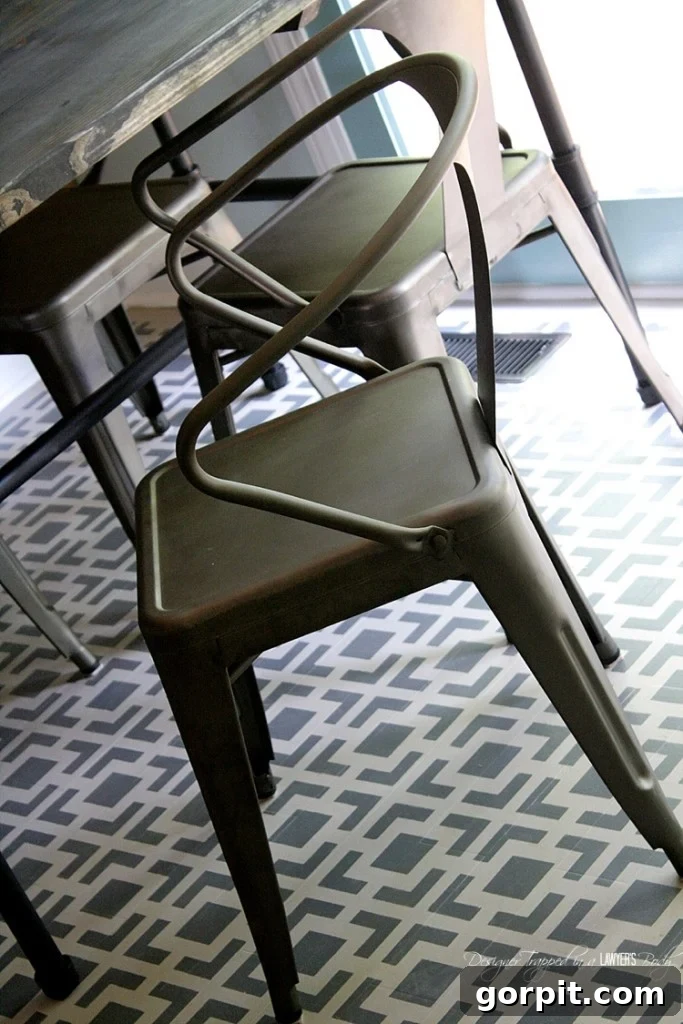
Project Timeline and Budget Breakdown
One of the most appealing aspects of a DIY stenciled floor project is its affordability. Depending on the size of your room and your choice of materials, you can realistically complete this entire transformation for approximately $100-$150. For our kitchen, the stencil itself retailed for around $45, and the two gallons of Valspar Porch and Floor paint (one of each color) cost about $27 per gallon, totaling $54 for paint. Other materials like TSP, primer, rollers, and brushes added a small additional cost, keeping the overall budget incredibly low compared to any professional flooring solution.
In terms of time investment, while the stenciling phase is the longest, the overall project is manageable. I didn’t clock every minute, but the stenciling itself took approximately 5 hours for our kitchen floor. The prep work (cleaning), priming, and applying the base coat added another 2-3 hours, factoring in the overnight drying times between coats. So, while it demands a solid 7-8 hours of hands-on work spread over a couple of days, the time investment is truly minimal for the dramatic impact and long-term enjoyment it provides. Considering it’s one of my favorite projects of all time, every hour spent was undoubtedly well worth it!
Pro Tips for Flawless Stenciled Floors
Through personal experience and a bit of trial and error, I’ve gathered some insights that can help ensure your stenciled floor project goes as smoothly as possible:
- Systematic Stenciling: Work Row by Row: While some might suggest otherwise, I highly recommend adopting a systematic approach: complete an entire row from left to right before moving on to the next one. Think of it like reading a book – progress from left to right, then shift down to the next line. This method helps maintain consistency, makes it easier to track your progress, and minimizes the risk of missing spots or misaligning sections.
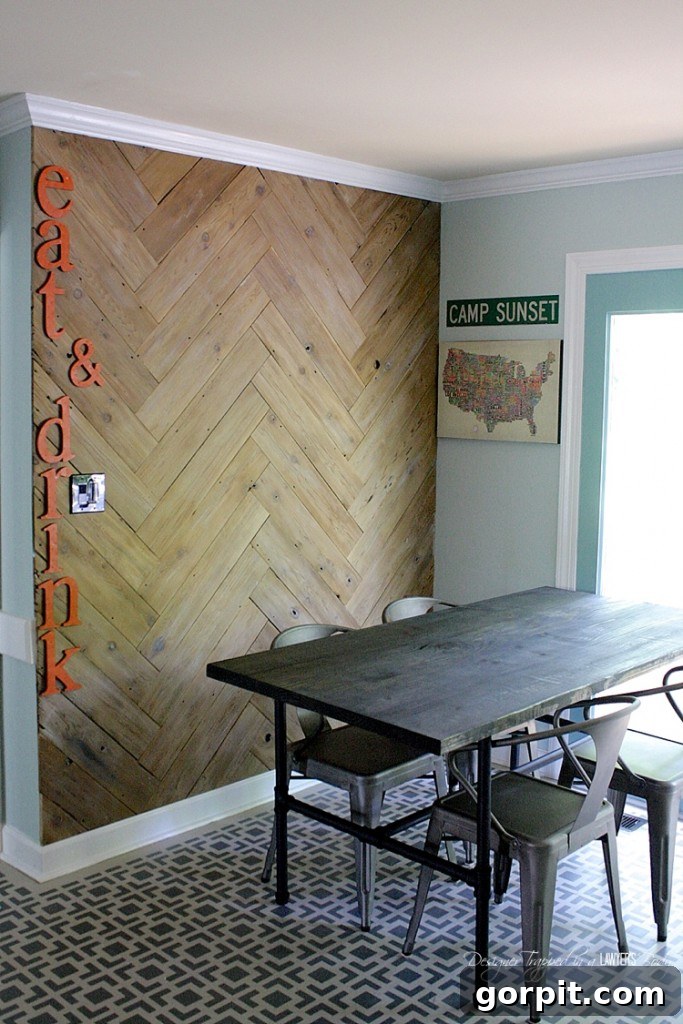
- Embrace Imperfections in Older Homes: It’s a rare day you encounter a perfectly square room, especially in older homes, and our kitchen was no exception. With geometric stencils, there’s a strong likelihood that at least one corner or edge of your room won’t align perfectly with the stencil pattern. The key is to plan for this. We strategically decided to end our stenciling in the eat-in area of our kitchen, knowing that any slight misalignment (which turned out to be a minor 1/4 inch) would be virtually invisible once our kitchen table and chairs were in place. If you’re aiming for absolute perfection, a geometric stencil might not be the ideal choice for an irregularly shaped room, or consider a more organic, forgiving pattern. Otherwise, embrace the minor quirks; they often add character!
-
A Note on Polyurethane: Less is More (or None at All!): This is perhaps my most crucial tip, and it comes with a long story that I will elaborate on another time. However, for now, please take my word for it: **it is absolutely NOT NECESSARY, nor do I recommend, adding a polyurethane finish on top of your stenciled floors.** Modern porch and floor paints are specifically engineered to withstand heavy foot traffic, moisture, and daily wear and tear. Applying a separate polyurethane topcoat can sometimes lead to adhesion issues, yellowing, or even an undesirable plastic-like finish, potentially detracting from the natural look and feel of the painted floor.
We completed our kitchen floors in April, and they have held up magnificently, far exceeding my expectations. Our kitchen sees incredibly heavy use daily from us, our active twin girls, and our playful 90-pound Boxer. Despite this, we have experienced no scratches, peeling, or significant wear. We occasionally notice black scuff marks from shoes, but these wipe off effortlessly with a magic eraser. In essence, high-quality porch and floor paint is a self-sealing, durable solution designed for floors and requires no additional protective layer. This has been our consistent experience, not only in our kitchen but also with our painted laundry room vinyl floors. Trust the paint to do its job!
Maintaining Your Beautiful Stenciled Floors
Caring for your newly stenciled floors is straightforward, thanks to the durability of porch and floor paint. Regular cleaning involves sweeping or vacuuming to remove loose dirt and debris. For deeper cleaning, a damp mop with a mild, pH-neutral floor cleaner is usually sufficient. Avoid harsh chemicals or abrasive scrubbers, which could dull the finish or damage the paint. As mentioned, for scuff marks or minor stains, a magic eraser can work wonders. With proper care, your DIY stenciled floors will remain a vibrant and resilient feature of your home for many years.
Unlock More Home Transformation Ideas
We absolutely adore the final result of our stenciled kitchen floors! This project truly transformed our space, proving that significant upgrades don’t have to come with a hefty price tag. If you’re inspired by this budget-friendly renovation, you’ll be thrilled to explore more of our home transformation projects:
- To see how we completely revamped our kitchen for less than $700, check out our full reveal here: Our Budget Kitchen Remodel REVEAL ~ Part 1.
- Curious about that unique herringbone plank wall in our kitchen? Learn how we created it by upcycling an old fence here: DIY Herringbone Plank Wall {upcyled from an ugly, old fence}!
- And don’t miss one of my most popular projects: our amazing painted laundry room vinyl floors. Yes, you really can paint vinyl floors, and the results are incredible!
If you found this tutorial helpful and inspiring, why not save it for later? Pin this project to your favorite DIY or home decor board!