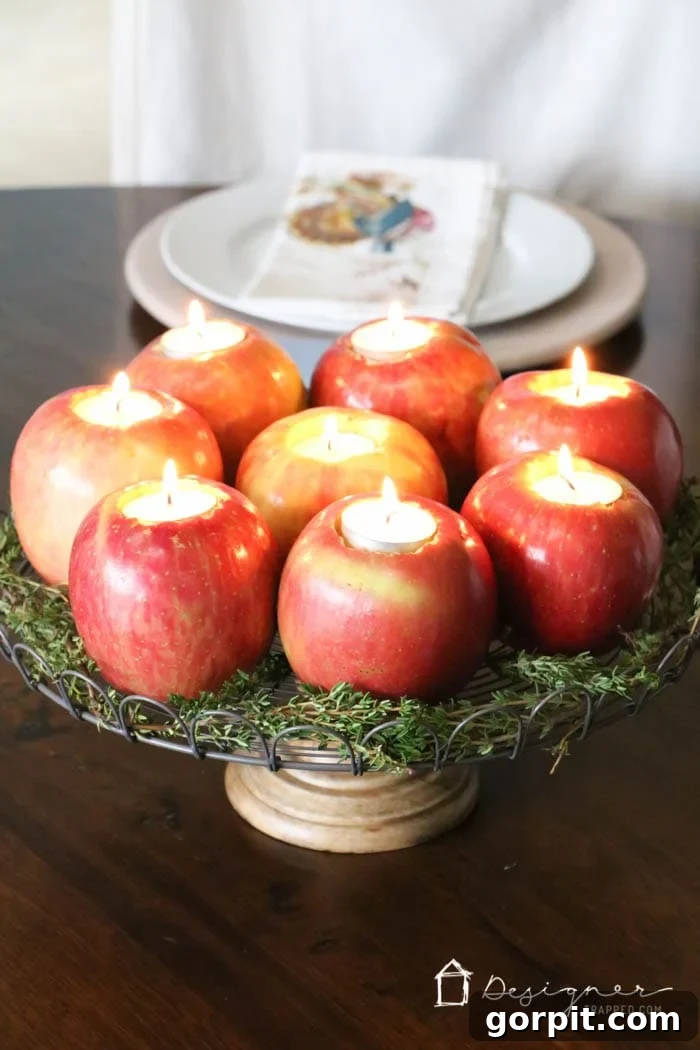
Step into the enchanting world of natural decor with a centerpiece that radiates warmth, charm, and effortless elegance. These festive DIY apple candles are a testament to the beauty found in simplicity, transforming ordinary apples into extraordinary focal points for your fall, Thanksgiving, or even Christmas table. Forget complicated crafts; this stunning seasonal tablescape can be created in about 10 minutes for around $10, making it the perfect project for anyone seeking impactful decor without the fuss or high cost. Get ready to illuminate your home with the rustic glow of homemade apple candles!
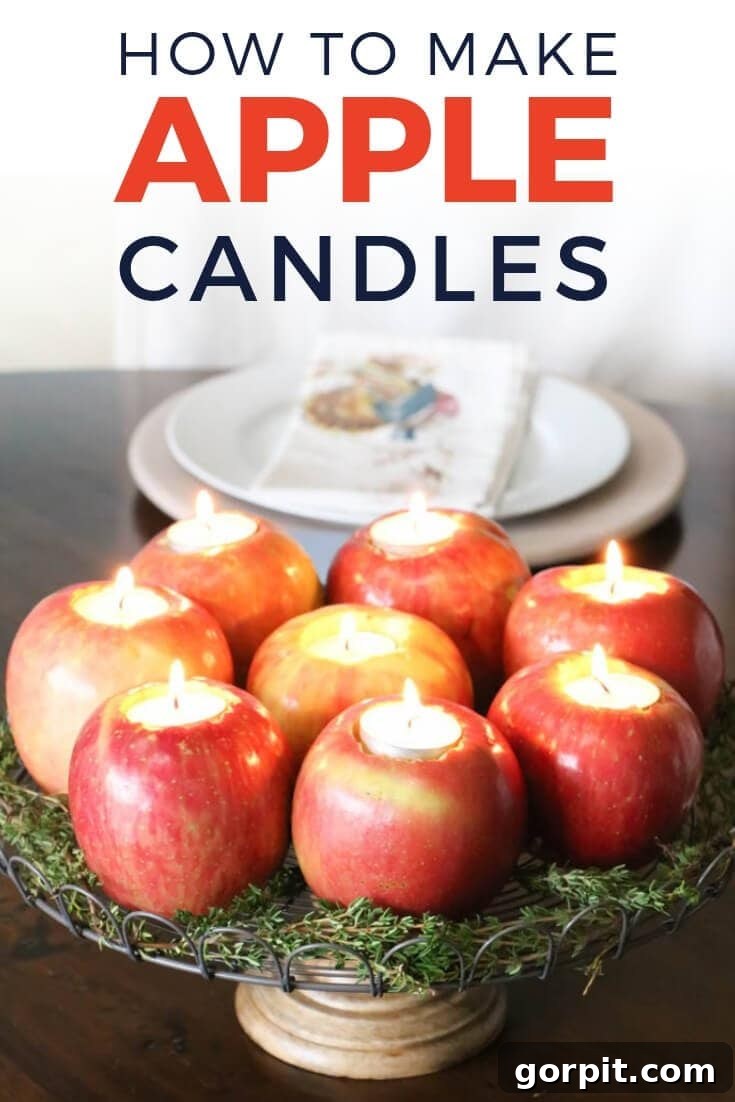
Table of Contents
You know I couldn’t possibly adorn our dining room for the festive seasons without incorporating a few charming DIY craft projects, right?! As promised, I’m thrilled to unveil how to make these gorgeous apple candles, which served as our breathtaking Thanksgiving table centerpiece this year. But don’t limit their potential; they would undoubtedly make an equally stunning Christmas centerpiece! The best part? This entire project took me less than 10 minutes and cost approximately $10. It’s incredibly simple, yet the final effect is absolutely magnificent. Let’s dive into creating your own!
This post contains some affiliate links for your convenience. Click here to read my full disclosure policy.
Why Apple Candles are Your Next Must-Try DIY Project
In a world full of complex decorating trends, sometimes the simplest ideas yield the most impactful results. Apple candles embody this philosophy perfectly, offering a multitude of reasons why they should be your next go-to seasonal craft:
- Natural Elegance: There’s an inherent sophistication in bringing natural elements indoors. The rich colors and organic shapes of apples lend an authentic, rustic, yet refined touch to any setting.
- Seasonal Versatility: Whether it’s the crisp days of fall, the abundance of Thanksgiving, or the twinkling magic of Christmas, apple candles adapt seamlessly. Their warmth and color palette resonate with all these beloved seasons.
- Budget-Friendly Brilliance: High-end centerpieces can cost a fortune. Apple candles offer an incredibly affordable alternative, utilizing common, inexpensive items to create a luxurious look without breaking the bank.
- Incredibly Easy & Quick: If you’re short on time but big on style, this project is for you. It truly takes minutes to assemble, making it perfect for last-minute decor needs.
- Aromatic Ambiance: Beyond their visual appeal, fresh apples, especially when combined with fragrant herbs, subtly scent your space, adding another layer of sensory delight to your festive atmosphere.
- Eco-Conscious Choice: Opting for natural, biodegradable materials like apples and herbs makes this a more sustainable decorating option compared to plastic or mass-produced items.
Choosing the Perfect Apples for Your Centerpiece
The foundation of your beautiful apple candle centerpiece lies in selecting the right apples. While any apple can technically work, a thoughtful choice can elevate your display:
- Variety Matters: I often lean towards Fuji apples due to their lovely blend of red and green hues, offering a natural ombré effect. However, feel free to choose varieties that match your aesthetic. Gala apples offer vibrant reds, Honeycrisp for a crisp, classic look, and Granny Smiths for a pop of bright green, perfect for contrasting with red berries or white candles.
- Form and Function: Prioritize apples with relatively flat bottoms. This ensures stability, preventing them from wobbling or tipping over once the tea light is placed inside. Firm apples will also hold their shape better and last longer.
- Color Palette: Consider your existing decor. Do you want a monochromatic look with all red apples, or a dynamic display with mixed reds, greens, and even yellows?
- Freshness is Key: Always select firm, unblemished apples to ensure your centerpiece looks its best and lasts for the duration of your event.
Essential Materials for Your DIY Apple Candles
Gathering your supplies is the first step towards creating this enchanting display. Here’s everything you’ll need, along with a few extra tips:
- Fresh Apples: As discussed, choose your favorite variety. Aim for a consistent size if you want a uniform look, or mix sizes for a more organic, rustic feel.
- Power Drill: A standard household power drill will make quick work of creating the holes. Always handle with care.
- 1 ½-Inch Paddle Bit (or Spade Bit): This size is ideal for most standard tea lights, ensuring a snug and secure fit. If you don’t have a paddle bit, a large core drill bit could also work.
- Standard Tea Lights: You can opt for traditional wax tea lights, either unscented or subtly scented (cinnamon or apple spice would be lovely). For enhanced safety and reusability, consider battery-operated LED tea lights, especially if children or pets are present.
- Fresh Herbs: Elevate the sensory experience with fragrant fresh herbs. Rosemary, thyme, and sage are excellent choices, adding both a beautiful green contrast and a wonderful aroma. Cinnamon sticks or dried orange slices can also complement the autumnal theme.
- Pedestal Stand or Cake Stand of Your Choice: Elevating your centerpiece adds drama and visual interest. A classic cake stand is perfect, but don’t limit yourself! Consider rustic wooden slices, a tiered serving tray, a mirrored tray, or even a simple, elegant platter to display your apples.
Crafting Your Beautiful Apple Candles: A Step-by-Step Guide
Step 1: Preparing Your Apples with Precision
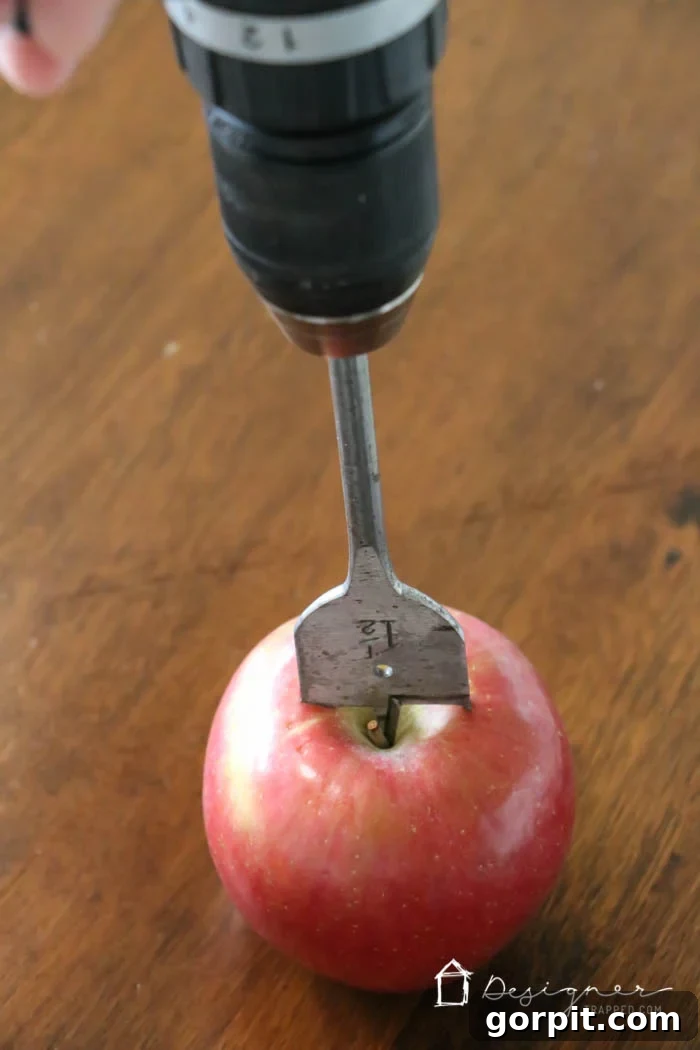
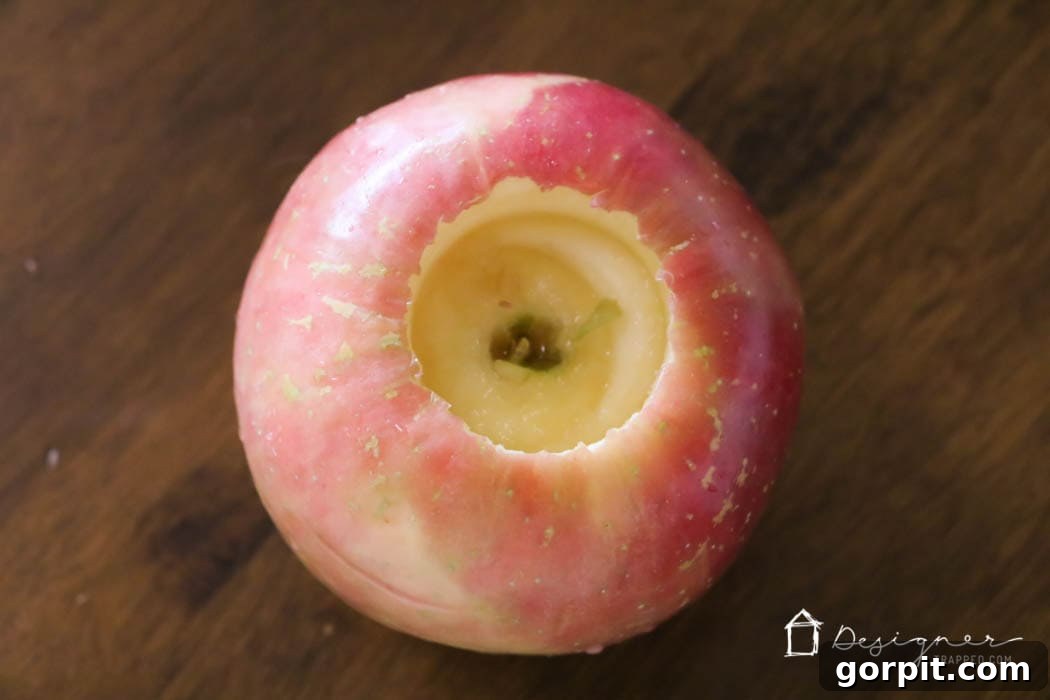
Using your power drill and the 1 ½-inch paddle bit, carefully drill a hole into the top of each apple. Hold the apple firmly on a stable surface. Position the paddle bit directly in the center of the apple’s top. Drill slowly and steadily, applying gentle pressure. It’s crucial not to drill too deeply – your hole only needs to be deep enough for your tea light cup to sit flush with the apple’s surface, typically about ¼ to ½ inch. After drilling, gently remove any small apple core remnants or debris from the hole to ensure a clean fit for your candle. Always exercise caution when using power tools.
Step 2: Nestling in Your Tea Lights
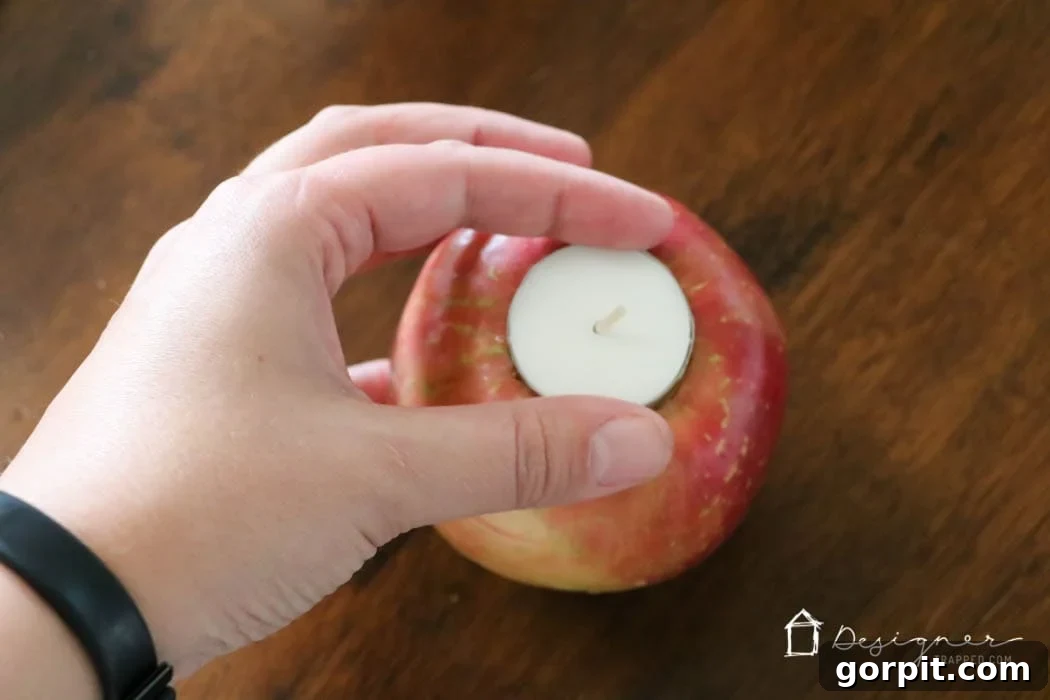
Once your holes are drilled, it’s time to place your tea lights. Simply press each tea light gently but firmly into its designated hole. Ensure it sits level and snug within the apple. The goal is for the top edge of the tea light’s metal cup to be flush with or just slightly below the apple’s surface. Make sure the wick is upright and easily accessible for lighting.
Step 3: Arranging Your Elevated Display
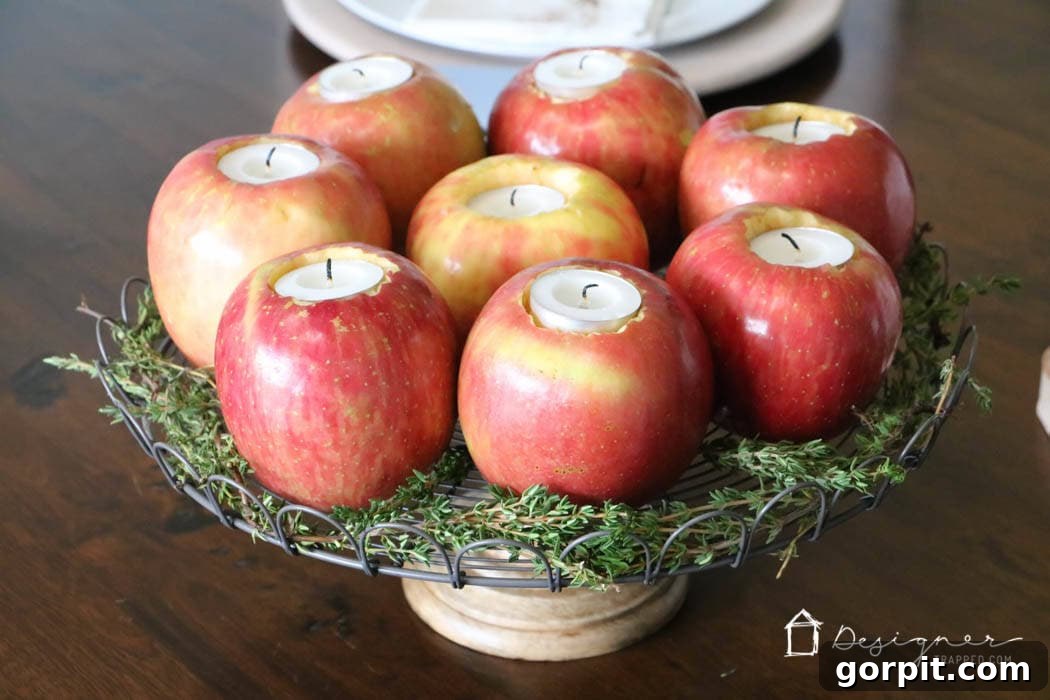
Now, artfully arrange your newly crafted apple candles onto your chosen elevated stand. You might opt for a symmetrical grouping in the center, or a more organic, asymmetrical spread. Consider the size of your stand and the number of apples to create a balanced and visually appealing display. Whether you use a cake stand, a rustic crate, or a simple decorative tray, the elevation adds an extra layer of sophistication to your centerpiece.
Step 4: The Finishing Touch: Botanical Embellishments
This is where you infuse your centerpiece with extra life and fragrance! Place fresh herbs around the perimeter of your stand, allowing them to drape gracefully. You can also tuck sprigs of herbs in between the apples, creating a lush, garden-like effect. Don’t stop at herbs; consider adding other natural elements like small pinecones, vibrant cranberries, cinnamon sticks, or even dried orange slices for added texture, color, and scent. Ensure any flammable additions are kept a safe distance from the candle flames.
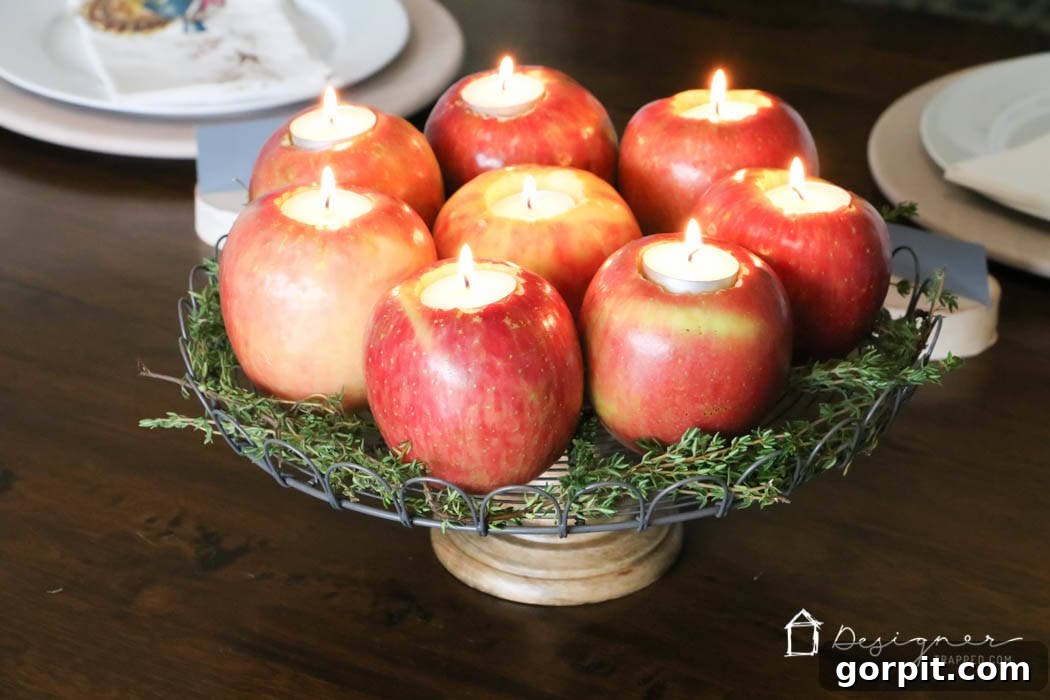
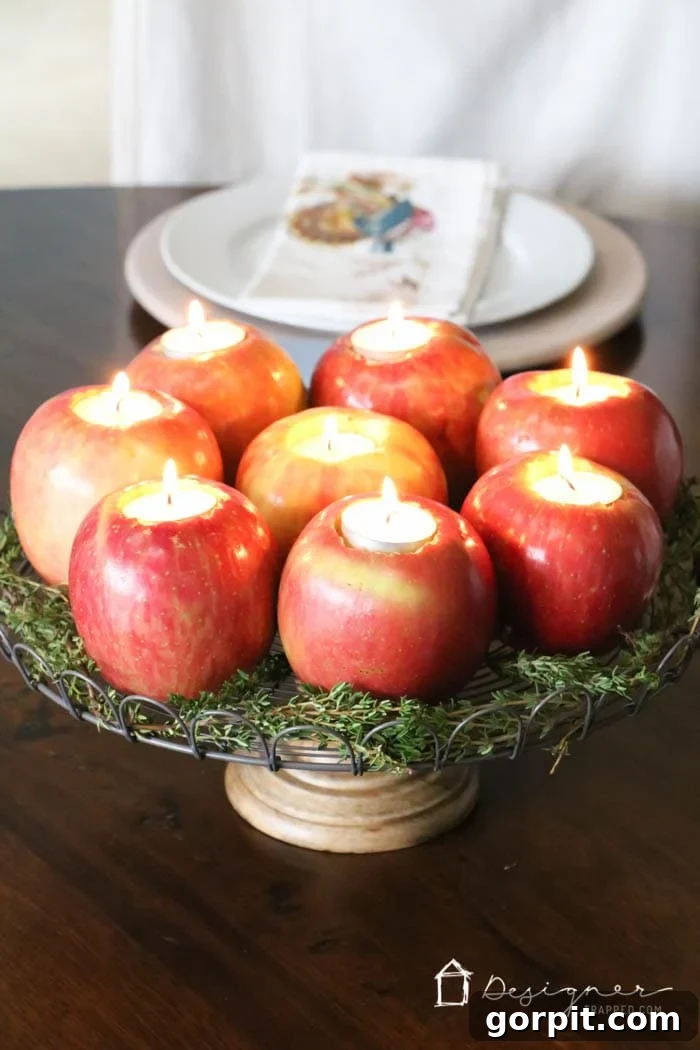
That’s it! Truly, it’s one of the easiest and most rewarding DIY craft projects I’ve ever undertaken. And as promised, it was incredibly cheap! The apples, thyme, and tea lights came in right around $10, proving that stunning decor doesn’t have to be expensive. Take a look at the finished project and prepare to be inspired.
Creative Variations and Styling Ideas
While this basic guide provides a beautiful foundation, don’t hesitate to personalize your apple candle centerpiece:
- Holiday Themes: For Halloween, use green apples and spooky black or purple tea lights. For Christmas, combine red apples with sprigs of evergreen, pinecones, and bright red berries.
- Alternative Candles: If you drill deeper holes, you could use votive candles, though tea lights are generally safer and easier to replace. Always ensure a snug fit.
- Scent Boosters: For an extra festive aroma, stud whole cloves into the skin of your apples, or place a few drops of essential oil (like cinnamon or orange) on non-flammable elements surrounding the apples.
- Groupings: Create a single grand statement piece on a large stand, or craft several smaller clusters of 2-3 apples to spread along a longer dining table or buffet.
- Table Runners: Enhance your display by placing it on a complementary table runner – a burlap runner for rustic charm, or a velvet one for holiday luxury.
Tips for Longevity and Essential Safety
To ensure your apple candles look their best and remain safe throughout your event, keep these tips in mind:
- Keeping Apples Fresh: Apples will stay fresh and crisp longer if kept in the refrigerator until just before use. Once arranged, a light misting of water can help them maintain their vibrancy for a day or two. If you notice any browning around the drilled hole, it will typically be hidden by the tea light.
- Fire Safety is Paramount:
- Never leave burning candles unattended. Always extinguish them before leaving the room or going to bed.
- Keep your apple candles away from any flammable materials, such as curtains, paper napkins, or dried floral arrangements.
- Ensure the apples are stable on their stand and won’t easily tip over.
- For homes with children, pets, or for longer events, consider using battery-operated LED tea lights. They offer the same beautiful glow without any fire risk.
- Disposal: After your event, the apples can be composted, making this a wonderfully eco-friendly decoration.
Beyond the Dining Table: More Ways to Use Apple Candles
These versatile apple candles aren’t just for your dining table! Get creative and use them to add festive touches throughout your home:
- Adorn your fireplace mantle with a line of glowing apple candles.
- Place them on entryway console tables to greet guests with seasonal cheer.
- Use them as charming accents on kitchen islands or bathroom shelves.
- Gift them as unique, handmade hostess gifts during the holiday season.
Conclusion: Illuminate Your Home with Simple Apple Elegance
What do you think – are you going to add this incredibly easy, budget-friendly, and breathtakingly beautiful apple candle centerpiece to your Thanksgiving, Christmas, or general fall table this year? Its natural charm and effortless elegance are sure to impress your guests and create a memorable atmosphere. Dive into this simple DIY project and watch your home transform with the rustic glow of apple candles. We can’t wait to see your wonderful creations!
Wondering how I approach transforming rooms and spaces in our home? Check out Designer in a Binder®.
And if you want exclusive content and behind-the-scenes sneak peeks, be sure to subscribe before you head out!