
Transform Your Tangles: The Ultimate DIY Hanging Jewelry Organizer
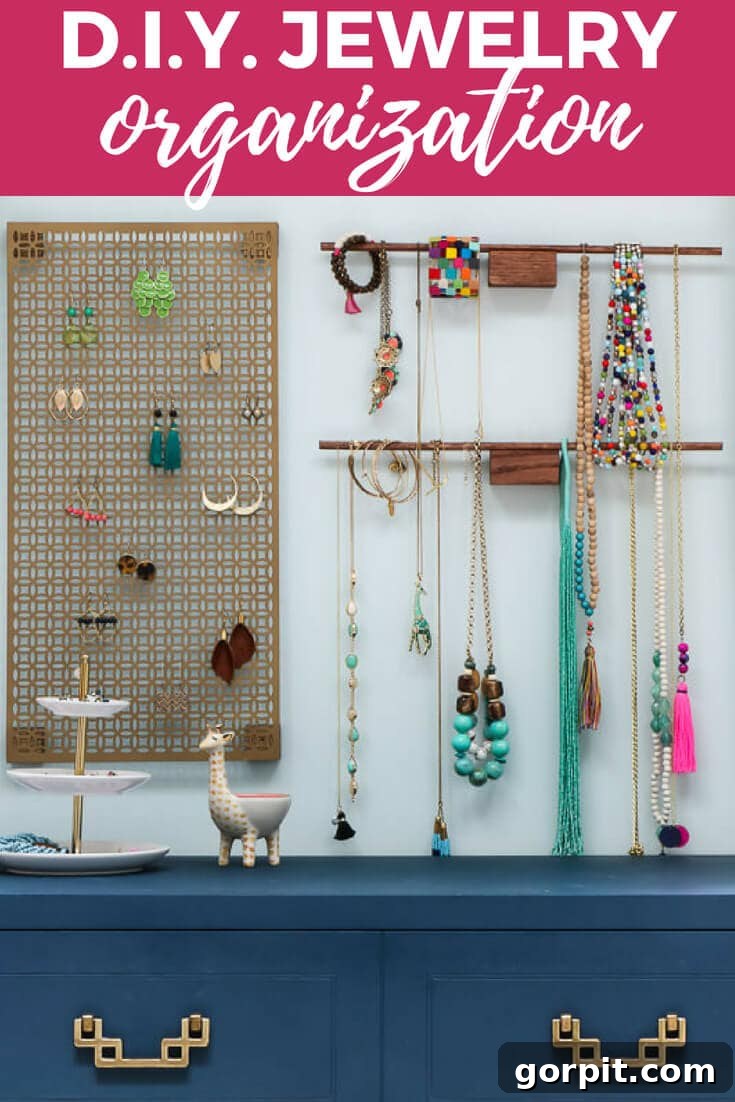
Do you often find yourself rummaging through cluttered drawers, untangling necklaces, or searching for a matching earring? For many of us, jewelry collection grows over time, turning once-neat storage into a tangled mess. This common problem not only wastes precious time but also puts our beautiful accessories at risk of damage. Imagine a world where every piece of jewelry has its place, is easily accessible, and beautifully displayed, adding a touch of elegance to your room. That’s precisely the transformation I experienced after creating this simple yet stunning DIY hanging jewelry organizer.
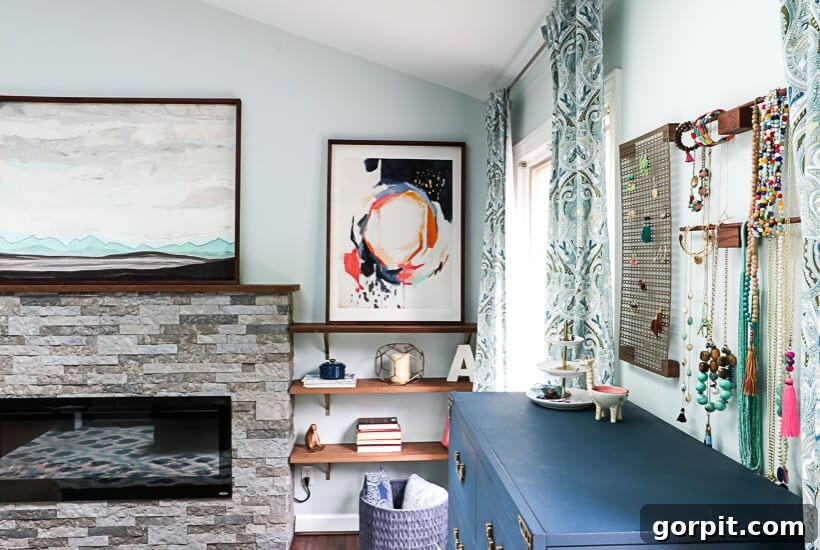
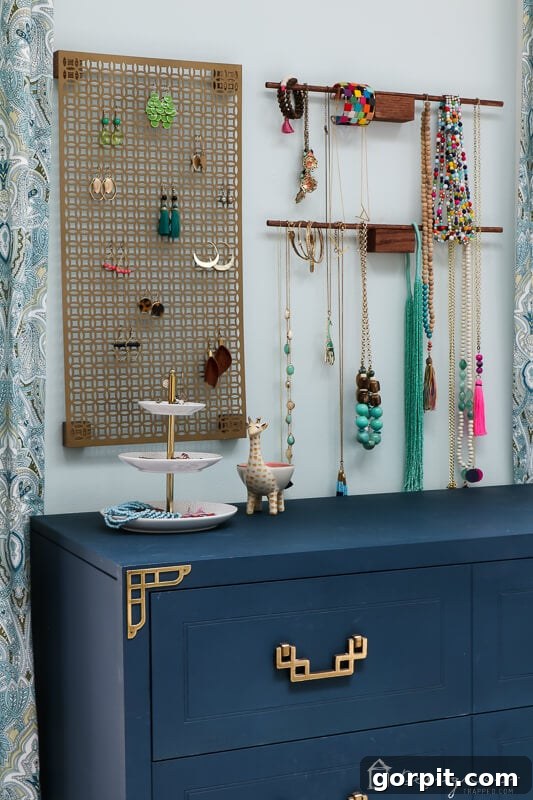
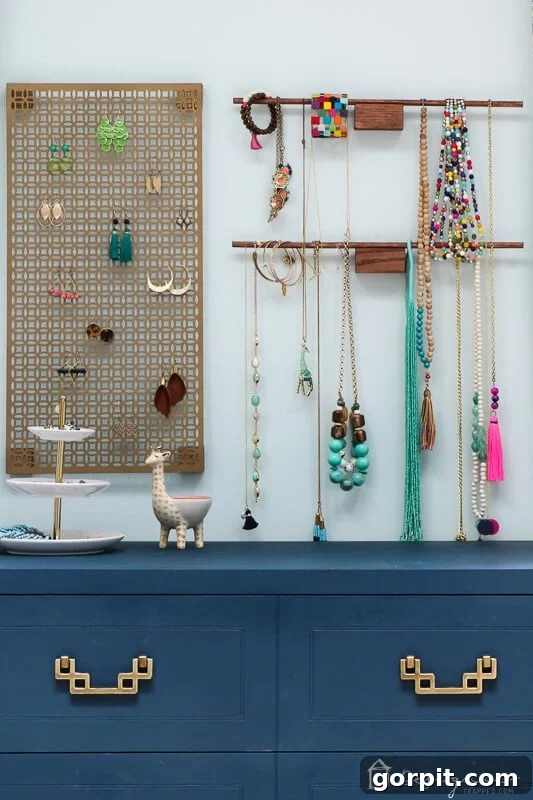
Just a few weeks ago, my jewelry situation was chaotic, a jumbled heap in various boxes and trays. But spurred by the need for a better solution, I embarked on this quick crafting project. The result? Not only is my jewelry impeccably organized now, but this hanging display also serves as a captivating piece of “art” on my master bedroom wall. It’s a dual-purpose masterpiece: highly functional and visually appealing. If your jewelry collection is currently an unruly mess, rest assured that you can construct this elegant and practical DIY jewelry organization system in just one afternoon, all on a very modest budget.
My journey into serious accessorizing truly began a few years ago, thanks to my friend Thea. She crafts the most exquisite jewelry, and frankly, she’s quite infectious! My addiction started subtly enough when I admired her stunning tassel necklace at a church event. When I learned she’d made it herself, I immediately commissioned one for our upcoming family photos. True to her generous spirit, she crafted it for me, and that single necklace ignited a passion for jewelry that rapidly expanded my collection. The only downside was that my burgeoning array of accessories quickly devolved into an unorganized heap. So, on a rainy Memorial Day, I seized the opportunity to tackle an indoor project and finally made this DIY jewelry organizer. I couldn’t be happier with how it turned out, and I’m thrilled to share the full tutorial with you!
Why Choose a DIY Hanging Jewelry Organizer?
Beyond the satisfaction of creating something with your own hands, a DIY hanging jewelry organizer offers numerous advantages. Firstly, it keeps your jewelry visible and easily accessible, eliminating the frustrating search for specific pieces. No more untangling necklaces or searching for the partner to a lone earring! Secondly, it frees up valuable drawer and dresser-top space, instantly decluttering your room. Thirdly, and perhaps most delightfully, it transforms your jewelry into a decorative element, a beautiful display that enhances your room’s aesthetic. This project specifically offers a custom look that feels high-end, without the hefty price tag.
Thank you to DAP for sponsoring this post. This post contains some affiliate links for your convenience (which means if you make a purchase after clicking a link I will earn a small commission but it won’t cost you a penny more)! Click here to read my full disclosure policy.
DIY Hanging Jewelry Organization Tutorial: Crafting Elegance for Your Accessories
Materials Needed:
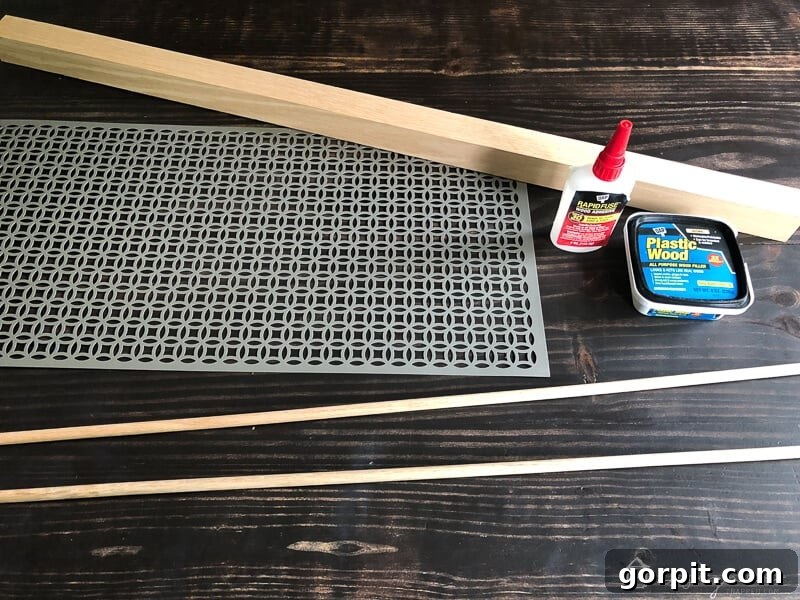
- Decorative Aluminum Sheet (2 x 3 feet is a versatile size, perfect for many collections. If your local store is out of your preferred color, like my gold choice, remember spray paint is an easy solution to customize it!)
- DAP Rapid Fuse (This adhesive is a game-changer for its quick-bonding and strong hold, essential for a durable organizer.)
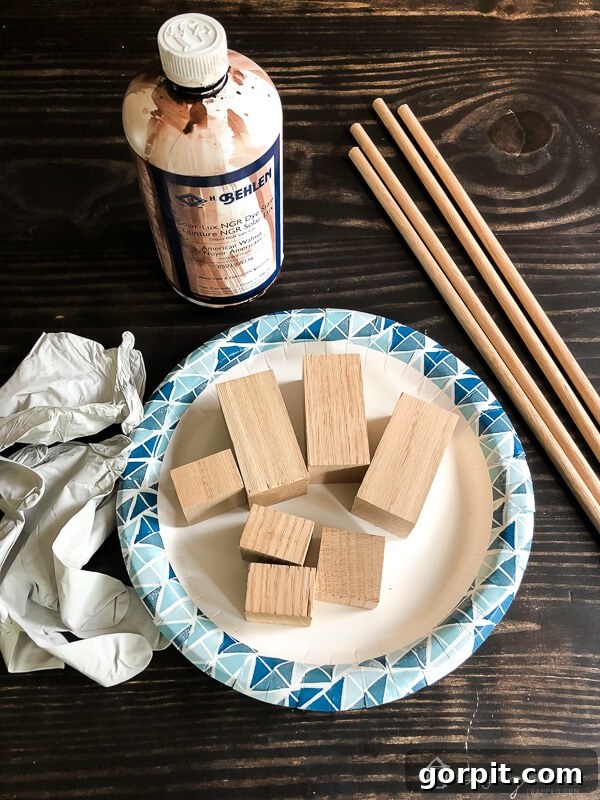
- 2 x 2 piece of solid wood (Oak is excellent for its durability and beautiful grain, but pine or other sturdy woods work well too. You’ll use this for the main support blocks.)
- 18″ wood dowel (A standard dowel size, easily cut to create bars for necklaces and bracelets.)
- Hand Miter Saw Box (An affordable and effective tool for precise angle cuts if you don’t have power tools.)
- Compound Miter Saw (Optional, but highly recommended for quicker, extremely precise cuts if available.)
- Clamps (Essential for holding pieces securely while the glue sets, ensuring a strong bond.)
- Wood stain (Choose a shade that complements your decor, adding a professional finish to the wood components.)
Part 1: Crafting Your Elegant Earring Organizer
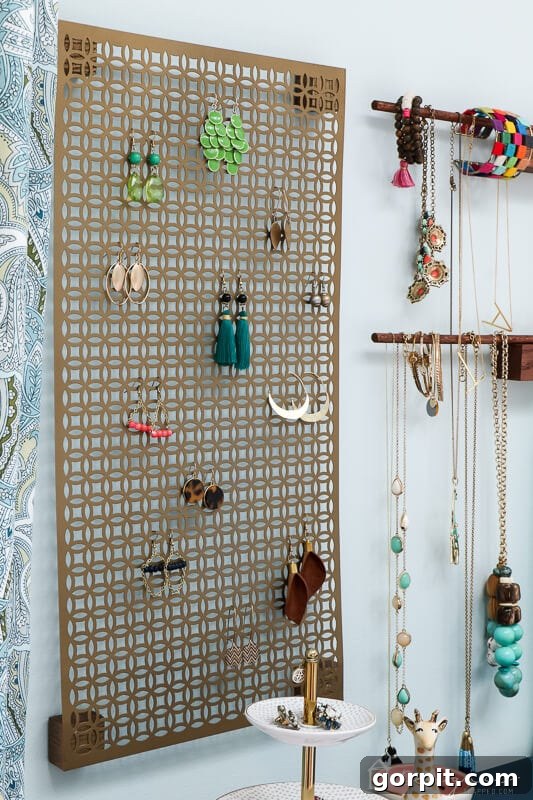
The first component of our comprehensive jewelry storage system is a stylish and functional earring organizer. The decorative aluminum sheet provides the perfect grid for hanging various earring styles, keeping them visible and tangle-free. This section will walk you through creating the base for this essential part of your organizer.
Step 1: Prepare Your Wood Corner Blocks
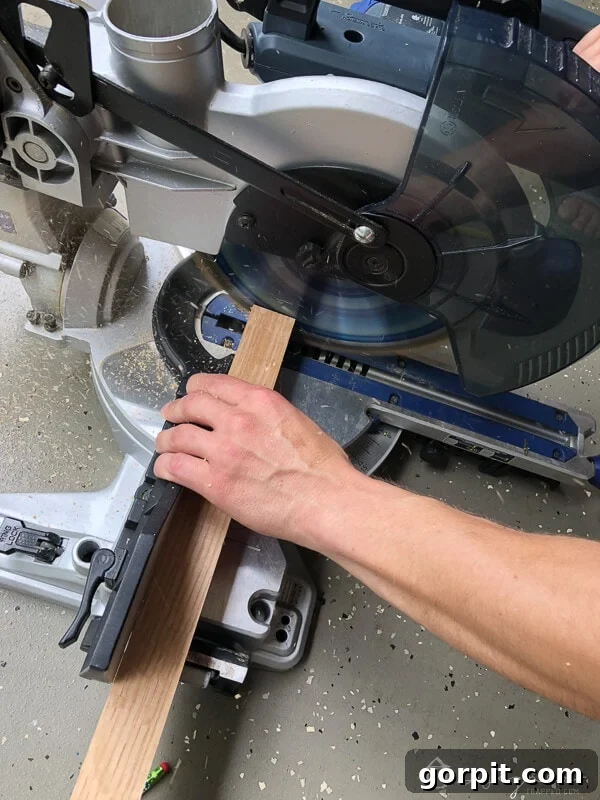
Begin by cutting four 1-inch thick corner blocks from your 2×2 piece of solid wood. These small but crucial pieces will provide the structural support for your aluminum sheet. While a compound miter saw makes quick and precise work of these cuts, offering professional results, a Hand Miter Saw Box paired with a hand saw is an excellent alternative for those without power tools. Always ensure your cuts are clean and accurate for a polished final look, and remember to prioritize safety when operating any cutting tools.
Step 2: Sand and Stain for a Flawless Finish
Once your blocks are cut, lightly sand each one to smooth out any rough edges or splinters. This not only makes them safer to handle but also prepares the wood for staining, ensuring an even application. Next, apply a wood stain of your choice. This step is where you can personalize your organizer to match your room’s aesthetic. I opted for a rich, warm tone, specifically this stain, which added depth and character to the wood. Allow ample time for the stain to dry completely according to the manufacturer’s instructions for the best results.
Step 3: Secure the Corner Blocks to the Aluminum Sheet
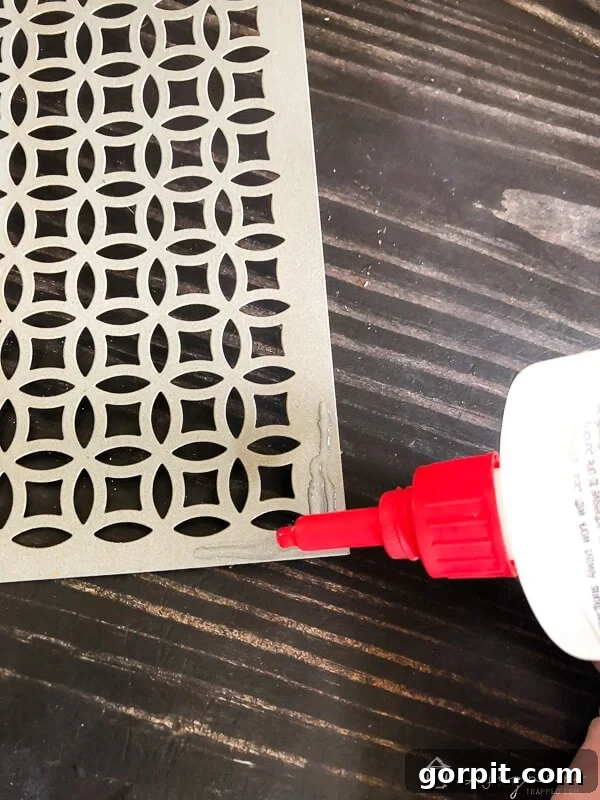
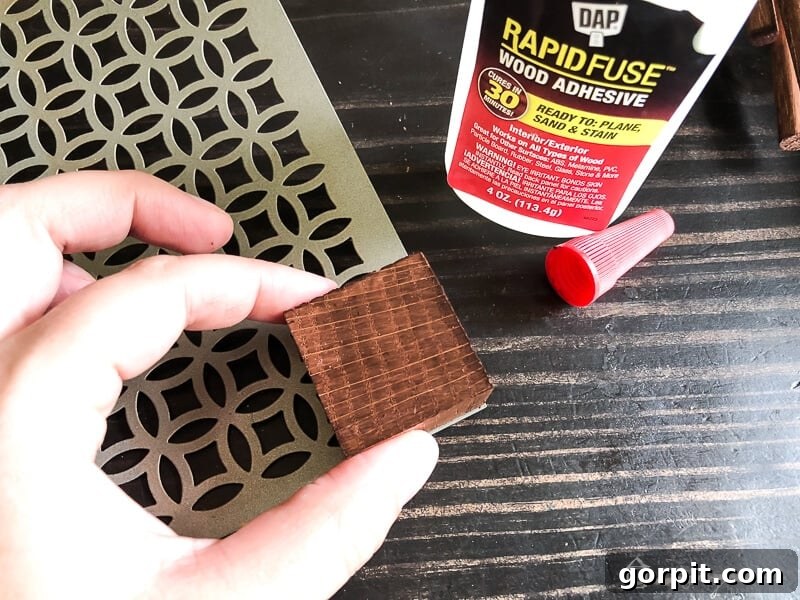
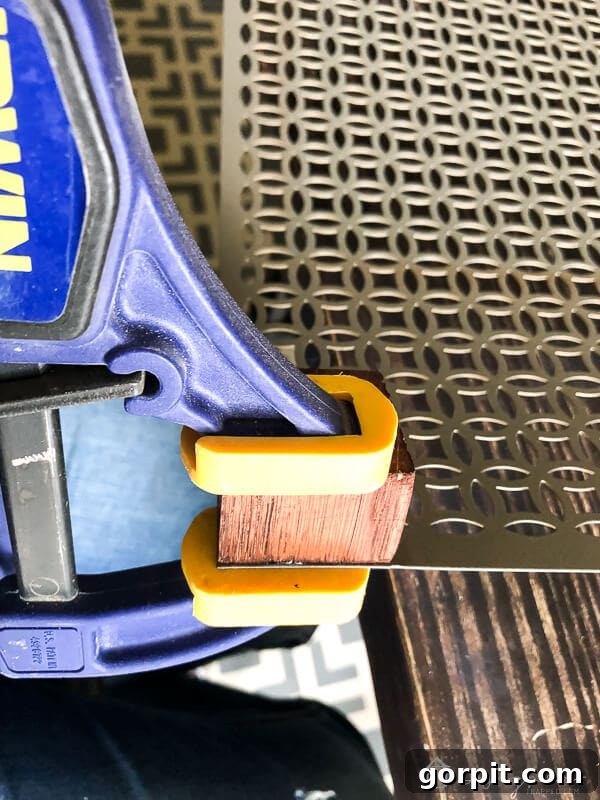
Now, it’s time to assemble the main earring organizer. Apply a small amount of DAP Rapid Fuse to the corner edges on the back side of your decorative aluminum sheet. Carefully position one of your stained wood blocks, ensuring it’s perfectly lined up with the corner of the aluminum sheet. DAP Rapid Fuse is known for its fast-curing properties, but clamping is still crucial for a strong, lasting bond. Clamp the block firmly in place until the glue has fully set. Repeat this process for all four corners, creating a sturdy frame for your earring display. Take your time with alignment to ensure a professional and even appearance.
 |
 |
 |
Step 4: Effortlessly Hang Your Earring Display
With the corner blocks firmly attached, your earring organizer is ready for its place on the wall. The simplest and most damage-free method for hanging this piece is to apply Command picture hanging strips to the back of each corner block. These strips offer a strong hold without leaving holes or residue, making them ideal for renters or those who like to redecorate frequently. Ensure the strips are applied securely and allow them to cure for the recommended time before hanging your organizer. This will ensure your beautiful new earring display stays put.
Part 2: Creating Your Necklace and Bracelet Organizer
No jewelry organization system is complete without a dedicated space for necklaces and bracelets. These items are notoriously prone to tangling when stored improperly. This next section guides you through constructing the elegant dowel hangers that will keep your longer pieces perfectly organized and ready to wear.
Step 1: Cut and Prepare the Support Blocks
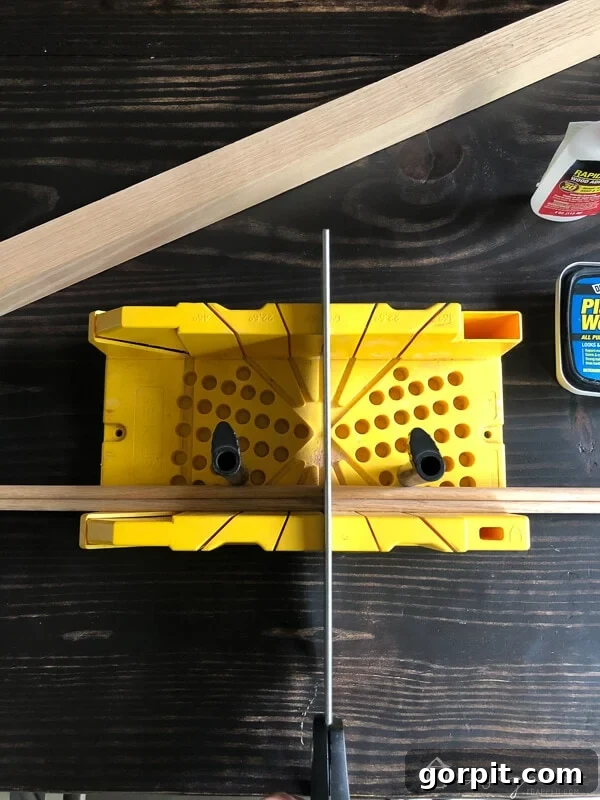
For the necklace and bracelet section, you’ll need two 3-inch long blocks cut from your 2×2 piece of wood. Just like with the earring organizer, a compound miter saw offers unparalleled speed and precision for these cuts. However, a Hand Miter Saw Box remains a reliable tool for achieving clean, straight cuts without power equipment. Take care to measure accurately, as these blocks will serve as the anchors for your dowel rods.
Step 2: Divide Your Wood Dowel
Next, take your 18-inch wood dowel and cut it in half, creating two 9-inch dowel pieces. These will form the hanging bars for your necklaces and bracelets. A simple hand saw is perfectly adequate for this task, allowing for a smooth and straightforward cut. Once cut, check the ends for any rough edges and smooth them lightly with sandpaper if needed.
Step 3: Finish Your Wood Components
Just as with the earring organizer’s corner blocks, lightly sand both the 3-inch blocks and the two dowel pieces. This crucial step ensures a smooth surface and prepares the wood for an even application of stain. Afterward, apply your chosen wood stain to all these pieces. Consistent staining across all wood components will give your entire jewelry organization system a cohesive and professional appearance. Again, this is the stain I used, achieving a beautiful, rich hue. Allow ample drying time before proceeding.
Step 4: Assemble the Necklace and Bracelet Hangers
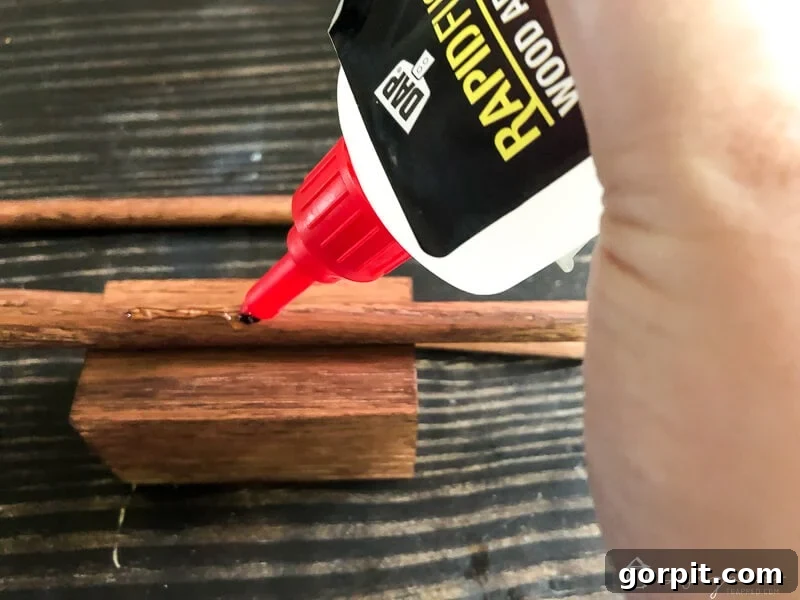
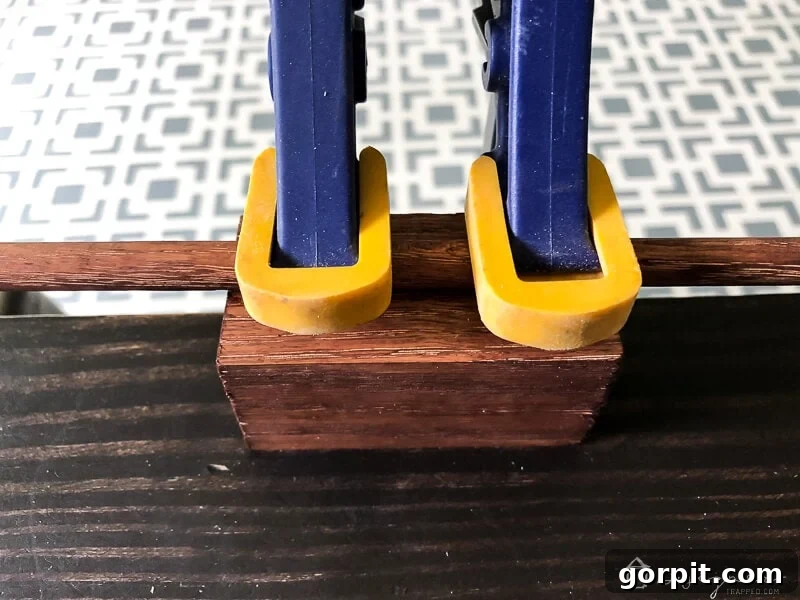
With your wood pieces prepared, it’s time for assembly. Apply a bead of DAP Rapid Fuse to the center of one of your stained wood dowels. Carefully center this dowel onto one of the 3-inch wood blocks. Once aligned, secure the pieces together with clamps. The rapid-setting nature of DAP Rapid Fuse means you won’t have to wait long, but clamping ensures a truly robust and lasting bond. Repeat this exact process for the second dowel and block, creating two separate hanging units for your necklaces and bracelets. Allow them to fully cure as per the glue’s instructions.
Step 5: Hang Your Necklace and Bracelet Organizers
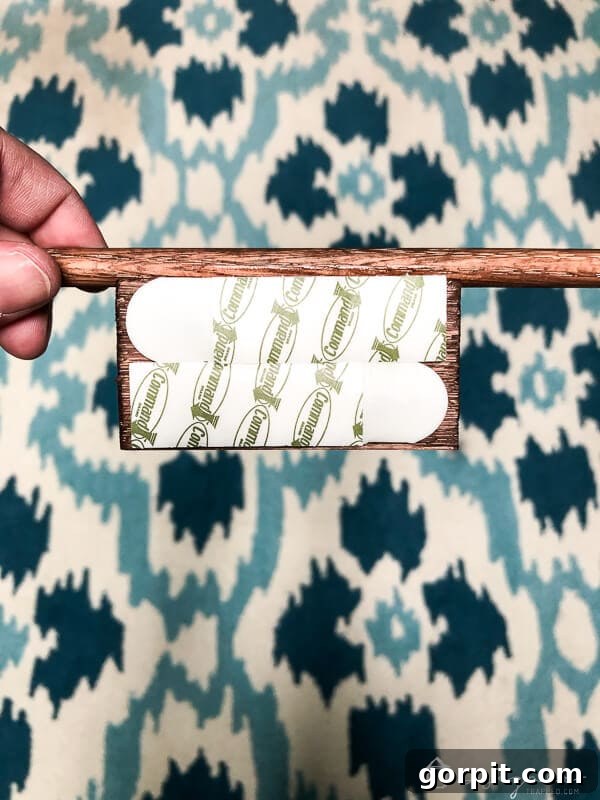
Just like the earring organizer, these dowel hangers are designed for easy, damage-free installation. Apply Command picture hanging strips to the back of each 3-inch wood block. Position them on your wall at a height that allows necklaces to hang freely without touching the surface below. These strips provide a reliable hold while offering the flexibility to reposition or remove the organizers without damaging your walls. Arrange them aesthetically, perhaps below your earring organizer, to create a cohesive and comprehensive jewelry display.
Enjoy Your Beautifully Organized Jewelry Collection!
The satisfaction of seeing your once-messy jewelry transformed into an artful, organized display is truly unmatched. This hanging jewelry storage solution is not just practical; it’s a testament to how thoughtful DIY projects can elevate your home’s functionality and aesthetic appeal. I am incredibly happy with how this project turned out, and I hope you will be too. Each piece is now visible, accessible, and elegantly presented, making your daily routine a little smoother and more enjoyable.
Tips for Customizing Your Jewelry Organizer
One of the best aspects of a DIY project is the ability to tailor it to your personal style. Consider painting your wood blocks a contrasting color, using metallic spray paint, or even adding decorative stencils for a unique touch. Experiment with different patterns of aluminum sheets—there are many ornate designs available that can add another layer of visual interest. For extra storage, you could add small hooks to the bottom of the wood blocks to hang rings or keychains. Don’t be afraid to let your creativity shine and make this organizer truly your own!
Placement and Maintenance
While the master bedroom is a classic spot for a jewelry organizer, consider placing it inside a closet door, in a dressing area, or even in a spacious bathroom. Choose a location where you typically get ready to maximize its convenience. To maintain your organizer, simply dust the wood and aluminum components periodically with a soft cloth. For stubborn smudges on the metal, a gentle cleaner designed for aluminum can be used sparingly.
Frequently Asked Questions About DIY Jewelry Organizers
Q: Can I make this organizer in a different size?
A: Absolutely! The beauty of DIY is customization. You can easily adjust the size of the aluminum sheet and the corresponding wood blocks and dowel length to fit your available wall space and jewelry collection. Just ensure your wood blocks provide adequate support for the chosen sheet size.
Q: What if I don’t have a miter saw?
A: No problem! A hand miter saw box is an excellent, budget-friendly alternative for achieving precise cuts. Alternatively, many home improvement stores offer cutting services for wood purchases, so you can have your wood cut to size before you even start the project.
Q: Are Command strips strong enough to hold all my jewelry?
A: Command picture hanging strips are surprisingly strong when applied correctly and allowed to cure. For very heavy jewelry collections, consider using more strips per block or exploring alternative hanging methods like small picture frame hooks screwed into the wall, if you don’t mind making small holes.
Before you head out, be sure to grab my free guide on how to design a room you love! This guide is packed with actionable advice to help you create spaces that reflect your style and bring you joy.
[mv_create 1 11 200 2016 key=”1″ type=”list” title=”Most Popular Projects” thumbnail=” “]
“]