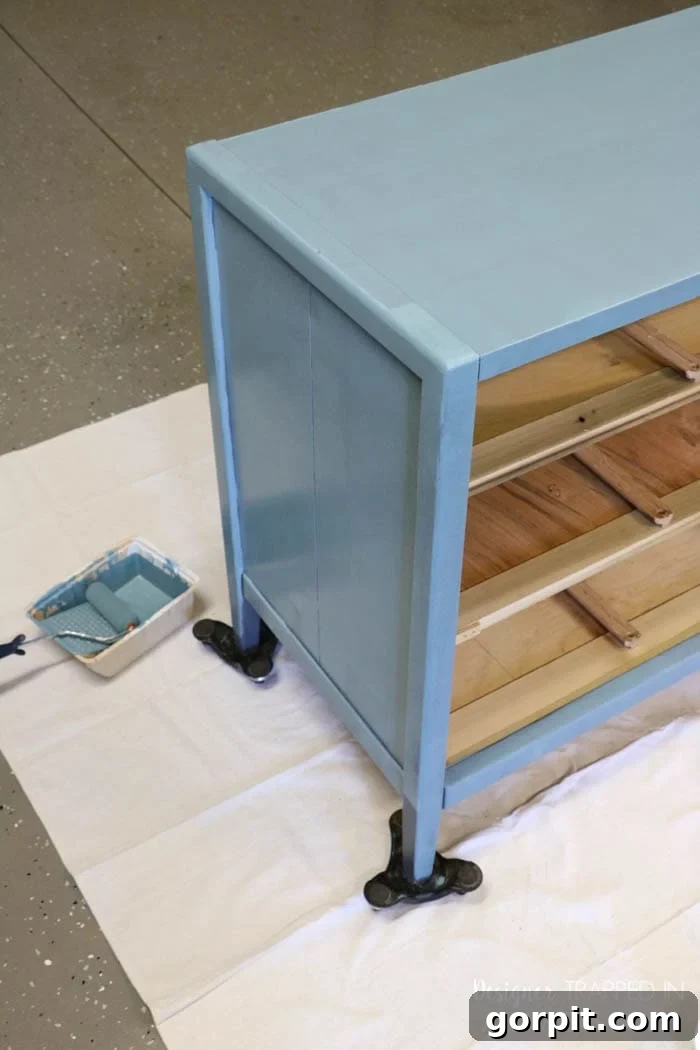
Do you have a beloved dresser that no longer suits your home’s aesthetic, perhaps because its color clashes with your decor, or its exterior has seen better days? Don’t despair! A fresh coat of paint can breathe new life into any piece of furniture, transforming it from drab to fabulous. This comprehensive guide will walk you through the proper way to paint a dresser, ensuring an easy process and delivering beautiful, long-lasting results you’ll cherish for years.
This tutorial, originally penned in 2015 and rigorously updated in March 2023, reflects a furniture painting method I continue to rely on. The dresser featured in this guide stands as a testament to its effectiveness, looking just as perfect today as it did seven years ago when it was first painted. My confidence in this method is unwavering, and I’m excited to share it with you!
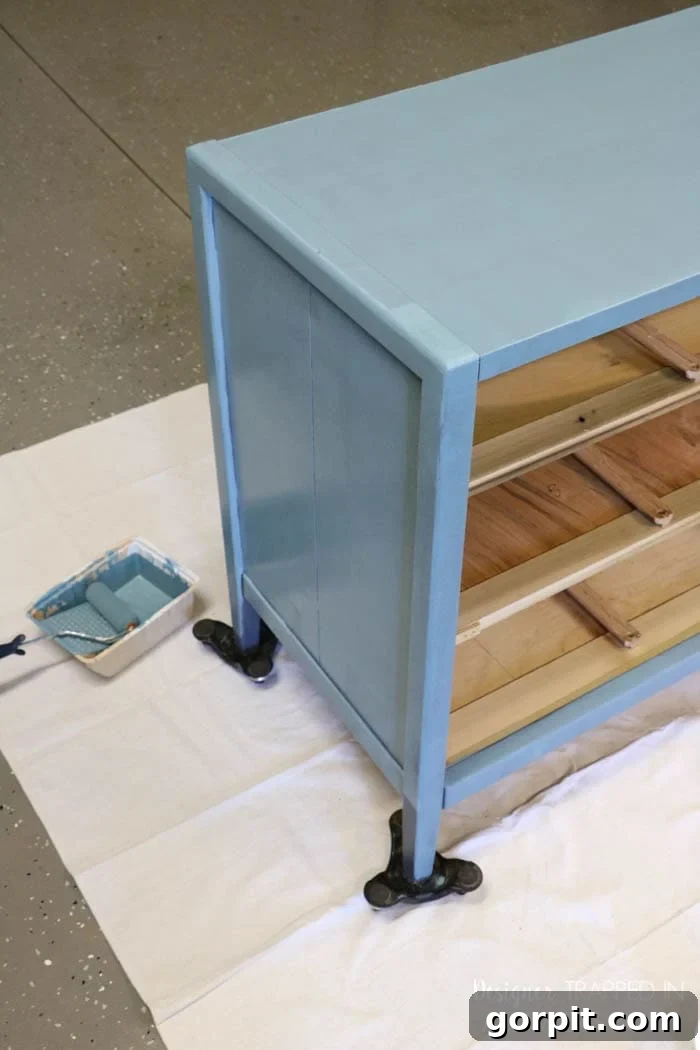
Table of Contents
What Kind of Paint Do You Use on a Dresser?
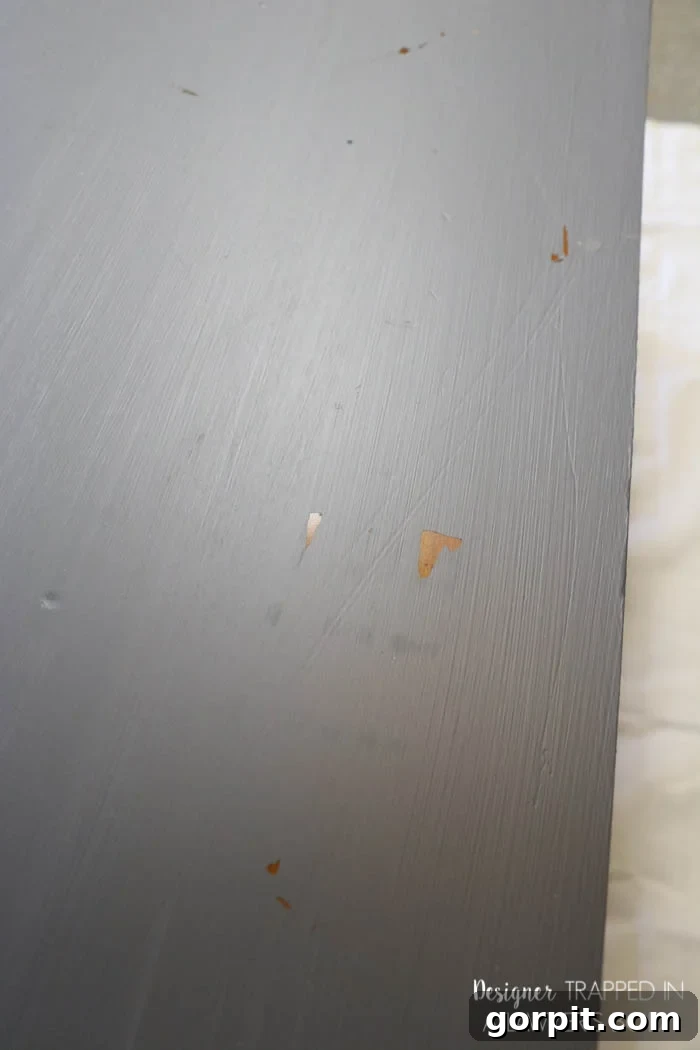
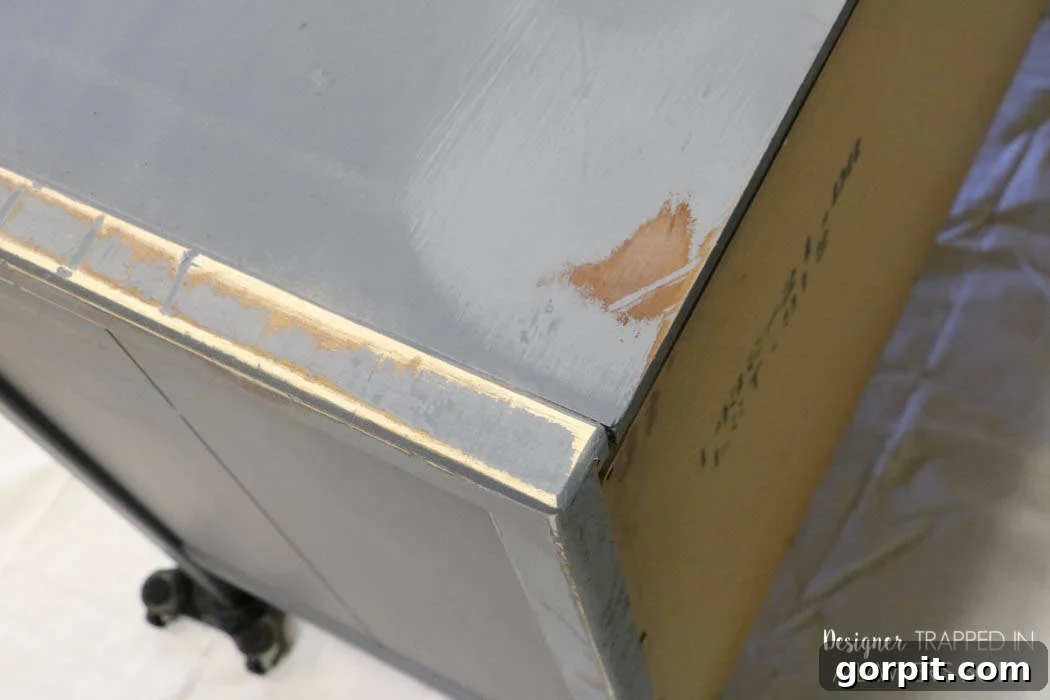
When it comes to painting furniture, choosing the right paint is paramount to achieving a professional, durable finish. A common mistake many DIYers make is reaching for leftover wall paint, which is typically latex-based. While convenient, latex paint is a poor choice for furniture. It’s notorious for peeling, scratching easily, and leaving behind unsightly brush strokes that detract from the final look. The dresser I rescued and transformed for this project was a prime example of what happens when latex paint is incorrectly applied to furniture – it was covered in nasty brush strokes and significant peeling. Remember the golden rule for furniture painting: “Just *don’t* use latex paint.”
This post contains affiliate links for your convenience. Click here for my full disclosure policy.
The type of paint you select profoundly impacts the success and longevity of your furniture makeover. I’ve dedicated an entire article to exploring the best paints for various types of furniture. However, for a quick overview, here are the top paint types I highly recommend for painting a dresser, ensuring superior adhesion, durability, and a smooth finish:
Chalk Paint
Chalk-based paint is a water-based solution celebrated for its ultra-matte finish and exceptional adhesion properties. Its ability to stick to almost any surface with minimal preparation makes it a favorite among furniture flippers. This paint type is inherently durable, but for added protection and a subtle sheen, it can be sealed with a wax finish, which is surprisingly quick and easy to apply. Another significant advantage of chalk paint is its impressive self-leveling capabilities, which significantly reduce the appearance of brush marks, leading to a smoother, more professional-looking final product. My go-to chalk-based paint is the One Step Paint by Amy Howard at Home, known for its quality and ease of use.
Mineral Paint
Mineral paint stands out for its unique formulation, using natural earth minerals to achieve its rich color pigments. These minerals are combined with a binder, typically an acrylic resin, and a solvent, resulting in a paint that boasts both exceptional adhesion and remarkable durability. Fusion Mineral Paint is my absolute favorite in this category. Much like chalk paint, mineral paint demands very little in terms of prep work, making your painting project more efficient. I’ve successfully used Fusion Mineral Paint to revitalize everything from various furniture pieces to kitchen cabinets, consistently achieving stunning results. It’s my personal favorite and the paint I reach for most often, not because I’m sponsored, but because I truly believe in its quality.
Exclusive Discount on Mineral Paint
While I am not sponsored or paid by Fusion Mineral Paint, they have kindly extended a special offer to my readers: a 10% discount. This discount will be automatically applied when you click here to order. A little goes a long way with this high-quality paint! For instance, we only needed four pints to completely transform the wood surface of our entire kitchen cabinets as part of our budget-friendly kitchen makeover.
One of the greatest benefits of Fusion Mineral Paint is its minimal preparation requirement. Often, all that’s needed is a clean surface and perhaps a light hand-sanding. For Thea’s kitchen cabinets, this light sanding took no more than 30 minutes in total, so don’t let the idea of sanding deter you. Her cabinets turned out beautifully and remain in perfect condition years later, completely free of peeling or chips. The transformation was truly remarkable!
Acrylic Paint
High-quality acrylic paint is another excellent option for furniture due to its ease of application and smooth, self-leveling finish. It is significantly more durable than traditional latex paint and offers superior adhesion, minimizing the need for extensive prep work. The inherent durability of a good acrylic paint means that a top coat, while beneficial for added protection, is often optional. For those considering acrylics, General Finishes Milk Paint (which is actually an acrylic-based paint despite its name) is a fantastic choice known for its quality and lasting finish.
Can You Just Paint a Dresser Without Sanding?
The question of whether you can paint a dresser without sanding is a common one, and the answer is “kind of.” The necessity and extent of sanding largely depend on the type of paint you choose and the current condition of your furniture piece. If you opt for one of the high-quality furniture paints I recommend above (chalk, mineral, or acrylic), you absolutely do not need to meticulously sand down your entire dresser to bare wood or strip off all its old paint and finish. Instead, focus your sanding efforts on any areas that are rough to the touch, or where the existing finish is peeling or chipped. A medium-grit sandpaper will quickly smooth these imperfections.
However, if your dresser has a particularly shiny or smooth factory finish, a quick “scuff sand” over the entire piece will be beneficial. This light sanding creates a slightly textured surface, giving the new paint something to grip onto, thereby significantly improving adhesion and durability. This scuff sanding should be a very quick process, often taking less than five minutes. The goal is not to remove the finish but merely to dull its sheen. Should your dresser have any deep scratches or gouges, consider filling them with wood filler or Bondo before sanding for an impeccably smooth foundation.
It’s important to note that if you’re working with laminate furniture, such as many IKEA pieces, the painting process has specific requirements beyond what’s detailed here. For comprehensive guidance on painting laminate, refer to my dedicated post: How to Paint Laminate IKEA Furniture.
Where Can I Find a Used Dresser to Paint?
The thrill of transforming a forgotten piece of furniture begins with finding the perfect candidate. I frequently discover hidden gems at local thrift shops, which are treasure troves for affordable dressers with excellent bones. Beyond traditional brick-and-mortar stores, online platforms offer a vast selection. Facebook Marketplace is an invaluable resource, where you can often find a wide array of used dressers, sometimes even available for free in local “FREE/Sell/Trade” groups. When hunting for a used dresser, inspect it for stability, significant damage (beyond surface imperfections that paint can cover), and any lingering odors, ensuring it’s a worthwhile project.
How to Prep and Paint a Dresser
Materials Needed
For the dresser showcased in this guide, I opted for Amy Howard One Step Paint in Vintage Affliction. However, feel free to choose any of the high-quality furniture paints mentioned earlier in this article that best suits your desired finish and project needs.
- Simple Green or Krud Kutter (diluted with water as per instructions)
- Clean Water
- Paper Towels or Lint-Free Cloths
- Your chosen furniture paint (e.g., Amy Howard One Step Paint)
- Amy Howard Light Antique Wax (optional, for sealing and distressing)
- Amy Howard Dark Antique Wax (optional, for deeper antiquing)
- Scrap cardboard (for offloading excess wax)
- High-quality Paint brushes (e.g., angled sash brush for details) and/or foam roller (for large flat surfaces)
- Medium-grit sandpaper (120-180 grit)
- Wood filler or Bondo (if deep scratches need repair)
- Bar Keepers Friend (to clean existing hardware, if needed)
- Tupperware bin or container (to safely store hardware)
Time needed: 3 hours
Painting a dresser can be a quick and rewarding project when you follow the right preparation and application steps with high-quality products. Dive into this step-by-step guide to achieve a beautiful and durable finish.
-
Remove all hardware from your dresser and drawers.
Before you begin any surface preparation, meticulously remove all knobs, pulls, and any other hardware from your dresser and its drawers. This critical first step ensures a seamless paint application and prevents paint from accidentally adhering to the hardware. To keep everything organized and prevent losing small parts, I highly recommend placing all removed hardware and their corresponding screws in a dedicated Tupperware bin or a small container.
-
Spot sand as needed.
As previously discussed, extensive sanding is often unnecessary with recommended furniture paints. Focus your efforts on “spot sanding” any particularly rough patches, splinters, or areas where the old paint or finish is visibly peeling or chipped. Use a medium-grit sandpaper (around 120-180 grit) to quickly smooth these imperfections. This step should be swift and targeted, typically taking no more than a few minutes. If your dresser’s surface is exceptionally glossy or slick, a light “scuff sanding” over the entire piece will provide better adhesion for your new paint. For any deep scratches or dents, apply wood filler or Bondo, allow it to dry thoroughly, then sand it smooth to create an even surface.

-
Wipe off the dust & clean your dresser.
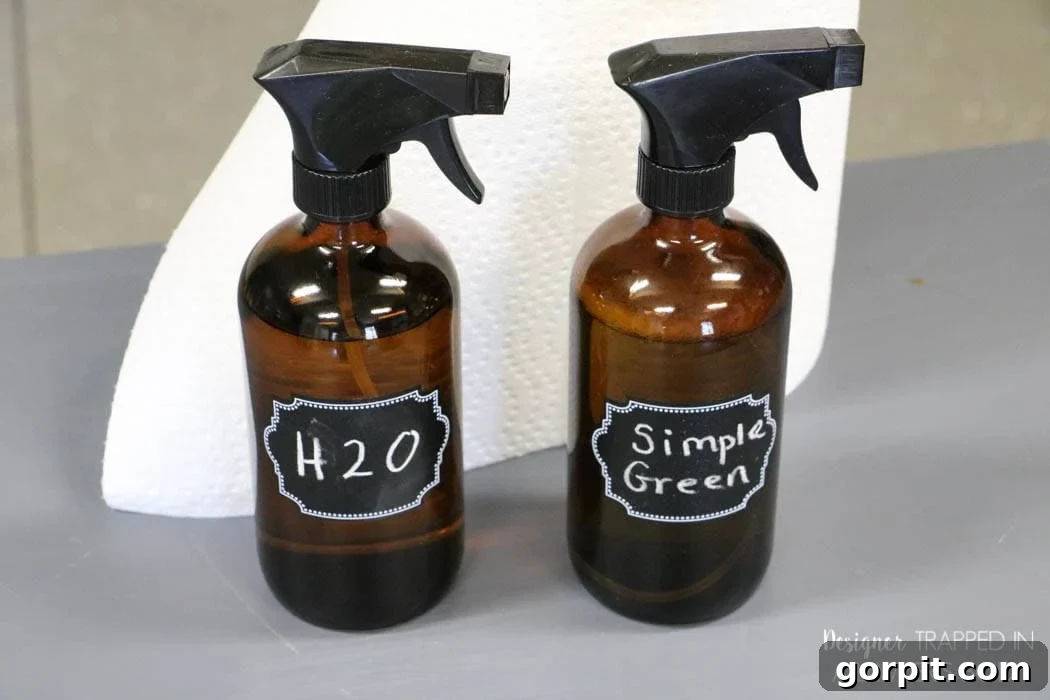
After sanding, thoroughly wipe down your dresser to remove all sanding dust and debris. This can be done with a damp cloth, followed by a dry one. Next, it’s crucial to deep clean your piece to remove any accumulated grime, grease, or dirt that could compromise paint adhesion. Use a degreasing cleaner like Simple Green or Krud Kutter, diluted according to the product’s instructions. Apply the cleaner, scrub as needed, then spray the piece with clean water and immediately dry it with paper towels or a lint-free cloth. This final rinse and dry ensures no cleaning solution residue remains, which could otherwise interfere with the paint’s ability to adhere properly.
-
Paint your dresser.
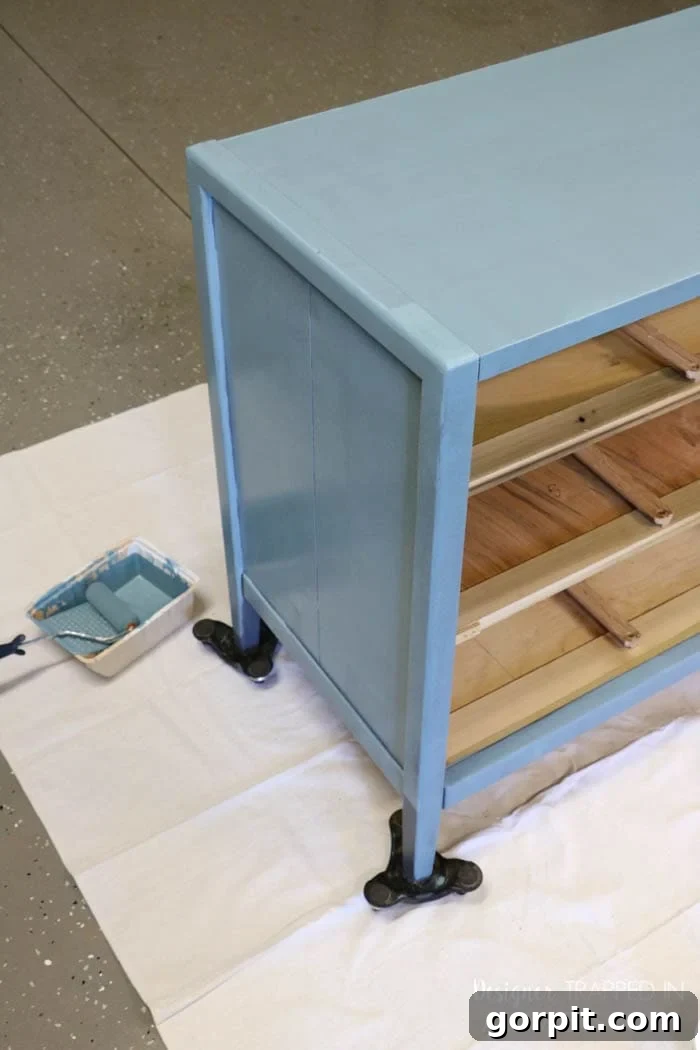
Believe it or not, your dresser is now ready for paint! With the high-quality furniture paints recommended in this guide, a separate primer step is typically unnecessary. Begin by applying your first thin, even coat of paint. For large, flat surfaces, a foam roller is excellent for achieving a smooth, uniform finish with minimal texture. For intricate details, edges, and corners, use a high-quality paint brush. Allow the first coat to dry completely according to the manufacturer’s instructions before applying a second coat. Often, two thin coats provide optimal coverage and durability.
Remarkably, even with two coats of One Step Paint in Vintage Affliction, I only needed one 8-ounce container to paint this entire dresser – a testament to how far a little bit of this paint goes! For efficiency, I typically don’t paint the back of the dresser if it will be placed flush against a wall. While a paint sprayer can achieve an ultra-smooth finish, it’s not essential for a beautiful result. I often reserve my paint sprayer for larger projects, as the setup and cleanup can be time-consuming.
-
Clean your hardware, if needed.
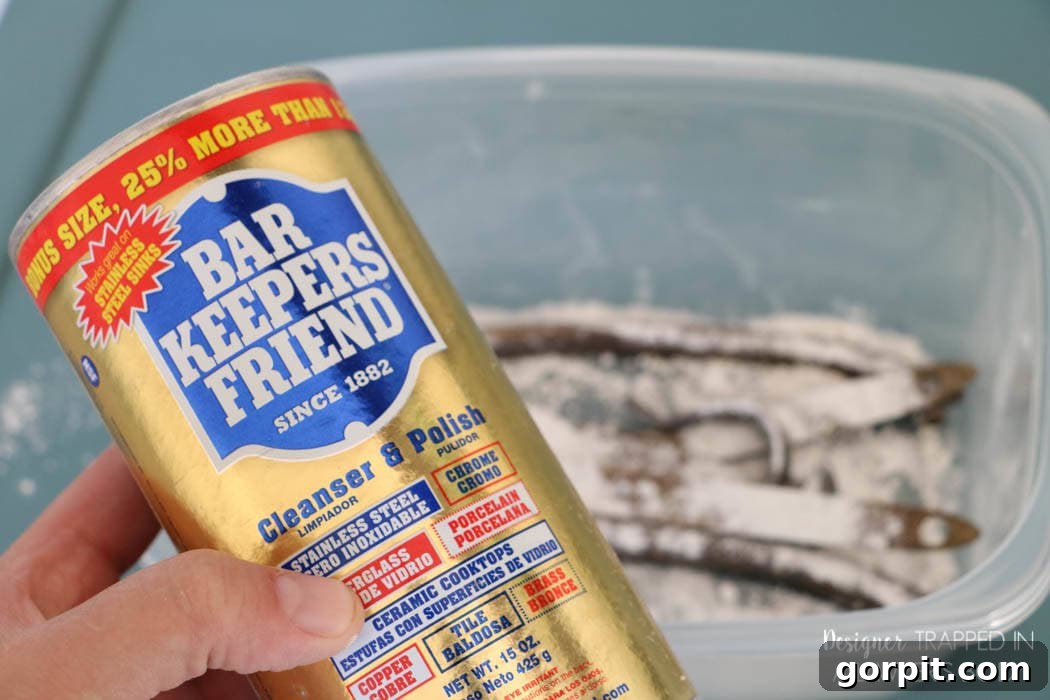
While your paint is drying, take the opportunity to clean your dresser’s hardware. If your knobs and pulls are tarnished or dirty, a thorough cleaning can make them look brand new and significantly enhance your dresser’s refreshed appearance. I’ve found that Bar Keepers Friend is an incredibly effective and affordable solution for restoring shine and removing grime from various types of hardware. Follow the product’s instructions for the best results, and marvel at the renewed sparkle.
-
Apply a wax finish (optional).
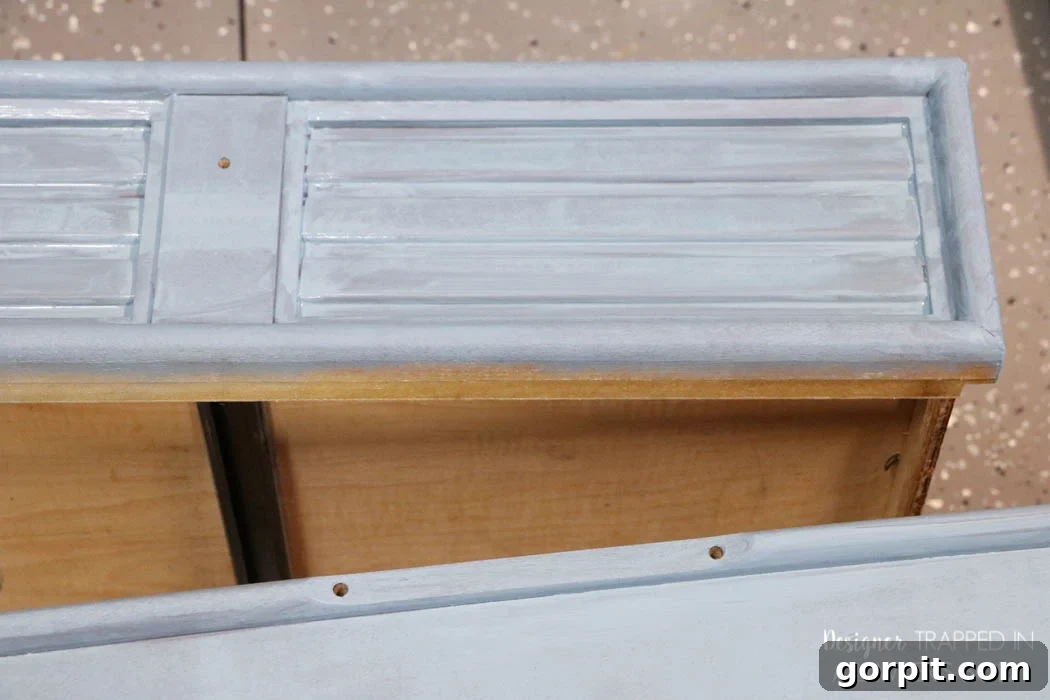
Applying a wax finish is an optional step, as the recommended furniture paints are quite durable on their own. However, wax serves as a protective seal, enhancing durability, adding a beautiful depth, and imparting a subtle sheen to your painted piece. Once your dresser has good paint coverage and is completely dry, you can proceed with waxing. For a nuanced, realistic antique look, start with Amy Howard Light Antique Wax. Load your brush with a small amount of wax, then offload any excess onto a piece of scrap cardboard. Apply the wax using very light, “x” motion strokes to cover the entire surface. After application, buff the wax with a clean, lint-free cloth until it’s no longer tacky, revealing a smooth finish.
Once the light antique wax has dried to a slightly tacky consistency (which typically takes only a couple of minutes), you can apply Amy Howard Dark Antique Wax if you desire a deeper, more distressed, or “grungy” antique effect. For this particular dresser, I aimed for a subtle darkening on the edges and corners, so I applied a very minimal amount, feathering it lightly towards the center of the piece. This technique allows for controlled distressing, adding character without overwhelming the finish.
That’s it! The entire dresser makeover process, including paint drying times, can often be completed in just a few hours, yielding impressive results with minimal effort. The transformation is truly satisfying.
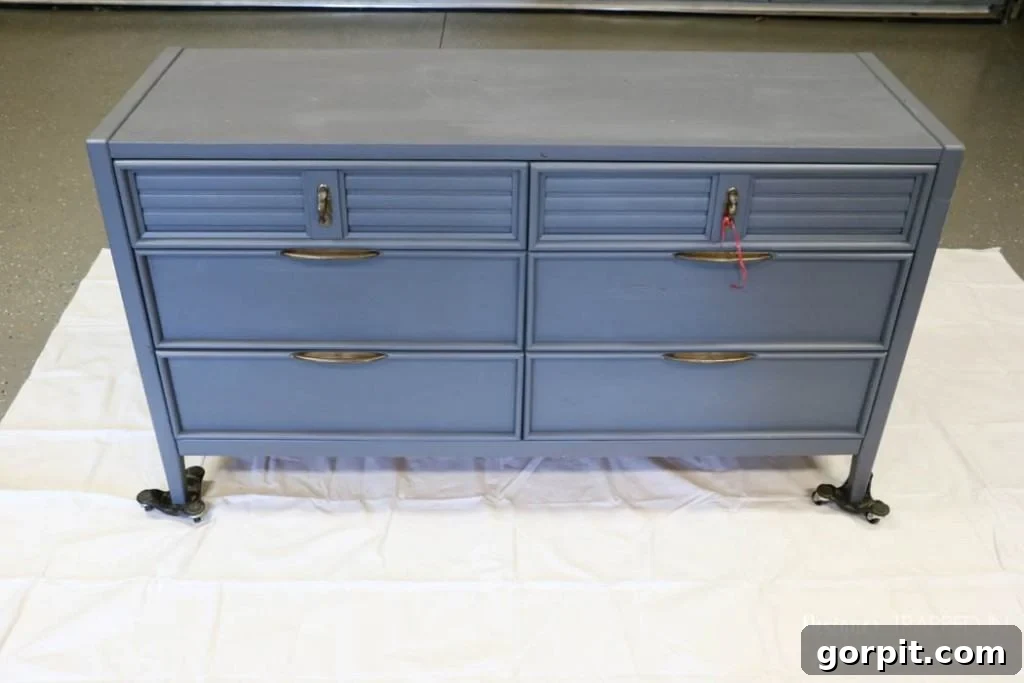
In our new home, this beautifully painted dresser serves as a stylish DIY coffee bar in a cozy nook off our kitchen. What’s truly remarkable is that the paint on this dresser still looks absolutely perfect after more than seven years of daily use! This longevity speaks volumes about the quality of the paint and the effectiveness of the application method.
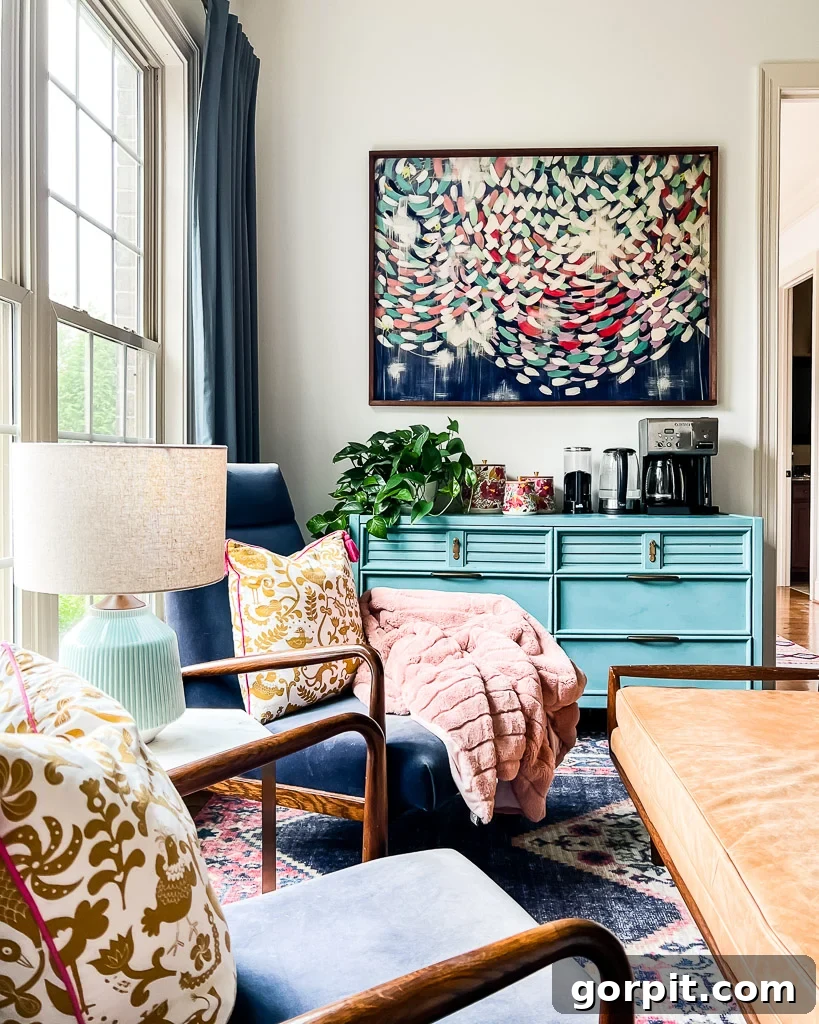
The results are truly outstanding! I cannot overstate how incredibly well this paint holds up year after year, maintaining its pristine finish. Additionally, it cleans effortlessly, making it practical for everyday use. If you’re considering a furniture makeover, this method offers both aesthetic appeal and lasting durability.
More Furniture Painting Guides
SEE ALL PAINT POSTS
-
9 Life-Changing Painting Hacks Everyone Should Know
-
How Durable are DIY Painted Kitchen Cabinets?
-
How to Paint Kitchen Cabinets (From a DIYer Who Has Done it 3 Times)
-
How Have Our Painted Countertops Held Up?
-
How to Paint IKEA Furniture and Mistakes to Avoid
-
How Much Paint Do I Need for My Room?
Curious about my approach to transforming rooms and spaces in our home? Explore Designer in a Binder® for a detailed look into my design process.
For exclusive content, behind-the-scenes glimpses, and insider tips, be sure to subscribe to my newsletter before you leave!