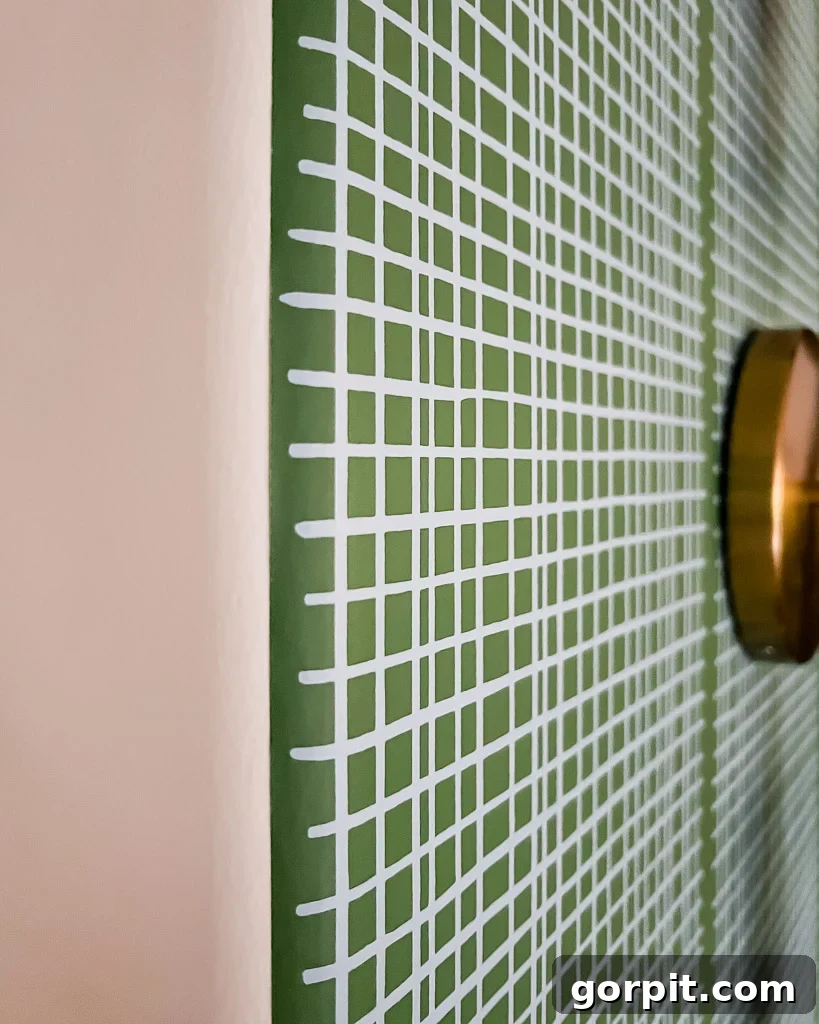
Transforming your home decor can be an exciting journey, and few elements offer the dramatic impact of wallpaper. However, many aspiring decorators, especially those living in rented properties or homeowners daunted by the prospect of future removal, often shy away from this elegant solution. The good news? You no longer have to sacrifice style for practicality! This comprehensive guide will reveal a simple, budget-friendly hack to make any traditional, unpasted wallpaper fully removable, offering you the freedom to refresh your space without commitment. Whether you’re a renter looking to personalize your temporary abode or a homeowner who loves to update their interiors frequently, prepare to unlock a world of design possibilities with this game-changing technique.
Table of Contents
Toggle
The Ultimate Guide to Removable Wallpaper for Renters and Homeowners
Wallpaper has an undeniable charm, injecting color, texture, and personality into any room. Its transformative power is truly remarkable, allowing you to craft unique atmospheres and showcase your individual style. Yet, this beloved design element often comes with a significant drawback: the dreaded removal process. I’ve personally experienced the frustration of painstakingly scraping off wallpaper in previous homes, a task that often involves stubborn strips, wall damage, and countless hours of grueling labor. One particular room proved to be a real nightmare, resisting every removal technique—from rented steamers to specialized pastes—leaving us with only tiny, frustrating pieces at a time. This firsthand experience solidified my desire for a better solution.
Why Choose Removable Wallpaper Over Traditional or Peel-and-Stick?
Even as a homeowner, I sought a method that would make traditional wallpaper installation and, more importantly, removal, genuinely effortless. This wasn’t just about my own evolving tastes; I recognized the immense value this would offer to renters. Renters often face strict limitations on wall alterations, making permanent wallpaper a non-starter. This innovative technique bridges that gap, providing a renter-friendly decor solution that doesn’t compromise on style.
You might wonder, why not just use peel-and-stick wallpaper? While I’ve had success installing removable wallpaper (it can be tricky initially, but practice makes perfect!), it often presents its own set of challenges. Peel-and-stick wallpaper tends to be significantly more expensive than traditional rolls, limiting design options for those on a budget. Furthermore, finding the exact pattern or texture you envision in a peel-and-stick format can sometimes be difficult. This liquid starch method, however, allows you to use virtually *any* unpasted traditional wallpaper, opening up a vast world of patterns, colors, and textures without the premium price tag.
After extensive research, I discovered a brilliant, surprisingly simple, and incredibly affordable solution that many DIY enthusiasts have successfully embraced: using liquid starch. This common household item serves as a temporary adhesive, allowing traditional wallpaper to be applied securely yet removed with astonishing ease. It’s truly a game-changer for anyone who loves the aesthetic of wallpaper but dreads the commitment. Let’s dive into the detailed tutorial!
Understanding the Magic: How Liquid Starch Makes Wallpaper Removable
The secret behind this DIY temporary wallpaper solution lies in the properties of liquid starch. Unlike traditional wallpaper paste, which forms a strong, permanent bond with the wall surface, liquid starch creates a gentler, water-soluble adhesive layer. When applied, the starch allows the wallpaper to adhere effectively, but it doesn’t bond so strongly that removal becomes a struggle. When it’s time for a change, a simple spritz of water can reactivate the starch, loosening the bond and allowing the wallpaper to peel away cleanly, often in full sheets, without damaging your walls. This makes it an ideal method for transforming rental spaces or for homeowners who enjoy experimenting with decor trends without long-term commitment.
Gathering Your Tools and Materials
Before you begin your wallpaper transformation project, ensure you have all the necessary supplies on hand. Having everything ready will streamline the process and prevent interruptions. Here’s a detailed list of what you’ll need:
- Wallpaper: This is crucial – it MUST be unpasted traditional wallpaper. Pre-pasted or peel-and-stick varieties won’t work with this method. Look for beautiful designs that inspire you; this is the stunning wallpaper I chose for my project.
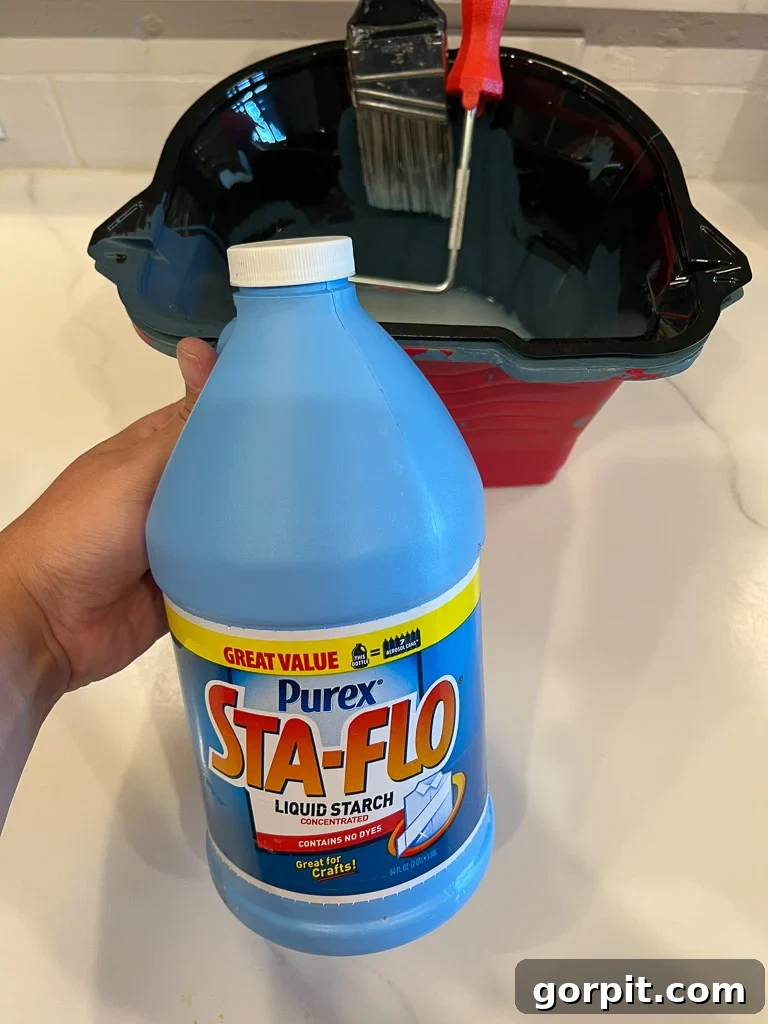
- Liquid Starch: The star of our show! This affordable and readily available item is what makes your wallpaper removable. You can easily find liquid starch here.
- Paint Tray or Bucket: For pouring and holding your liquid starch, ensuring even saturation of your roller.
- 6-inch Paint Roller: A smaller roller is ideal for applying the starch evenly and efficiently to the wall surface.
- Straight Edge or Laser Level: Absolutely essential for establishing a perfectly straight vertical line (plumb line) to guide your first wallpaper panel. Do not rely on ceilings or baseboards, as they are rarely perfectly straight. My trusty laser level is a lifesaver for this.
- Utility Knife with NEW Blades: A sharp blade is paramount for clean, precise cuts and preventing wallpaper tears. Have several fresh blades ready.
- Damp Rag or Sponge: For smoothing out air bubbles and wrinkles, and for wiping away any excess starch.
- Painter’s Tape: Invaluable for holding wallpaper panels in place during installation, especially when working solo, and for marking measurements.
For a quick visual overview of the process, you can watch the short video below. However, for detailed instructions and valuable tips, continue reading the comprehensive guide that follows.
Prepping Your Space for Seamless Installation
Proper preparation is key to a successful and long-lasting wallpaper application, even with a temporary method. Don’t skip these crucial steps!
Time needed: 4 hours
Follow these steps to make any wallpaper removable and renter-friendly!
- Clean your walls thoroughly.
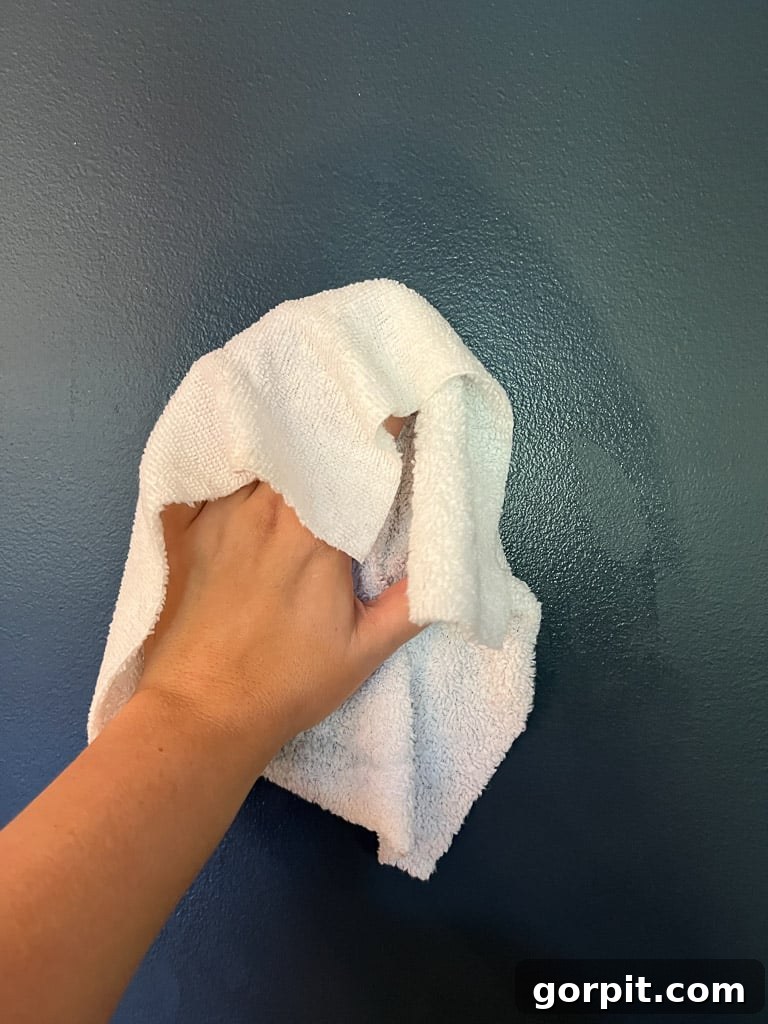
Begin by ensuring your wall(s) are perfectly clean and dry. Use a damp rag to wipe down the entire surface, removing any dust, grime, or residue. For tougher spots, a mild detergent solution can be used, but make sure to rinse thoroughly with clean water afterward. Allow the wall to dry completely before proceeding; any moisture can hinder the starch’s adhesion. A clean surface is paramount for the liquid starch to bond effectively and for easy removal later.

- Precisely cut your wallpaper to length.
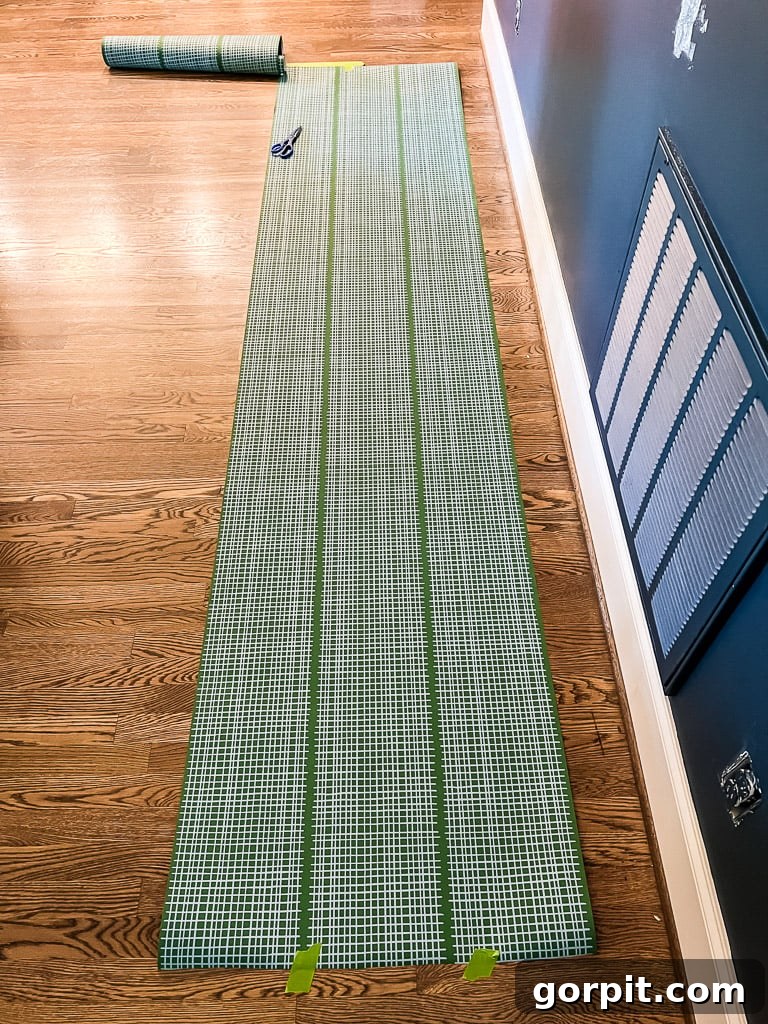
Next, unroll your wallpaper and cut each strip to the appropriate length. A good rule of thumb is to cut each strip at least 4 inches longer than the height of your wall. This generous excess provides ample room for precise trimming at both the top and bottom once the wallpaper is adhered, ensuring clean lines and accommodating any slight inconsistencies in wall height. To make this process easier, especially when working alone, measure the wall height once and mark that length on your floor using painter’s tape. Then, as you unroll the wallpaper, align it with your floor markings and cut. For complex patterns with significant repeats, you might consider pre-cutting and dry-fitting all your panels to ensure perfect pattern alignment across seams. However, for simpler patterns, you can cut as you go. For my project, the pattern was straightforward, so I cut each panel individually, which saved time.
- Mark your plumb line accurately.
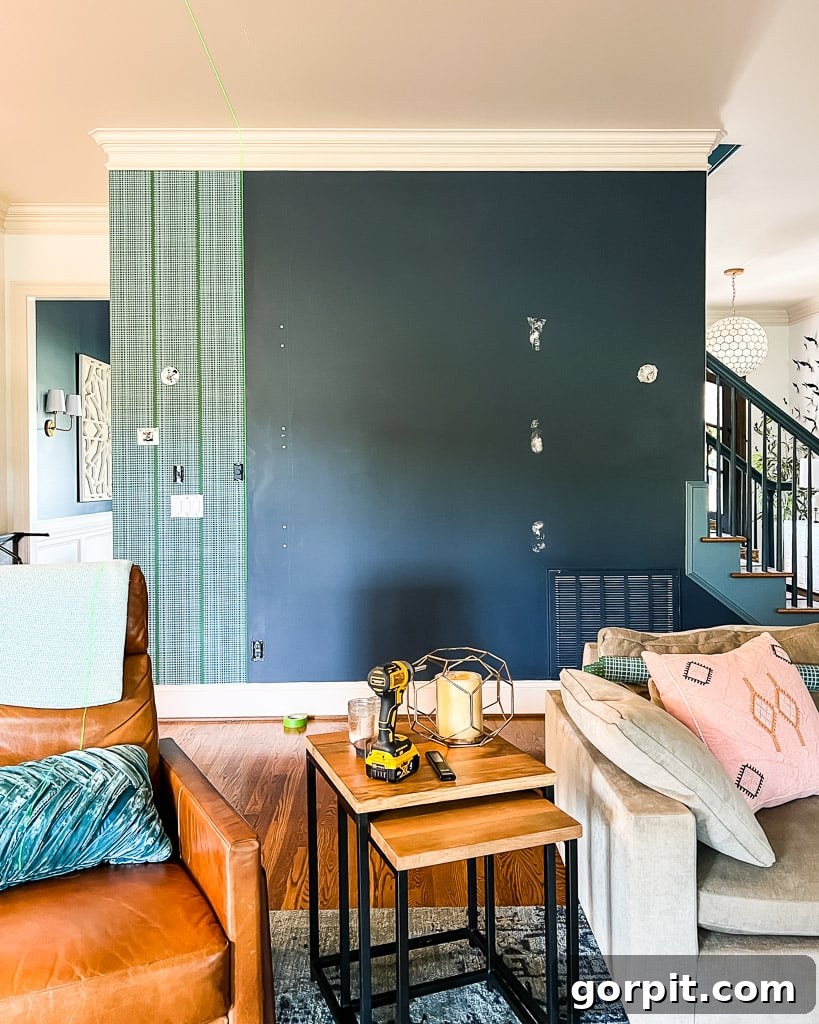
This step is non-negotiable for a professional-looking finish. Use a laser level (this is the one I have and LOVE) or a traditional level and pencil to mark a perfectly vertical plumb line on your wall. This line will serve as the guide for your first wallpaper panel. It’s crucial not to assume your ceiling, floor, or trim are perfectly straight; they rarely are. Relying on them will result in crooked wallpaper. Position your first plumb line far enough from a corner so that your wallpaper panel won’t wrap too far around the corner, ensuring a cleaner seam. You can see my subtle green laser line guiding the right edge of my first panel in the photo below, even extending onto the ceiling for maximum accuracy.
Step-by-Step Guide to Installing Removable Wallpaper with Liquid Starch
With your preparations complete, you’re ready to start hanging your beautiful, temporary wallpaper!
- Apply the liquid starch to your wall in sections.
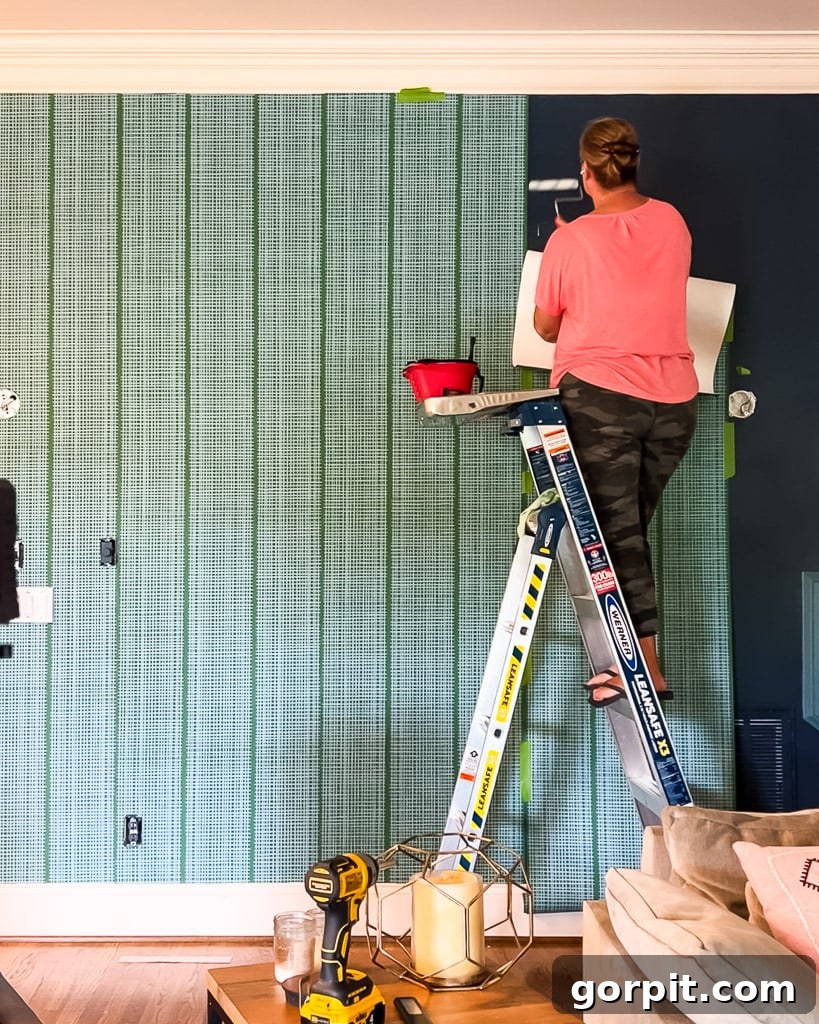
Pour your liquid starch into a paint tray or bucket. Fully saturate your 6-inch paint roller, then gently roll off any excess in the tray to prevent drips. Apply the liquid starch liberally and evenly directly to the wall surface in manageable sections, typically about 4-5 feet wide. There’s no need to apply starch to the wallpaper itself, as this method relies on the wall’s surface acting as the adhesive base. Work quickly but meticulously, as liquid starch tends to dry relatively fast. Focus on applying enough starch to cover the area where your next wallpaper panel will go, plus a little extra to ensure good adhesion.
- Carefully apply your wallpaper panel.
Using your plumb line as your primary guide, begin applying your wallpaper from the top of the wall. Leave a small overlap (about 2 inches) at the ceiling line, which you will trim later. Gently press the wallpaper onto the starched wall, aligning its edge precisely with your plumb line. Using a clean, damp rag or sponge, smoothly work from the center of the panel outwards, gently coaxing out any air bubbles or wrinkles. Take your time with this step, ensuring a smooth, flat application. As you reach the bottom of the wall, use a straight edge (like a metal ruler or large scraper) to firmly hold the wallpaper against the edge of your trim or floor. With a VERY SHARP utility knife blade, carefully trim off the excess, creating a crisp, clean edge. Repeat this trimming process at the top of the wall along the ceiling line. Remember, a dull blade will tear and damage your wallpaper, so replace it frequently if needed.
- Navigate obstacles and subsequent panels.
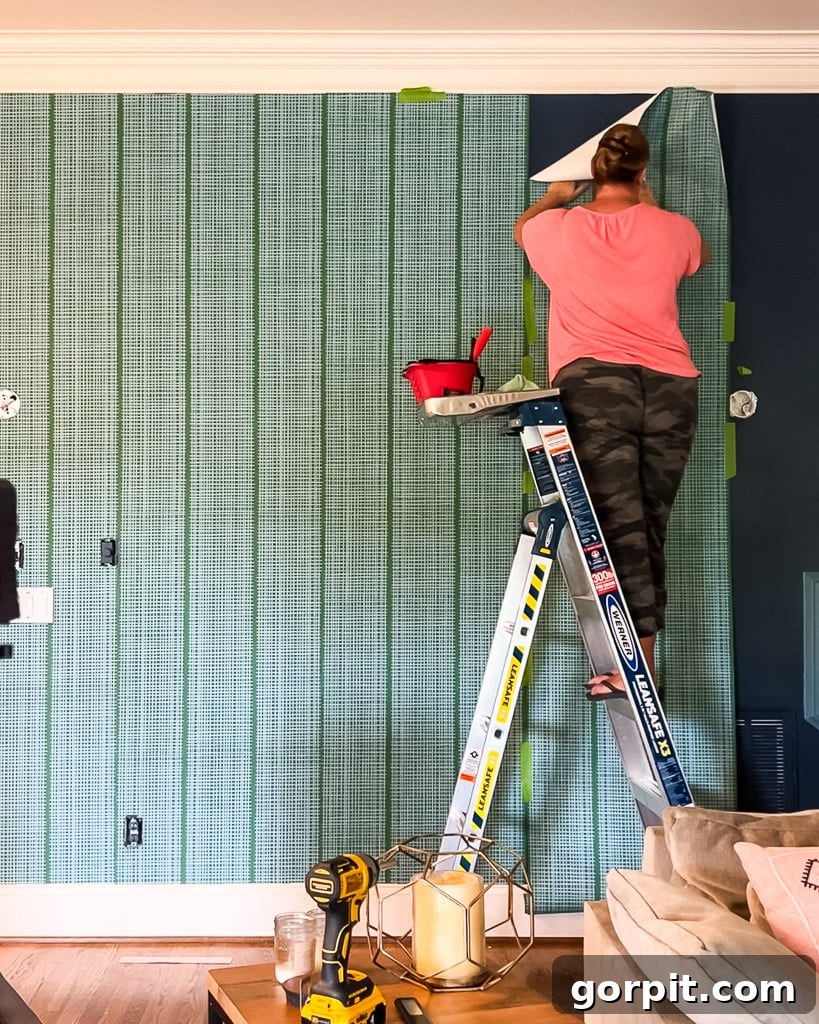
If your wall has electrical outlets or light switches, approach these areas with caution. Gently feel for the edges of the electrical boxes underneath the wallpaper and use your sharp utility knife to carefully cut around them. Make small, precise cuts to ensure a neat finish. The first panel is often the easiest as you only need to align it with the plumb line. Subsequent panels require careful pattern matching and seam alignment. If you’re tackling this solo, painter’s tape can be your best friend. My strategy when working alone was to dry-fit the next panel, aligning the pattern and the seam with the previous panel. Once satisfied with the alignment, I’d secure the top section of the new panel with painter’s tape along the edge where it matched the prior panel. Then, I’d gently “flap back” the upper portion of the wallpaper to apply liquid starch to the wall underneath. After applying starch, I’d smooth the wallpaper back into place, ensuring perfect alignment. Once the top was secure, I’d remove the painter’s tape and continue working my way down the wall in 5-foot sections, just as I did with the first panel.
Tips and Tricks for a Flawless Finish
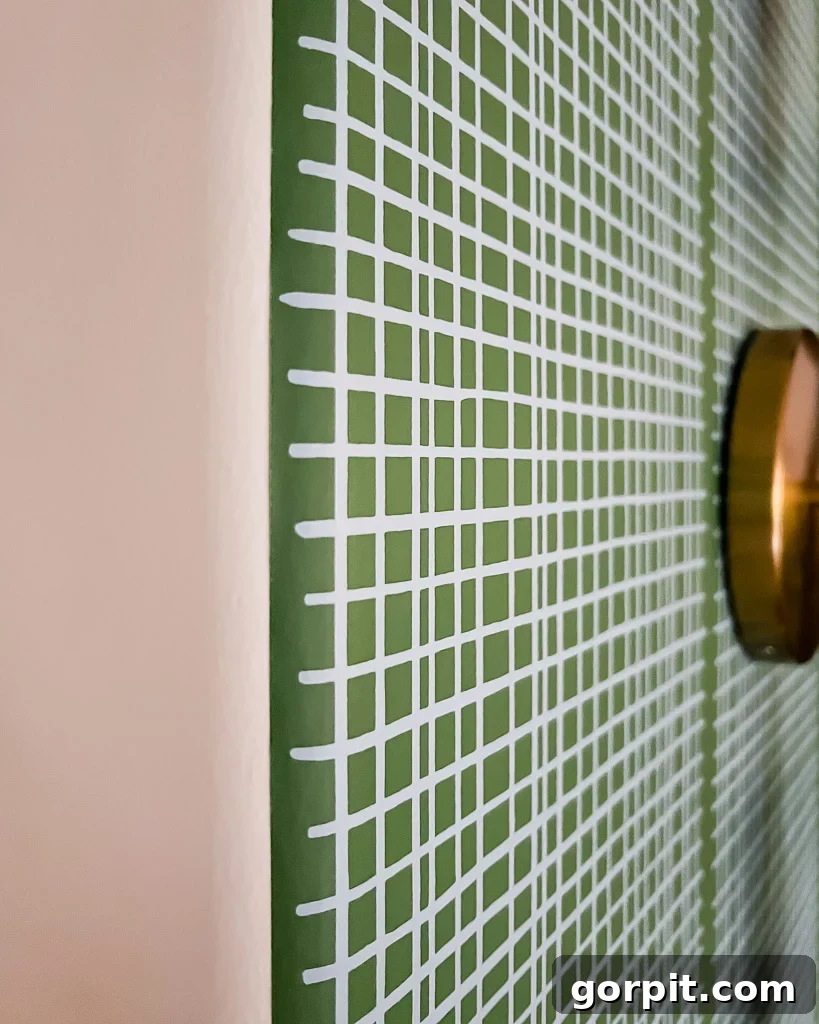
Because liquid starch is not as aggressively sticky as traditional wallpaper paste, you might find some edges, particularly on rounded corners or less-than-perfect wall surfaces, require a bit more attention. Don’t be discouraged! If an edge isn’t adhering well, simply peel it back gently, apply a little more liquid starch with a small brush or sponge directly to the problem area on the wall, and then firmly press the wallpaper back into place. You may need to hold it for a minute or two to allow the starch to begin drying and bonding. Patience and persistence are key here, especially when dealing with architectural quirks like rounded corners, which our walls have. A small amount of extra effort at this stage will ensure a beautifully smooth and secure finish.
The Big Reveal and the Promise of Easy Removal
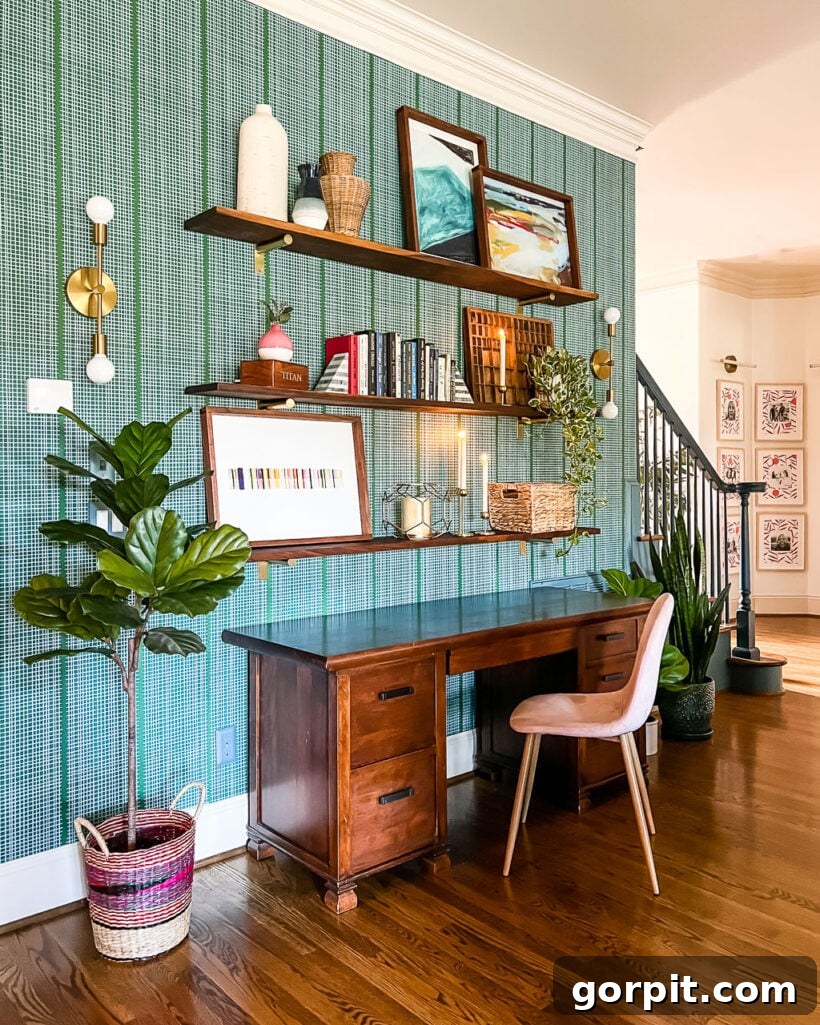
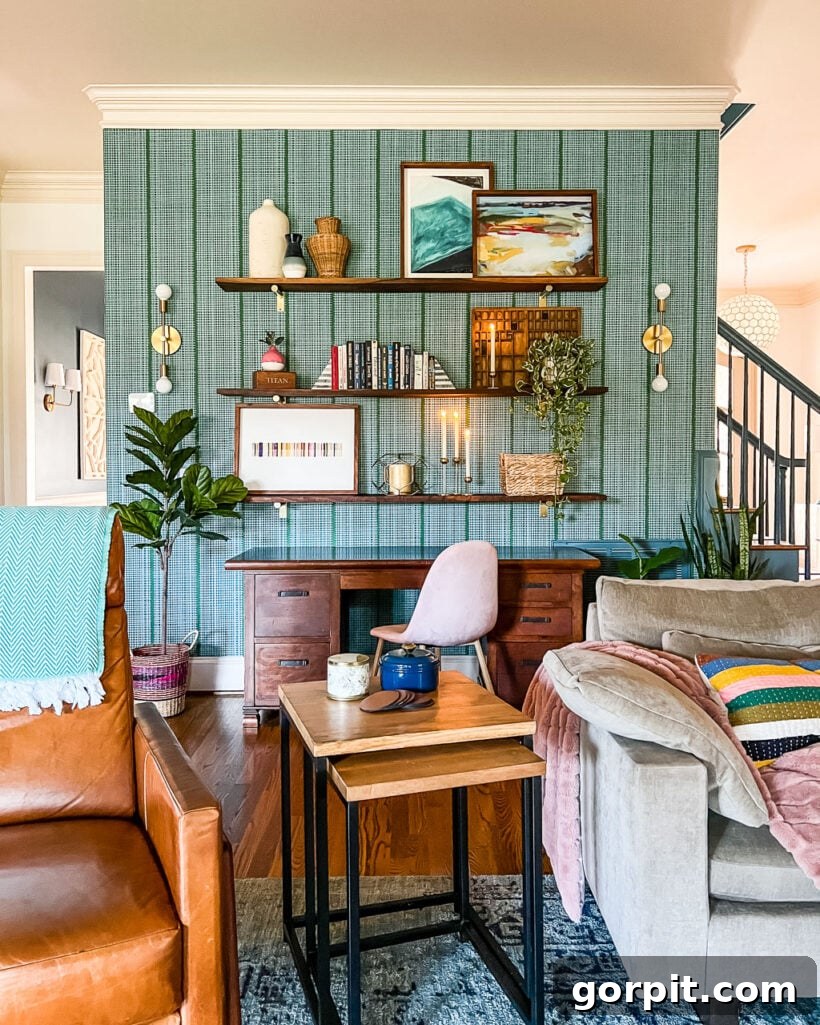
And there you have it! The entire installation process for a wall approximately 14 feet wide by 10 feet tall took me about 4 hours. Keep in mind that this time estimate doesn’t include the additional hours spent removing existing shelves, light fixtures, and then carefully reinstalling them after the wallpaper was complete. While the process with liquid starch might feel slightly more involved than using traditional paste due to its less aggressive adhesion, the peace of mind knowing that this DIY removable wallpaper will come down effortlessly in the future is well worth the extra effort. As much as I adore this particular wallpaper design, I’m realistic about my decorating habits and know I’ll want a change in a few years – and with this method, that change will be a breeze, not a battle!
Important Notes About Using Liquid Starch to Hang Wallpaper
To ensure you have the best experience with this renter-friendly wallpaper hack, consider these key points:
- Forgiveness Factor: Liquid starch is incredibly forgiving. If you make a mistake, encounter too many wrinkles, or need to reposition a panel, you can easily peel the wallpaper back, apply a little more liquid starch to the wall, and re-smooth it into place. This flexibility is a huge advantage, especially for beginners.
- Smoothing Expectations: You might find that liquid starch requires a bit more effort to smooth out wrinkles and air bubbles compared to traditional, thicker wallpaper paste. Be patient and persistent with your damp rag or sponge, working from the center outwards.
- Adhesion Strength: Liquid starch is inherently less sticky than conventional wallpaper paste. This means you won’t have the same “wiggle room” to slide and adjust your wallpaper into the perfect position. Precision in your initial placement and plumb line is even more critical. While manageable, this characteristic can make the installation slightly more challenging, especially if you’re working without an extra set of hands.
- When to Use Traditional Paste: If easy removal is not a concern for you, and you want the strongest, most permanent bond, traditional wallpaper paste remains the easier product to work with due to its higher tack and longer working time.
- Cost-Effectiveness & Ease vs. Peel-and-Stick: This liquid starch application method is generally easier to execute than installing peel-and-stick wallpaper (a process I’ve tackled many times). Crucially, it is also FAR more affordable, offering wider access to diverse and beautiful wallpaper designs without the premium price tag associated with pre-adhered options.
So, what are your thoughts? Does learning this clever trick for making any wallpaper removable alleviate some of your apprehension about committing to a bold wallpaper design? Imagine the freedom to experiment with trends, refresh your rental, or simply change your mind without the stress of permanent adhesion. This method empowers you to embrace the beauty of wallpaper with confidence and ease.
If you found this guide helpful and want to refer back to it later, don’t forget to pin it to Pinterest to save for your next DIY project!
Other posts you may enjoy for further inspiration and home decor tips:
- 18 Unique Wallpaper Ideas to Inspire Your Next Project
- How to Install Removable Wallpaper in 5 Easy Steps
- Stunning Accent Wall Ideas to Transform Any Room
- How to Choose Paint Colors for Your Home: 6 Simple Tips to Follow
- 5 Tips to Decorate With Color (Even When It Scares You)
Curious about my holistic approach to transforming spaces in our home? Explore Designer in a Binder® for a simple, affordable, and effective way to decorate your home with confidence.
For exclusive content, behind-the-scenes glimpses, and early access to new tips and tricks, be sure to subscribe to our newsletter before you leave!