Craft Your Own Holiday Magic: The Ultimate Guide to Stunning DIY Felt Christmas Ornaments
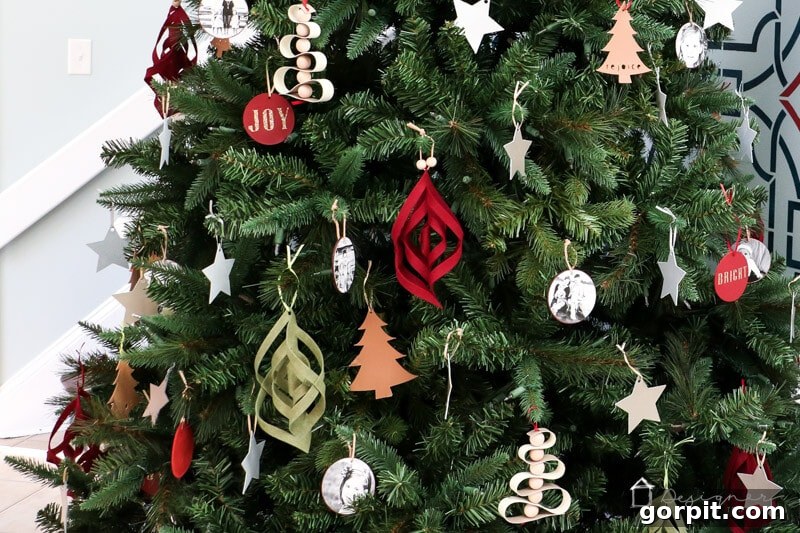
There’s an undeniable charm that comes with handmade Christmas decorations. While store-bought ornaments are convenient, nothing truly captures the spirit of the holidays quite like unique, handcrafted pieces that tell a story. If you’re seeking to infuse your festive decor with a touch of personal flair and creative joy, then making your own ornaments is the perfect solution. This year, I embarked on a delightful crafting journey to adorn our entire nine-foot Christmas tree with an array of homemade treasures. And I did it! The satisfaction of seeing a tree sparkle with creations made by hand is truly unparalleled. Among the various designs, including DIY photo Christmas ornaments, elegant leather ornaments, and rustic leather and wood bead ornaments, these unique felt ornaments quickly became a favorite. They are incredibly fun, surprisingly simple to construct, and add a captivating, three-dimensional texture to any Christmas tree. Get ready to transform ordinary felt into extraordinary holiday keepsakes!
This post contains some affiliate links for your convenience (which means if you make a purchase after clicking a link I will earn a small commission which helps keep my blog up and running but it won’t cost you a penny more)! Click here to read my full disclosure policy.
DIY Felt Christmas Ornaments: Your Step-by-Step Guide to Festive Creations
Creating your own felt Christmas ornaments is an incredibly rewarding experience, offering both creative expression and beautiful results. These particular felt ornaments stand out for their clever design, which creates a mesmerizing, layered effect using simple folding and gluing techniques. Whether you’re a seasoned crafter or a beginner eager to dive into DIY holiday decor, this project is accessible and guarantees stunning additions to your Christmas collection. Let’s gather everything you’ll need to bring these festive felt ornaments to life.
Gather Your Supplies: Essential Materials for Your Felt Ornaments
Before you begin your crafting adventure, ensure you have all the necessary materials. Having everything at hand will make the process smooth and enjoyable.
- 9″ x 12″ felt sheets in whatever colors you like (I found mine at Joann Fabrics for $.69 each).
- Felt is the star of this project, offering a soft, tactile quality that’s perfect for holiday decor. While I used standard felt, which works beautifully, stiff felt would provide an even crisper, more structured look for your ornaments. The beauty of felt is its versatility and the vast array of colors available, allowing you to match any holiday theme or personal preference. Don’t be afraid to experiment with different shades and hues to create a truly unique collection.
- Cricut Maker cutting machine (or a craft knife, ruler, rotary cutter, sewing pencil and cutting mat if you want to make them by hand).
- The Cricut Maker is a game-changer for felt projects, offering unparalleled precision and speed. It can cut intricate designs effortlessly, making this project even quicker. You can read my full review of the Cricut Maker and how friggin’ amazing it is in this post, where I delve into its capabilities, including its ability to cut felt, wood, and thick leather with ease. If you don’t have a Cricut, a sharp craft knife, a sturdy ruler, and a rotary cutter will allow you to achieve precise cuts by hand, though it will require a bit more time and care.
- Hot glue gun and glue sticks.
- A hot glue gun is essential for quick and secure assembly. Its fast-drying nature means you won’t have to wait long between steps, making the crafting process efficient. Make sure you have a good supply of glue sticks.
- Transfer paper (this is the exact transfer paper I used for this project–I typically use Cricut brand when I am actually transferring vinyl, but this less expensive/lower quality transfer paper worked perfectly for this application).
- This ingenious trick is key to keeping your cutting mat clean when working with felt, especially if you’re using a Cricut. It helps prevent felt fibers from sticking to the mat, preserving its adhesive quality for future projects.
- Cricut cutting mat (if using a Cricut Maker).
- A standard or fabric cutting mat for your Cricut Maker is necessary to hold the felt securely in place during the cutting process.
- Ribbon or suede cord.
- This will be used to create the hanging loop for your ornaments. Choose a color and material that complements your felt and overall Christmas theme. Suede cord adds a rustic touch, while satin ribbon offers a more elegant look.
- Wood beads (optional).
- Wood beads can add a lovely decorative element and a bit of weight to your ornaments, giving them a more finished and professional look. Experiment with different sizes and finishes.
Getting Started: Preparing Your Felt for Cutting
The precision of your cuts will significantly impact the final look of your felt ornaments. Taking your time during this initial step ensures beautifully symmetrical results. We’ll cover both manual cutting and using a Cricut Maker.
Cutting by Hand: Precision with a Craft Knife
If you prefer the hands-on approach, don’t worry—you can still achieve stunning results with careful manual cutting. Click here to download the PDF template I created. Print this template at 100% scale to ensure the correct size. First, carefully cut out the square shape from the paper template. Then, use your craft knife to make all the interior cuts within the template. This template will serve as your guide. Place the prepared template over your felt sheet, securing it gently to prevent shifting. Use a sewing pencil or a fine-tip marker to transfer the cut lines onto your felt. Once the lines are transferred, place your felt on a cutting mat. Using a rotary cutter and a sturdy ruler, carefully cut along all the straight lines you marked. For the interior cuts, a sharp craft knife will offer the best control. Always cut away from yourself and keep your fingers clear of the blade. This method yields two ornament pieces from every 9″ x 12″ sheet of felt.
Cutting with a Cricut Maker: Effortless Precision
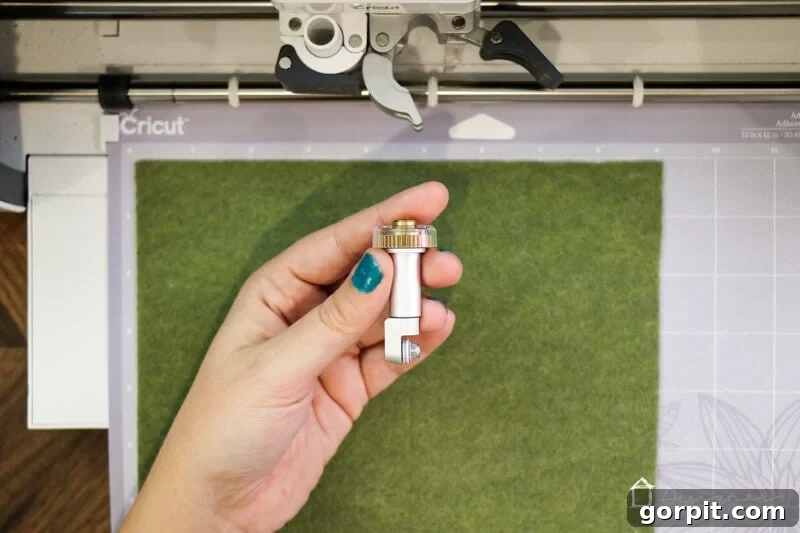
For those fortunate enough to own a Cricut Maker, this step becomes incredibly fast and precise. You can find the exact cut files I designed for these unique Christmas ornaments by clicking here. Once you are logged into Cricut Design Space and have accessed the project here, all you have to do is click “Make It” and follow the on-screen prompts. When selecting your material, be sure to choose “Felt.” It’s crucial to select the rotary blade option; if the machine defaults to the deep-cut blade, switch it to the rotary blade. The rotary blade is specifically designed for cutting fabric-like materials such as felt with clean, fray-free edges. With the correct blade and settings, your Cricut Maker will cut your felt perfectly, producing two ornament pieces from each 9″ x 12″ sheet.
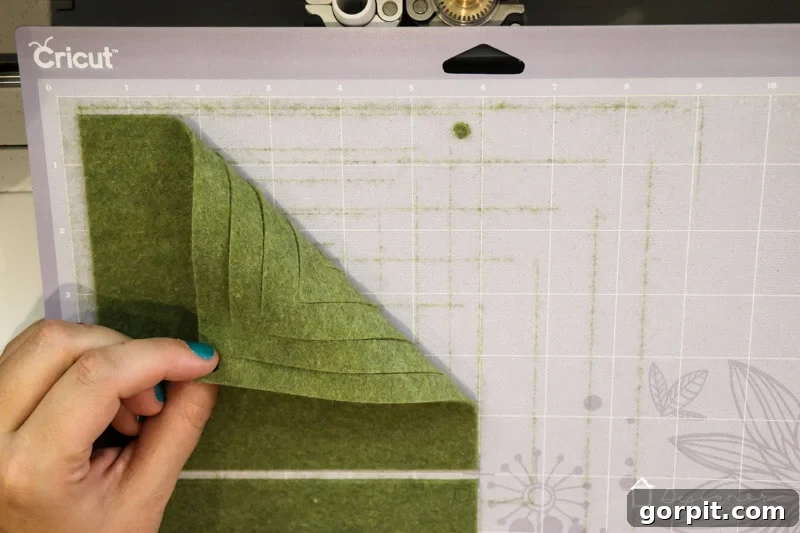
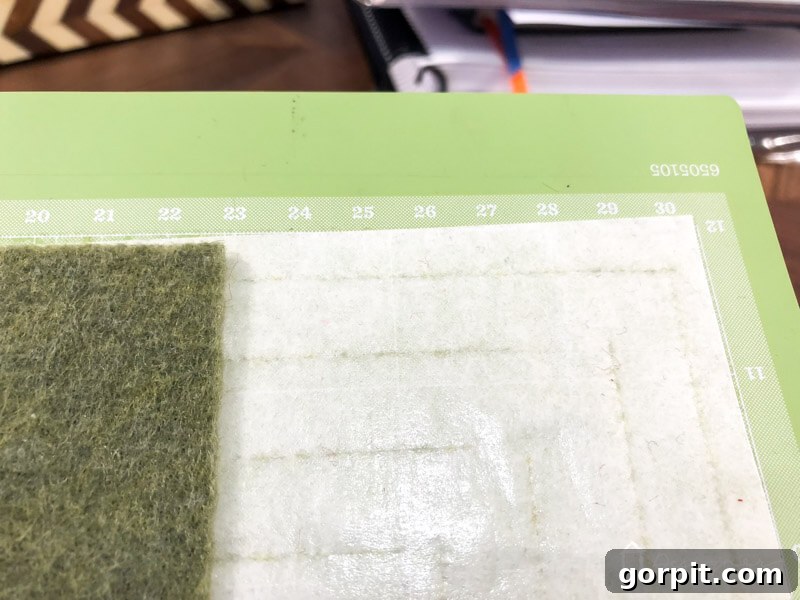
A little trick I discovered while making these ornaments makes a world of difference for your cutting mat’s longevity! After cutting my first few ornaments directly on the fabric mat, I realized that felt fibers can sometimes stick and diminish the mat’s adhesive quality. My “AHA!” moment came when I decided to place a sheet of transfer paper (the exact one I linked in the materials section works wonderfully) sticky-side-up on the cutting mat, and then place the felt on top of the transfer paper. This creates a barrier, preventing felt fibers from accumulating on your expensive cutting mat. It’s a simple yet highly recommended step that saves you from a messy mat and extends its lifespan!
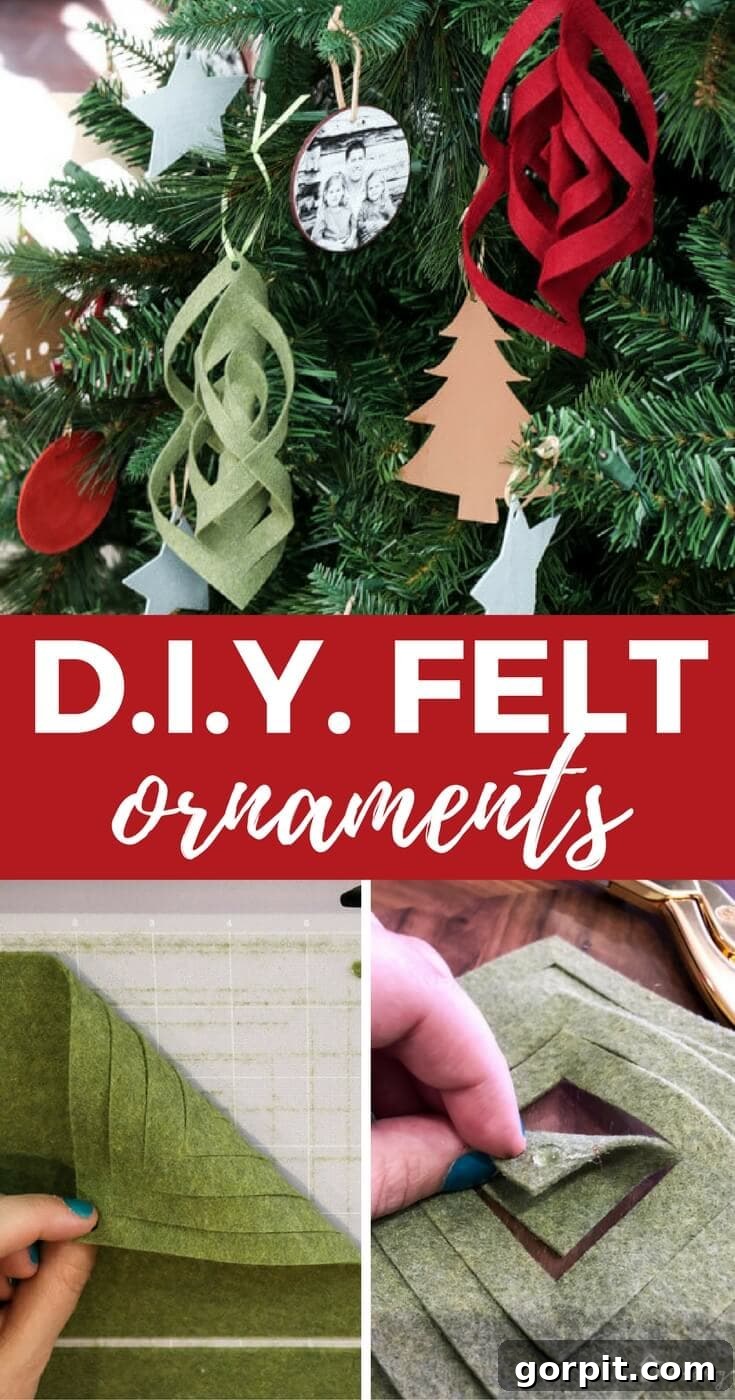
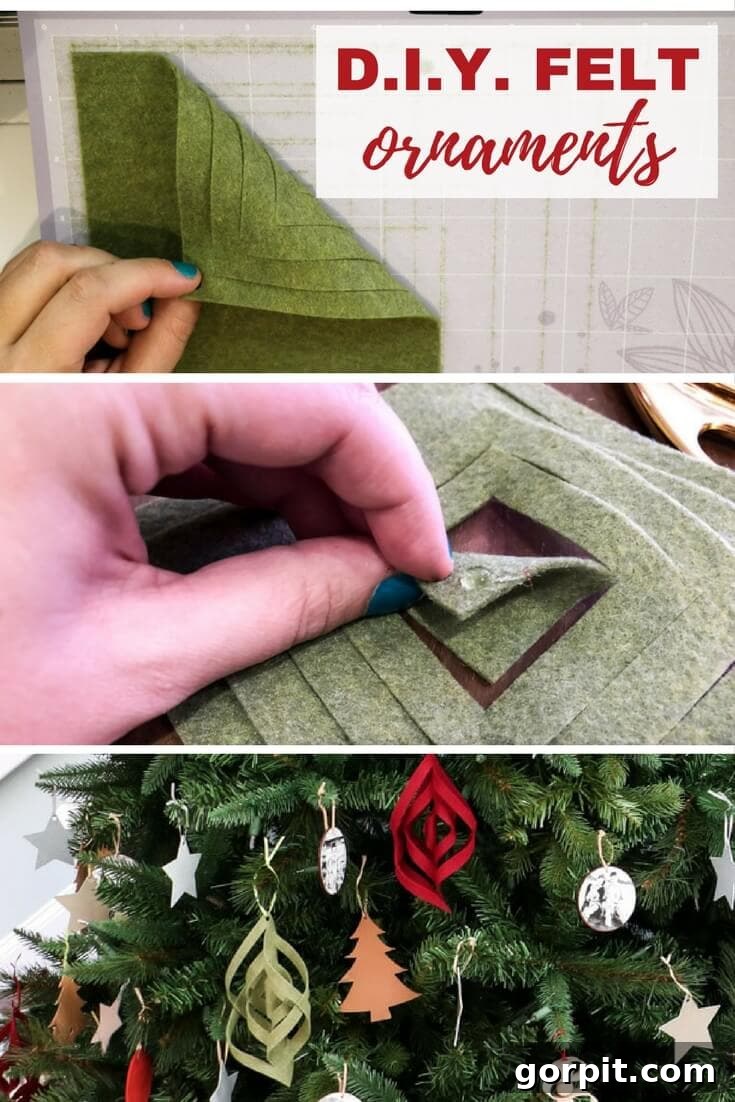
As you can see in the image below, the transfer paper acts as a protective layer, allowing the felt to adhere sufficiently for cutting without leaving behind any residue. It worked like a charm, and I highly recommend adopting this method for any felt projects on your Cricut.
Assembling Your Masterpiece: Bringing Your Felt Ornaments to Life
Once all of your felt pieces are perfectly cut – which, if you’re using a Cricut Maker cutting machine, will be incredibly fast – you’re ready for the exciting assembly phase. This is where the magic happens, and your flat felt pieces transform into beautiful, three-dimensional Christmas ornaments. I highly recommend watching the video below for a visual overview of how the assembly works, as seeing the folding process in action can be very helpful. Detailed written instructions follow the video.
You will begin the assembly by taking one of your cut felt pieces and locating the small, innermost square. This square will be the foundation of your ornament’s layered effect. Carefully fold two opposite corners of this small, center square in towards each other. Place a tiny dab of hot glue on one of these folded corners, then gently press the other corner on top of it, creating a neat, pointed fold. Hold it in place for a few seconds until the hot glue sets firmly. The key here is to use just enough glue to secure the felt without creating a bulky joint.
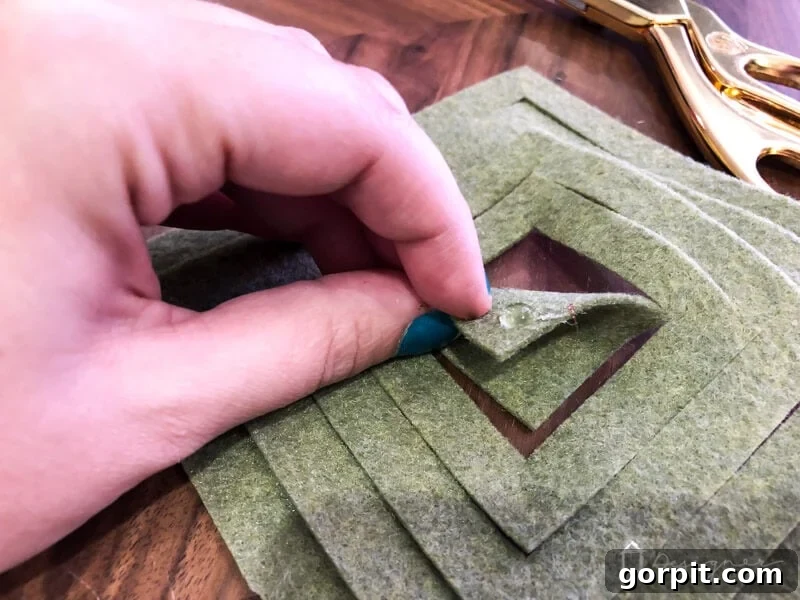
Once the first fold is secure, you’ll see the beginning of the dimension taking shape. The small, neat point formed by the glued corners will become the center of your ornament’s design. Ensure the glue is fully dry before moving to the next step to maintain the integrity of your folds.
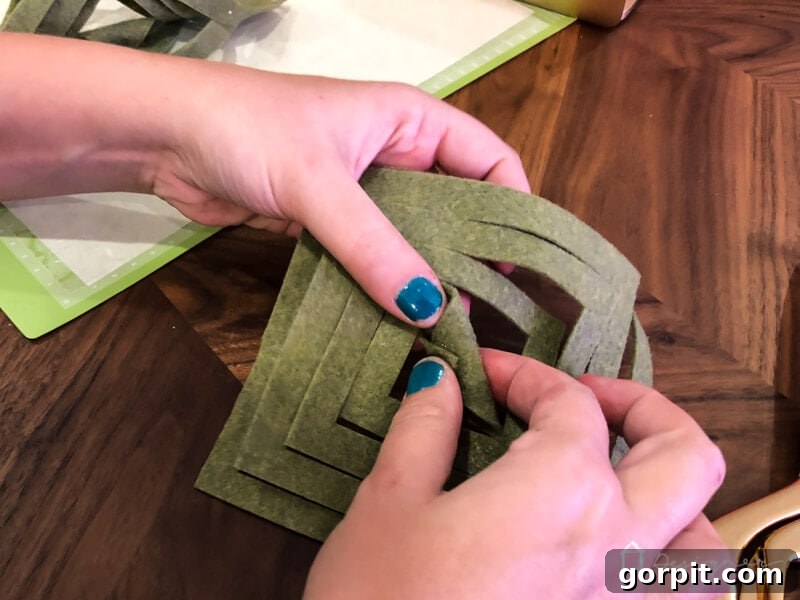
Now, here’s the crucial step for creating the mesmerizing alternating pattern: FLIP THE ORNAMENT OVER. After flipping, you will repeat the folding and gluing process with the next square (the one directly surrounding the first folded square). Fold two opposite corners of this square inward, dab a small amount of hot glue on one corner, and press the other corner on top. Repeat this process for each subsequent square, making sure to FLIP THE ORNAMENT after each square is folded and glued. This alternating flip is absolutely essential for achieving the beautiful, sculptural effect of these ornaments, creating layers that build upon each other in a visually interesting way. (Trust me on this—I may have forgotten to flip mine a couple of times initially, leading to a slightly different, less dynamic look, hence the strong emphasis here, lol!) Continue until all the squares are glued down, working your way outwards from the center.
Adding the Finishing Touches: Hanging and Embellishing Your Ornaments
With all the gluing complete, your felt ornaments are now three-dimensional works of art! The final step is to prepare them for hanging and add any desired embellishments. Thread your chosen ribbon or suede cord through the small hole at the top of the ornament. You can simply tie a knot at the ends of the ribbon or cord to create a loop for hanging. For an extra touch of charm and a slightly weighted feel, I chose to add some wood beads to the top of some of my ornaments, threading them onto the cord before tying the final knot. This step is entirely optional, allowing you to personalize your ornaments even further. Consider experimenting with different types of beads—glass, metallic, or even painted beads—or other small decorative elements like miniature bells or charms. Once finished, these unique Christmas ornaments are ready to be proudly displayed on your tree, instantly elevating your holiday decor!
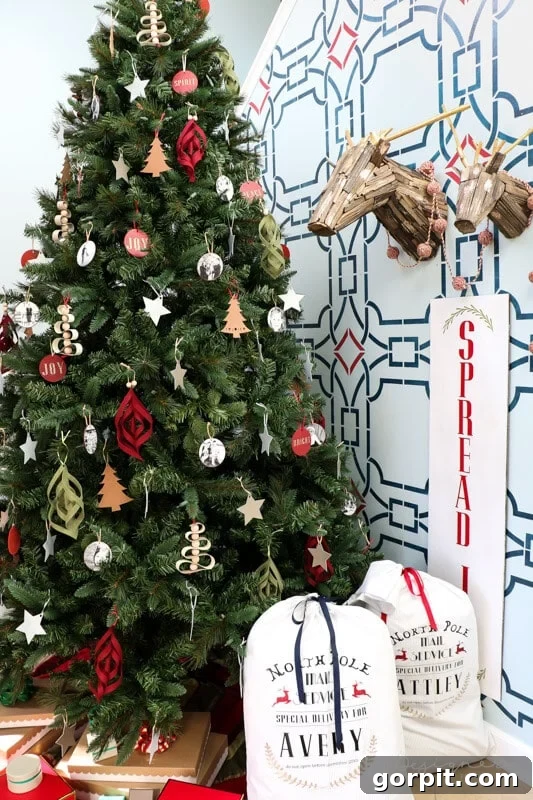
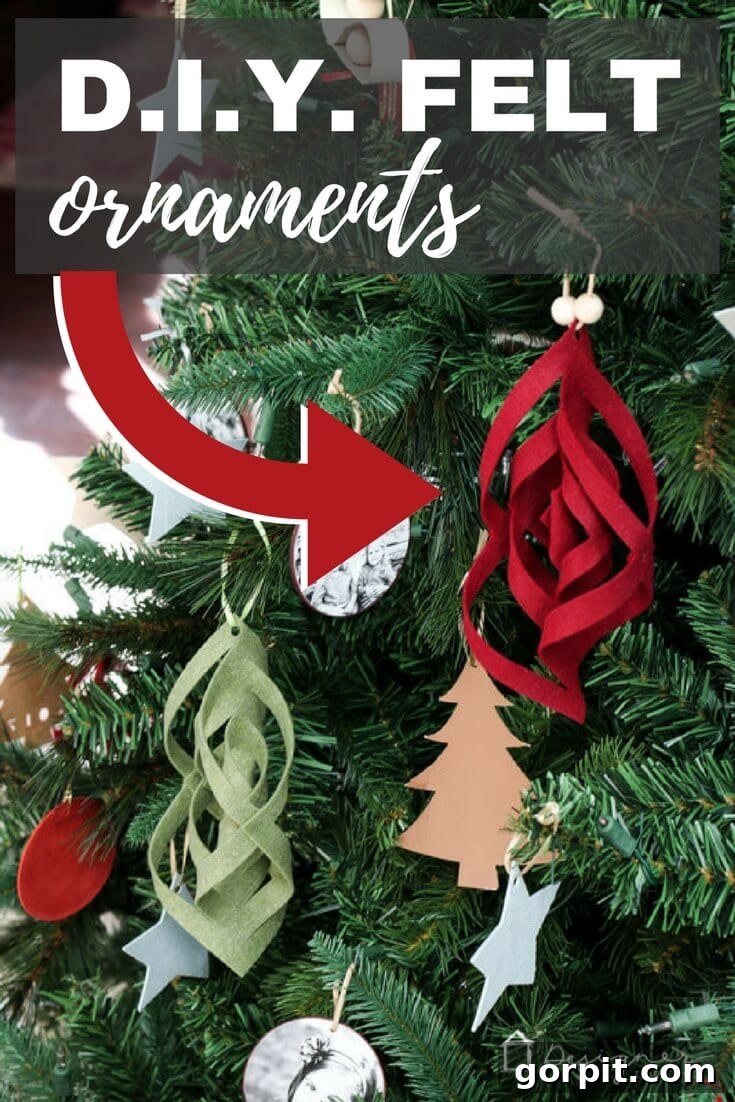
The transformation from flat felt sheets to these stunning, textured ornaments is truly remarkable. Each one adds a unique element to the tree, catching the light and drawing the eye with its intricate design. I absolutely love how they turned out, and I’m confident you will too!
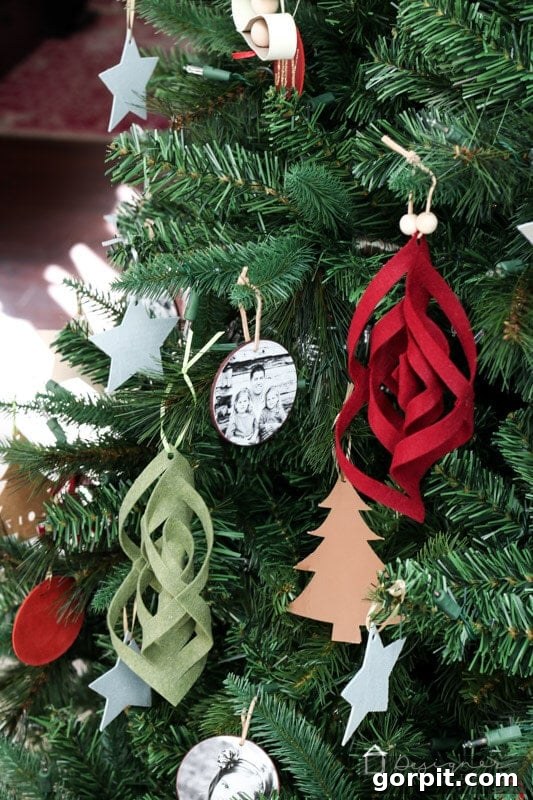
Unleashing Creativity: Customization and Design Variations
One of the greatest joys of DIY crafting is the ability to personalize your creations. These felt ornaments offer a fantastic canvas for your imagination. Don’t feel limited to a single color palette; experiment with vibrant hues, festive metallics (if you can find metallic-infused felt), or a sophisticated monochromatic scheme. Imagine a tree adorned with ornaments in varying shades of blue and silver, or a playful assortment of bright reds, greens, and whites. You could also try different sizes by scaling the PDF template or the Cricut Design Space file before cutting. For an extra touch, consider adding small embroidery stitches to the felt before assembly, or adhere sequins and glitter for a sparkling finish. The possibilities are endless, allowing each ornament to reflect your personal style and holiday vision. You could even use patterned felt to add another layer of visual interest to your layered design.
Beyond the Tree: Displaying Your Handmade Creations
While these felt ornaments are undeniably perfect for gracing the branches of your Christmas tree, their versatility extends far beyond. Consider stringing several together to create a charming holiday garland to adorn a mantelpiece, staircase, or doorway. They make delightful gift toppers, adding a handmade touch to presents for loved ones – a gift within a gift! These unique creations can also be incorporated into a festive centerpiece for your dining table, placed in decorative bowls, or even hung from window sills to catch the sunlight. Imagine a wreath embellished with these beautiful felt pieces, offering a warm and inviting welcome to your home. Their soft texture and intricate design make them suitable for almost any holiday display, allowing you to spread handmade joy throughout your entire home.
Share Your Handmade Joy This Holiday Season
What do you think of these unique DIY felt Christmas ornaments? I hope this detailed guide inspires you to create your own collection of beautiful, personalized holiday decorations. The satisfaction of crafting something with your own hands, especially for such a special time of year, is truly unparalleled. If you’re excited to make these stunning felt ornaments for yourself, please be sure to share this post over on Facebook and/or save it to Pinterest. Your shares help spread the joy of DIY crafting to more people! And before you head out, don’t forget to explore other fantastic DIY projects and grab my FREE Christmas printables to further enhance your festive decor. Happy crafting and happy holidays!