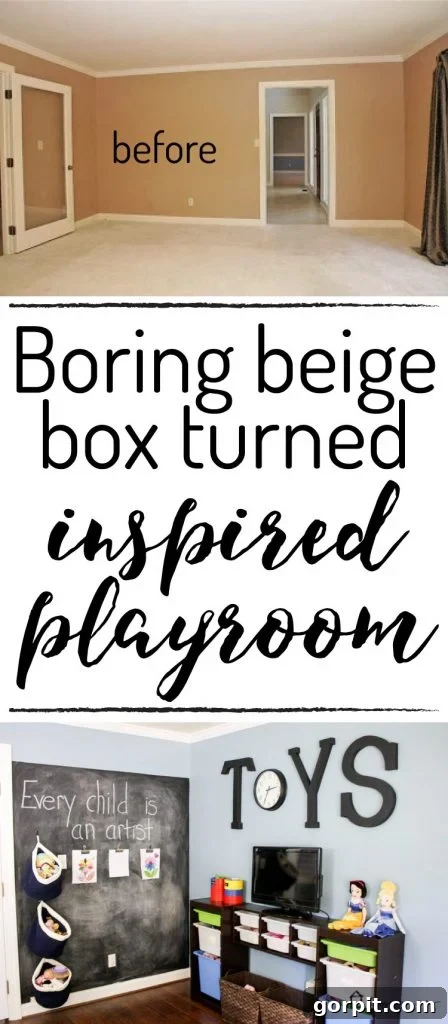
Oh, what a fantastic day it is! It’s reveal day, and these are always my absolute favorite! Today, I am thrilled to unveil the incredible transformation of our kids’ playroom – a space we meticulously crafted from what was once a truly bland and uninspiring beige box of a room. This article is packed with creative playroom decor and ingenious playroom storage ideas designed to ignite your own imagination and help you envision a dynamic space for your little ones. For your convenience, a comprehensive source list of all items and paint colors used in the room is provided at the very end of this post.
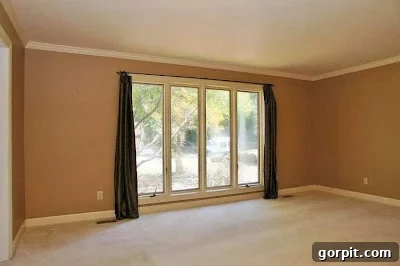
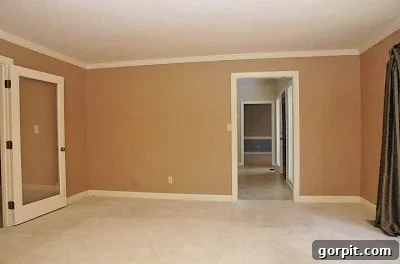
Let’s begin by revisiting the room’s initial state when we first moved into our home, shall we? Two words immediately spring to mind: “boring” and “depressing.” This particular area was originally intended to be a formal living room, but our family doesn’t live a formal lifestyle, nor do we have a need for a fancy, untouched space. From the moment we first toured the house, I knew this room possessed immense potential to become the perfect kids’ playroom. It boasts absolutely stunning, generously sized casement windows that flood the room with abundant natural light – an essential feature for any vibrant play area. I also adore the elegant glass French doors that seamlessly connect it to our family room, allowing for easy supervision and a feeling of openness.
 |
 |
Creating a Dream Playroom: Our Step-by-Step Makeover Journey
Transforming this drab space into a lively kids’ playroom was a journey we embarked on with excitement, breaking the project into manageable phases. Each step was carefully considered to ensure a durable, functional, and aesthetically pleasing environment for our children.
Phase 1: Setting the Foundation with Color and Functionality
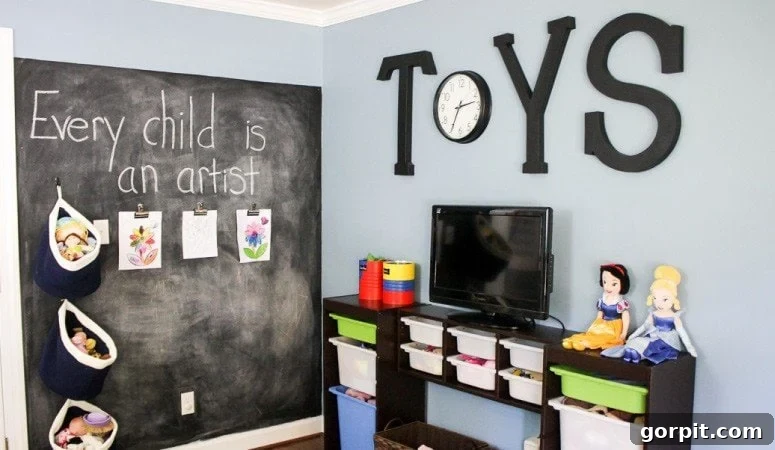
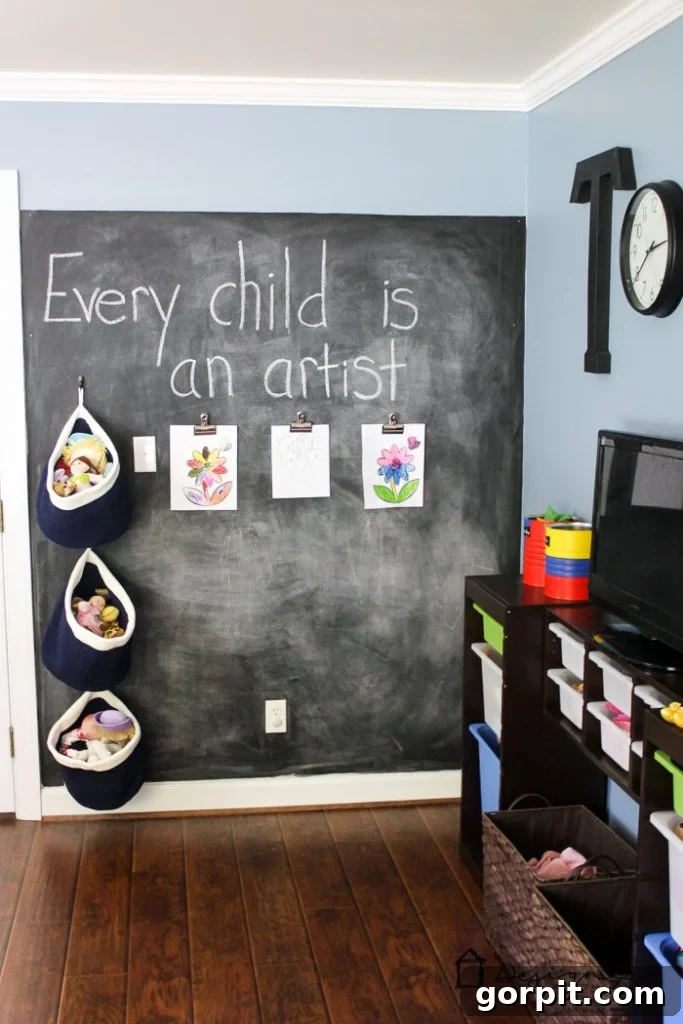
The initial stage of our kids’ playroom makeover primarily focused on a dramatic change of color and essential foundational updates. We began by painting the walls a magnificent blue paint color. This specific shade of blue, Valspar’s Nostalgia, was chosen not only for its beauty but also for its calming yet inspiring qualities, ideal for a space where creativity thrives. Complementing this, we painted all the trim a crisp, true white, providing a refreshing contrast to the previously dated taupe/beige hue. My husband, Joe, took on the task of upgrading all the electrical outlets and light switches from almond to a clean white – it’s truly astonishing what a significant difference such a seemingly small detail can make in brightening and modernizing a room.
A particularly fun element introduced in this phase was the chalkboard wall. I prepared the wall to the right of the French doors with magnetic primer, followed by a chalkboard top coat. Our twin girls absolutely adore having a dedicated space to draw and express themselves. However, I must share a candid disclaimer: if I were to undertake this project again, I would skip the magnetic primer altogether. While a wonderful idea in theory, the application was rather messy, and its ability to hold even lightweight magnetic letters is remarkably weak. It simply wasn’t worth the extra time or effort involved.
Phase 2: Durable and Stylish Flooring for Active Play
Phase 2 involved a much-needed upgrade to the flooring. We ripped out the unappealing, old carpet and replaced it with the most stunning hand-scraped laminate floors I have ever encountered. Yes, you read that right – laminate! Many people are surprised by the luxurious look and feel of modern laminate, and this particular choice exceeded all our expectations. For a deep dive into our decision-making process and to explore why we chose laminate flooring for our home, you can read all about it here. The durability, ease of cleaning, and warm aesthetic of these floors make them absolutely perfect for a high-traffic kids’ playroom, capable of standing up to endless hours of energetic play.
Phase 3: Building in Functionality and Comfort
Phase 3 brought about the creation of our custom DIY pipe bookshelves and integrated desks, with a detailed tutorial available here. These built-ins provide essential storage and dedicated creative spaces, fostering organization and encouraging our children’s imagination. More recently, we integrated existing furniture into the space, relocating an old rug from our family room and a cozy loveseat that had previously served us well in the girls’ nursery during their baby years. This repurposing not only adds comfort but also makes the room feel more cohesive and lived-in. Furthermore, recognizing the previously inadequate lighting, we installed can lights throughout the room. Proper lighting is crucial in a play area for both safety and supporting various activities, from reading to art projects. A comprehensive tutorial on how we tackled this lighting upgrade will be available on Remodelaholic soon!
Enough with the detailed descriptions! I know you’re eager to see the results. Who’s ready for some photos? Here you go!
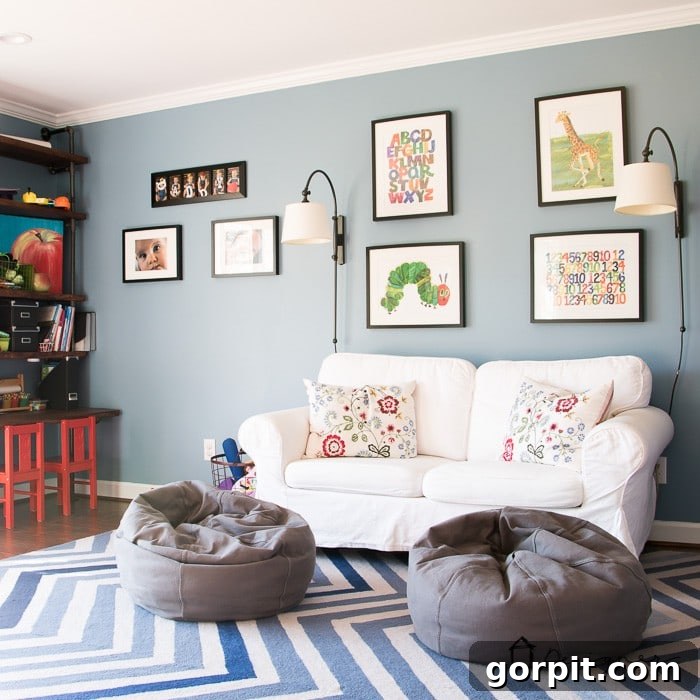
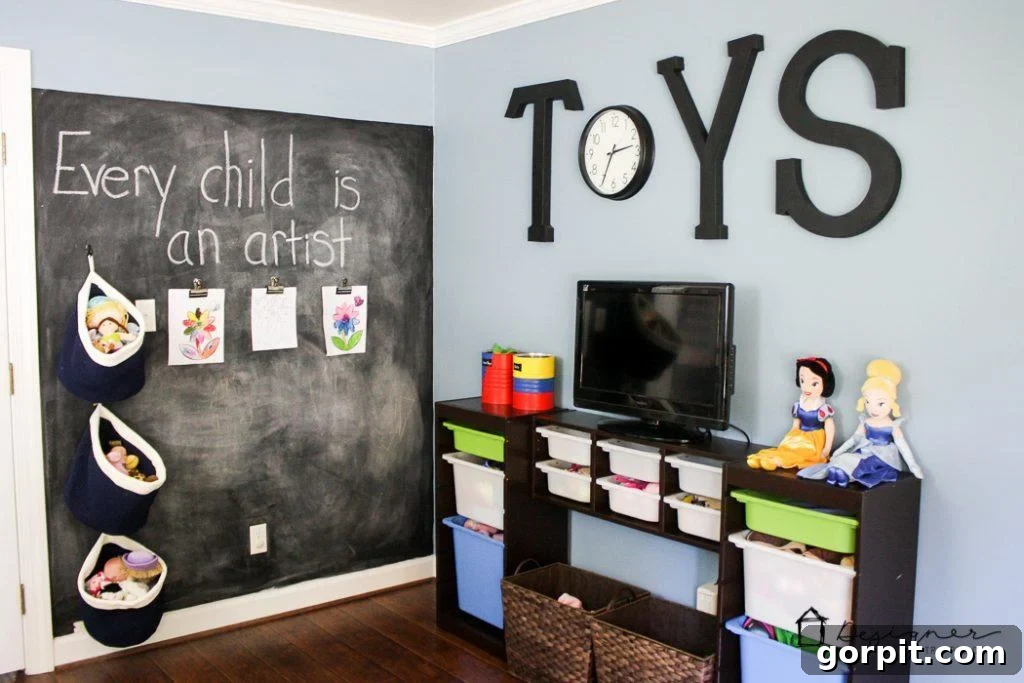
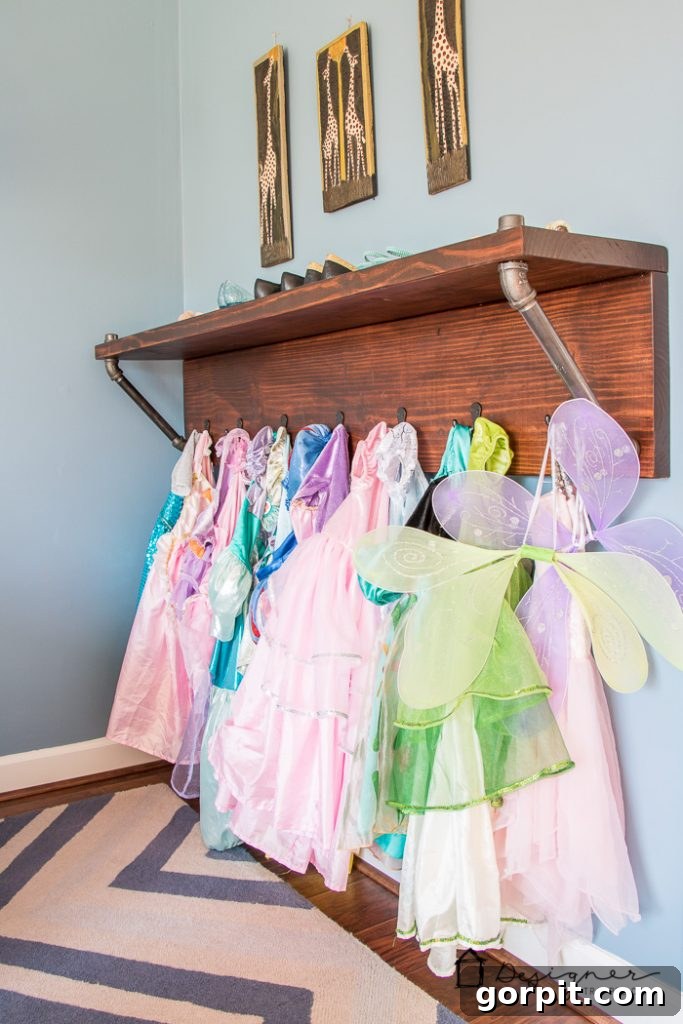
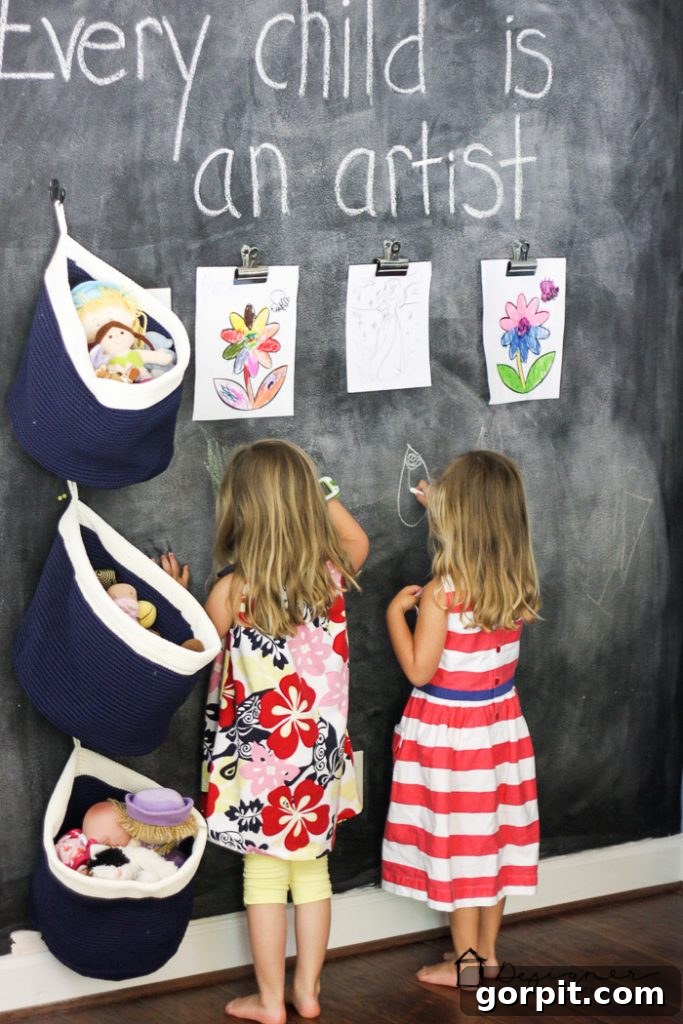
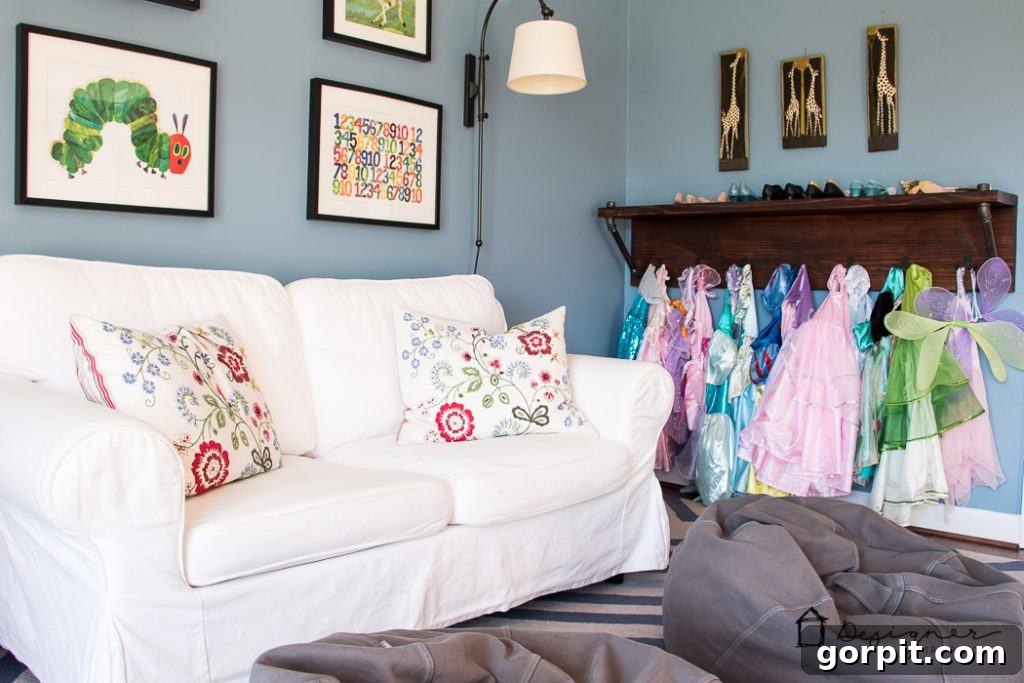
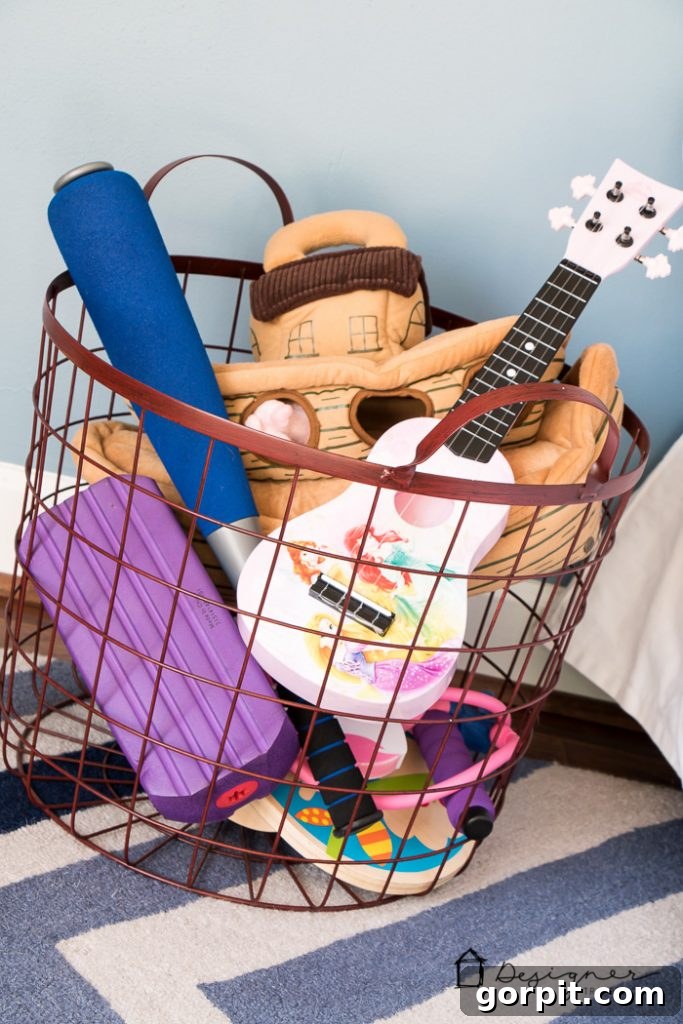
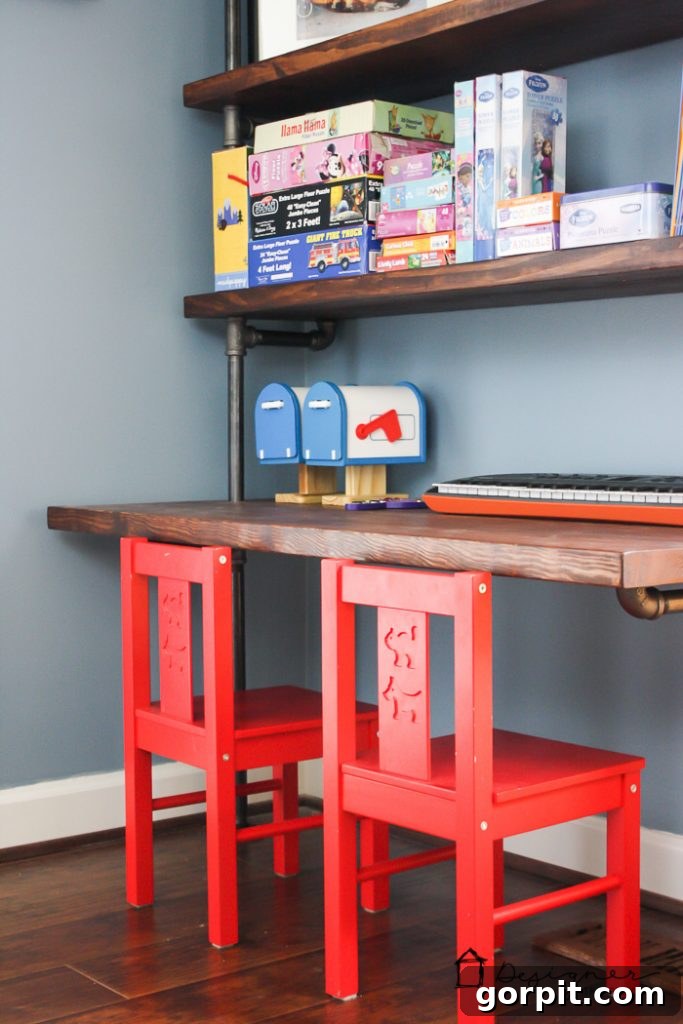
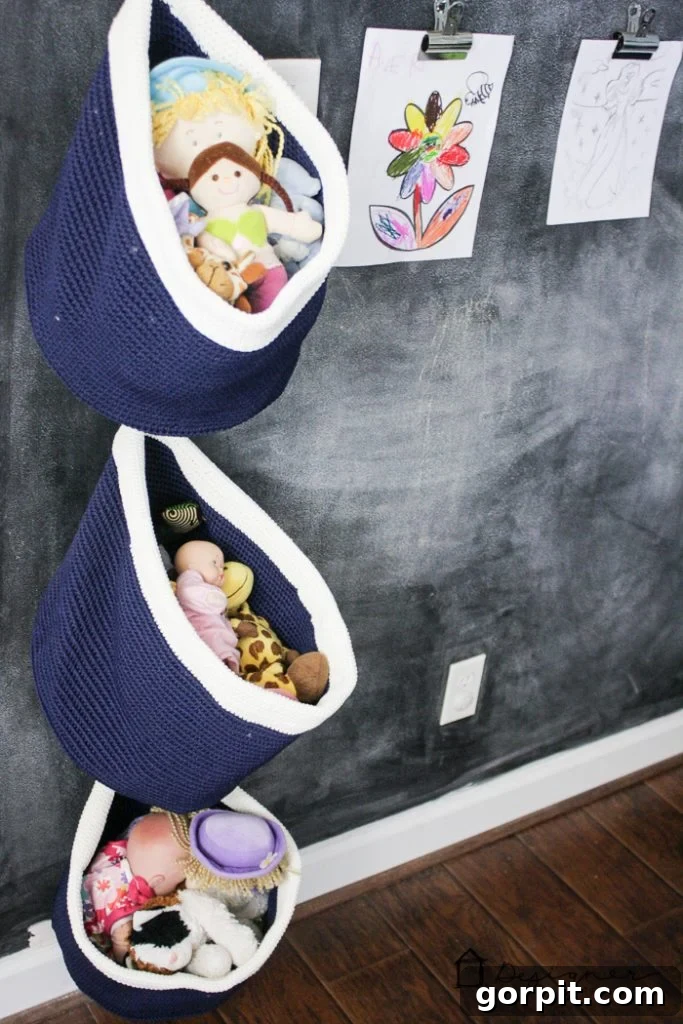
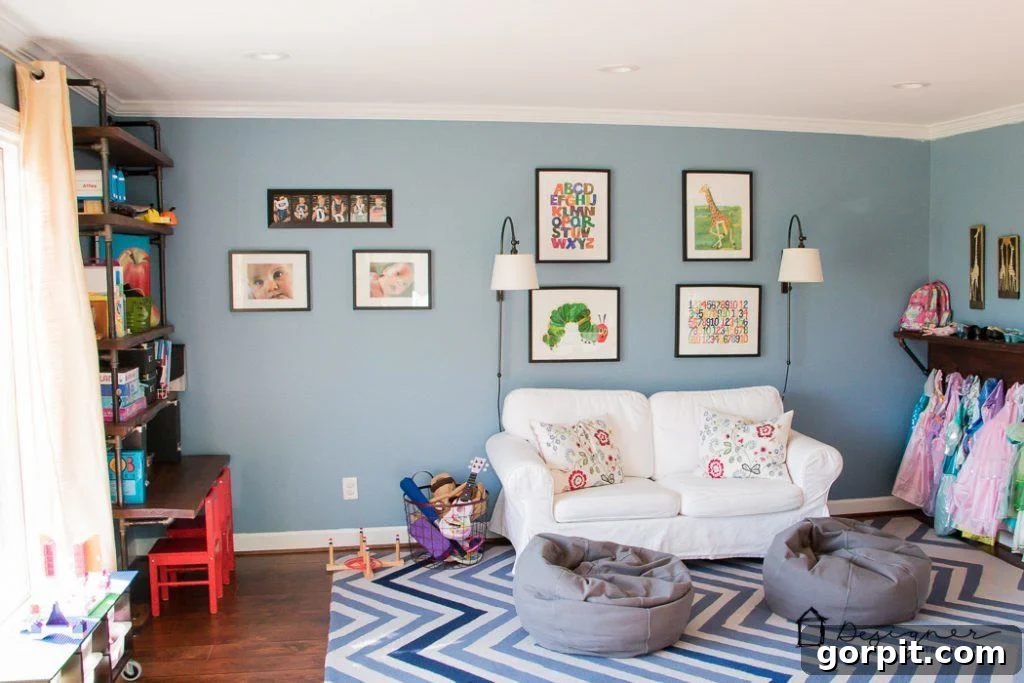
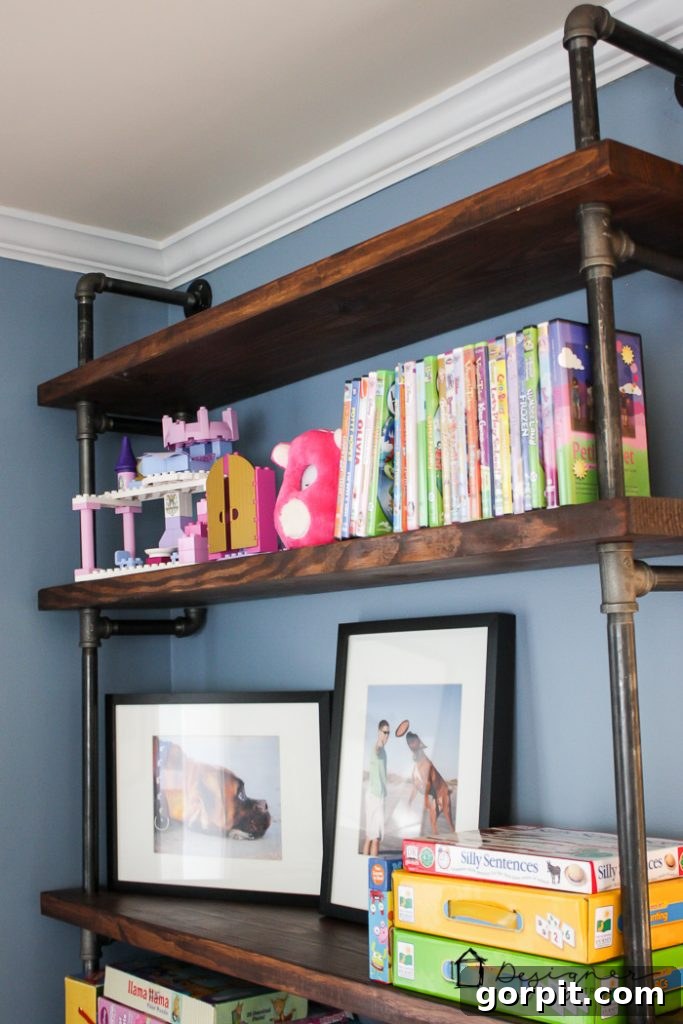
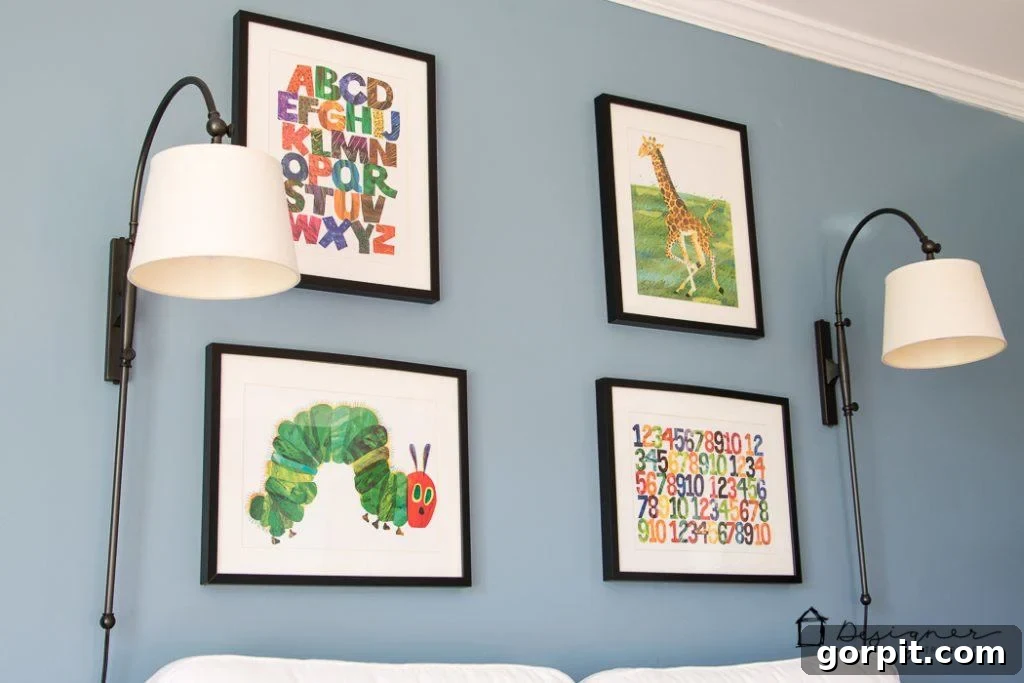
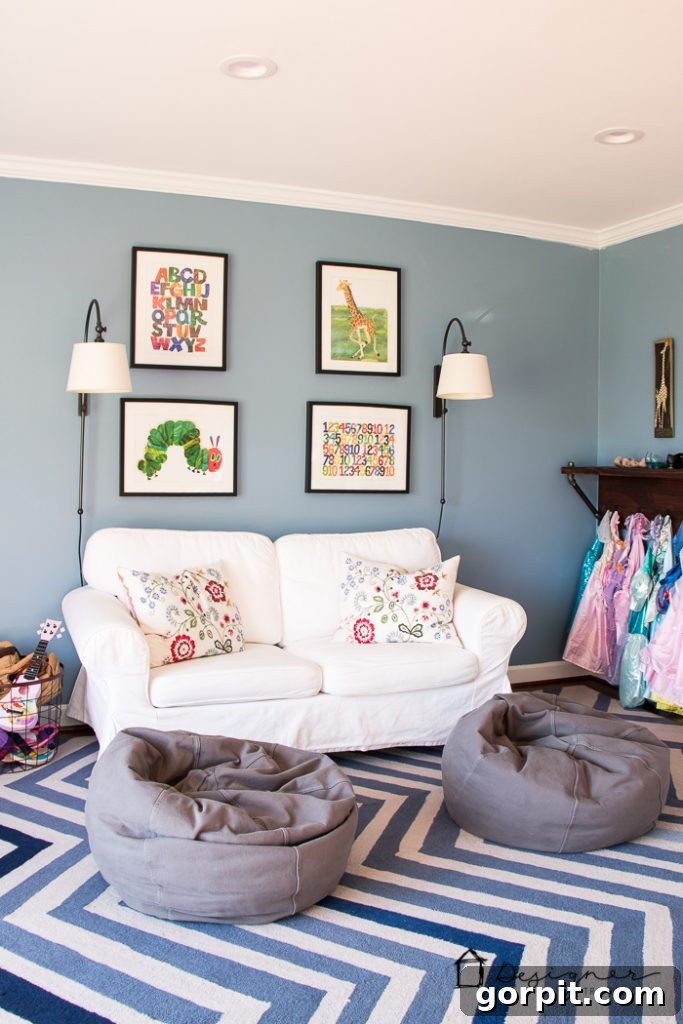
Designing a Playroom That Grows with Your Children
When approaching the design of our kids’ playroom, a key philosophy was to create a space that wasn’t overly “cutesy” but instead offered a blend of whimsy and sophisticated style that could evolve with our children. We aimed for playroom decor that both kids and adults would genuinely love, ensuring longevity and versatility. This approach meant selecting durable materials, creating flexible zones, and incorporating storage solutions that could adapt to changing needs and toy collections.
The natural light streaming in through those large casement windows truly sets the mood, making the room feel open and inviting. We capitalized on this by choosing light colors and avoiding heavy window treatments. The French doors, connecting to the family room, provide an important visual link, allowing us to keep an eye on playtime while also making the play area feel like an integrated part of our home, rather than a secluded, isolated space.
Storage was, of course, a paramount consideration for any kids’ playroom. We opted for a mix of open shelving and closed bins, ensuring that toys are easily accessible to the children yet can be tidily tucked away when not in use. This balance promotes independence in tidying up and helps maintain a sense of order amidst the inevitable creative chaos. The integration of desks provides dedicated spots for art projects, homework, or even just quiet contemplation, further extending the room’s functionality beyond purely active play.
Essential Playroom Decor and Storage Ideas to Inspire You
Crafting the perfect kids’ playroom involves a thoughtful blend of aesthetics and practicality. Here are some key playroom decor and storage ideas inspired by our own transformation:
- Vibrant Yet Calming Color Palette: Don’t shy away from bold colors like blue, but balance them with neutral tones like white to keep the space feeling serene and expansive. A chalkboard wall adds an interactive, ever-changing element.
- Durable Flooring: Choose flooring that can withstand heavy play, spills, and constant foot traffic. Modern laminate or engineered wood floors offer both durability and style, a significant upgrade from worn carpet.
- Integrated Storage Systems: Utilize versatile storage units like the IKEA Trofast system, which allows for a mix of bins and shelves. This keeps toys organized and easily accessible for children, fostering independence in tidying.
- DIY Built-ins: Custom solutions like pipe shelves and integrated desks maximize space and provide tailored functionality. These can be designed to hold books, art supplies, and provide dedicated workspaces.
- Comfortable Seating: Include soft seating options such as a loveseat or bean bag chairs to create cozy reading nooks or areas for quiet play. Repurposing furniture from other rooms is a smart, budget-friendly approach.
- Personalized Decor: Incorporate elements that reflect your children’s interests, like framed prints or personalized letters spelling out “TOYS.” These small touches make the space truly theirs.
- Good Lighting: Ensure ample natural light, supplemented by overhead lighting (like can lights) to brighten the space and support various activities.
- Creative Accents: Hanging baskets for soft toys, colorful chairs, and playful storage baskets add character and further organization.
The goal is to create a multi-functional room that not only encourages play and creativity but also offers comfort, organization, and a sense of belonging. This playroom is a testament to how a little vision, some strategic DIY, and smart choices in decor and storage can transform an ordinary room into an extraordinary space for children to learn, grow, and make lasting memories.
Kids’ Playroom Source List
Paint Colors:
- Blue wall color- Nostalgia by Valspar
- Chalkboard paint- I used Rustoleum’s Chalkboard Paint
DIY Projects:
- DIY pipe shelves and desks
- How to update Ikea Trofast cabinets with gel stain
- DIY Hanging Toy Storage
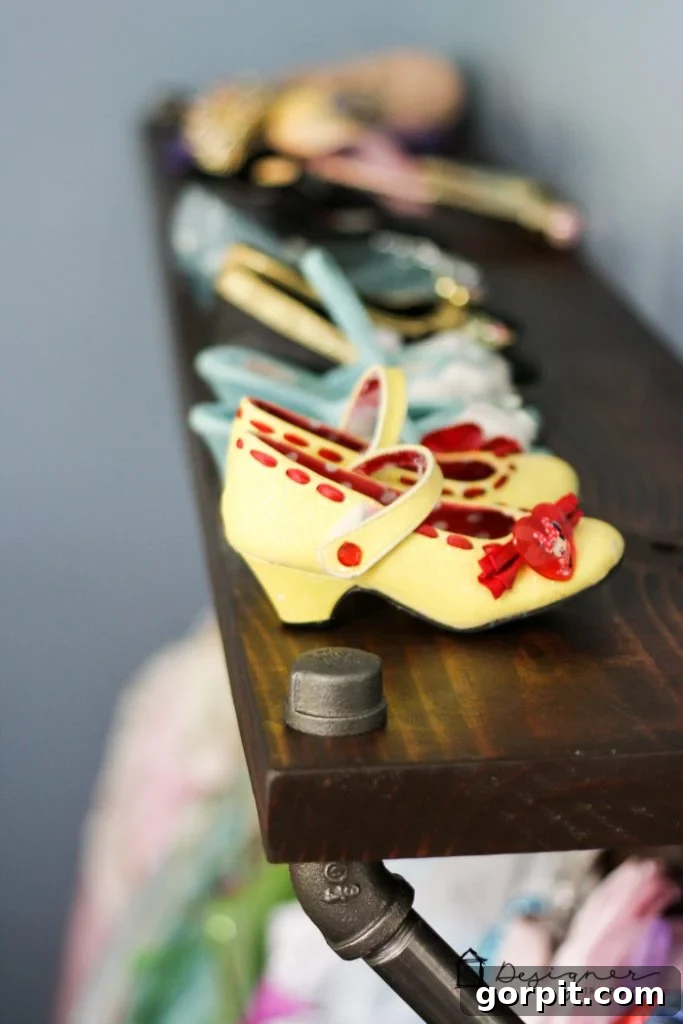
- DIY pipe shelf for dress-up clothes (tutorial coming soon)
Furniture & Accessories:
- White loveseat- We purchased ours at Ikea, but here is a similar one if you aren’t close to an Ikea.
- Red kids’ chairs- Again, we purchased ours at Ikea, but here are similar chairs if you aren’t close to an Ikea (actually, I like these better–they are a prettier red color)
- Hanging navy and ivory baskets
- Ikea Trofast Storage System- If you aren’t close to an Ikea, you can order them through Amazon here (they are less expensive at Ikea)
- Paper mache letters and clock that spell “TOYS” (I painted my letters black)
- Chevron Rug (as of the day I am writing this post, there is a GREAT deal on this rug on Amazon–see it here)
- Eric Carle prints hanging above loveseat
- Gray bean bag chairs
- Red metal storage basket- I purchased mine at Hobby Lobby, but these are similar (and are even cuter!)