
Transforming your home with new laminate or wood flooring is incredibly rewarding. Yet, a crucial detail often overlooked is how to seamlessly bridge the small, unsightly gaps between your fresh floors and existing baseboards. This guide will meticulously walk you through the process of installing quarter-round or shoe molding, providing that final, polished touch your floors deserve. We’ll cover everything from selecting the right molding to mastering intricate corner cuts and achieving a flawless finish on exposed ends and nail holes – secrets that will make your DIY project look professionally done.
If you’ve ever embarked on a flooring renovation project, the question of how to neatly conceal the expansion gap between your baseboards and the new floor has undoubtedly crossed your mind. The elegant and highly effective solution is quarter round molding – or shoe molding, if you prefer, a distinction we’ll explore shortly. Both options are budget-friendly, surprisingly simple for the average DIYer to install, and deliver an incredibly clean, professional aesthetic that elevates the entire room. This small addition makes a surprisingly significant impact, turning a good flooring installation into a truly exceptional one.
In our own home, we’ve personally installed quarter-round molding in numerous spaces, including our master bedroom, hallway, and throughout the downstairs, complementing our choice of laminate flooring. While new flooring itself can dramatically update a space, it truly shines only after the trim is in place. That unfinished gap can detract from even the most beautiful floors. We recently undertook a major kitchen renovation, which included new flooring in the kitchen, dining room, hallway, and foyer. With so much quarter round to install, it was the perfect opportunity to document the process step-by-step, ensuring you can confidently tackle this project yourself.
This post is proudly sponsored by Mohawk Consumer Products. Having collaborated with Mohawk for many years, I’ve developed a genuine appreciation for the quality and reliability of their products.
Understanding Quarter Round vs. Shoe Molding: Which Trim is Right for You?
Many people, myself included, often assume that quarter round and shoe molding are interchangeable terms for the same product. However, there’s a subtle but important distinction. Shoe molding typically measures 1/8″ round, meaning it resembles an eighth of a full round dowel. Quarter round, on the other hand, is 1/4″ round, making it slightly larger and more prominent than shoe molding.
Both types of molding are readily available in long lengths at most home improvement stores, usually found in the lumber section. These extended lengths are incredibly beneficial, allowing you to cover significant wall sections with a single piece, minimizing the number of joints needed. Should you require shorter segments, joining pieces is always an option. A key advantage of both quarter round and shoe molding is their inherent flexibility. This allows them to easily conform to minor inconsistencies in your floor – because let’s face it, no floor is perfectly level. This adaptability ensures a snug fit and a professional finish, even in older homes with settling foundations.
For our projects, we consistently opt for quarter round molding. Its slightly larger profile is better suited for covering the wider expansion gaps often required with extensive runs of laminate flooring. These gaps are crucial for accommodating the natural expansion and contraction of floating floors, preventing buckling and damage over time. While our preference leans towards quarter round for its ability to conceal larger gaps, the choice ultimately comes down to your aesthetic preference and the specific needs of your space. Regardless of which you choose, the installation techniques detailed in this guide apply equally to both types of molding, ensuring a successful outcome for your flooring trim project.
Conquering Corners and Exposed Ends: Simple Solutions for Trim Installation
The thought of tackling corners and finishing exposed ends (often called “returns”) can be a daunting prospect for many DIY enthusiasts, sometimes even deterring them from attempting trim installation altogether. But let me assure you, it’s far less intimidating than it appears! In this comprehensive guide, we’ll demystify the process of handling inside corners by teaching you the straightforward technique of coping. Additionally, we’ll reveal an ingenious method for cleanly finishing any exposed ends of your trim, eliminating the need for those fiddly, tiny return pieces that can be notoriously difficult to cut and fit perfectly. Prepare to achieve seamless, professional-looking results without the usual frustration!
Coping vs. Mitered Joints: Why Coping is Superior for Trim Work
While most DIYers are familiar with mitered joints for corners, the concept of a coped corner is often less understood, yet it’s a technique that can significantly elevate the quality of your trim work. In a coped corner, one piece of molding is cut straight at its end and installed directly against the wall. The second piece, which meets it in the corner, features a specialized coped cut. This cut is designed to perfectly trace the profile of the first piece, creating an interlocking joint that appears seamless.
The primary advantage of a coped corner lies in its ability to create a tight, gap-free fit, even in rooms where the walls are not perfectly square – which, let’s be honest, describes almost every room ever built. Unlike mitered joints, which can expose unsightly gaps when walls aren’t at a precise 90-degree angle, a coped joint remains snug and clean. We strongly advocate for coping not only for its superior finish but also because, despite its seemingly complex appearance, many find it to be an easier and more forgiving method than trying to achieve perfect mitered cuts on imperfect walls. The slight learning curve for coping pays dividends in the final result, offering a professional touch that is hard to achieve otherwise.
This post may contain affiliate links for your convenience. Click here to read my full disclosure policy.
How to Install Quarter Round Molding: A Comprehensive Step-by-Step Tutorial
Materials and Tools You’ll Need:
- Quarter Round or Shoe Molding: Measure your room’s perimeter to determine the total linear feet needed, adding a 10-15% buffer for cuts and mistakes.
- Paint or Stain: Choose a finish that complements your baseboards (paint) or flooring (stain). Staining to match floors is highly recommended for durability.
- Tape Measure: For precise measurements.
- Pencil: For marking cut lines accurately.
- Compound Miter Saw: Essential for straight and angled cuts. Alternatively, a hand saw and miter box can be used for smaller projects.
- Coping Saw: An affordable and indispensable tool for creating perfect coped joints.
- Patchal Putty: Used to fill nail holes and minor imperfections, choose a color that blends with your stained molding.
- Mohawk Pro-Mark Wood Touch-up Marker: Perfect for blending cut edges and enhancing the finished look.
- These markers are incredibly versatile; you can also use them to touch-up wood furniture. If you anticipate frequent use, the twelve-pack set offers great value.
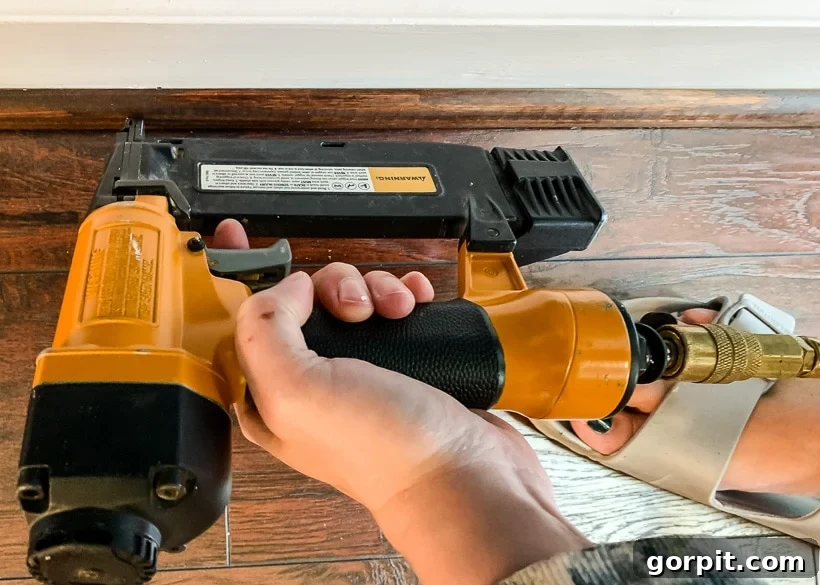
- Brad Nailer: For efficient and secure attachment of the molding. We highly recommend this particular model for its performance and ease of use, which was instrumental in this project.
Step 1: Pre-Finish Your Molding for Lasting Beauty
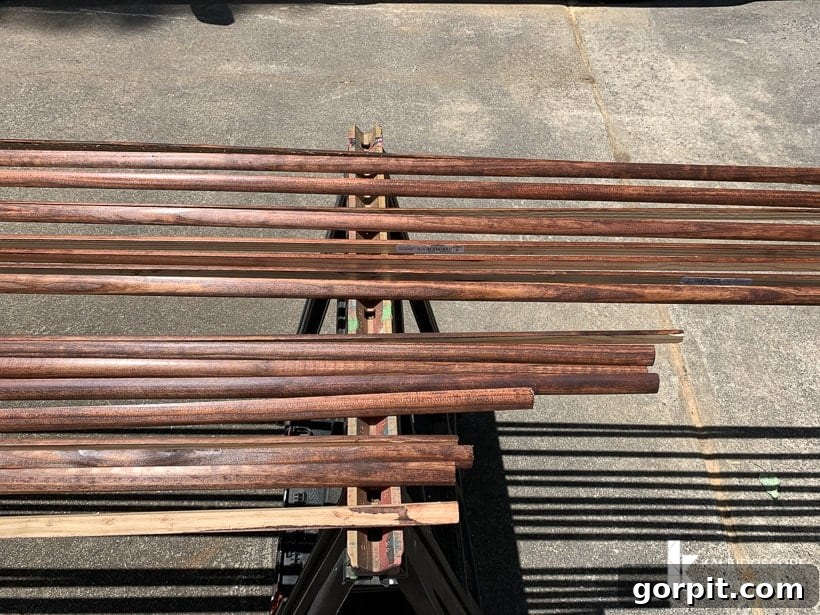
Before you even consider fastening your quarter-round molding to the wall, the crucial first step is to pre-finish it. This means painting or staining your molding pieces before installation. We’ve personally experienced both painted and stained quarter round in our home, and I wholeheartedly endorse staining your molding to match your existing floors. The reasoning is simple: painted molding, despite your best efforts at cleanliness and careful living, inevitably accumulates chips, scuffs, and dirt over time, quickly looking worn and tired. Stained molding, however, offers remarkable durability and maintains its fresh appearance year after year, seamlessly blending with your flooring for a cohesive and long-lasting finish.
When I initially shared our decision to stain our quarter round on my Instagram stories, approximately half of my audience expressed surprise, questioning why we wouldn’t paint them. Yet, after elaborating on the superior longevity and resilience of stained molding, many quickly resonated with the argument, often exclaiming, “Yes! My painted quarter round looks absolutely horrible!”
While there is one notable advantage to painting your quarter round – it can visually extend the height of your baseboards, making them appear taller and more substantial – the benefits of staining far outweigh this aesthetic preference for us. We prioritize avoiding the inevitable chips and accumulation of dirt that come with painted trim near floor level, choosing the enduring beauty and low maintenance of stained molding instead.
Step 2: Measure with Precision and Make Your Initial Cuts
The key to seamless trim installation is to work methodically, measuring and marking one piece at a time. Begin by taking a precise measurement of the first section of wall you intend to cover. Transfer this length onto your quarter-round molding, then use your miter saw to make a clean, straight cut. This initial piece will be installed with its straight-cut end butting directly into the corner. Remember, for inside corners, we are employing the coping technique, which means the first piece does not require an angled cut where it meets the corner.
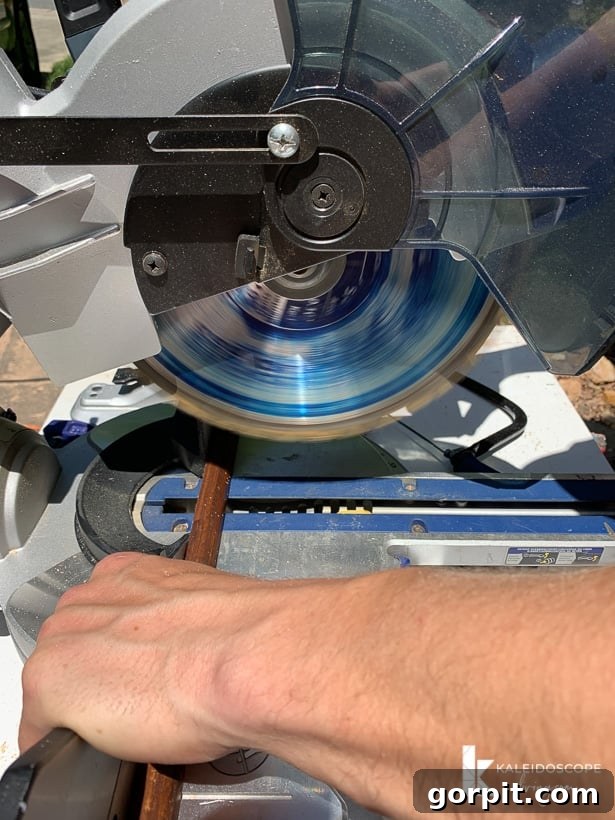
Next, measure the entire length of the adjacent wall where your second piece of molding will meet the first in the corner. Mark this length on your quarter-round, and again, use your miter saw to make a straightforward, straight cut. This strategic approach ensures that each piece is perfectly sized before you proceed to the more intricate coping step.
Step 3: Mastering the Coped Inside Corner
With your second piece of molding cut to length, it’s time to create the coped joint. Using your coping saw, carefully cut the end of this molding piece so it perfectly mirrors the profile of the first piece already placed in the corner. This “interlocking” cut will ensure a tight, professional fit, even if your walls aren’t perfectly square.
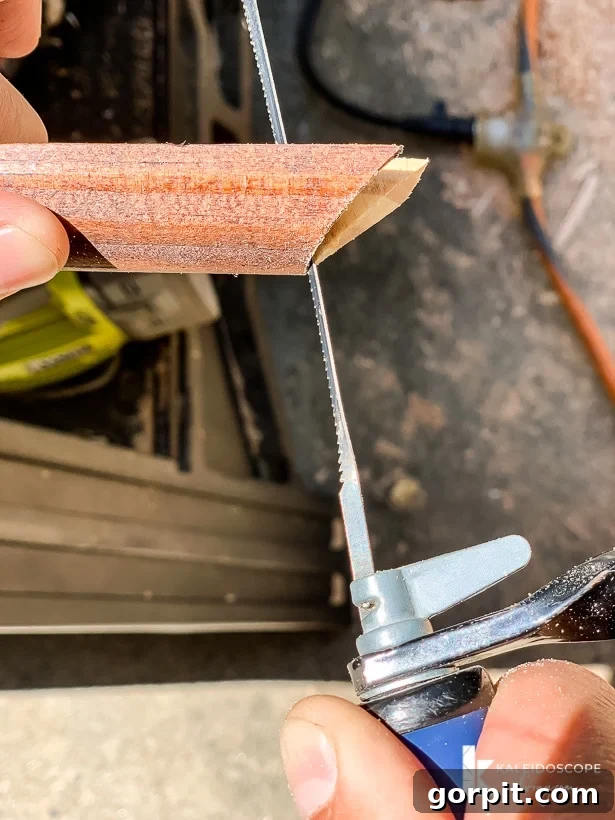
If you’re new to coping, don’t be intimidated! It’s a skill that’s surprisingly easy to pick up, and the results are incredibly rewarding. To help you get started and visualize the process, I highly recommend watching the instructional video below. It offers a clear, visual guide that will boost your confidence and technique.
Step 4: Dry Fit Both Pieces for a Perfect Alignment
Before committing to nails, it’s absolutely essential to perform a “dry fit.” This means placing both molding pieces, the straight-cut one and the coped one, into their respective positions in the corner without any adhesive or fasteners. This is your opportunity to meticulously inspect the fit. Check that the lengths are accurate and, most importantly, that the coped joint is tight and flush against the first piece. This step allows you to make any minor adjustments with your coping saw or sandpaper if needed, ensuring a flawless corner before permanent installation. Don’t skip this – it saves a lot of headaches later!
Step 5: Secure the First Two Pieces with a Brad Nailer
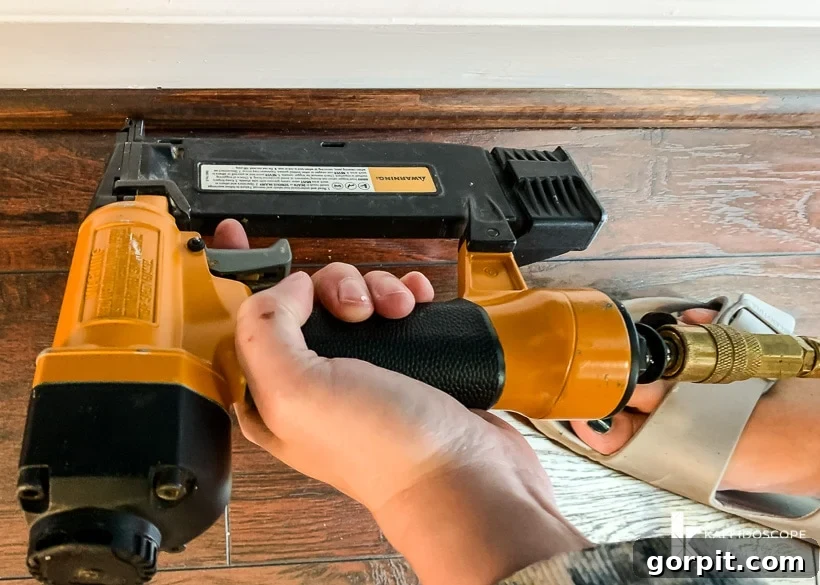
Once you’ve confirmed a perfect dry fit, it’s time to permanently secure your molding. Using your brad nailer, begin by nailing the first two pieces into place. For optimal results, hold the quarter-round trim firmly against the floor, ensuring there are no gaps between the molding and the flooring surface. When firing the brad nailer, angle it slightly downward. This technique helps direct the nails into the baseboard rather than the subfloor, providing a more secure hold and preventing potential damage to your new flooring.
Space your nails approximately every 18 inches along the length of the molding. Crucially, always include nails close to each end of every piece. This prevents the ends from lifting or pulling away from the wall over time, maintaining that crisp, finished look. Work carefully but confidently, ensuring each nail is driven flush with the surface of the molding.
Step 6: Systematically Install Molding Throughout the Room
With your first corner expertly installed, continue working your way around the room, following the same methodical process: measure, cut, dry fit, and nail. For all inside corners, consistently use the coping technique you’ve just mastered. This ensures a consistent, tight fit throughout your space. When you encounter any outside corners – where the wall projects outwards – you will need to switch to a mitered joint. This typically involves cutting two pieces at a 45-degree angle to meet perfectly at the 90-degree outside corner. Remember to take careful measurements for these sections and always dry fit before nailing to achieve the best possible results. Maintain your 18-inch nailing intervals and secure the ends of each piece for long-term stability.
Step 7: Achieve a Flawless Finish on Exposed Ends (The “Joe Special”)
A common challenge in trim installation is how to neatly finish a piece of molding that terminates abruptly, rather than turning another corner. Many traditional methods involve cutting small “returns,” which are tiny, angled pieces designed to wrap the end of the molding. While effective, these can be notoriously difficult to cut accurately and install cleanly due to their small size.
We’ve developed a much simpler, yet equally polished, method for exposed ends that we affectionately call “the Joe special” in our household. I’m entirely serious when I tell you I’ve uttered phrases like, “This piece needs to be 4 inches long with the Joe special at the end.” This technique streamlines the finishing process without compromising on aesthetics.
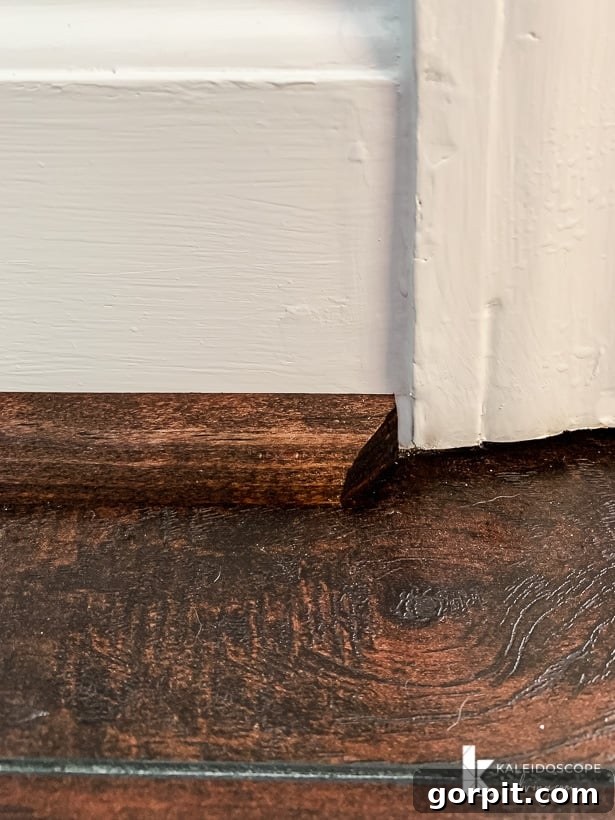
The “Joe Special” involves making a straight cut at the very top edge of the quarter-round molding, then transitioning into a subtle angled cut towards the bottom. This creates a beautifully tapered end that looks intentional and finished without the need for additional, tiny pieces. Here’s a visual of what it looks like:
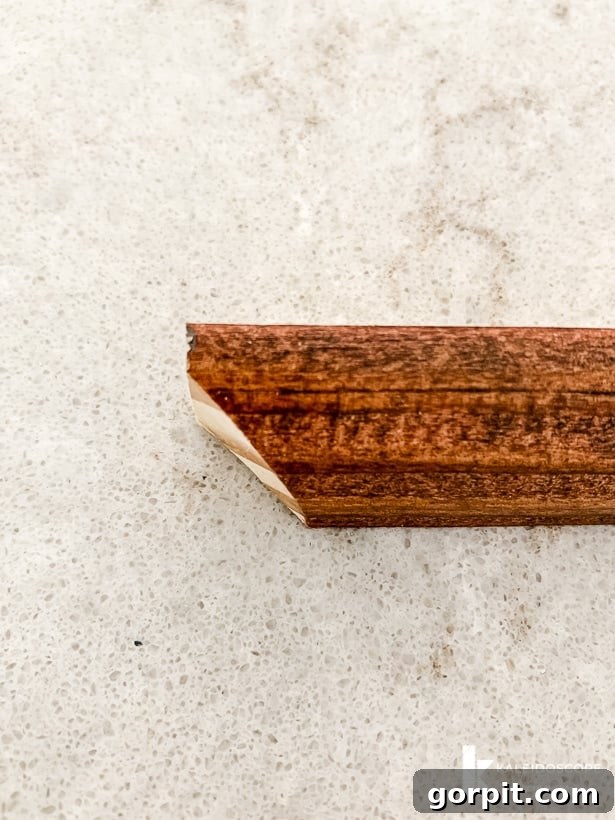
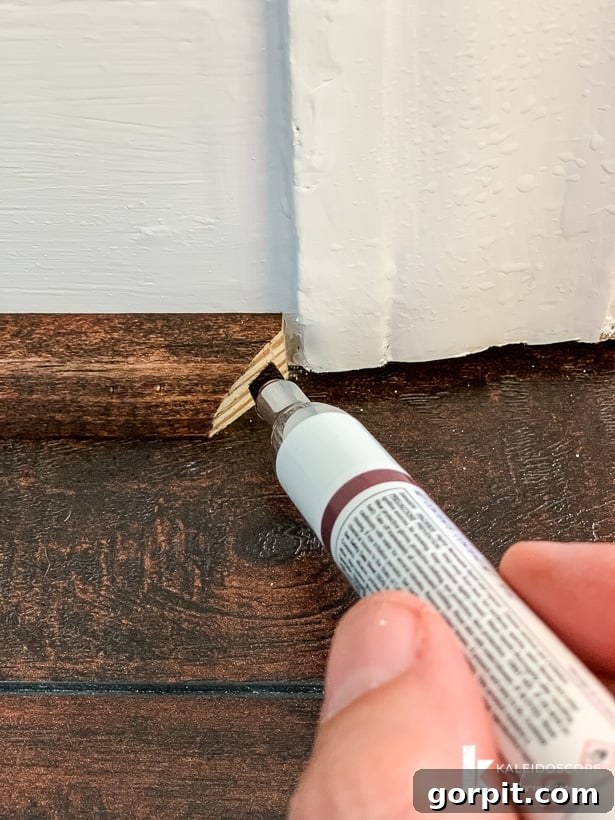
Once these specially cut pieces with exposed ends are securely nailed into place, I use my Mohawk Pro-Mark Wood Touch-up Marker to meticulously stain the raw, cut edges. This touch-up marker is perfectly color-matched to the molding, allowing the exposed end to blend seamlessly with the rest of the trim. The result is a polished, professional finish that is significantly easier and quicker to achieve than fiddling with tiny return pieces, saving you time and frustration while delivering an impeccable look.
Step 8: The Finishing Touch – Seamlessly Filling Nail Holes
The final step in achieving a truly professional finish for your quarter-round molding is to meticulously fill all nail holes and any other minor imperfections. Because we recommend staining your molding, we utilize Patchal Putty. This specialized wood putty comes pre-colored to match a variety of wood stains, making this step incredibly fast and straightforward. The key is to select a putty that closely matches your chosen stain color for an almost invisible repair.
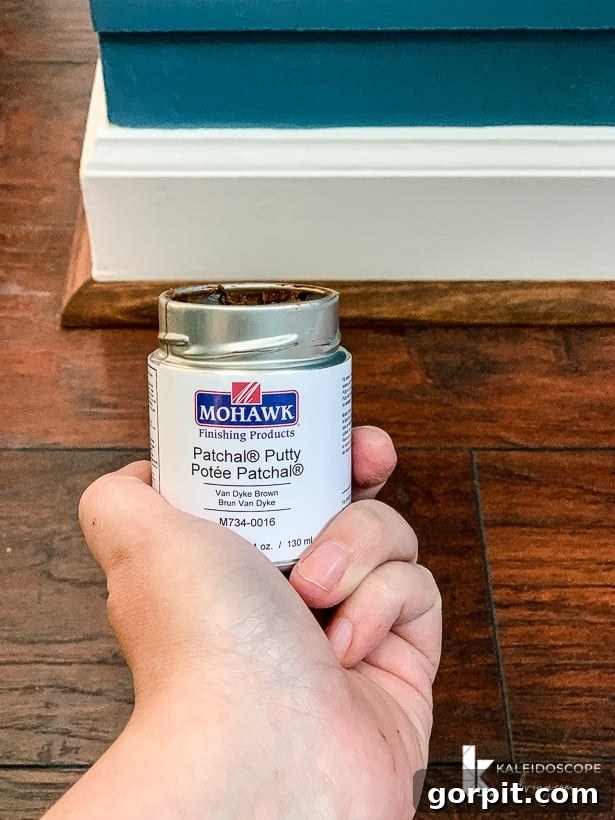
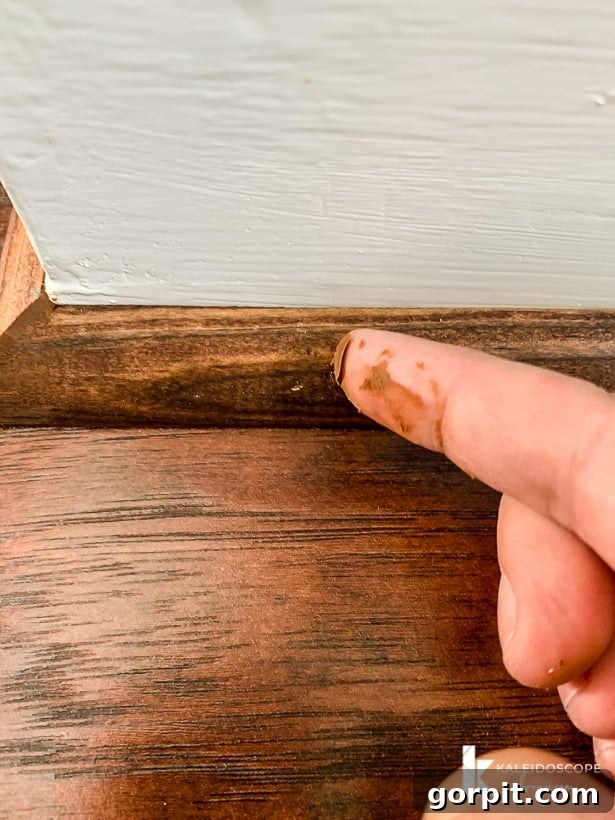
Applying the putty is simple: just use your finger to dab a small amount over each nail hole. Press the putty firmly into the hole, then wipe away any excess with your finger, ensuring the surface is smooth and flush with the molding. The pre-colored nature of the putty means it blends beautifully with the stained wood, virtually disappearing once dry. This small but significant detail creates a flawless, uninterrupted appearance, enhancing the overall elegance of your newly installed trim.
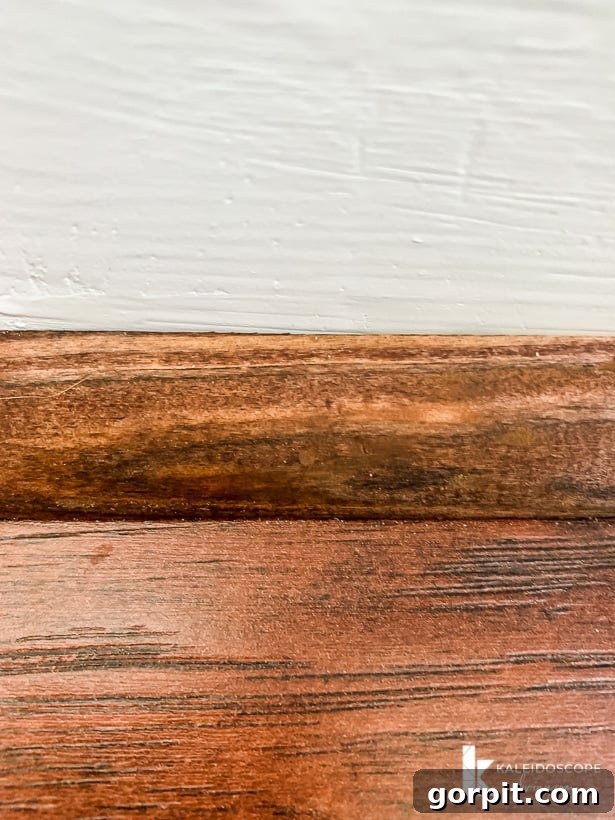
And just like that, you’ve completed a seemingly complex home improvement project! While the steps might seem numerous when laid out, the process flows surprisingly quickly. We managed to install all the quarter-round molding throughout our kitchen, dining room, hallway, and foyer in a single afternoon. The transformation is genuinely glorious!
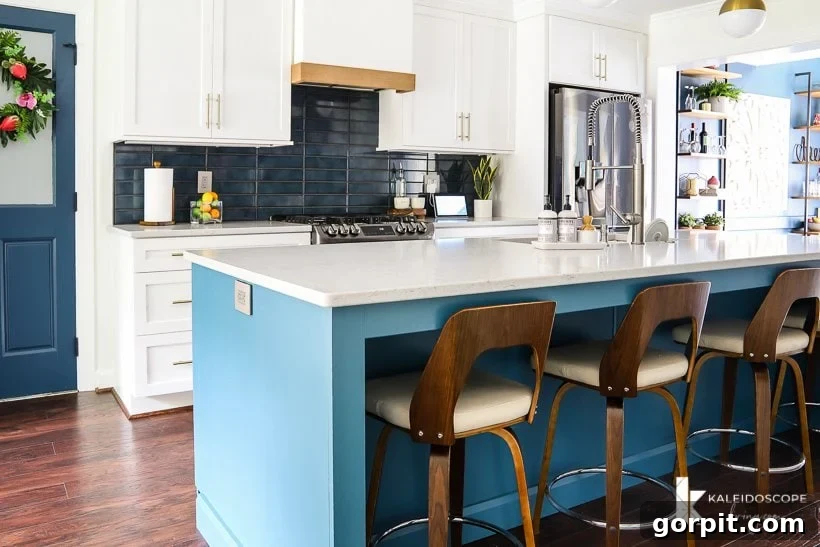
Having the same beautiful flooring seamlessly flow across the entire first floor of our house has made an incredible difference. The quarter-round molding provides the perfect transition and finished look. Below are a few glimpses of our kitchen and dining room after the quarter-round installation was complete, showcasing the impact of this final detail.


Before you embark on your own quarter-round installation journey, be sure to explore my FREE design guides. They’re packed with valuable insights and tips to help you craft spaces you truly adore! Simply subscribe now, and you’ll receive a password to access a convenient digital library filled with inspiration.
Happy DIYing!

Frequently Asked Questions About Quarter Round Molding Installation
- How do I choose between quarter round and shoe molding?
The choice often comes down to personal aesthetic preference and the size of the gap you need to cover. Quarter round is slightly larger (1/4″ round) and can conceal larger expansion gaps, which is common with floating floors like laminate. Shoe molding is smaller (1/8″ round) and offers a more delicate, subtle look. Both are installed using the same methods.
- Is it better to paint or stain quarter round molding?
While painted molding can visually extend baseboards, stained molding is generally recommended, especially when matching wood or laminate floors. Stained molding is significantly more durable and less prone to chipping, scuffing, and showing dirt over time, maintaining a fresh look for years compared to painted trim near floor level.
- What is coping and why is it preferred over mitering for inside corners?
Coping is a technique where one piece of trim is cut straight, and the adjoining piece is precisely cut to fit the profile of the first. It’s preferred for inside corners because it creates a perfectly tight joint even when walls are not perfectly square, which is very common. Mitered joints, on the other hand, can reveal unsightly gaps in imperfect corners.
- How do I handle outside corners when installing quarter round?
For outside corners, a mitered joint is the appropriate technique. This typically involves cutting two pieces of molding at a 45-degree angle so they meet seamlessly at the 90-degree corner. Always dry fit these pieces to ensure a snug and clean connection before nailing them.
- How far apart should I place nails when installing quarter round?
Space your nails approximately every 18 inches along the length of the molding. It’s crucial to also place nails close to each end of every piece to prevent them from lifting or detaching over time. Angle your brad nailer slightly downwards to drive nails into the baseboard, not the floor.
- What’s the best way to hide exposed ends of quarter round without coping?
Instead of cutting small, tricky “returns,” you can use a technique like the “Joe Special.” This involves making a straight cut at the top of the molding, transitioning into a subtle angled cut towards the bottom, creating a tapered, finished look. After installation, use a wood touch-up marker to stain the raw cut edge for a seamless blend.