
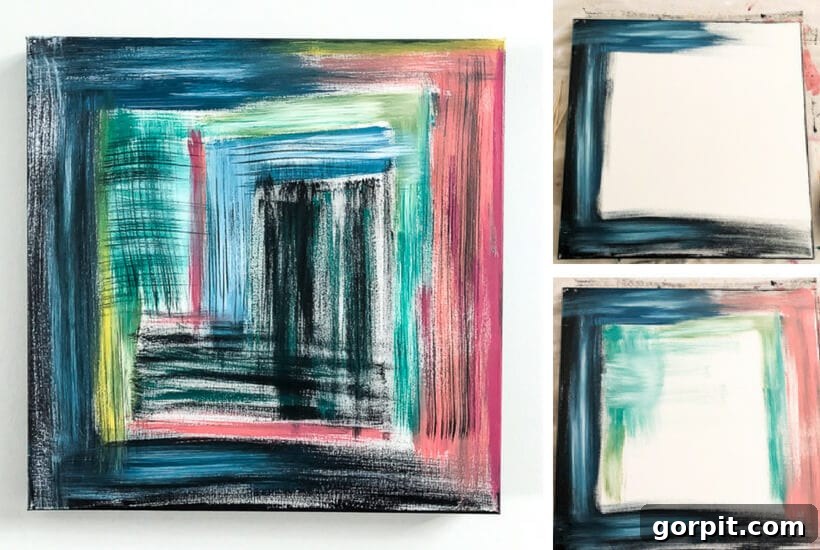
Unlock Your Inner Artist: Create Stunning DIY Abstract Canvas Art in Under 20 Minutes (No Artistic Skill Required!)
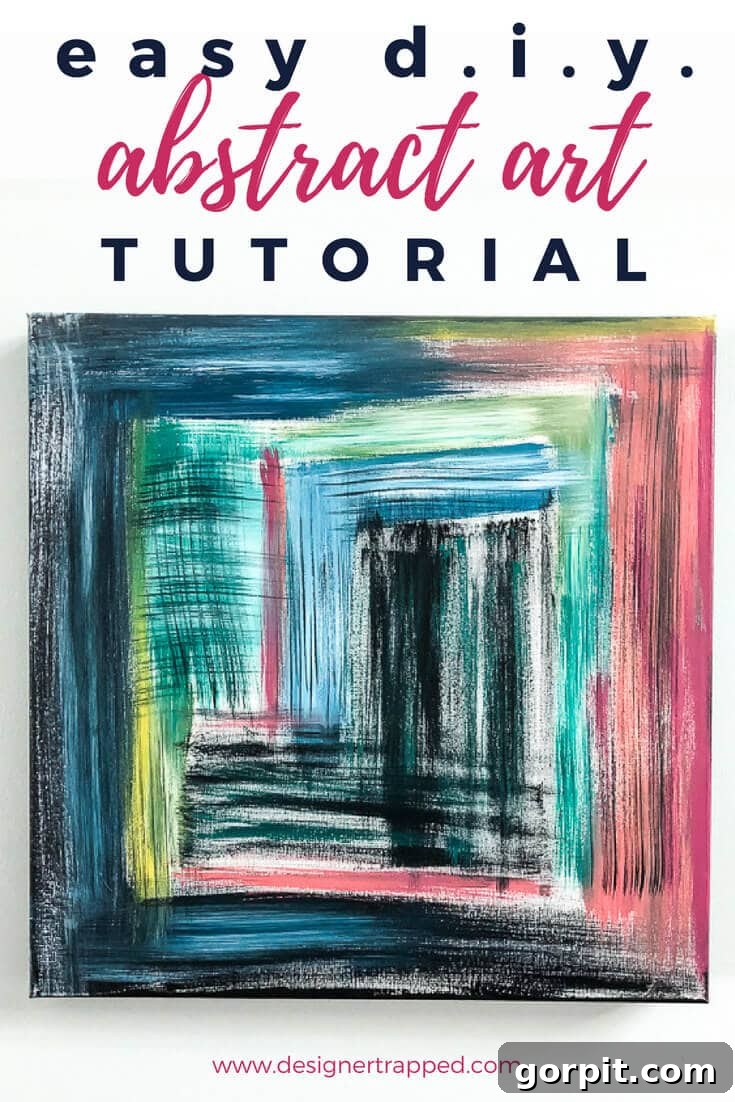
Are you endlessly scrolling through platforms like Instagram, captivated by the vibrant colors and intriguing forms of abstract canvas art? You’re not alone! The allure of modern abstract pieces is undeniable, transforming any space with their unique charm and dynamic energy. As someone who deeply appreciates color and expressive abstract paintings, my feeds are often filled with the incredible works of talented artists. For a long time, I considered investing in an original abstract piece for our home, only to quickly realize that the price tag was beyond our current budget. While I firmly believe these original artworks are worth every penny, and I absolutely plan to acquire pieces from independent artists in the future, our current focus is saving for a major kitchen renovation. This means splurging on artwork simply isn’t feasible right now.
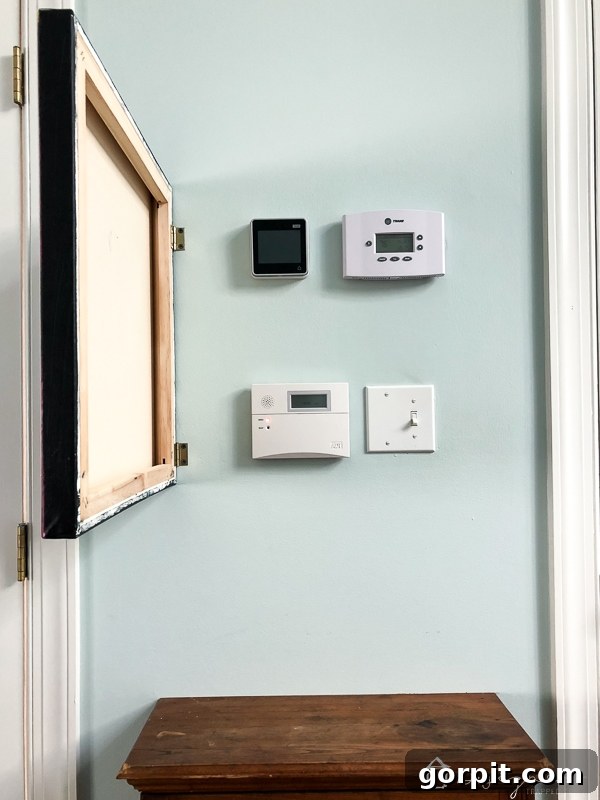
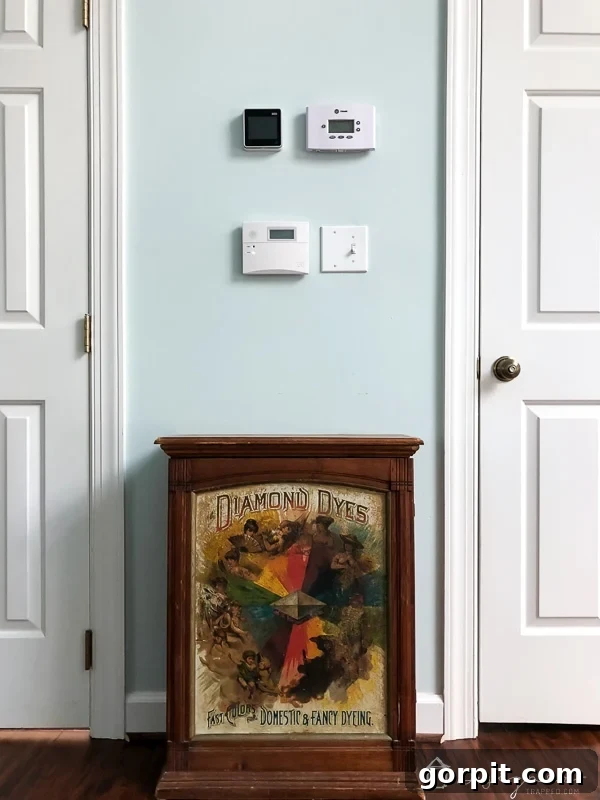
However, a particular spot in our bedroom had been a constant source of frustration. It’s a small, awkward area situated between our bathroom and the bedroom entrance, which unfortunately became the designated zone for all our electronic eyesores. Think alarm pad, the skylight control panel, and the thermostat – all clustered together, disrupting the visual harmony of the room. It was far from aesthetically pleasing, and I knew a creative solution was needed to reclaim the beauty of our private sanctuary.
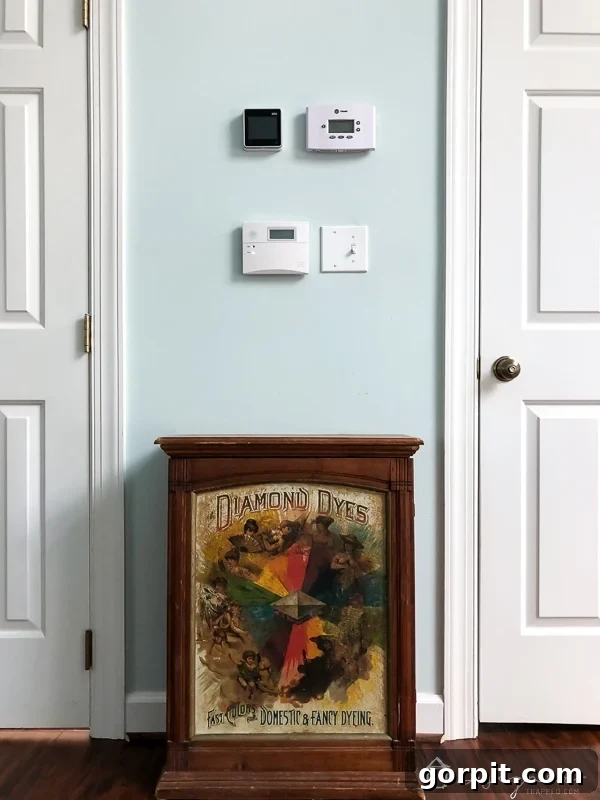
That’s when inspiration struck: why not create my own abstract canvas art? Not only would it provide a beautiful focal point, but with a clever installation using hinges, it could also serve to discreetly hide those bothersome electronic devices. Today, I’m thrilled to share exactly how I achieved this dual-purpose DIY project. This abstract painting technique is incredibly simple, making it accessible to anyone, regardless of their artistic background. I promise, if I, someone with absolutely no formal artistic training, can do this, then you most certainly can too! While I’m certain this piece wouldn’t pass muster with any professional art critic, I absolutely adore the outcome, and ultimately, that’s what truly matters when it comes to personalizing your home.
This post contains some affiliate links for your convenience (which means if you make a purchase after clicking a link I will earn a small commission but it won’t cost you a penny more)! Click here to read my full disclosure policy.
Why Choose DIY Abstract Canvas Art for Your Home?
Beyond the simple joy of creation, opting for DIY abstract art offers a multitude of benefits for homeowners and renters alike. It’s a fantastic way to personalize your space and address common decor challenges without breaking the bank. Here’s why you should consider diving into this rewarding project:
- Budget-Friendly Decor: Original abstract art can be a significant investment. Crafting your own allows you to achieve a high-end look at a fraction of the cost, making stylish home decor accessible to everyone.
- Unleash Your Creativity: Abstract art is incredibly forgiving. There are no “mistakes,” only unique expressions. This freedom makes it perfect for beginners to experiment with colors, textures, and brushstrokes without intimidation.
- Perfect Customization: Unlike store-bought art, a DIY piece can be perfectly tailored to your existing decor. You get to choose the exact color palette, size, and even the overall mood to complement your room’s aesthetic seamlessly.
- Therapeutic and Relaxing: The act of painting can be a wonderfully calming and meditative experience. It’s an opportunity to unwind, focus on the process, and enjoy a mindful creative outlet.
- Functional Decor Solutions: As demonstrated in this tutorial, abstract canvas art isn’t just for beauty. It can brilliantly conceal unsightly elements like thermostats, alarm panels, or even electrical boxes, turning a functional necessity into a decorative asset.
- A Sense of Accomplishment: There’s immense satisfaction in creating something beautiful with your own hands. Every time you look at your finished piece, you’ll be reminded of your creativity and skill.
DIY Abstract Canvas Art Tutorial: Your Step-by-Step Guide
Essential Materials Needed:
Gathering your supplies is the first exciting step in bringing your abstract vision to life. The beauty of this project lies in its simplicity and the minimal tools required.
- Acrylic Paint in a diverse range of colors. While you can certainly mix paints to achieve custom shades, it’s advisable to start with colors that are already close to your desired palette. Acrylics are ideal for beginners due to their quick drying time, vibrant pigments, and easy cleanup with water. Consider a main color that anchors your piece, along with several complementary or contrasting accent colors. Don’t forget white and black for lightening, darkening, and mixing.
- A Stretched Canvas of your preferred size. The dimensions of your canvas will largely depend on the space you intend to fill or, in my case, the size of the items you wish to conceal. For effectively covering protruding wall fixtures like an alarm pad or thermostat, I specifically needed a 20 x 10 inch canvas with a depth of 1.5 inches to ensure it fully cleared and covered these elements. If you’re not trying to hide anything, a thinner canvas will work perfectly.
- A selection of Paint Brushes. A variety of sizes will allow for different effects. I found that a 3-inch, 2-inch, and 1-inch brush offered enough versatility for broad strokes, medium details, and fine textures. Inexpensive synthetic brushes are great for acrylics and are perfect for this project.
- Simple mixing tools: Use paper plates or a dedicated paint palette for blending your colors. Toothpicks or small stirring sticks are perfect for detailed mixing.
- A cup of water for rinsing brushes and a few paper towels for drying them.
- (Optional but Recommended) A drop cloth or old newspaper to protect your workspace.
The Creative Process: Step-by-Step Instructions
Now, let’s dive into the fun part! Remember, there’s no right or wrong in abstract art. Let your intuition guide you.
1) Prepare Your Canvas: Painting the Edges and Establishing Your Main Color.
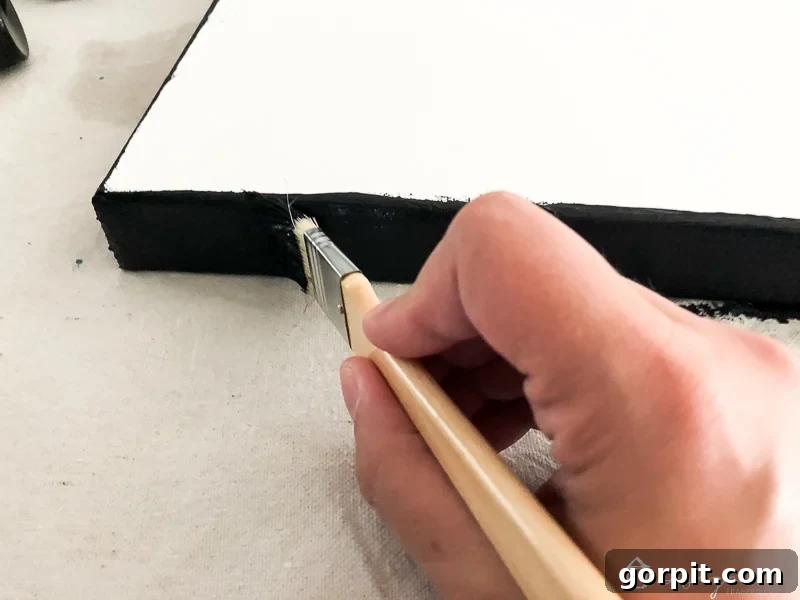
Begin by mixing your primary color. I started by combining royal blue and a touch of black to achieve a rich, dark navy blue – a perfect deep tone for the desired aesthetic. This navy would serve as the foundational color for my piece. Using this custom navy, carefully paint the edges (or “sides”) of your canvas. Painting the edges gives your finished artwork a professional and polished look, ensuring that it appears complete from all angles, not just head-on. This initial step helps to frame your artwork beautifully.
2) Embracing Abstraction: Filling Your Canvas with Color and Texture.
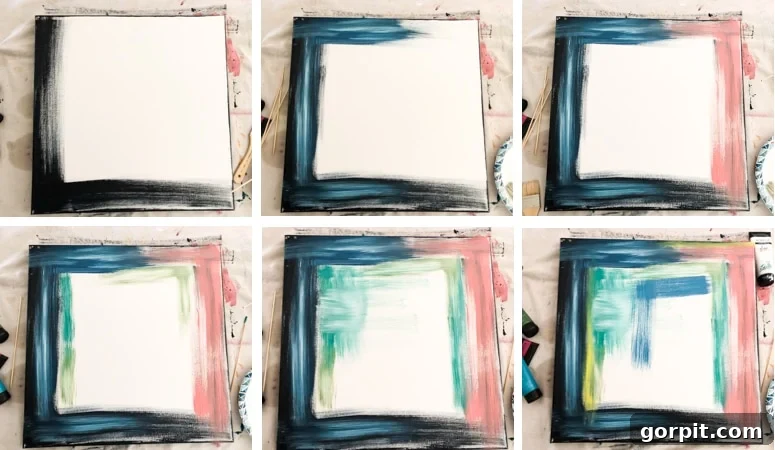
With the edges complete, it’s time to bring the main surface of your canvas to life. I used a 3-inch brush to apply broad strokes of the navy blue along two opposing sides of the canvas. This established navy as a dominant “main” color, providing a strong visual anchor for the lighter colors I planned to layer over it. The beauty of starting with a dark base is its versatility – you can always build lighter colors on top to create depth and contrast.
From this point on, I truly had no rigid plan, which is the essence of abstract painting. My main goal was to mix additional colors that harmonized with the existing palette of our bedroom, particularly drawing inspiration from a print we have hanging above our bed. Using a combination of straight brush strokes and precise right angles, I began filling the canvas with various hues, alternating between my 3-inch, 2-inch, and 1-inch brushes. The key here was to use a relatively dry brush. This technique allows the raw white of the canvas to peek through in places, creating a captivating sense of texture and luminosity rather than a flat, opaque finish. Where I might have applied a bit too much paint or a color felt too intense, I simply squirted a small amount of white paint onto the area and gently worked it in with my brush. This softened the hue and lightened the area, allowing for spontaneous adjustments and fostering a natural layering effect. Don’t be afraid to experiment with your strokes – short, long, criss-cross – let the paint guide you. Observe how the colors interact and build upon one another, creating unexpected beauty.
You can see the organic progression of the painting below as it began to take shape:
This image captures the canvas once it was completely filled with the initial layers of color. At this crucial stage, it’s important to allow the artwork to dry thoroughly. Acrylics dry relatively quickly, but ensuring full dryness prevents smudging or mixing unintended colors in the next step.
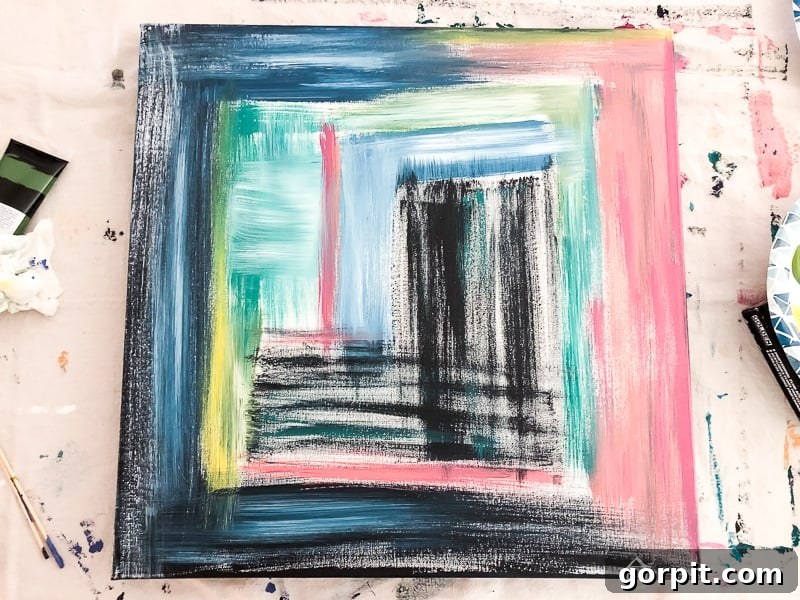
3) Adding Depth and Character: The Finishing Touches.
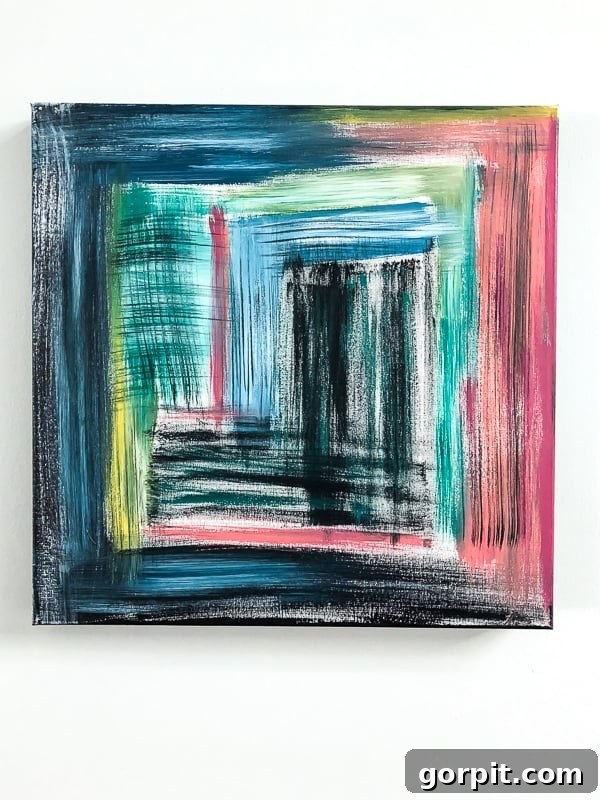
Once the initial layers were completely dry, I revisited certain areas that felt a little too “clean” or stark. With a very dry brush and just a tiny amount of the navy paint, I created subtle “cross-hatch” marks and delicate dry brush textures. This technique involves barely loading your brush with paint and dragging it lightly across the surface, allowing only fragmented lines of color to appear. These marks add incredible depth, visual interest, and a sense of history to the painting, giving it a more nuanced and “finished” artistic quality. The final result was a captivating piece that perfectly complemented our bedroom’s color scheme.
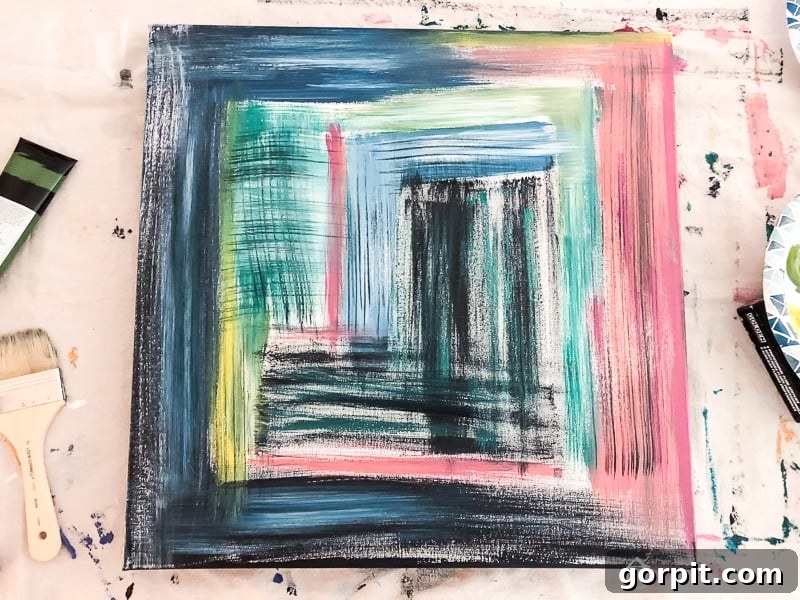
As I said before, my DIY abstract painting may not win any prestigious art awards, but the immense satisfaction came from being able to mix my own custom colors. This allowed me to perfectly match the unique color palette of our master bedroom, resulting in a truly harmonious and personalized piece of decor.
4) Integrating Your Art: Clever Installation with Hinges.
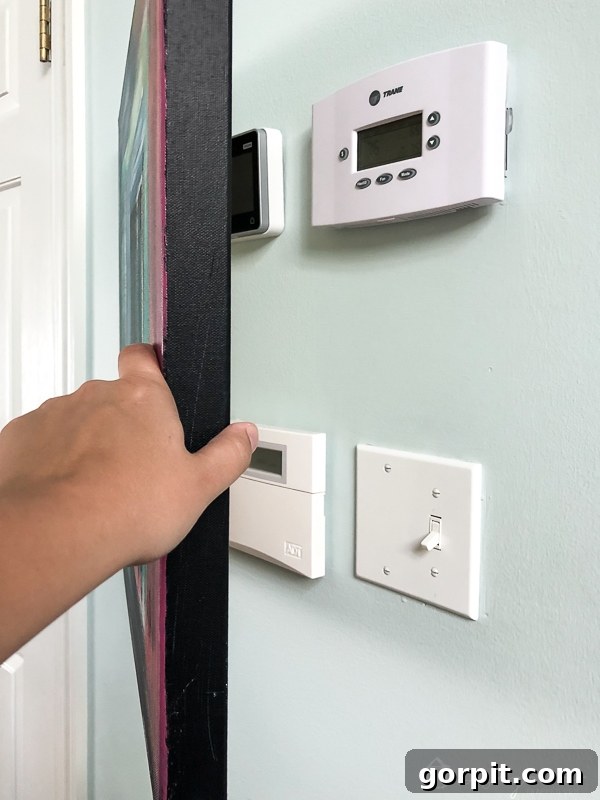
With the painting fully dry and perfected, the final step was its installation. To hide the wall’s unsightly elements, I simply attached the canvas to the wall using small, discreet hinges. This method is incredibly easy and surprisingly effective. Just ensure your hinges are strong enough to support the weight of your canvas.
**IMPORTANT NOTE: If you are using your canvas to cover a thermostat, it’s crucial to consider its functionality. Thermostats need proper air circulation to accurately read the room temperature. I highly recommend drilling a few small, inconspicuous holes along the top and sides of the canvas. This will allow for better airflow and ensure your thermostat continues to function correctly without being obstructed. You can make these holes small and place them strategically so they are barely noticeable but still effective.**
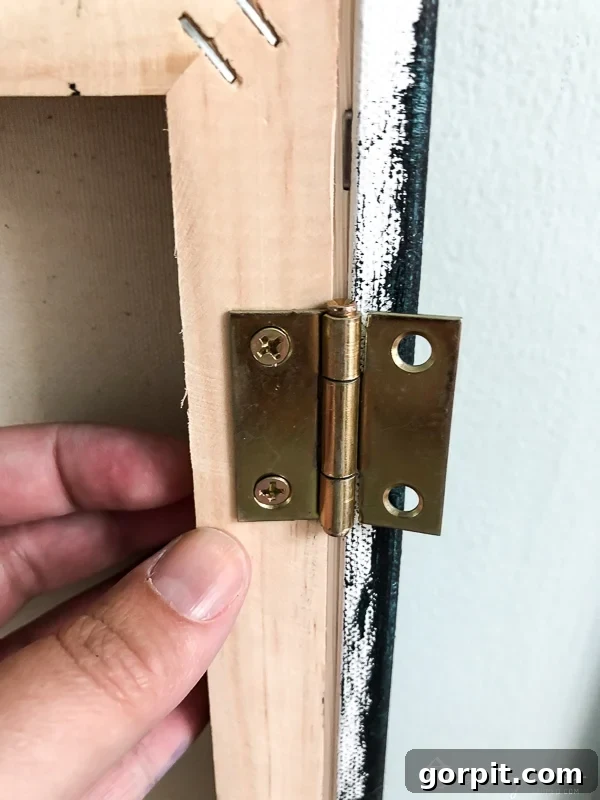
Now, our bedroom boasts a beautiful abstract canvas, and simultaneously, those electronic eyesores are completely hidden. It’s a double win for both aesthetics and functionality! The hinged installation means it’s effortless to swing the art open whenever we need to set the alarm, operate our skylights, or adjust the thermostat. This innovative approach ensures that practical necessities don’t detract from your home’s carefully curated design.
Much better, don’t you think? The transformation is quite remarkable, turning an eyesore into a feature.
Caring for Your DIY Masterpiece
Once your DIY abstract canvas art is complete and proudly displayed, a little care will ensure it remains vibrant for years to come. Acrylic paints are quite durable, but these tips can help preserve your creation:
- Dust Regularly: Use a soft, dry cloth or a feather duster to gently remove any accumulated dust from the surface of your canvas. Avoid abrasive materials that could scratch the paint.
- Avoid Direct Sunlight: While acrylics are more fade-resistant than some other paints, prolonged exposure to direct sunlight can still cause colors to dull over time. Position your artwork in a spot where it’s not constantly bathed in harsh UV rays.
- Gentle Cleaning: If a smudge or mark appears, very lightly dampen a soft cloth with plain water (no harsh chemicals!) and gently wipe the affected area. Test a small, inconspicuous spot first.
- Consider a Varnish (Optional): For added protection and to enhance the colors, you can apply a clear acrylic varnish once the paint has completely cured (which can take a few days to a week). Varnishes come in matte, satin, or gloss finishes, allowing you to choose the look you prefer.
 |
 |
Ready to Transform Your Space?
Creating your own abstract canvas art is a rewarding endeavor that proves you don’t need years of training or innate artistic talent to make something beautiful. It’s about embracing the process, playing with color, and adding a unique, personal touch to your home. Whether you’re looking to fill a blank wall with a custom piece, introduce a burst of color, or cleverly conceal those everyday eyesores, this DIY abstract painting project offers an accessible and satisfying solution. So grab some paints and a canvas, and start expressing your inner artist today!
Before you head out, be sure to grab my free guide on how to design a room you love. It’s packed with even more tips and tricks to help you create a home that truly reflects your style and personality.
