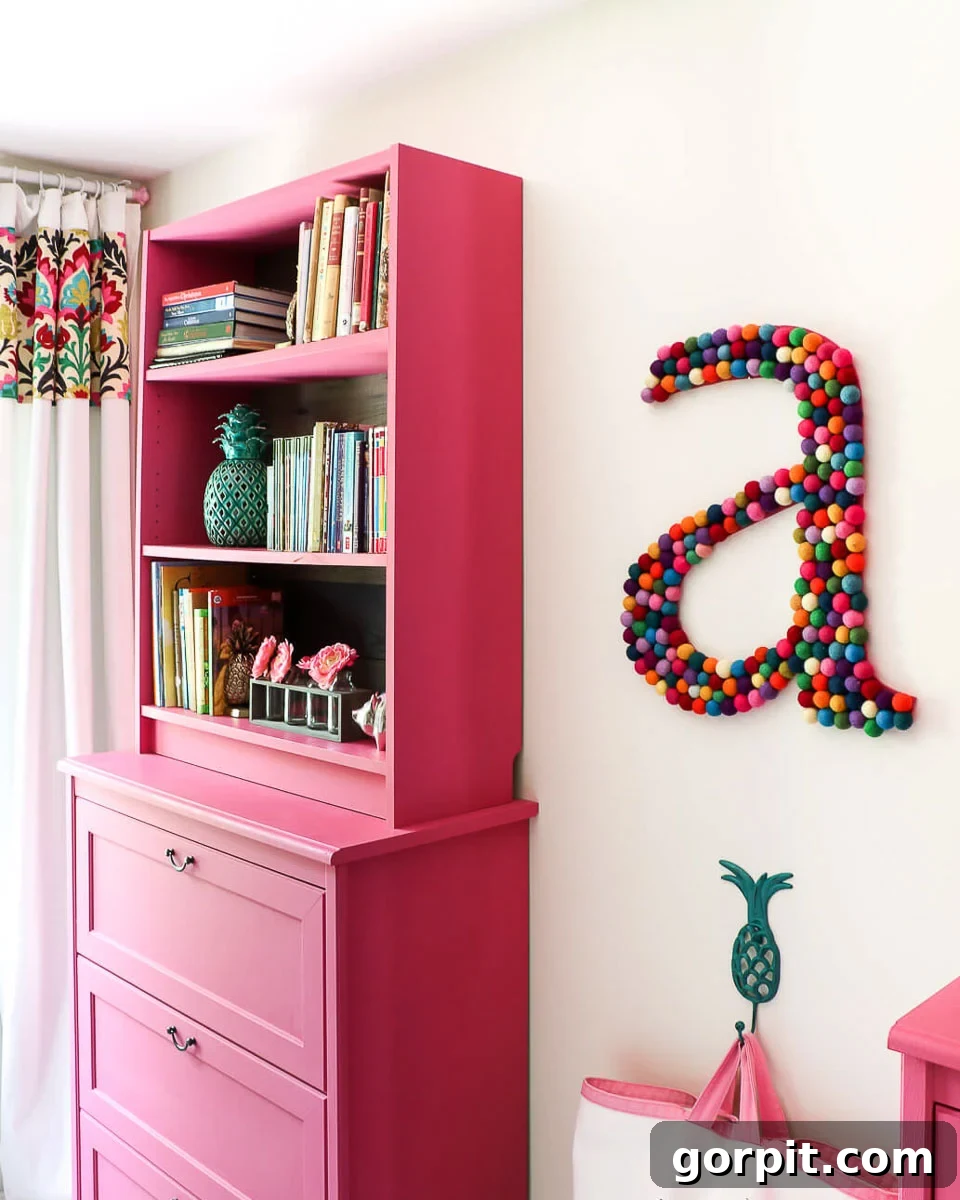
As a dedicated DIY enthusiast since 2002, I’ve tackled countless painting projects over the past 22 years. From floors to rugs, countertops to an endless array of IKEA furniture, my paintbrush has seen it all. I still vividly recall the cringe-inducing moment when I attempted to paint my very first piece of IKEA laminate furniture, watching in dismay as the paint immediately beaded up and refused to adhere. It felt like a setback, but my persistence paid off. I’ve since perfected a method that ensures paint adheres beautifully and durably to everything from IKEA Billy bookcases to a humble Lack table. The best part? The results are not only stunning but also incredibly long-lasting!
If you’ve ever dreamt of personalizing your IKEA furniture with a splash of color but were daunted by the laminate surface, you’re in the right place. This comprehensive, step-by-step tutorial will empower you to transform any IKEA or laminate furniture piece with confidence. And here’s the vital trick for success: it doesn’t involve sanding! This simple yet crucial step is the key to achieving a flawless, durable finish, and you’ll be amazed at how easy it truly is.
IKEA furniture holds a special place in many homes, mine included. Its unbeatable prices make it a go-to for furnishing and decorating on a budget, and the versatility of many pieces allows for incredible customization. Over the years, our home has housed countless IKEA items, proving their style and surprising durability. However, there’s one common challenge: the limited color palette. While there are countless ingenious IKEA hacks and IKEA bookcase transformations that involve power tools and extensive modifications, sometimes all you really desire is a simple color change. You want a fresh look without embarking on a major construction project. Am I right? For us IKEA lovers, the answer is clear: grab a paintbrush and customize it!
Why Painting IKEA Furniture Requires a Special Approach
The majority of IKEA’s most popular furniture lines—think Billy, Lack, Kallax, and Malm—are crafted from laminate-covered particle board, not solid wood. While IKEA does offer some solid wood options, the laminate pieces are incredibly prevalent and present a unique challenge for painters. Laminate is a non-porous, notoriously slippery surface. Unlike natural wood, which has a grain and pores that allow paint to soak in and bond, laminate essentially repels liquid. Attempting to paint laminate directly, without proper preparation, will almost certainly lead to frustration. You’ll likely observe the paint beading up and separating, as if trying to paint on glass.
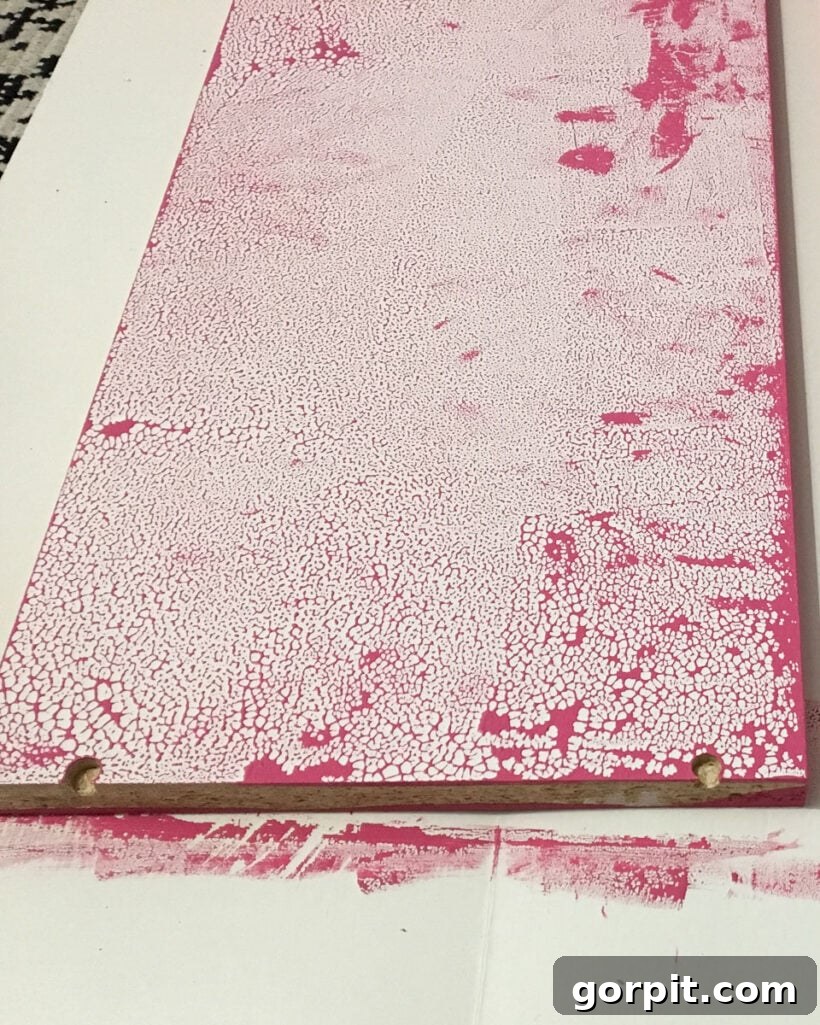
Even if you manage to get some paint to superficially stick and dry, the adhesion will be poor, resulting in a finish that chips, scratches, and peels off with minimal use. This lack of durability is definitely not what you want from your newly painted furniture! This is why conventional water-based or oil-based primers, which typically work well on porous surfaces, fall short when it comes to laminate. They simply don’t have the chemical properties to create a strong, lasting bond on such a slick surface.
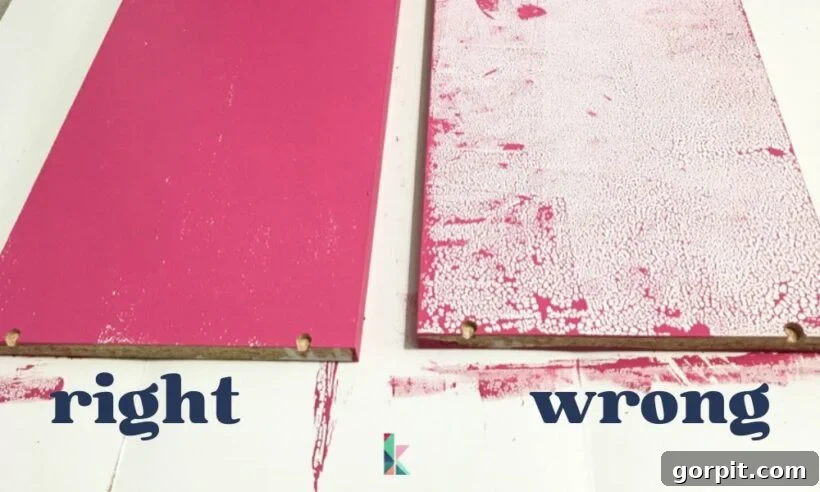
To illustrate this critical point, observe the difference in the images below. The IKEA Billy bookcase shelf on the right was painted without the use of a shellac-based primer; notice how the paint beaded up and failed to adhere properly. In stark contrast, the shelf on the left, treated with one coat of shellac-based primer before painting, shows perfect adhesion and a smooth finish. This visual comparison clearly demonstrates why choosing the right primer is not just recommended, but absolutely crucial for a successful and durable outcome.
While painting IKEA laminate furniture does require a bit of patience and proper prep work, primarily involving that initial priming step, it is undeniably worth the effort. The ability to transform your furniture into any color you desire, achieving a custom look that lasts for years, far outweighs the minor time investment. Now, let’s delve into the detailed tutorial!
This post contains affiliate links for your convenience. Click here for my full disclosure policy.
How to Paint IKEA Furniture: The Step-by-Step Guide
Materials Needed for Painting IKEA Furniture
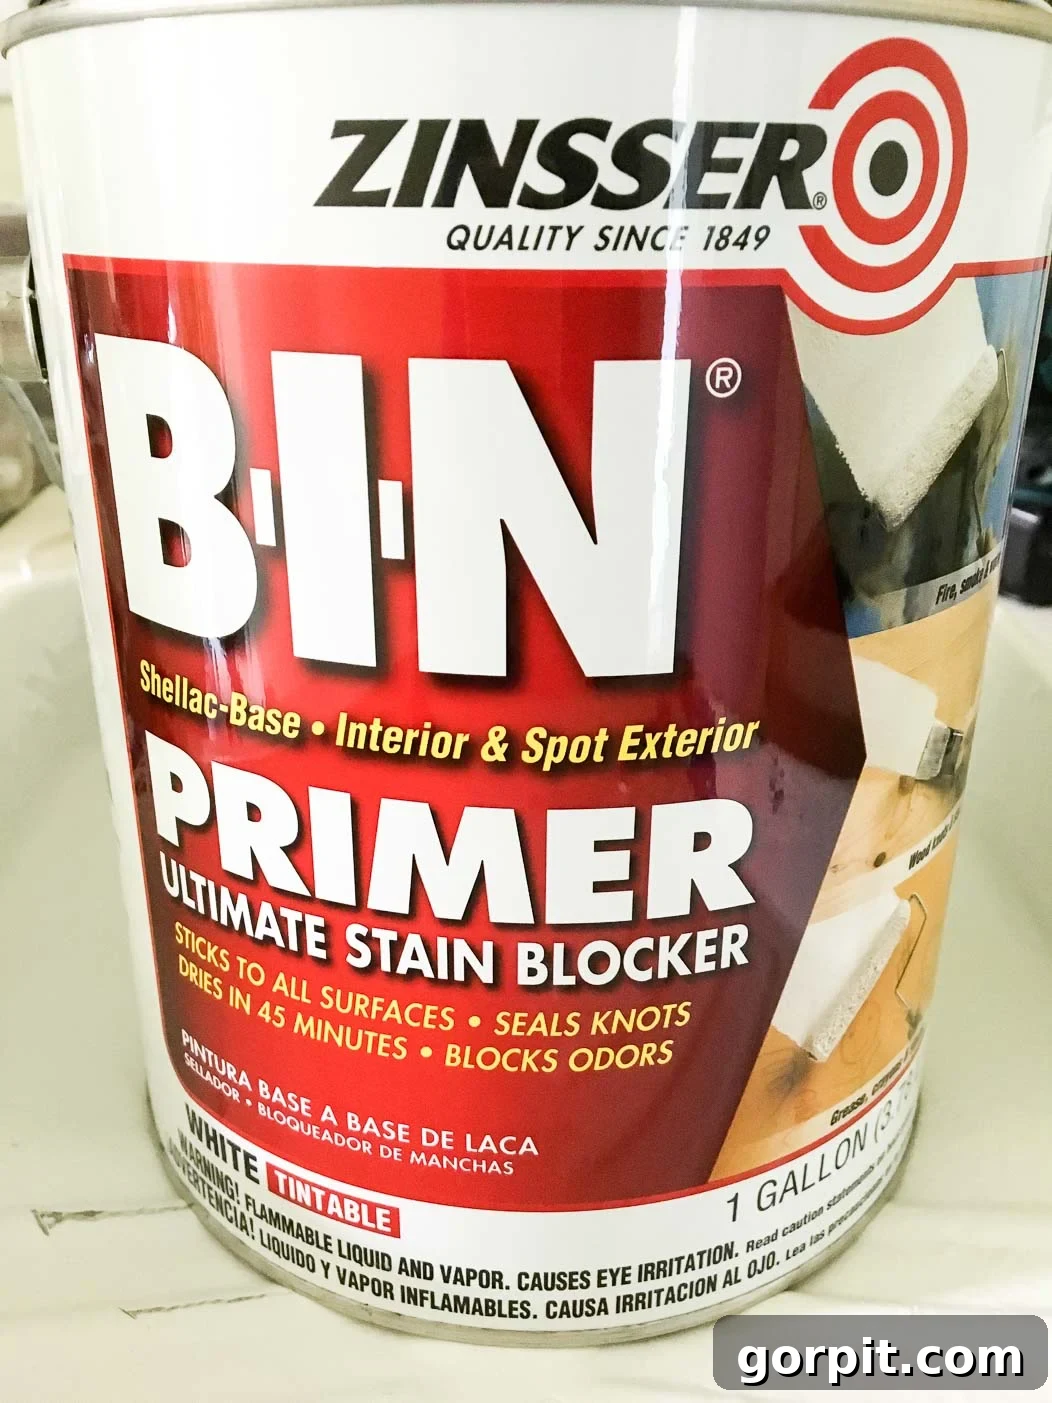
- Shellac-Based Primer: This is the most crucial item on your list. I highly recommend Zinsser B.I.N. Primer. Do NOT substitute this with a water-based or oil-based primer; they simply will not work effectively on laminate.
- High-Quality Paint: Choose a paint specifically designed for furniture, such as chalk paint, mineral paint, or an all-in-one furniture paint. For this project, I used Amy Howard At Home One-Step Paint in “Drama Queen.” You can explore other furniture paints I recommend here. Avoid standard latex wall paint, as it lacks the durability needed for furniture.
- Paintbrush: Essential for cutting in edges, reaching intricate areas, and applying primer.
- Foam Roller: A dense foam roller is ideal for achieving a smooth, streak-free finish on large, flat surfaces of laminate furniture.
- Drop Cloths: To protect your floors and surrounding areas from paint splatters.
- Cleaning Solution: A degreaser like Simple Green or Krud Kutter is excellent for thoroughly cleaning your furniture.
- Clean Cloths or Sponges: For cleaning and wiping down surfaces.
- Painter’s Tape (Optional): For taping off areas you don’t want to paint or to create crisp lines.
- Fine-Grit Sandpaper (Optional, for between paint coats): For achieving an ultra-smooth finish.
- Topcoat/Sealer (Optional): Wax or polycrylic for added protection or sheen.
Time Needed: Approximately 6 hours (actual time varies based on furniture size and number of coats).
This guide covers everything you need to know about painting IKEA laminate furniture. The total duration will depend on the size and complexity of your specific piece.
-
Remove Hardware and Disassemble (If Applicable)
Before you begin priming or painting, remove all knobs, handles, drawers, doors, and any other hardware. If your furniture piece can be easily disassembled into larger panels (like shelving units), it might be easier to paint the individual pieces before reassembly, ensuring full coverage. However, painting fully assembled pieces is also perfectly fine, as long as you can access all surfaces you intend to paint.
-
Thoroughly Clean Your Furniture
This step is often overlooked but is absolutely vital. Laminate surfaces, especially on older furniture, can accumulate dirt, grime, and oily residues that prevent proper paint adhesion. I always clean my furniture pieces with a strong degreaser like Simple Green or Krud Kutter. Scrub down every surface you plan to paint. After cleaning, it’s crucial to wipe your piece down again with a damp cloth or sponge saturated with plain water. This removes any residual cleaning solution, which can interfere with the primer’s ability to bond. Allow the furniture to dry completely before moving to the next step.
-
Prime Your Piece with a Shellac-Based Primer
This is the secret weapon! Many DIYers recommend a light scuff sanding at this stage, but I can confidently say that if you use the correct primer, sanding is unnecessary for adhesion. I’ve never sanded before priming and have always achieved excellent, lasting results. You absolutely must use a shellac-based primer for your paint to adhere properly and durably. As mentioned, Zinsser B.I.N. Primer is my top recommendation. Apply a thin, even coat across all surfaces. Shellac primers dry remarkably quickly, often within 30-45 minutes, so you won’t have to wait long. Ensure you work in a well-ventilated area due to the strong fumes. Allow the primer to dry completely according to the manufacturer’s instructions before proceeding.

-
Apply Two Coats of High-Quality Paint
Now for the fun part – color! I cannot stress enough the importance of using one of the paints I recommend for furniture. Quality paint makes a significant difference in both the application process and the durability of your finished piece. Steer clear of standard latex wall paint, as it’s not formulated for the wear and tear furniture endures. My personal favorite for many projects is Amy Howard At Home One-Step Paint.
To achieve a smooth, professional-looking finish, I typically use a dense foam roller for all large, flat surfaces. This minimizes brush marks and provides an even coat. Reserve your paintbrush for intricate details, edges, and areas the roller can’t reach. Apply your first coat of paint, ensuring even coverage. Allow it to dry fully according to the paint manufacturer’s recommendations – typically a few hours. After the first coat is dry, apply a second coat. For optimal coverage and color depth, two coats are usually sufficient with high-quality paint. If you desire an ultra-smooth finish, you can very lightly sand with fine-grit sandpaper between paint coats (after the first coat has dried) to knock down any imperfections, then wipe clean before applying the next coat. After your final coat, allow the paint to dry and cure fully for at least 24-48 hours before handling the furniture or placing items on it.
-
Seal Your Piece (Optional, But Recommended for High-Traffic Items)
While many high-quality furniture paints are incredibly durable on their own, adding a topcoat or sealer can provide an extra layer of protection, especially for furniture that will see heavy daily use. A sealer can also add a desired sheen, from matte to satin or gloss. For this project, I applied Amy Howard At Home Light Antique Wax over the entire piece, which provides a lovely soft sheen and protection. If you prefer a polycrylic topcoat for maximum durability, I recommend a product like Minwax Polycrylic. Always ensure that your chosen topcoat is compatible with the type of paint you used to avoid any adverse reactions. Allow the sealer to cure fully as per the product instructions before putting your furniture into service.
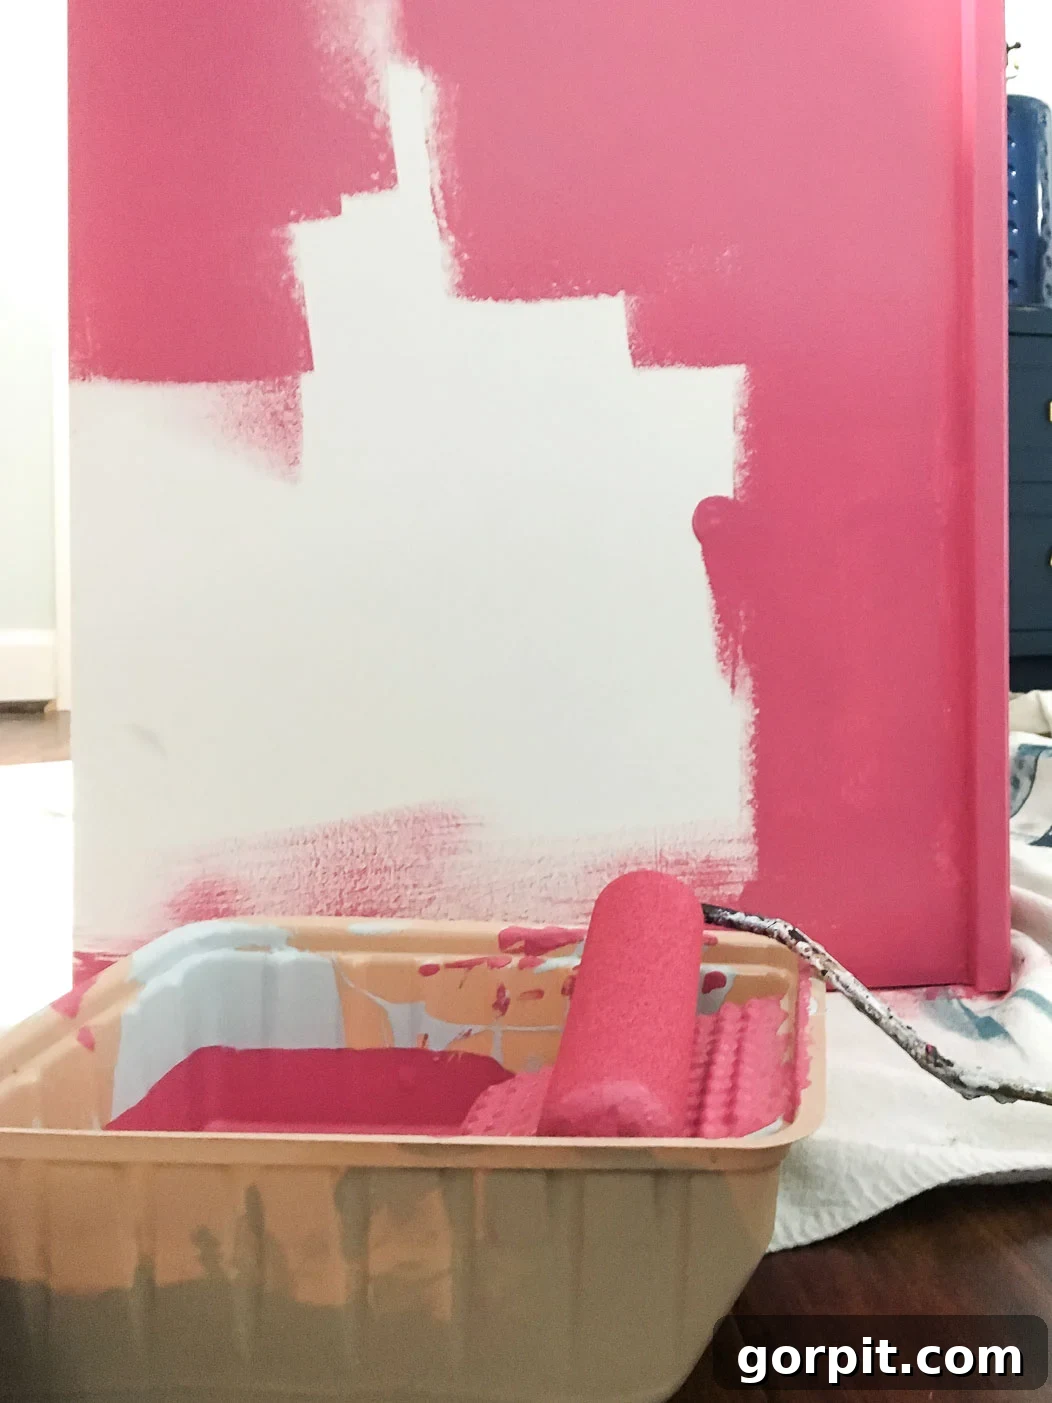
That’s truly all there is to successfully painting IKEA furniture and achieving results that are both visually stunning and built to last for years! Our painted pieces have stood the test of time beautifully. After allowing our paint to dry for over 24 hours, we stacked two 41-inch IKEA Billy bookcases on top of IKEA Aspelund chests of drawers. This clever arrangement created the look of custom built-ins with significantly less work and expense, providing abundant storage in our daughters’ shared bedroom. They maintained their vibrant pink color fabulously for a couple of years.
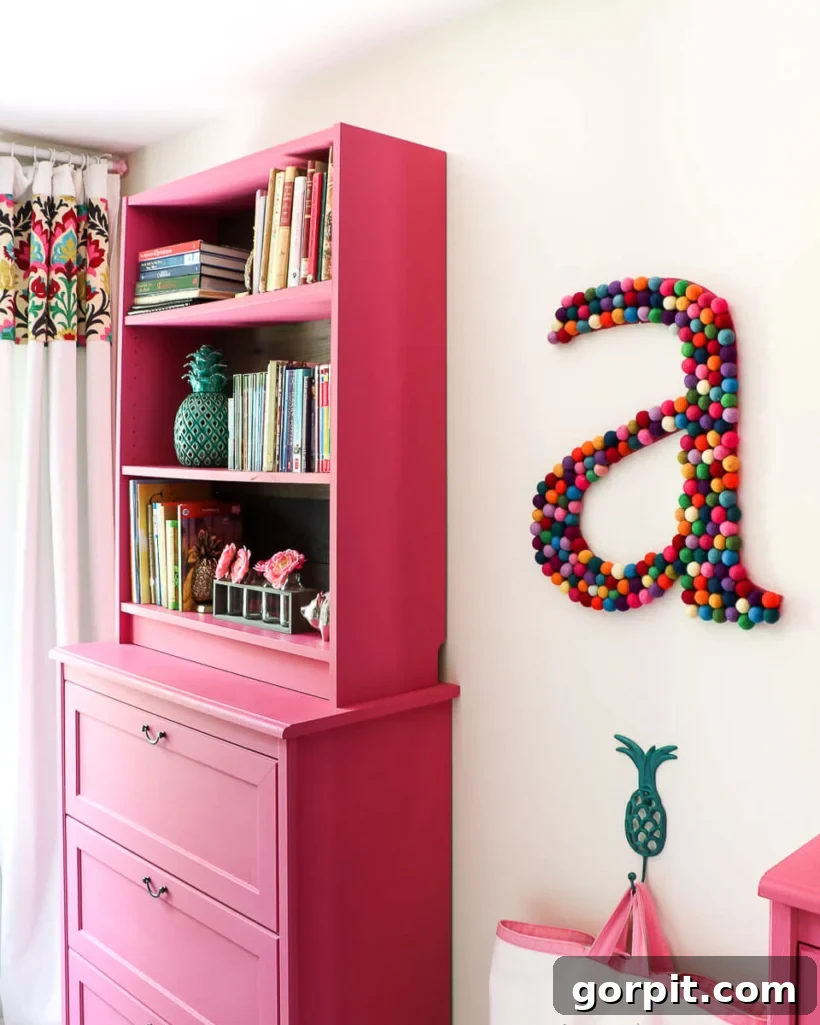
Later, when our girls moved into separate bedrooms, I decided to repaint the same bookcases a rich deep purple. The best part? I didn’t need to re-prime them! Thanks to the initial shellac-based primer and high-quality paint, I simply applied new coats of paint to change the color. They continued to hold up beautifully for another 18 months or so until we moved and sold them on Facebook Marketplace. Their enduring quality was a testament to this painting method!

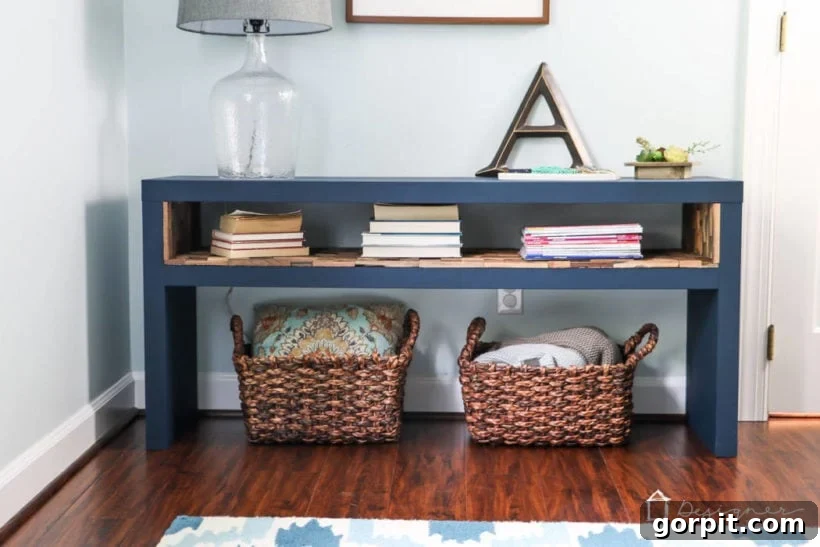
I’ve applied this proven method to countless other IKEA laminate furniture pieces, including this popular IKEA Lack Hack. I promise you, it works exceptionally well, and I truly hope you’ll give it a try to customize your own affordable furniture!
Frequently Asked Questions About Painting IKEA Furniture
How can I tell if my IKEA furniture is laminate or wood?
If you’re unsure whether your IKEA furniture is laminate or solid wood, the easiest way to check is to visit the IKEA website. Search for your product name, then navigate to the “Product Details” section and click on “Materials.” If the description includes terms like “particle board” combined with “acrylic paint” or “acrylic lacquer,” your furniture piece is indeed laminate. Conversely, if it’s solid wood, you would typically see materials listed as “solid pine,” “solid birch,” or similar natural wood descriptions.

Can I really paint IKEA furniture without sanding?
Yes, absolutely! As long as you correctly use a shellac-based primer, you do not need to sand your laminate furniture before applying paint. I have personally never sanded before using this type of primer, and my results have consistently been durable and flawless. That said, if you’re inclined to do a bit more work, a light scuff sanding before applying the primer can certainly help create even more “tooth” for the primer to grip, potentially enhancing adhesion further. However, it is not strictly necessary for success with shellac primer.
Additionally, you can lightly sand between coats of paint (after each coat has fully dried) using fine-grit sandpaper to achieve the smoothest finish possible. This helps to eliminate any minor brush strokes or imperfections. While I often skip this step for many IKEA projects, I have become a fan of quickly sanding between paint coats on other furniture pieces as it genuinely contributes to an impeccably smooth surface. Just remember, the crucial “no sanding” rule primarily applies to the initial preparation before priming.
Is it better to paint after assembling the furniture or should I paint the pieces before assembly?
There are valid pros and cons to both approaches, and ultimately, it often comes down to personal preference and the specific furniture piece. Painting the individual pieces before assembly can sometimes be easier, as it allows for full access to every nook, cranny, and edge, ensuring comprehensive coverage. However, if you paint before assembly, you might find yourself needing to do some touch-up painting after the piece is put together, as screws and joints can disturb the fresh paint. For example, our Billy bookcases were already assembled and in use for several years before we painted them (though we removed the shelves for easier painting). If you are assembling a brand new piece, consider if painting the larger panels flat is more convenient for you. My general advice is that either method can work well, so choose the one that feels most comfortable and practical for your project.
If you’re planning your own IKEA furniture painting project, be sure to save this post to Pinterest so you can easily refer back to it later!
More Painting Guides & Inspiration
-
9 Life-Changing Painting Hacks Everyone Should Know
-
How Durable are DIY Painted Kitchen Cabinets?
-
How to Paint Kitchen Cabinets (From a DIYer Who Has Done it 3 Times)
-
How Have Our Painted Countertops Held Up?
-
How to Paint IKEA Furniture and Mistakes to Avoid
-
How Much Paint Do I Need for My Room?
See All Paint Posts
Curious about my personal approach to transforming rooms and spaces in our home? Discover the strategies and insights shared in Designer in a Binder®, my comprehensive guide to decorating with confidence and ease.
For exclusive content, behind-the-scenes sneak peeks, and more DIY inspiration delivered straight to your inbox, be sure to subscribe before you go!