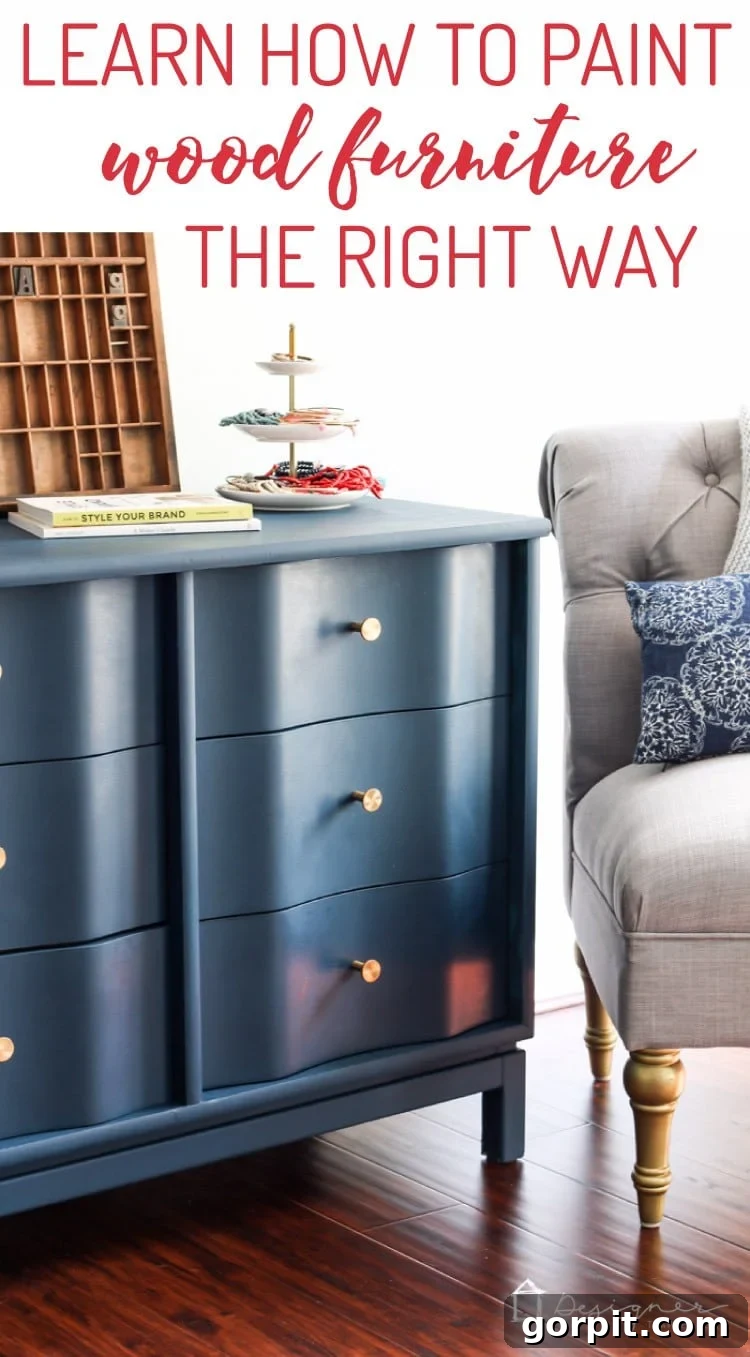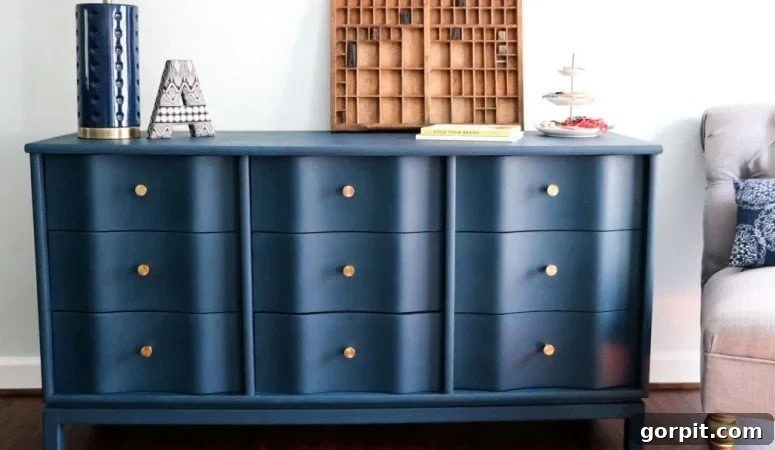
One of the most rewarding and impactful home improvement projects you can undertake is painting wood furniture. It’s a question I often encounter: “How do you paint wood furniture effectively?” While it might seem straightforward, achieving a durable, beautiful finish that stands the test of time requires specific techniques and materials. Many assume a simple coat of wall paint will suffice, but as I’ve learned through personal experience, that’s a common misconception that leads to disappointing results. My passion for painted furniture isn’t just about aesthetics; it’s also a smart, budget-friendly way to transform inexpensive, high-quality thrift store finds into custom pieces that perfectly complement your home’s style. This project, involving a beloved dresser, perfectly illustrates the power of a proper furniture makeover.
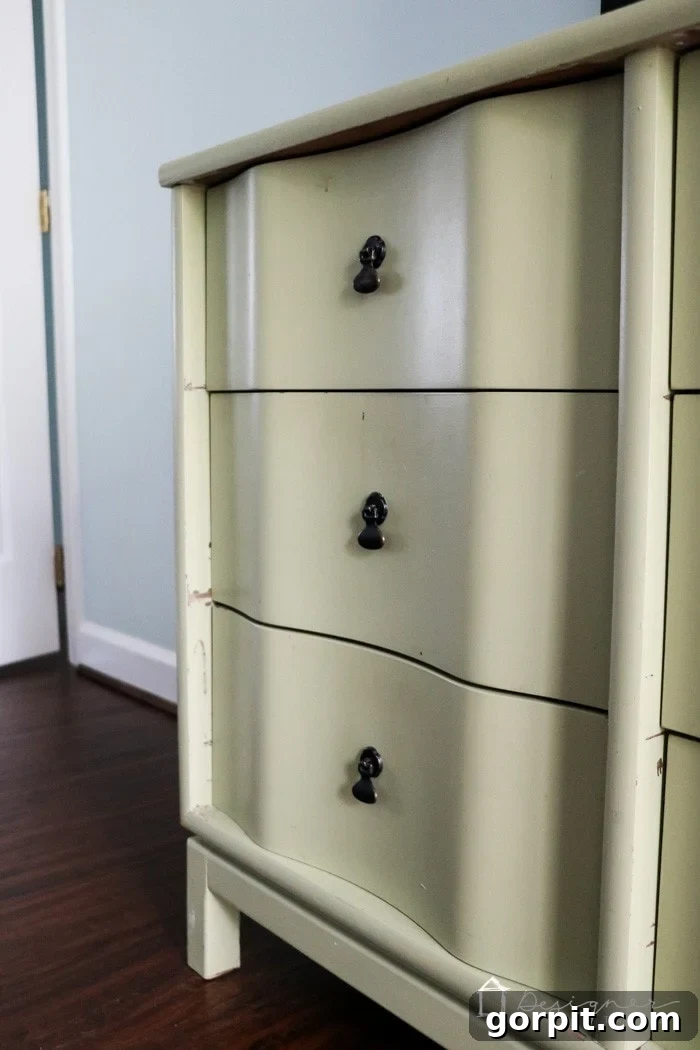
A decade ago, we discovered this absolutely stunning dresser at a thrift store. Its most captivating feature was its beautifully curved drawer fronts, a design element that instantly caught my eye. Despite its charm, the wood itself was quite damaged and unsightly. However, its solid wood construction and robust structural integrity made it an ideal candidate for transformation. We happily paid around $100 for it, and even after all these years, it remains one of my most cherished pieces. It currently resides in our master bedroom, serving as essential storage for my husband’s folded clothes.
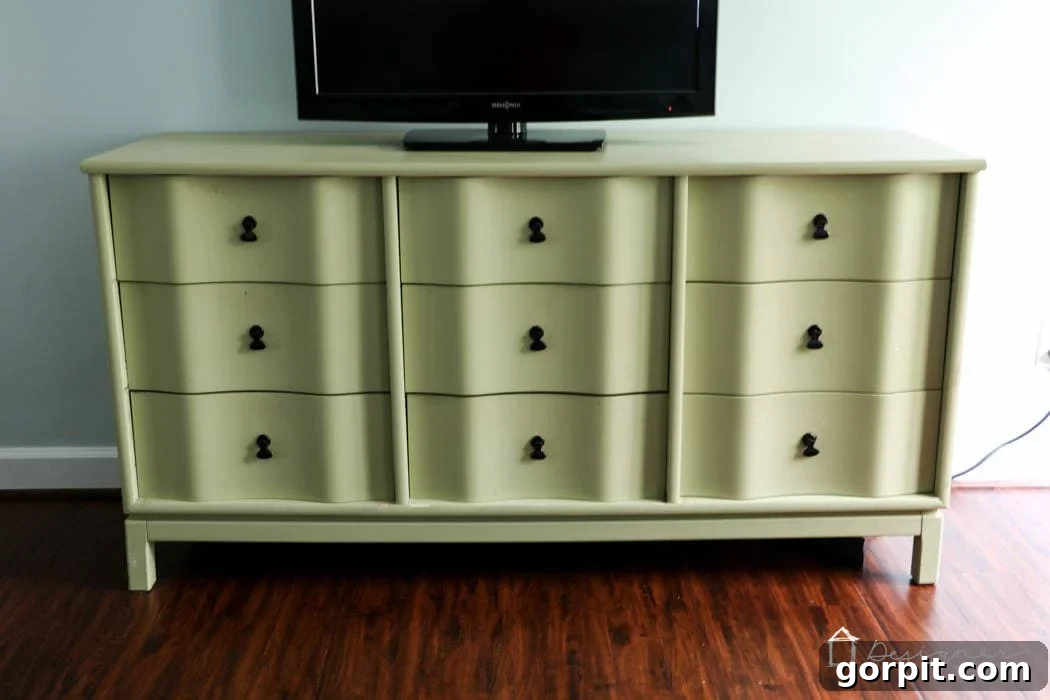
Regrettably, when I first painted this dresser ten years ago, I made a crucial error: I used standard latex paint. It’s a mistake many DIYers make, believing that if it works for walls, it will work for furniture. As you can see, the latex paint proved to be incredibly poor for furniture application, showing signs of chipping and peeling almost immediately after the project was completed. Over the years, its condition only worsened, becoming a constant reminder of my initial misstep. Thankfully, I’ve since dedicated myself to mastering the art of painting wood furniture correctly, learning the techniques and choosing the right products to ensure a beautiful, lasting finish.
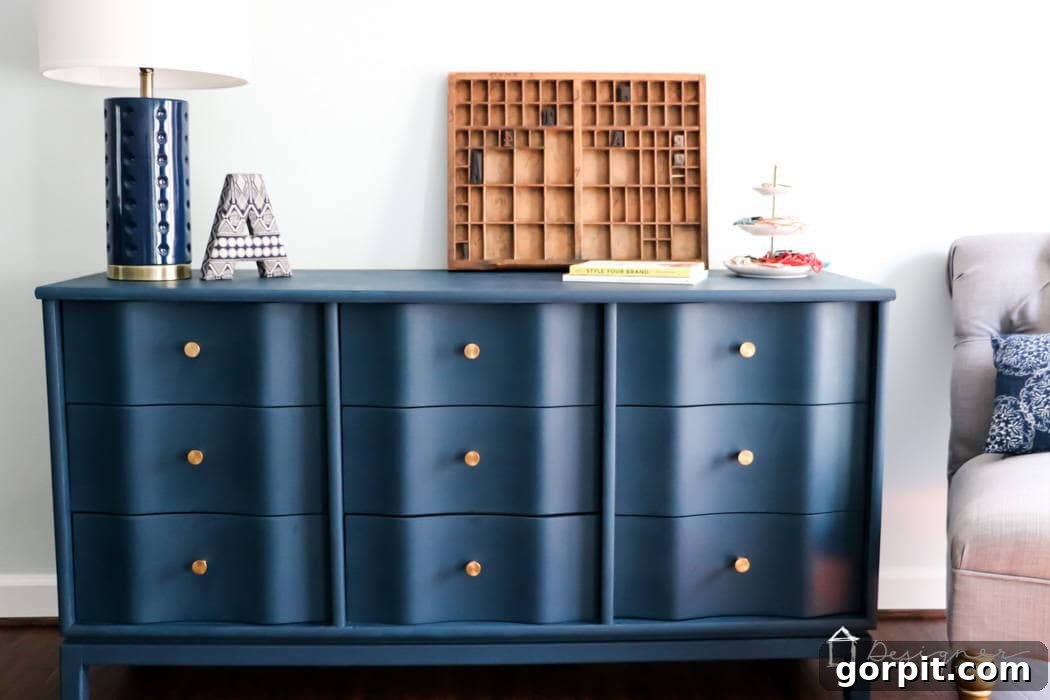
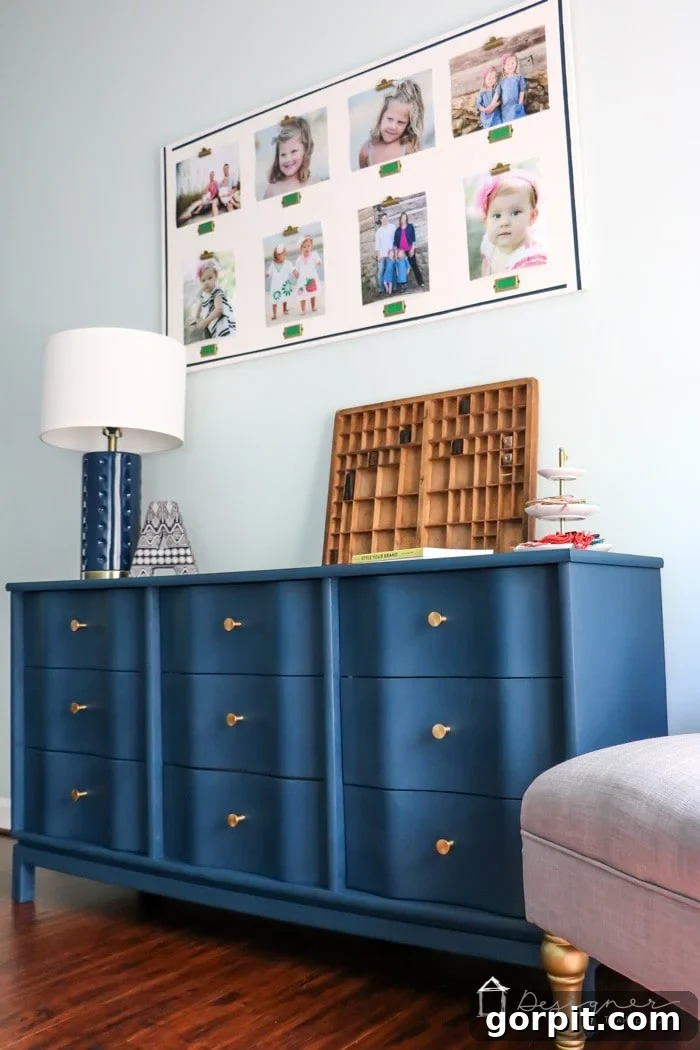
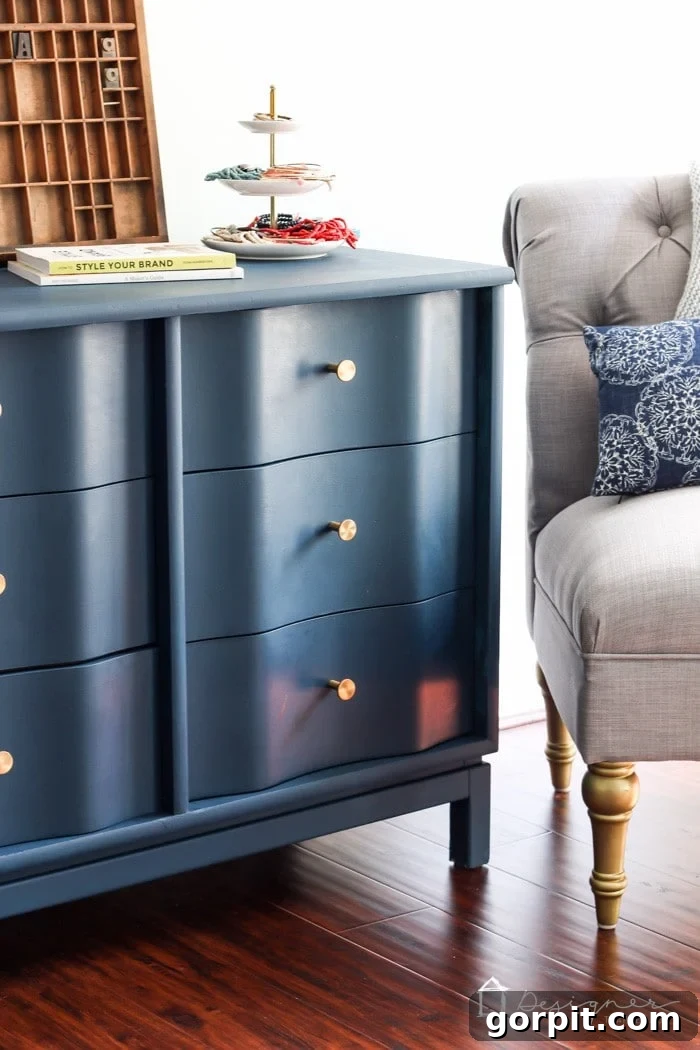
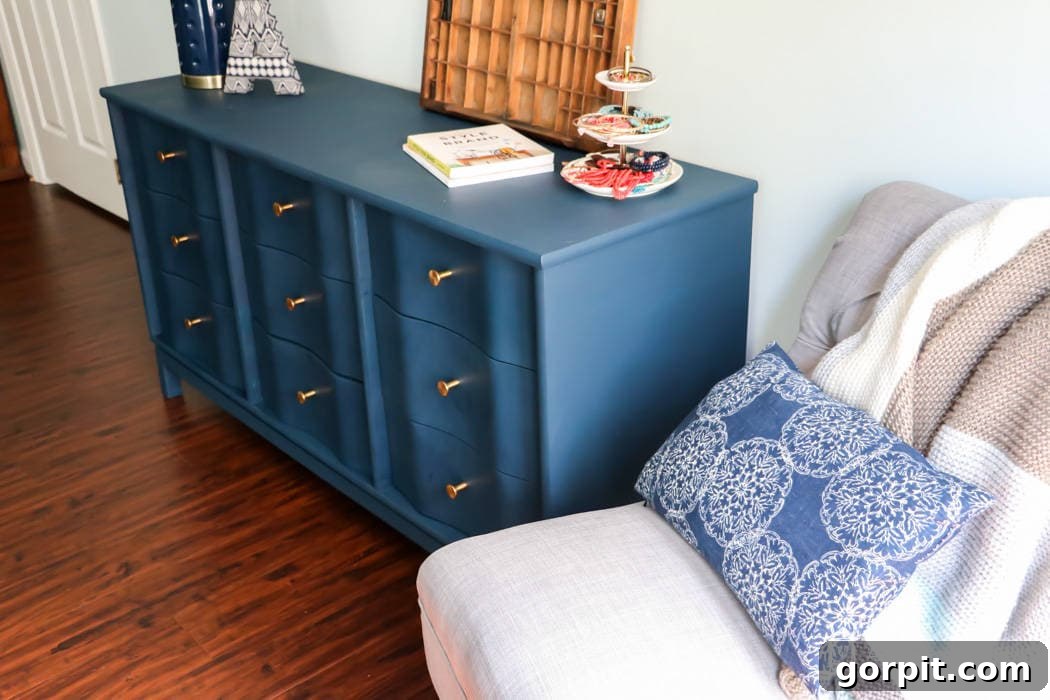
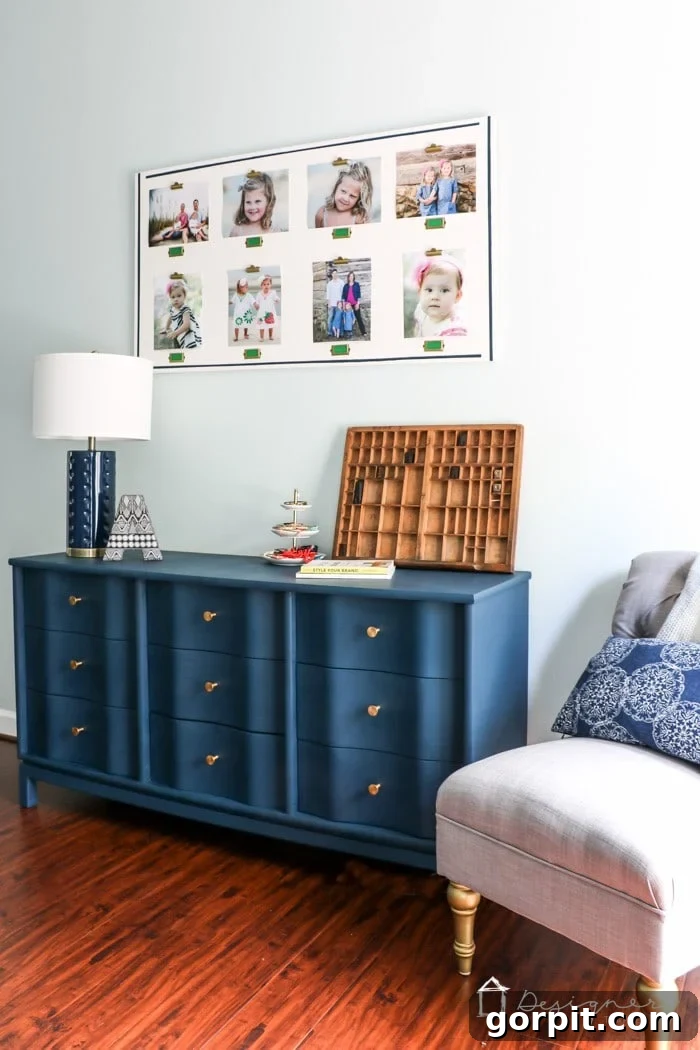
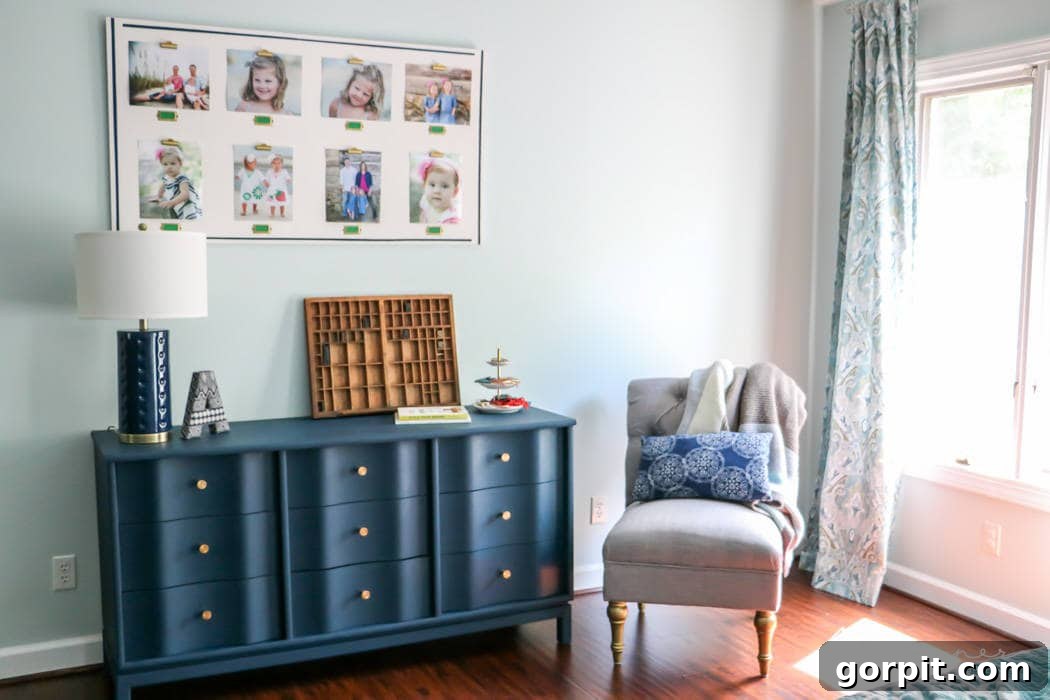
Finally, I gathered the motivation and energy to give this beloved dresser the repaint it deserved. Drawing inspiration from the energy of the Olympics (swimming and diving are particular favorites of mine!) and aligning with the new navy blue color palette in our master bedroom, I chose a stunning, velvety navy blue hue. I also updated the hardware, opting for elegant gold pulls that truly elevate the piece. The results have exceeded all my expectations, and I couldn’t be happier with its renewed look. If you’re ready to learn the secrets to painting wood furniture for long-lasting, professional-looking results, continue reading. This guide will walk you through each essential step, ensuring your next furniture makeover is a resounding success. This post contains some affiliate links for your convenience. Click here to read my full disclosure policy.
Mastering the Art: How to Paint Wood Furniture for Lasting Beauty
Painting wood furniture is a fantastic way to revitalize old pieces, add a touch of personal style, and save money on new decor. However, the key to a successful project lies in understanding the right techniques and using the appropriate materials. Forget the frustrations of chipping paint and uneven finishes; with this guide, you’ll learn how to achieve a professional-quality makeover that will endure for years to come.
Essential Materials for Your Furniture Painting Project
Selecting the right tools and products is the foundation of any successful furniture painting endeavor. Resist the urge to cut corners on quality, especially when it comes to paint. Here’s a comprehensive list of what you’ll need, along with explanations for each choice:
- Chalk-Based Paint: This is the cornerstone of a durable, beautiful finish on furniture. I personally used Amy Howard At Home’s One Step Paint in “Lady Singing the Blues.”
- Why it’s crucial: Unlike latex paint, high-quality chalk-based paint offers superior adhesion to most surfaces without the need for extensive sanding or priming. It creates a beautiful, matte finish that can be easily distressed or sealed for a modern look. Using standard latex paint on furniture often leads to chipping and peeling, as I’ve unfortunately learned from experience. Invest in good quality chalk paint for results you’ll love.
- Furniture Wax or Sealer: To protect your painted finish and enhance its durability, a top coat is essential. I opted for Amy Howard At Home’s Light Antique Wax.
- Purpose of wax: Wax adds a protective layer, deepens the color, and can provide a soft sheen. For high-traffic pieces, a polyurethane-based topcoat might be preferred for maximum durability.
- Thorough Cleaning Supplies: Proper preparation is non-negotiable for paint adhesion. I sourced my cleaning essentials from Lowe’s, including:
- Bounty paper towels: For general wiping and drying.
- Mr. Clean Magic Erasers: Invaluable for tackling stubborn grime and scuffs.
- Simple Green all-purpose cleaner: A powerful degreaser that effectively removes dirt, grease, and residue. Remember to dilute it with water according to the instructions on the bottle.
- High-Quality Paint Brush: Essential for getting into intricate details, corners, and carved areas. A good brush minimizes brush strokes.
- Smooth Foam Roller: Ideal for achieving a smooth, even finish on flat surfaces, reducing texture and brush marks.
- New Hardware (Optional): Updating the hardware can dramatically change the look of your piece. I selected these beautiful brushed gold drawer pulls to complement the navy paint.
Your Step-by-Step Guide to Painting Wood Furniture
Follow these detailed steps to ensure your furniture makeover is durable, beautiful, and something you’ll be proud of for years.
Step 1: Remove Existing Hardware
Begin by carefully removing all knobs, pulls, and hinges from your furniture piece. This simple step ensures you can paint every surface evenly without obstructions. It also protects your hardware from accidental paint splatters. If you plan to reuse the old hardware, keep it organized in a labeled bag to make reattachment easier.
Step 2: Thorough Cleaning and Preparation – The Foundation for Success
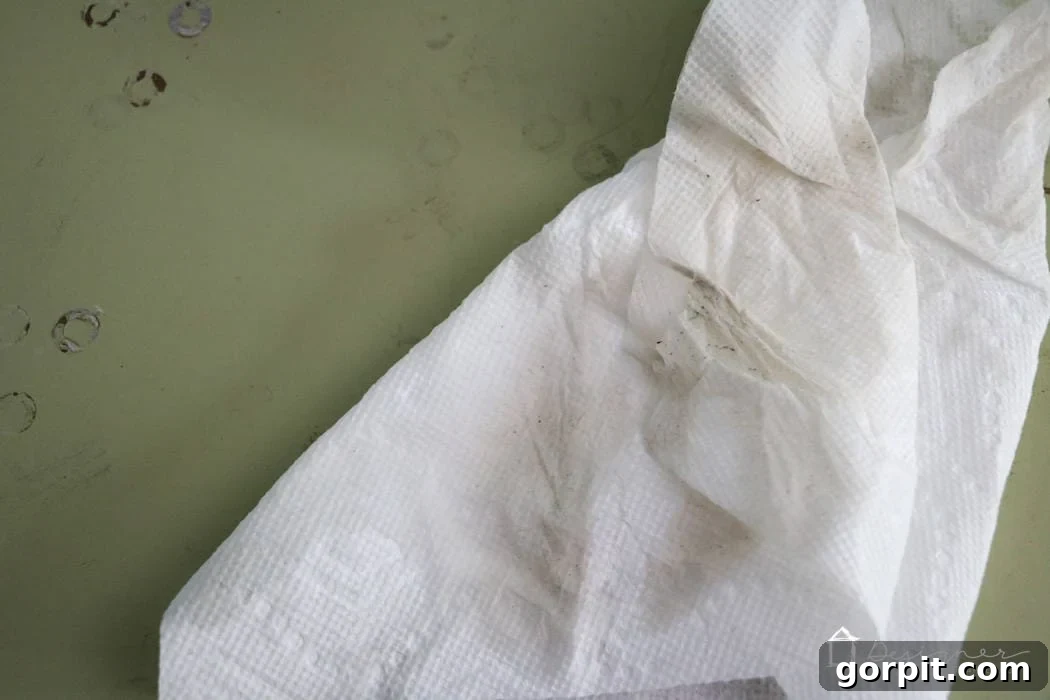
This is arguably the most crucial step when learning how to paint wood furniture. Proper preparation ensures optimal paint adhesion and prevents future chipping. Start by thoroughly cleaning your piece. I always begin by wiping down the entire surface with Bounty Paper Towels saturated with Simple Green cleaner, diluted per the instructions. Simple Green is excellent for breaking down grease, grime, and built-up dirt that can prevent paint from sticking. It’s hard to believe how much dirt can accumulate over the years, and even I was surprised by how filthy our dresser truly was! It’s essential to get every nook and cranny. After cleaning with Simple Green, it’s vital to spray your piece down with clean water and dry it thoroughly with fresh paper towels. This rinsing step removes any lingering Simple Green residue, which could otherwise interfere with paint adhesion and lead to problems down the road.
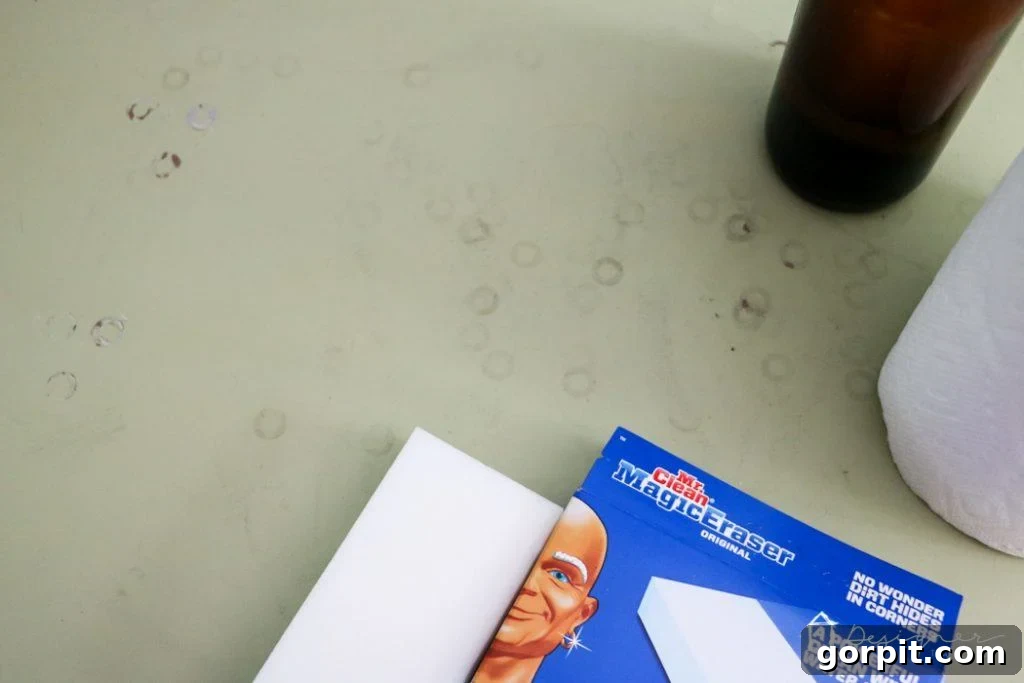
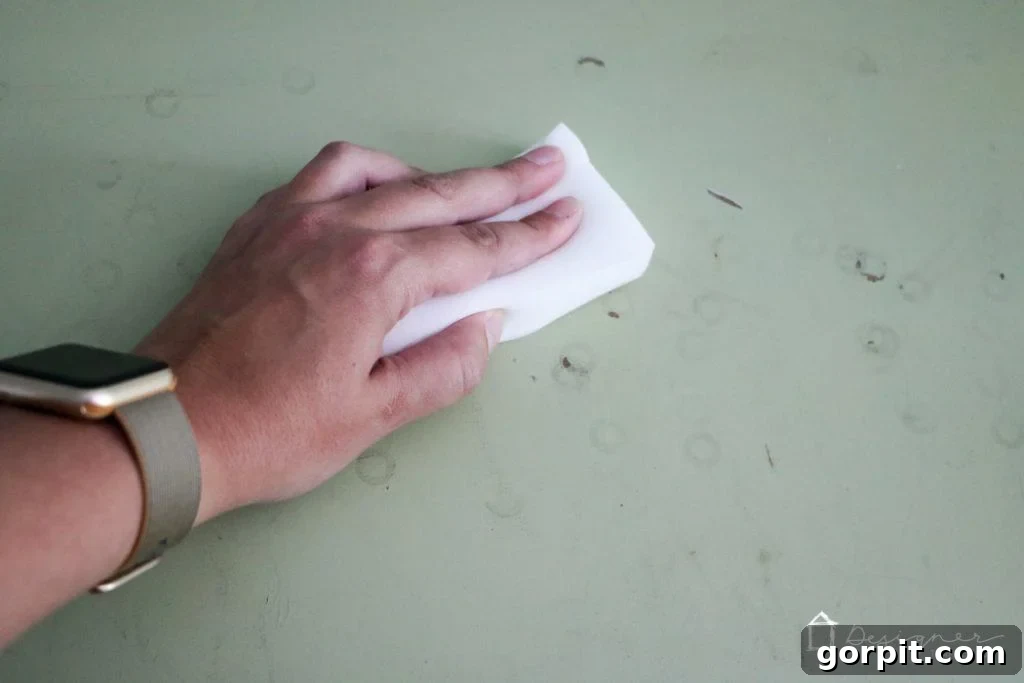
Once the general grime is removed, I tackle any particularly stubborn spots with a Mr. Clean Magic Eraser. If you haven’t used these wonders, you’re truly missing out! They live up to their “magic” name, effectively lifting marks, scuffs, and ingrained dirt that traditional cleaning solutions often miss. Focus on areas prone to spills or heavy use. This meticulous cleaning process creates a perfectly clean canvas, allowing your chalk paint to bond seamlessly with the wood.
 |
 |
Step 3: Painting with Chalk-Based Paint – No Sanding, No Priming!
Once your furniture piece is immaculately clean and completely dry, you’re ready to paint! This is where the true advantage of high-quality chalk-based paint shines. There’s no need for the tedious process of sanding off old paint or applying a primer when you’re using a product like Amy Howard’s One Step Paint. This innovative formulation adheres beautifully to most surfaces, even those with existing finishes, making your prep work significantly lighter. For flat, expansive areas, I recommend using a smooth foam roller. This tool helps achieve an incredibly smooth, even coat with minimal texture. For intricate details, curved surfaces, or hard-to-reach nooks and crannies, a high-quality paint brush is your best friend. Apply thin, even coats, allowing each coat to dry to the touch before applying the next. My dresser required three coats to achieve the deep, rich navy blue color I desired. The good news is that chalk-based paint dries remarkably quickly, often within 15-30 minutes per coat, allowing you to complete the painting phase of your project in just a few hours. (Note: For this project, I chose not to paint the inside of the drawers).
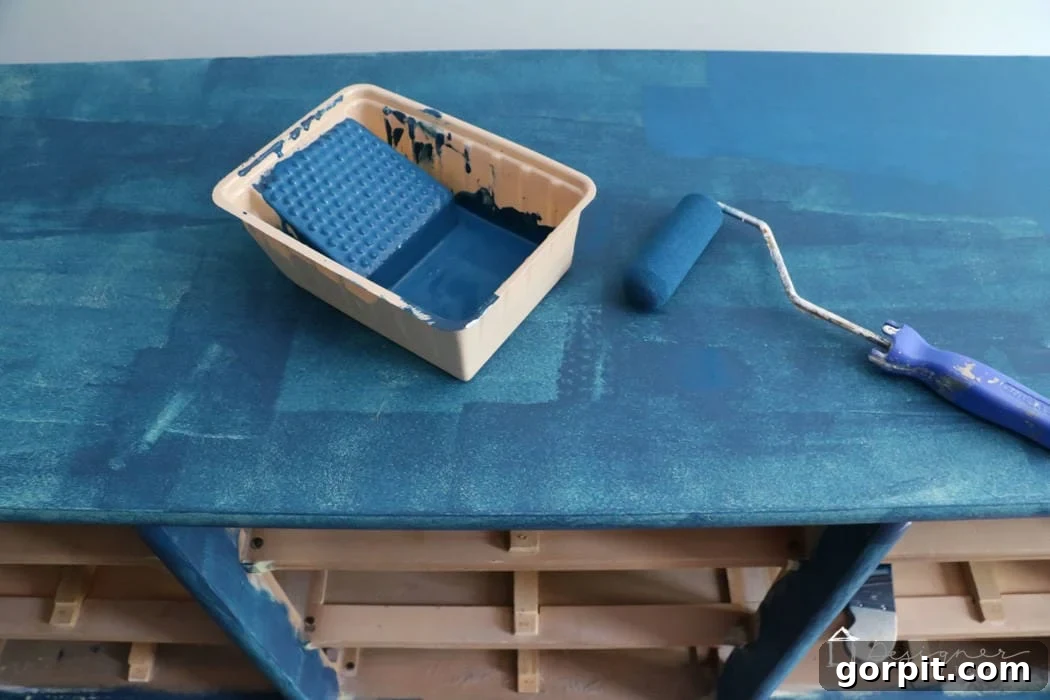
Step 4: Apply Your Furniture Wax or Sealer for Protection
After your final coat of paint has thoroughly dried, it’s time to apply a protective finish. This step is crucial for enhancing the durability of your painted furniture, protecting it from everyday wear and tear, and often deepening the color or adding a subtle sheen. For this dresser, I applied Amy Howard At Home’s Light Antique Wax. Wax is applied in thin, even layers using a soft cloth or wax brush, then gently buffed to a smooth finish. While waxing provides excellent protection and a beautiful lustre, it’s not strictly required, especially if you prefer a raw, matte chalk paint finish. However, for a piece that will see regular use, a protective topcoat is highly recommended. Below is a video demonstrating the application process for the specific wax I used:
Step 5: Reattach or Install New Hardware
The final step in your furniture transformation is to reattach your original hardware or install new pieces. This small change can have a massive impact on the overall aesthetic of your newly painted furniture. For my dresser, I chose stunning brushed gold drawer pulls. The gold, inspired by the Olympic medals, perfectly complemented the rich navy blue paint, adding a touch of elegance and sophistication. Ensure all hardware is securely fastened. If your new hardware doesn’t align with existing holes, you might need to fill the old holes with wood filler, sand smooth, and drill new pilot holes before painting.
That’s it! You’ve successfully learned how to paint wood furniture with a lasting, beautiful finish. The process is simpler than you might imagine, especially when you use the right materials and techniques. Just look at the incredible transformation! I truly feel this dresser makeover is worthy of a gold medal – a #PGBringHomeTheGold worthy project indeed!
What do you think of this dramatic furniture transformation? Are you inspired to tackle your own wood furniture painting project?

This is a sponsored conversation written by me on behalf of Procter & Gamble/Lowe’s. The opinions and text are all mine.