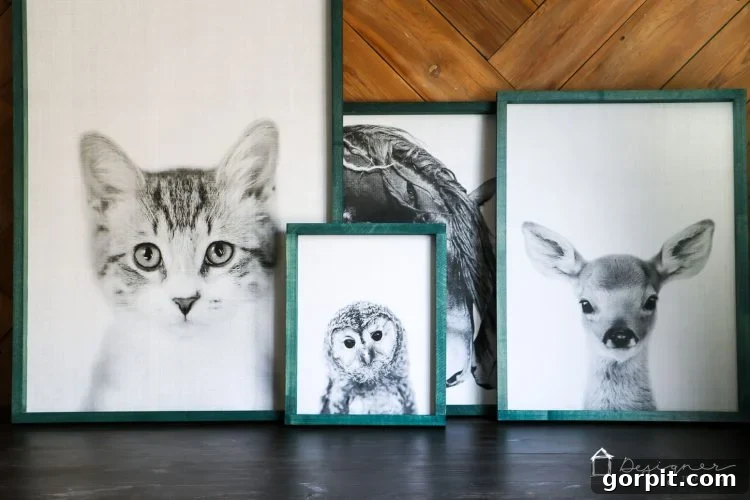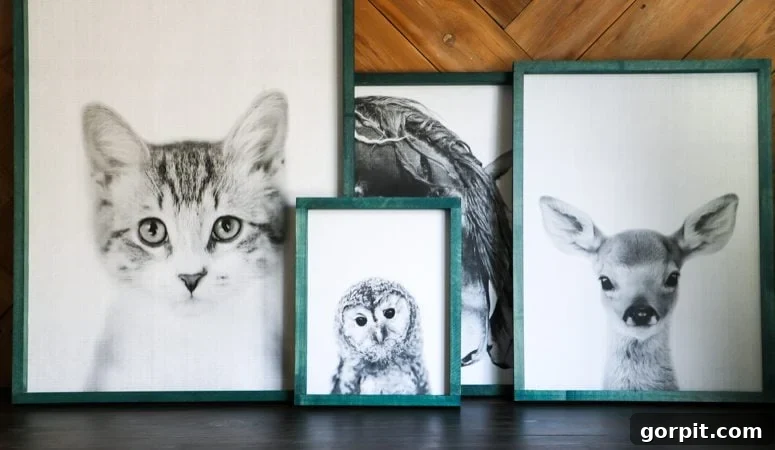
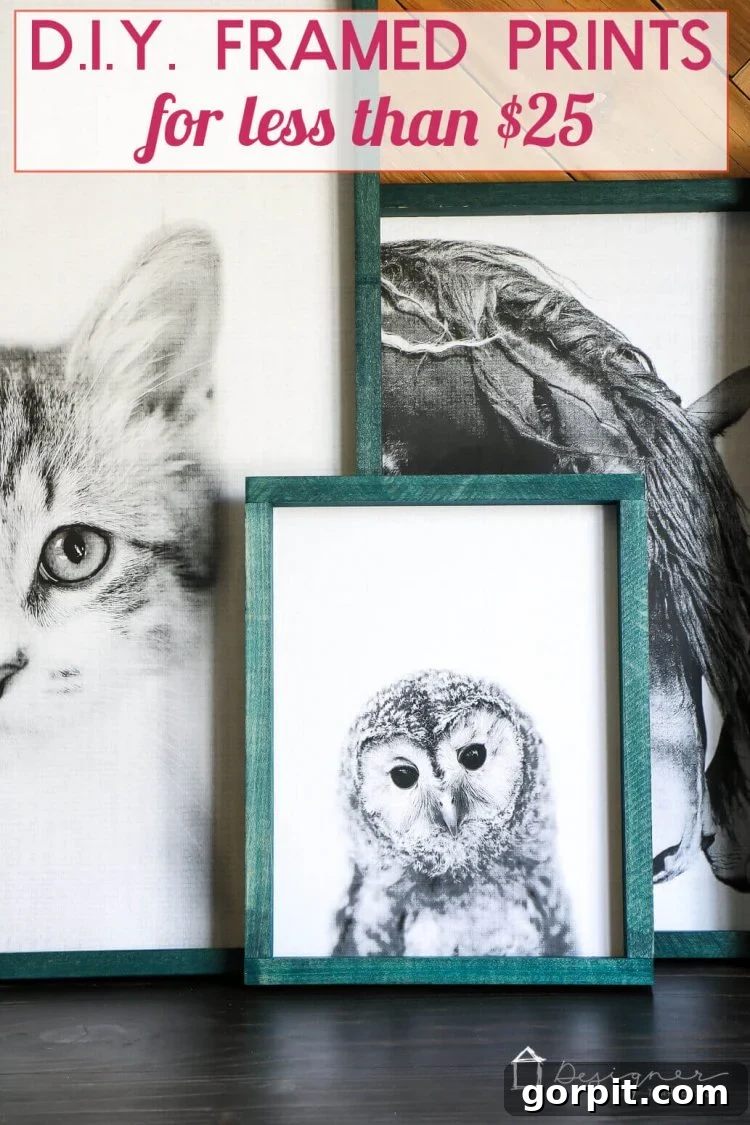
Hello, home decor enthusiasts! If you’re anything like me, you understand the thrill of transforming a space with beautiful art, but you also know the challenge of finding large-scale pieces that don’t break the bank. High-quality, oversized wall art often comes with a hefty price tag, making budget-friendly decorating a real puzzle. But what if I told you there’s a brilliant, cost-effective way to create stunning, impactful art for your walls, even if you don’t consider yourself an artist?
Today, I’m thrilled to share a revolutionary DIY approach to crafting large wall art that combines affordability with incredible visual impact. We’ve explored various budget-friendly art solutions in the past, such as our DIY half frames hanging from pipe and a large-scale print in our dining room. However, for Avery’s upcoming new bedroom (as you might know, we’re in the process of creating separate spaces for our twin girls), I envisioned something different – a truly unique and personalized touch. This quest led us to develop a fresh method for creating monumental wall art ourselves, achieving a BIG impact on a very small budget. The best part? Each print in this project cost us approximately $21, with a detailed cost breakdown provided at the end of this guide!
This tutorial will walk you through the entire process, from sourcing incredibly inexpensive large-scale prints (the secret is engineer prints!) to building simple, sturdy frames that perfectly complement your chosen artwork. You’ll be amazed at how accessible and rewarding this project is, making it ideal for anyone looking to personalize their home without splurging. Get ready to unleash your inner designer and create breathtaking pieces that will be the envy of your guests!
This post is sponsored by Mohawk Consumer Products and contains some affiliate links. Click here to read my full disclosure policy.
DIY Large Wall Art: An Affordable Transformation
Creating your own large wall art offers a myriad of benefits beyond just saving money. It allows for complete customization, ensuring your artwork perfectly matches your decor style and personal taste. You can choose any image, any size, and any frame finish, giving you unparalleled creative control. Plus, there’s immense satisfaction in knowing you’ve crafted a beautiful piece for your home with your own hands. This project is perfect for adding character to a living room, bedroom, nursery, or even a home office.
Gather Your Materials and Tools: Setting Up for Success
Before diving into the creation process, it’s essential to gather all the necessary materials and tools. One of the greatest aspects of this project is its flexibility; you don’t need a professional workshop to achieve professional results. While we utilized power tools for efficiency, rest assured that this DIY art project is absolutely achievable with basic hand tools.
Essential Supplies for Your Prints:
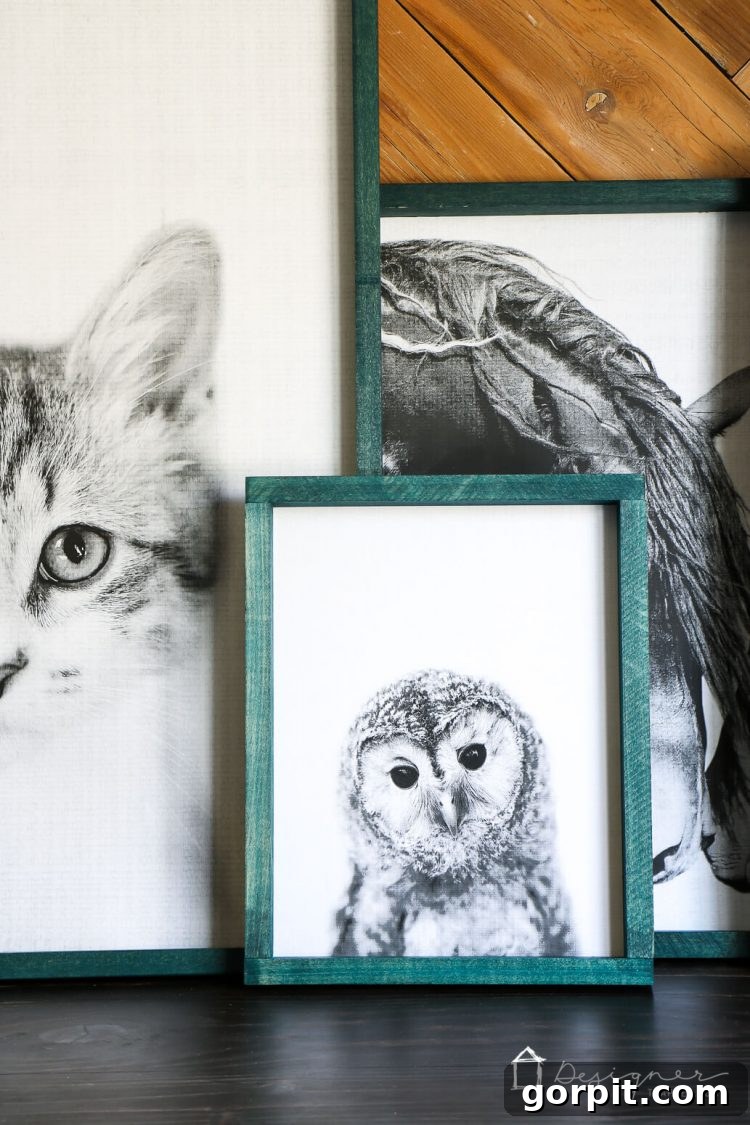
- Large-Format Prints: These are the stars of your wall art! We’ll explain how to get them affordably. For Avery’s room, we chose adorable peekaboo animal prints from an AWESOME Etsy shop called Lila + Lola. Their digital prints are affordable and instantly downloadable, allowing you to get started right away.
- Scrap Cardboard or Foam Core Board: This will serve as the backing for your prints, providing stability and structure. Old moving boxes or craft store foam boards work perfectly.
- Spray Adhesive: A strong, permanent spray adhesive is crucial for securely mounting your prints to the backing. Look for one that offers a smooth, even application.
Building Your Frames: Woodworking Essentials:
- Wood Boards: We used three 8-foot 1×3 poplar boards. To maximize our budget, we ripped them in half with a table saw, effectively doubling our material. The exact quantity you’ll need depends on the number and size of your desired prints. Poplar is an excellent choice for its smooth finish and ease of workability.
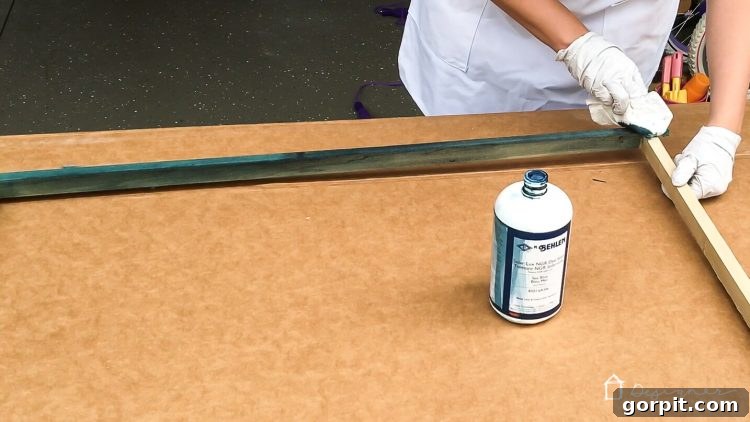
- Behlen Solar Lux Stain (Sea Blue): This is a dye-based stain renowned for its vibrant color and fade resistance. It dries incredibly fast, which is a huge bonus for DIY projects. We initially considered mixing red and blue to achieve purple, but Avery fell in love with the striking Sea Blue, and we couldn’t agree more! You can customize your frames with any color that suits your decor.
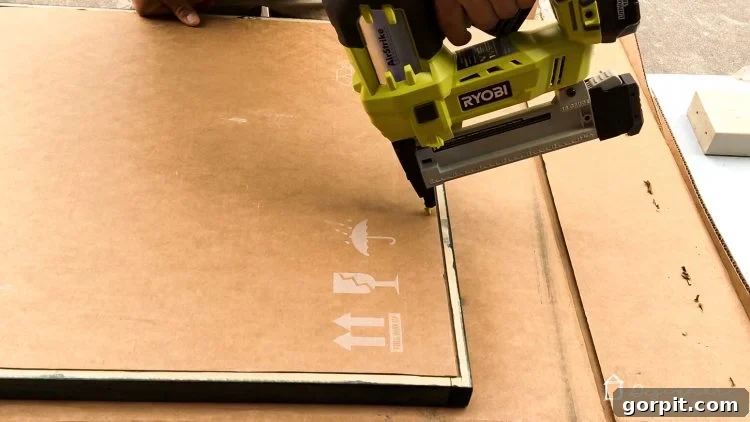
- Nail Gun: We recommend a cordless nail gun like this one we use, as it doesn’t require an air compressor, making it more convenient for home projects.
- Staple Gun: A hand-held staple gun, such as this model (also no air compressor needed), will be used for attaching your mounted prints to the finished frames.
- Right-Angle Clamps: These are invaluable for holding your frame pieces securely in place while you assemble them, ensuring perfectly square corners.
- Wood Putty: For filling nail holes and achieving a seamless finish.
- Sandpaper: Various grits for smoothing wood surfaces and preparing them for stain.
- Hanging Hardware: D-rings, picture wire, or saw-tooth hangers are all suitable, depending on your preference and the size of your art. Given the lightweight nature of these frames, simple hardware will suffice, especially for kids’ rooms.
Tools for Cutting Wood (Choose your preference):
- Power Tools (Optional, but efficient): Compound miter saw (for precise angle cuts) and a table saw (for ripping boards).
- Hand Tools (Perfectly functional): A hand saw and miter box (for straight and angled cuts), a utility knife (for cutting cardboard/foam core), and a hammer.
The Secret to Huge Prints: Engineer Prints Explained
The cornerstone of this affordable large wall art project lies in utilizing “engineer prints” or “blueprint prints.” These are typically black and white (though color options exist), oversized prints originally intended for architectural drawings and schematics. Because of their utilitarian purpose, they are incredibly inexpensive compared to standard photo prints, even at massive sizes.
Where to Order Your Budget-Friendly Prints:
In the past, getting engineer prints was straightforward at local office supply stores like Staples or Office Depot. However, recent changes in their printing policies have made it more challenging, with some stores charging significantly more for color prints or even refusing to print photos as engineer prints. The good news? Ordering them online is still a fantastic, reliable, and incredibly affordable option!
We successfully ordered our prints through Staples.com. This method bypasses any in-store policy issues. For this project, our prints totaled just $9.14! While the online ordering process on their website isn’t entirely intuitive, it’s definitely manageable. When ordering online, look for options related to “blueprints,” “architectural prints,” or “engineering prints.” You’ll typically upload your image and then select the desired size. Be sure to double-check the dimensions and material type to ensure you’re getting the most cost-effective option. The trick is to select the correct product type that corresponds to engineer prints, not standard poster prints.
Once you have your digital images ready, head to their website and navigate to the printing services section. Look for “Large Format Printing” or “Engineering Prints.” You will upload your file, select the size, and proceed to checkout. The savings are truly remarkable for prints this large.
Crafting Your Custom Frames: A Step-by-Step Guide
Now that you have your incredible, budget-friendly prints, it’s time to create custom frames that will elevate them into stunning works of art. We’ll be using simple butt joints for this project, which are perfect for achieving a rustic or slightly industrial look. They are straightforward to assemble and provide robust support for your large prints.
1. Preparing Your Wood: Precise Cuts for a Perfect Fit
Accuracy in your initial cuts is key to a professional-looking frame. Start by carefully measuring your prints to ensure your frame pieces match perfectly.
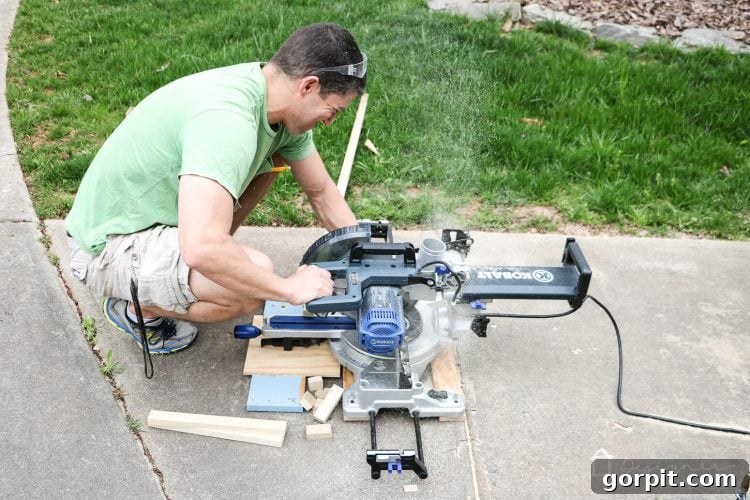
- Cut Horizontal Pieces: Measure the exact width of your print. Cut two pieces of wood to this exact length. These will form the top and bottom of your frame. If you’re using a compound miter saw, ensure your cuts are perfectly square (90 degrees). If using a hand saw and miter box, take your time to make clean, straight cuts.
- Cut Vertical Pieces: This step requires a slight calculation. Measure the height of your print. Then, measure the width of the wood you are using for the frame (e.g., if you’re using 1×3 boards, the actual width might be 2.5 inches or 7.6 cm). You need to subtract *twice the width of your wood* from the print’s height. This accounts for the top and bottom horizontal pieces overlapping the vertical pieces.
Formula: Vertical Piece Length = Print Height – (2 x Wood Width)
Cut two pieces of wood to this calculated length. These will be the vertical sides of your frame.
2. Assembling the Frame: Strong Butt Joints for a Rustic Appeal
Butt joints are incredibly simple: two pieces of wood are joined perpendicularly, with one piece butting directly against the end of the other. This creates a clean, intentional joint that lends itself well to a rustic or farmhouse aesthetic.
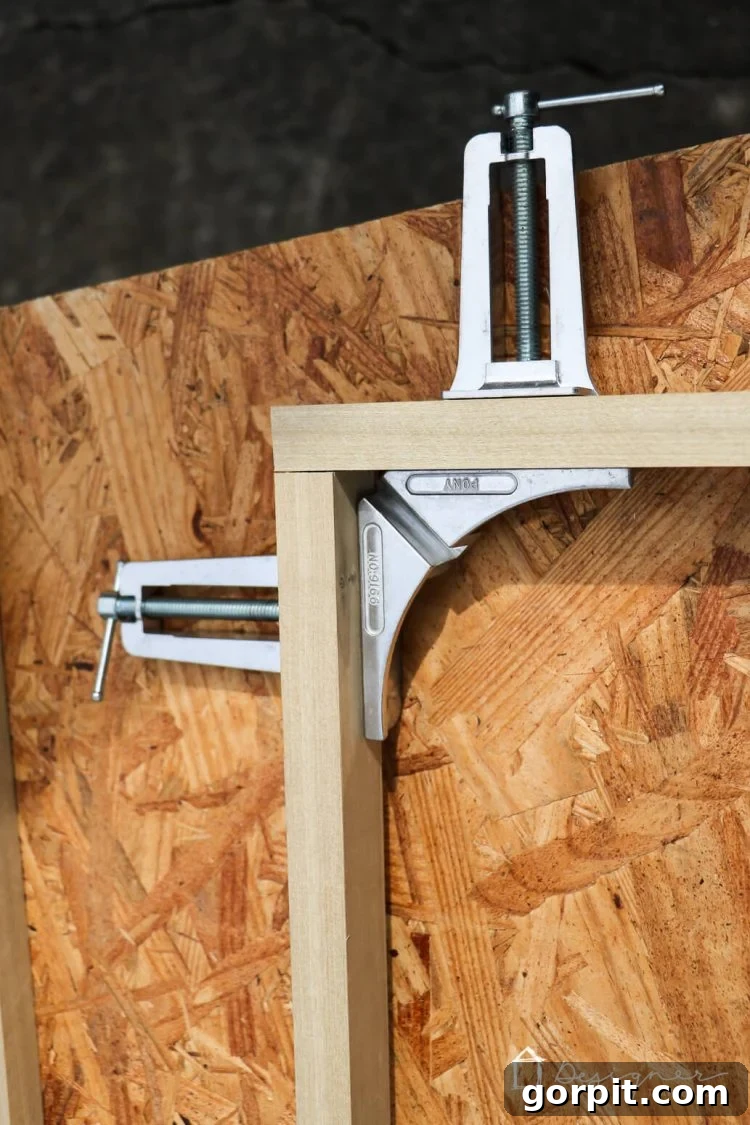
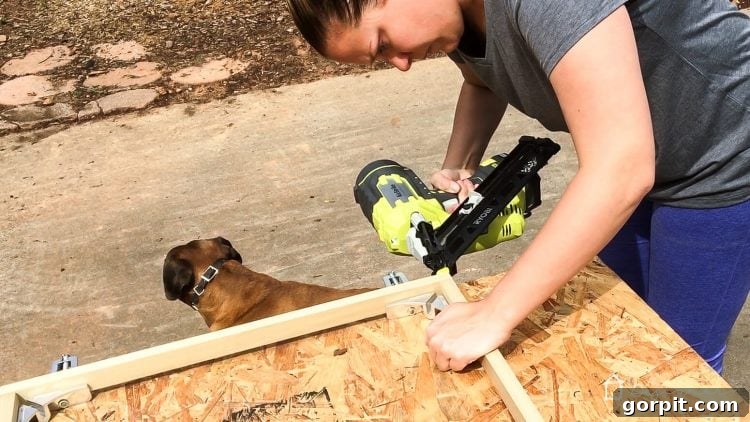
- Align Your Joints: Lay out your cut wood pieces. Position the horizontal (top and bottom) pieces so they sit *on top of* the vertical (side) pieces. This creates the “butt joint.” Use your right-angle clamps to firmly hold the corners together. The clamps are crucial for ensuring the frame remains square and tight during nailing.
- Secure with Nails: With the joints firmly clamped, drive nails through the horizontal pieces and into the ends of the vertical pieces. For added strength, you can apply a small amount of wood glue to the joint before nailing, though with a good nail gun, it’s often not strictly necessary for such lightweight frames. Ensure your nails are long enough to penetrate both pieces of wood securely without going all the way through the other side.
3. Finishing Touches: Sanding, Staining, and Mounting
These steps are where your frame truly comes to life, ready to showcase your magnificent print.
- Optional Router Channel: If you want your mounted print to sit flush with the back of the wood frame, you can use a router to create a shallow channel (or rabbet) along the inner edge of the frame. This channel should be the same depth as your mounted print (print + cardboard backing). This step is entirely optional! If you don’t have a router, or prefer a simpler approach, you can skip this. Your print will simply be stapled directly onto the back surface of the frame, which is perfectly fine. The only difference is that the edge of the mounted print might be slightly visible if viewed directly from the side.
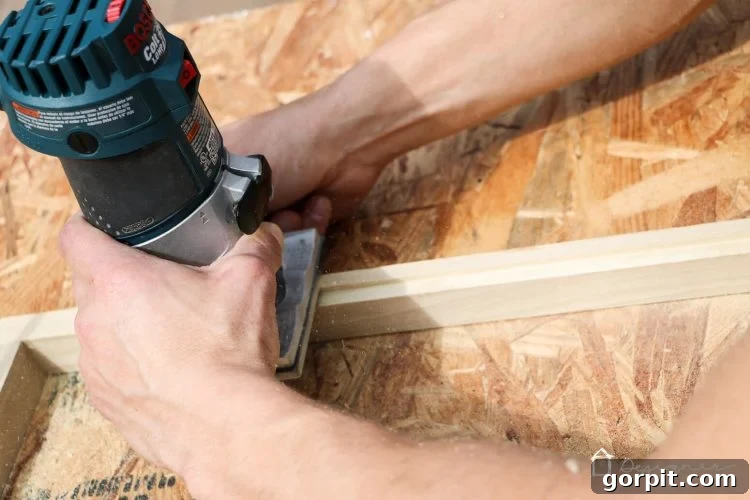
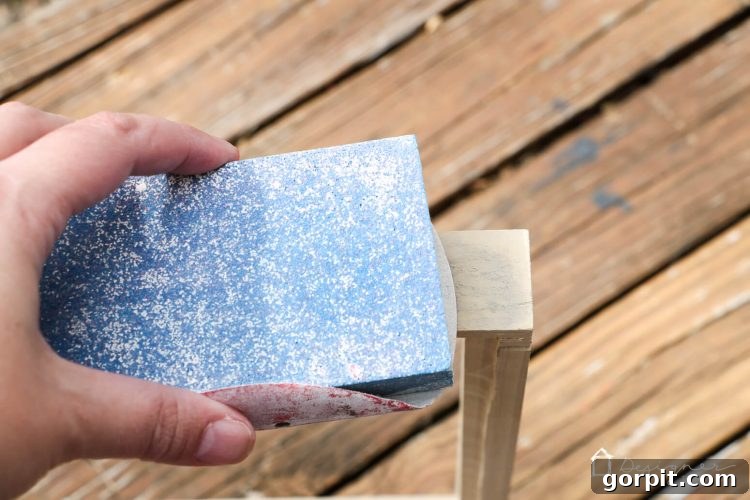
- Fill and Sand: Apply wood putty to all nail holes and any imperfections in the wood. Allow it to dry completely according to the manufacturer’s instructions. Once dry, sand the entire frame surface smooth. Start with a medium-grit sandpaper (e.g., 120-grit) to remove any major rough spots, then finish with a finer grit (e.g., 220-grit) for a silky-smooth finish, ready for staining. This attention to detail will significantly improve the final appearance.
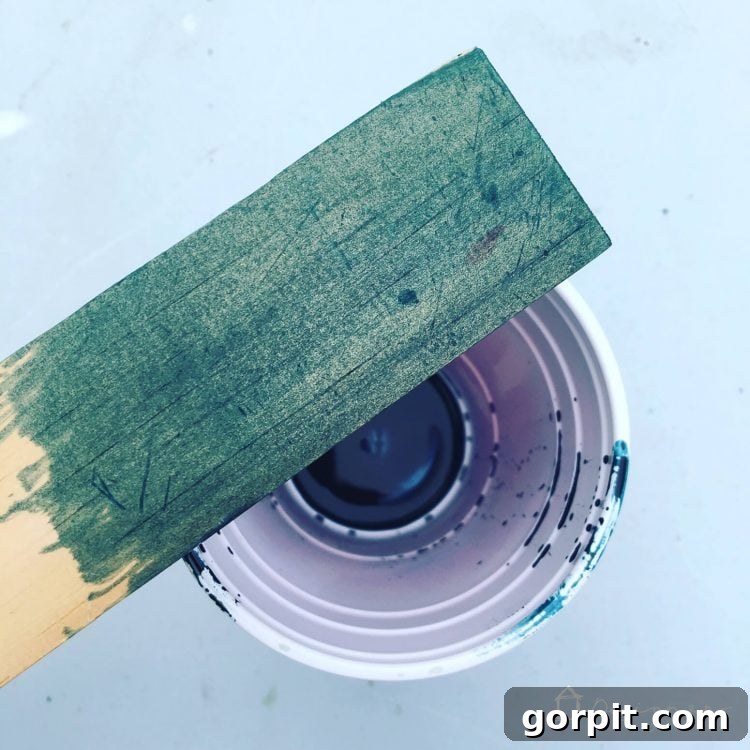
- Stain the Frame: Now for the color! We opted for Behlen Solar Lux Stain in Sea Blue for its incredible vibrancy. This dye-based stain offers a pop of color that beautifully contrasts with black and white prints. To apply, gently wipe the stain onto the wood with a paper towel or rag, moving with the grain. Wipe off any excess immediately to prevent blotchiness. The fast-drying nature of Solar Lux means you won’t have to wait long before proceeding. You can see the stunning depth of color it achieves on a test piece of wood.
- Mount Your Print: Once the stain is completely dry, it’s time to marry your print with its frame. Lay your print (already mounted on cardboard or foam core with spray adhesive) face down on a clean surface. Carefully center your frame over the print’s edges. Using your staple gun, staple the mounted print securely to the back of the frame. Place staples every few inches around the perimeter to ensure it’s held firmly.
- Attach Hanging Hardware: Finally, attach your chosen hanging hardware to the back of the frame. For these lightweight pieces, D-rings with picture wire, or even simple saw-tooth hangers, will work perfectly. Always check that your hardware is securely attached and can support the weight of the framed art.
Bringing It All Together: Your Masterpiece Revealed
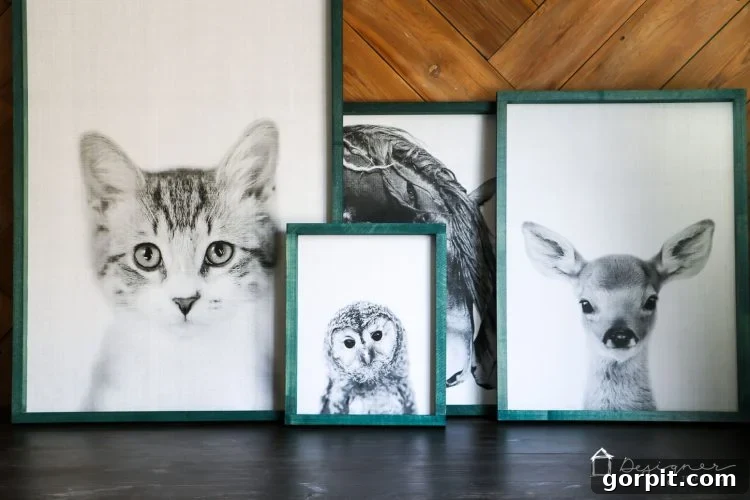
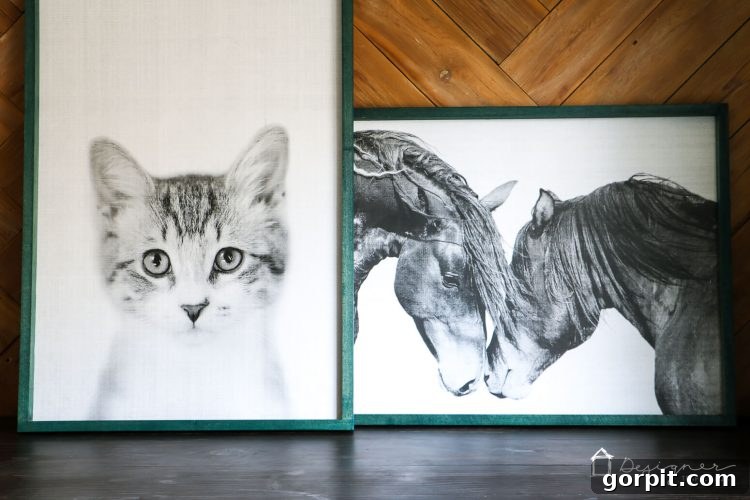
That’s it! You’ve successfully created stunning, large-scale wall art without the exorbitant cost. We are absolutely thrilled with how Avery’s large wall art turned out! The entire process for all four prints took us a single afternoon, a delightful activity enjoyed while our kids and dog played happily outside. This project is not only easy-peasy but also an incredibly affordable option for transforming any room. The satisfaction of seeing these personalized pieces adorning the walls is truly immense.
Cost Breakdown: An Unbeatable Value
Transparency is key, especially when showcasing a budget-friendly project. Here’s a precise breakdown of the costs involved in creating four framed prints:
- Three 8-foot 1″ x 3″ Poplar Boards: $36.00
- 4 Digital Prints (from Etsy): $24.00 (You can save this cost if you use your own photographs or free digital art!)
- Printing Costs (Staples.com engineer prints): $9.14
- Scrap Cardboard and Foam Core Board: FREE (Utilized repurposed materials)
- Spray Adhesive: $3.00
- Stain (Behlen Solar Lux): $15.00
- TOTAL COST FOR 4 FRAMED PRINTS: $87.14 (This averages out to roughly $21.78 per print!)
Compare this to the cost of purchasing similarly sized framed artwork from a retail store, which could easily run into hundreds of dollars per piece. The savings are undeniable, and the personal touch makes these DIY creations invaluable.
Tips for Success & Customization
- Image Selection: Choose high-resolution images for the best print quality. Simple, bold images or photographs often translate beautifully into engineer prints. Consider black and white for a timeless, classic look, or experiment with subtle color engineer prints if available and affordable.
- Measurement is Crucial: Double-check all your measurements before making cuts. “Measure twice, cut once” is a woodworking adage for a reason!
- Stain Alternatives: If a vibrant stain isn’t your style, consider a classic wood stain, a clear protective finish to highlight natural wood, or even paint your frames for a completely different aesthetic.
- Mounting Technique: When using spray adhesive, work in a well-ventilated area and cover nearby surfaces to protect from overspray. Apply a thin, even coat to both the print and the foam board, wait a moment for it to get tacky, then carefully align and press the print onto the board, smoothing from the center outwards to avoid bubbles.
- Hanging Solutions: For extra large or heavy prints, consider using two D-rings and picture wire, or even French cleat hangers for secure wall mounting. Though these frames are light, always prioritize safe installation.
- Creative Backings: Instead of cardboard or foam core, you could also mount prints onto thin plywood for a more rigid backing, though this adds to the cost and weight.
Frequently Asked Questions (FAQ)
Q: Can I use different types of wood for the frames?
A: Absolutely! We chose poplar for its affordability and smooth finish, but you can use pine, oak, or any other wood that suits your aesthetic and budget. Just be mindful that different woods react to stain differently.
Q: What if I don’t have any power tools?
A: No problem at all! As mentioned, a hand saw with a miter box, a utility knife, a hammer, and a hand-held staple gun are perfectly sufficient for this project. It might take a little longer, but the results will be just as satisfying.
Q: How long does this project typically take?
A: For four prints, we completed the entire process in one afternoon. This includes cutting, assembling, staining, and mounting. Drying times for wood putty and stain are usually quick, especially with fast-drying products like Solar Lux.
Q: Can I use color photos as engineer prints?
A: Yes, many online print services offer color engineer prints, though they might be slightly more expensive than black and white. Always compare prices and quality, as the vibrant colors might not be as rich as on traditional photo paper, but they still offer a fantastic budget option for large-scale color art.
Conclusion: Transform Your Space Today
Creating large wall art doesn’t have to be an intimidating or expensive endeavor. With engineer prints and these simple DIY framing techniques, you can add dramatic, personalized touches to your home decor that reflect your unique style without stretching your budget. This project proves that creativity and resourcefulness can lead to truly stunning results. So, gather your materials, choose your favorite images, and embark on this rewarding journey to transform your walls into a gallery of your own making. Happy crafting!